
Alex Berger
Chicago, USA
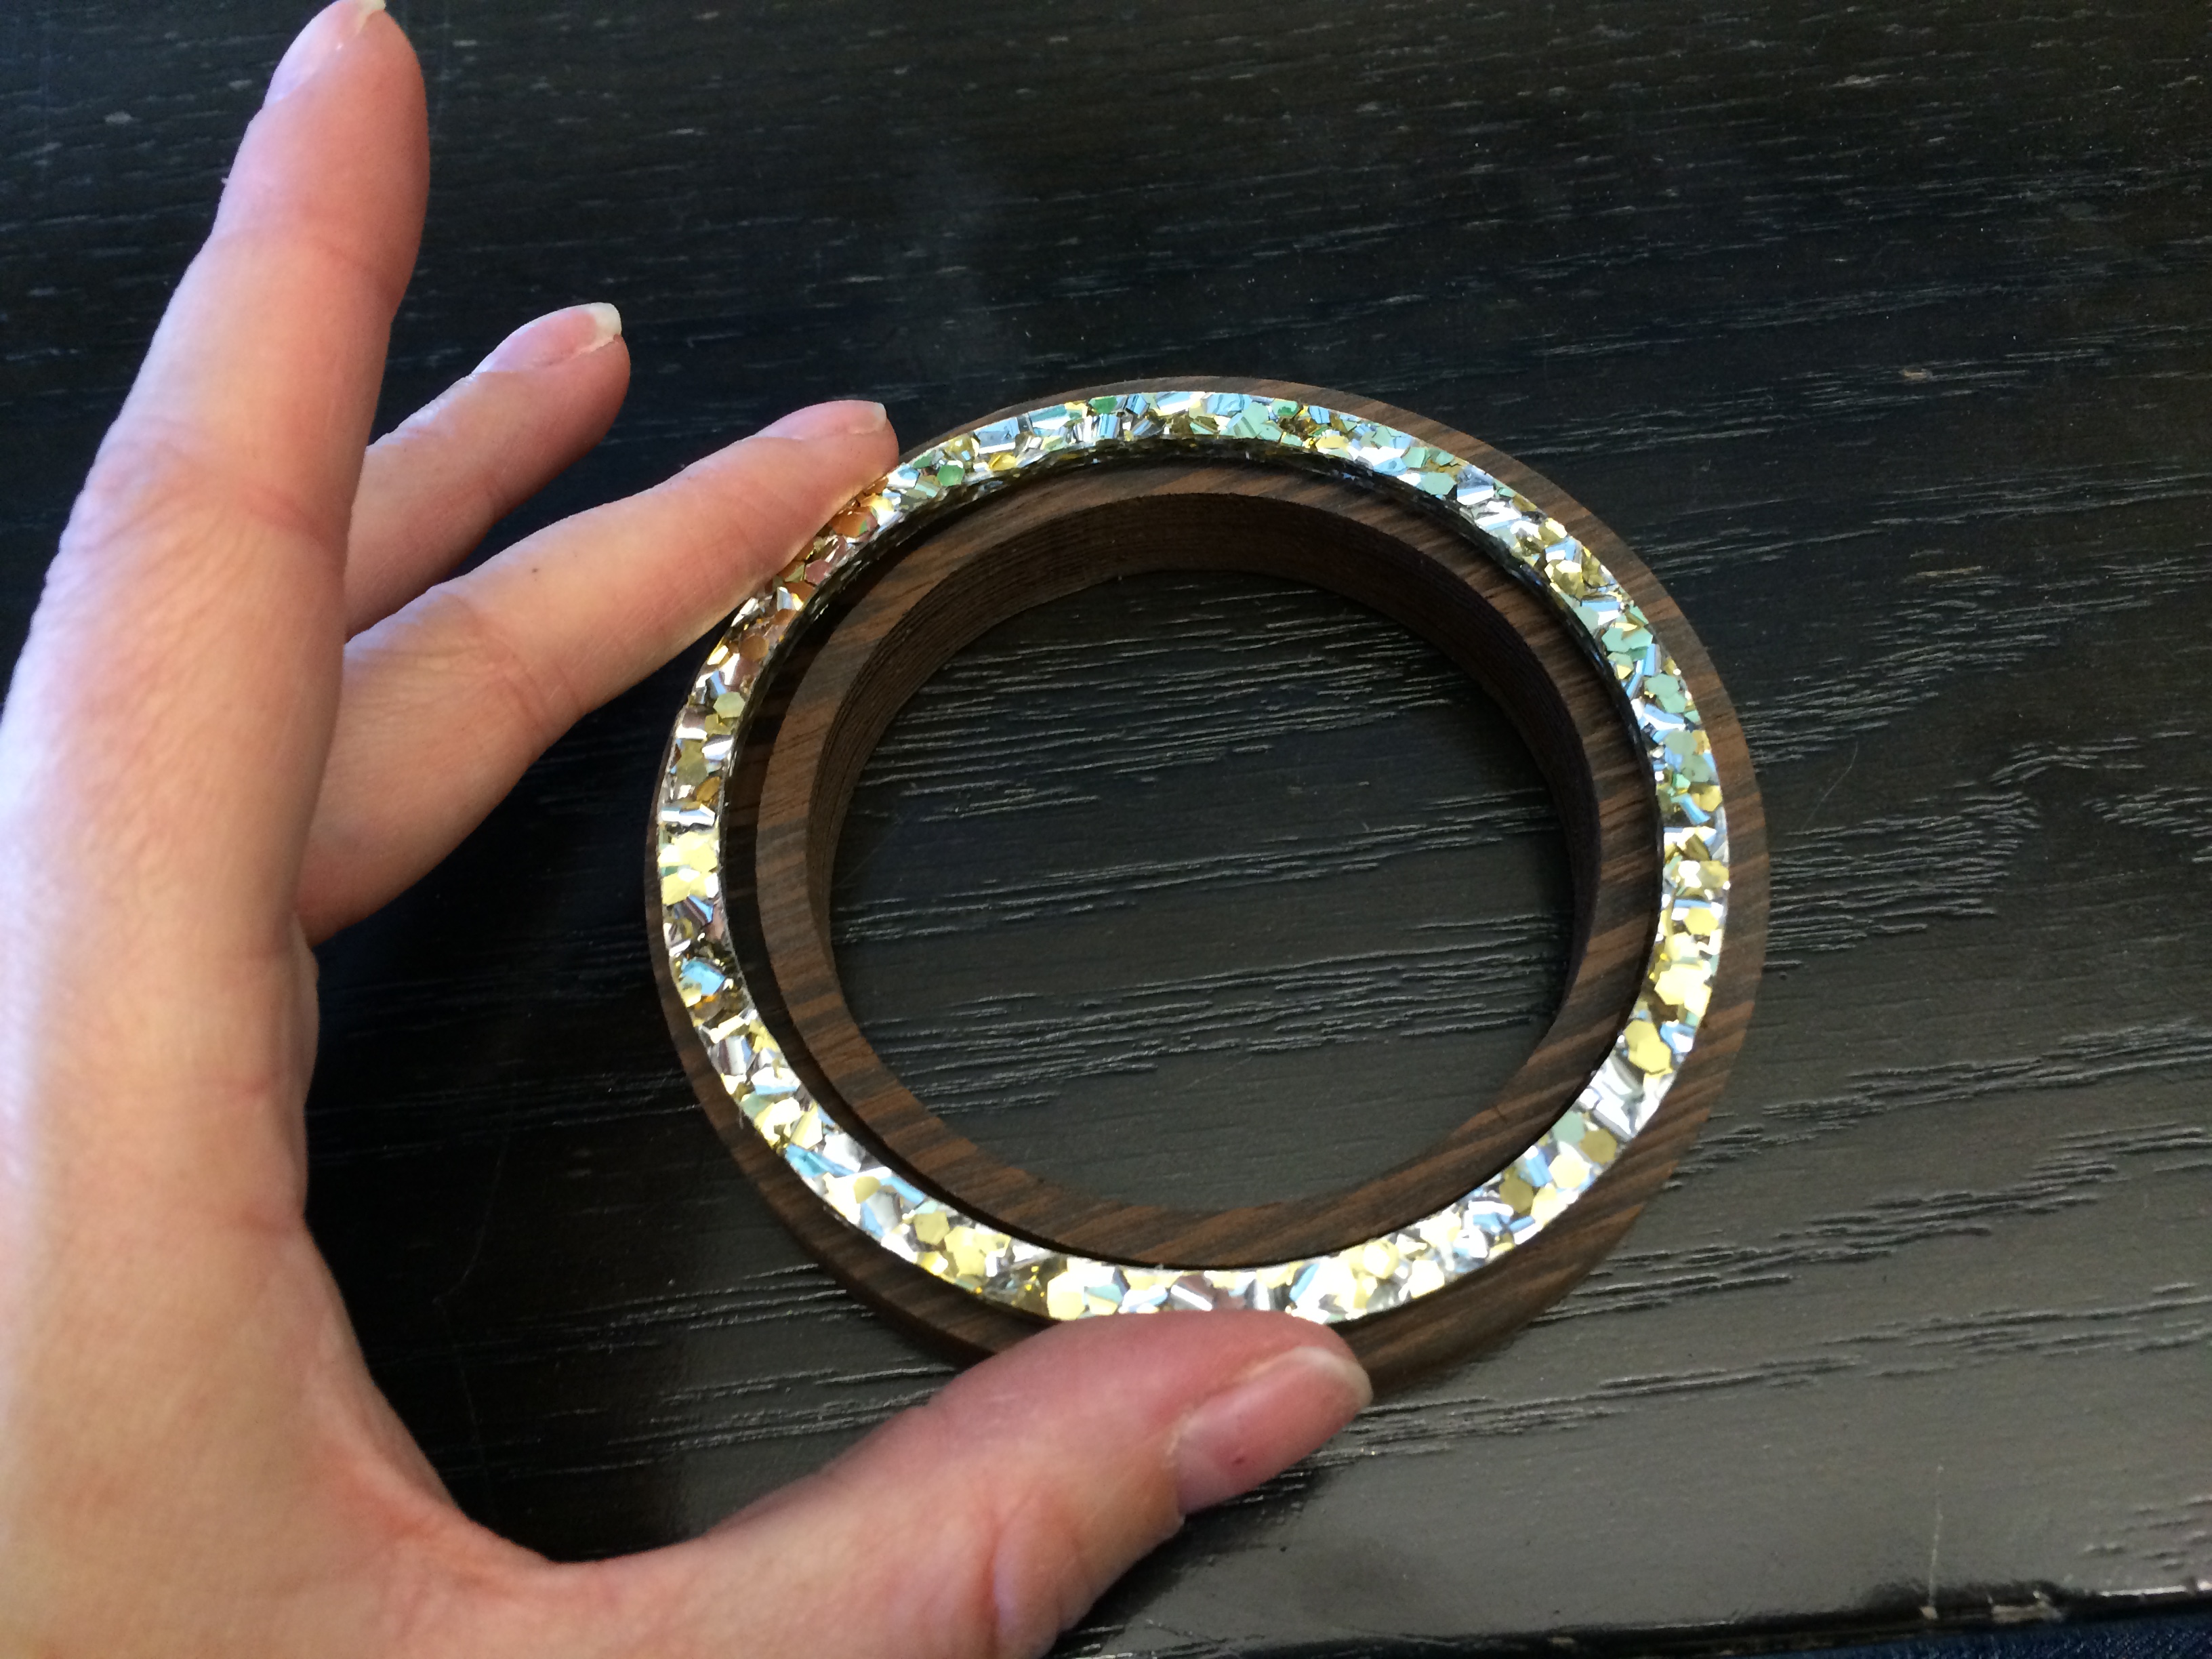
Wenge inlaid with glitter acrylic
| Material | Description | Price | ||
|---|---|---|---|---|

|
Silver and Gold Glitter Acrylic Sheet |
Dimensions: 8 in × 12 in, Thickness: 1/8 in |
||

|
Wenge |
6" × 12" × 1/2" Wenge |
||
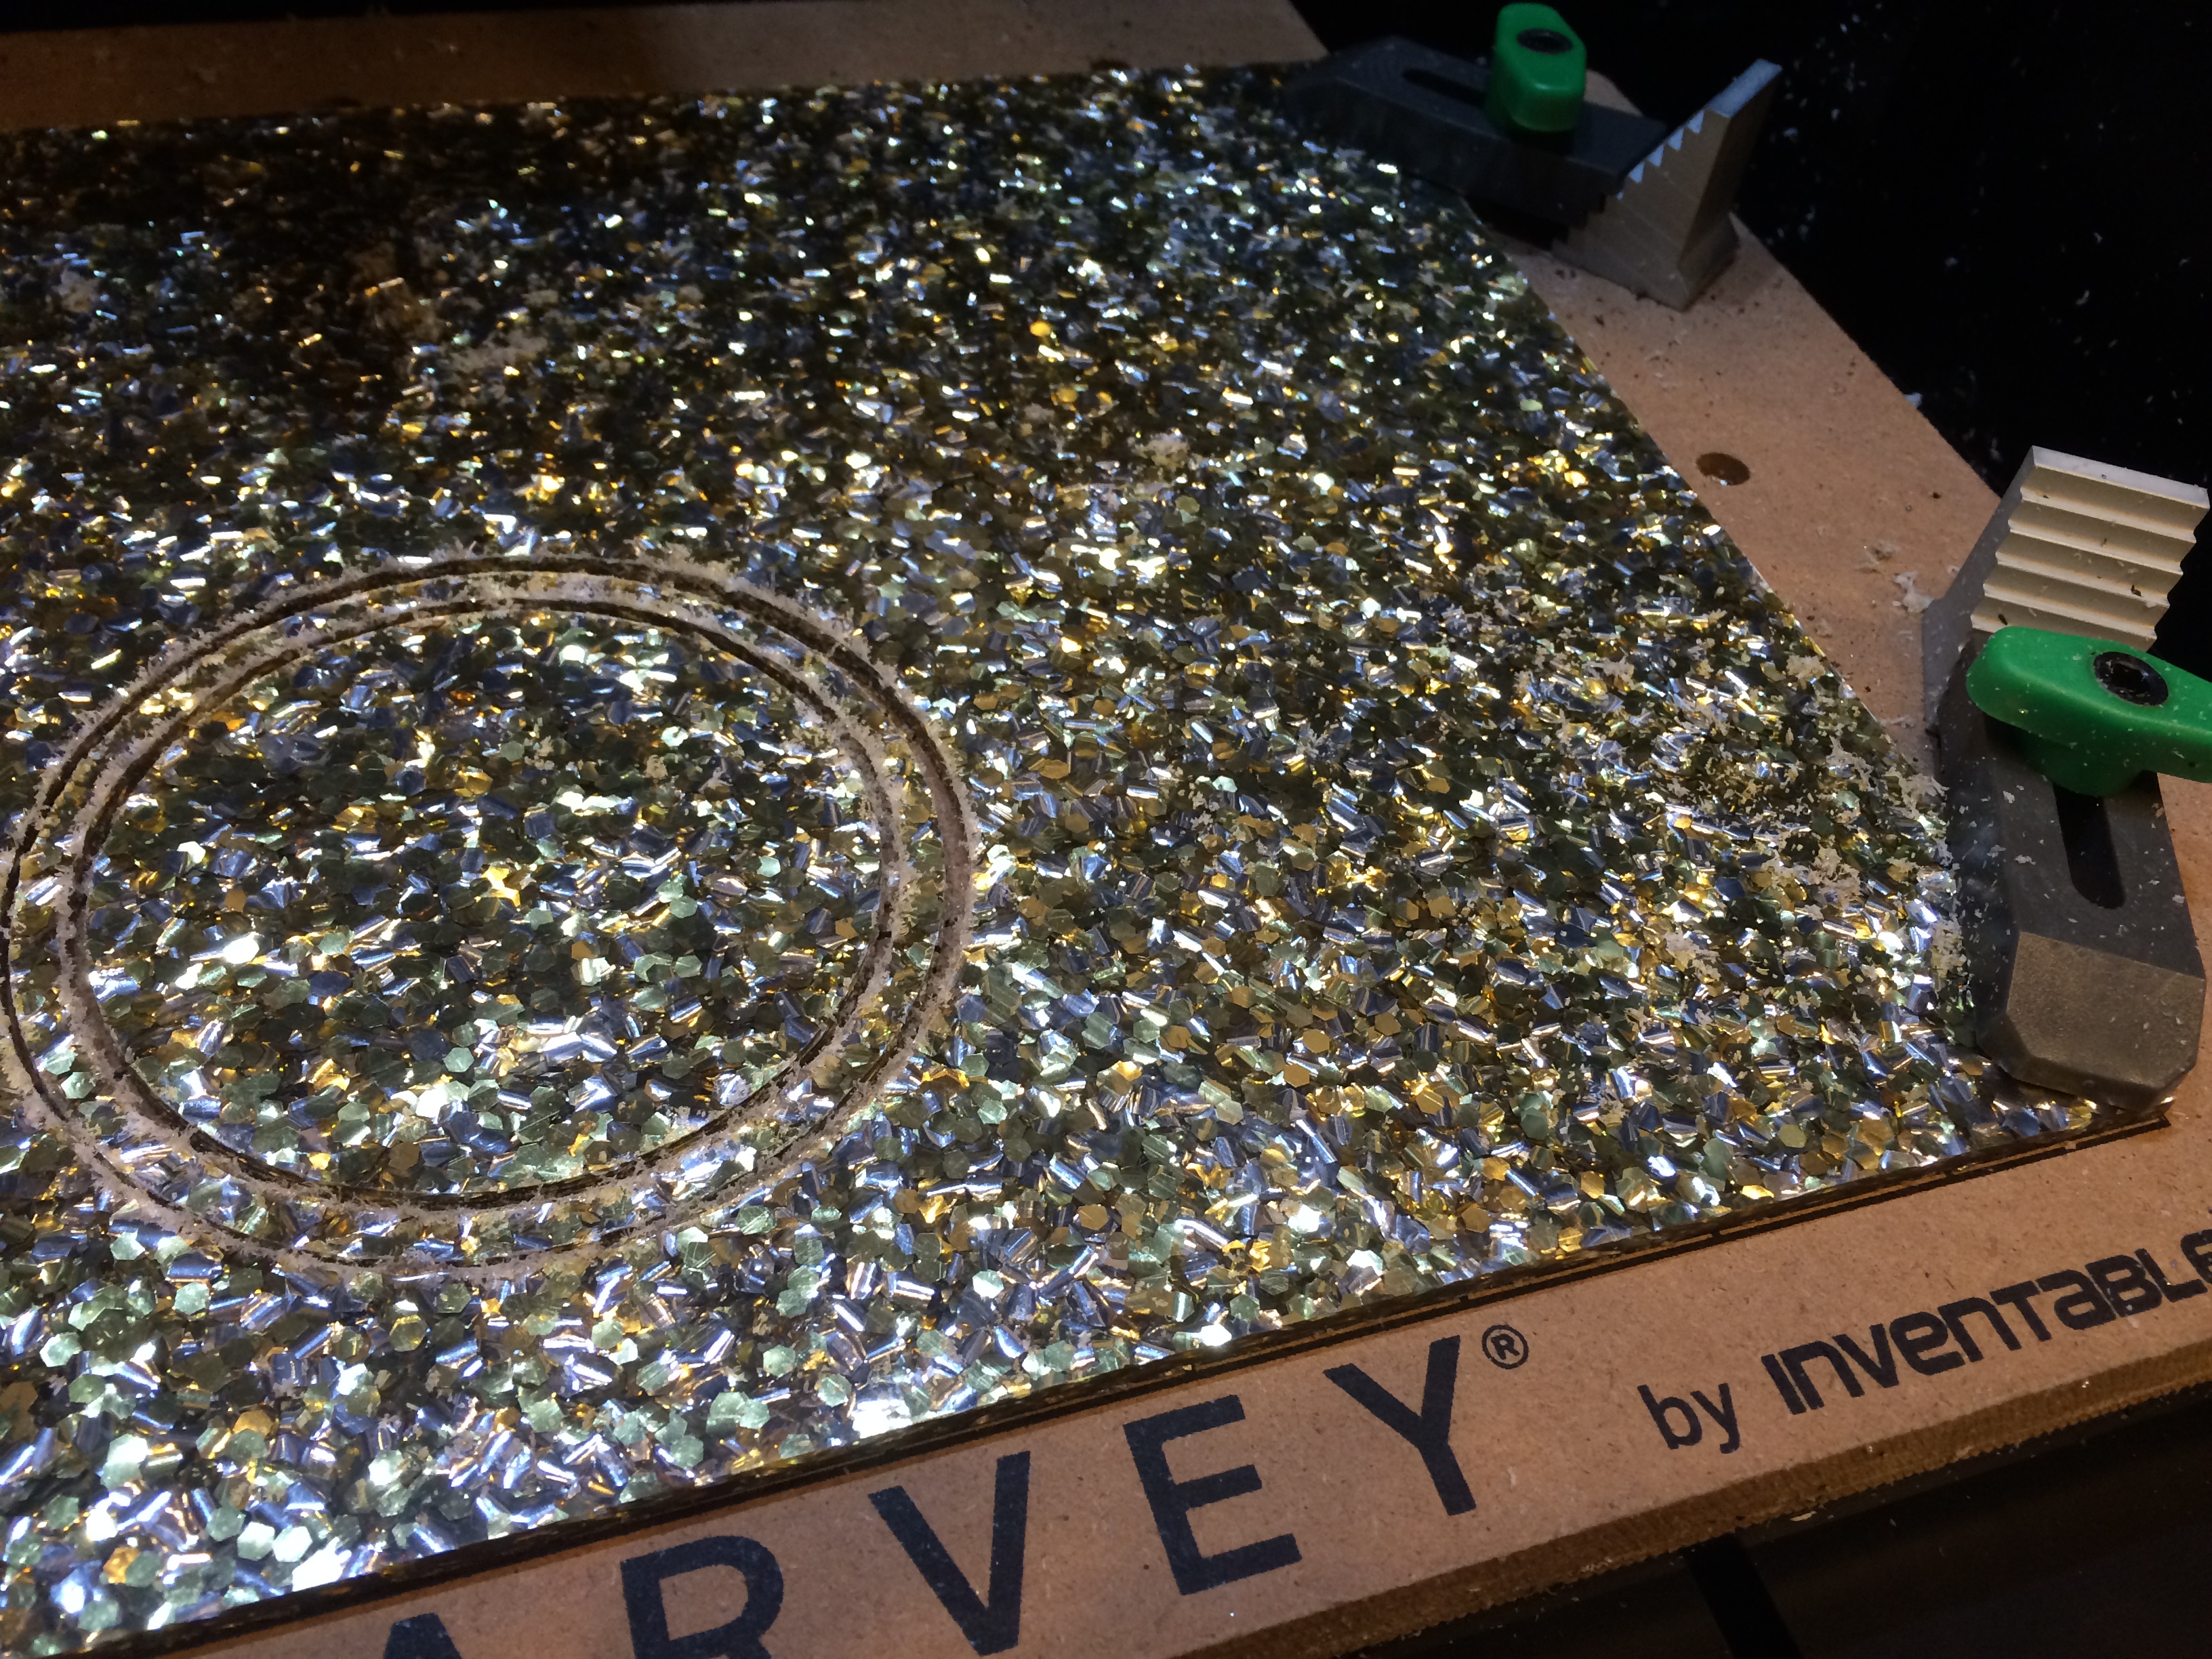
Insert the 1/8" spiral bit (the larger of the 2 in the project pack) into your machine. Click the “Open in Easel” button to find the file for the Wenge hardwood on the first tab.
You can adjust the size of the inner circle according to your wrist size. The default bracelet is for a small/medium women’s wrist. If you make any adjustments to the size of the actual inlay channel, please note that you’ll also have to edit the acrylic Easel file so that the inlay still fits!
The settings should all be set automatically when you open the file (feedrate 24" per minute, 0.04" depth per pass). These settings are optimized for this bit and material combination.
The channel for the acrylic inlay should engrave first, then the outsides of the bracelet will be cut all the way through, minus a few small “tabs”. These are small pieces of wood that will remain so that the bracelet doesn’t cut all the way through and go flying inside the machine!
When the job is done, gently push the bracelet out of the piece of wood. Either file or sand the areas where the tabs used to be to get a nice, smooth finish.

10 minutes
Insert the 1/16" fish tail bit (the smaller of the 2 in the project pack) into your machine. Click the 2nd tab of the Easel file named “Acrylic”.
The settings should all be set automatically when you open the file (feedrate 48" per minute, 0.03" depth per pass). These settings are optimized for this bit and material combination.
This piece will also have small tabs holding it in place when you’re done cutting. Carefully push the circle cutout from the sheet of acrylic and file the tabs off.
You’ll notice that the feedrate, or the speed at which the bit is going through the material, is higher for this particular bit and material (48 vs 24 for the hardwood). This is because this bit has 2 flutes, or cutting edges, where the larger bit we used on the wood only had 1 flute. In general, bits with more flutes can be run faster. However, we can’t cut quite as deep on each pass as we can with the wood (0.03" per pass vs 0.04" per pass for the wood). Acrylic is a more brittle material, so we have to be a little more conservative so the bit doesn’t break, and so that it doesn’t wear out too quickly.
1 minute
Apply a thin layer of the glue to the bottom of the channel engraved in the Wenge. Make sure the glue comes out slowly and thinly. Immediately set the acrylic into the channel and press into place. Allow it to dry, then your bracelet is ready to wear!
This project was made using Easel’s Inlay Generator app. This app makes it super easy to create an inlay with a nice fit. To try it yourself, select your object in Easel, click the grid in the menu bar, then select Inlay Generator.


Patrick Woessner
Alex Berger
Patrick Woessner