
Create your own customized X-mas stamps to stamp all of your gifts! You can use these with brown butcher paper to create beautiful and unique wrapping paper.
5 minutes
You must have Inkscape downloaded if you wish to modify and customize the stamp!
I have attached the original Inkscape SVG and the font that was used in designing this project. Download both and install the font (right click on it in Windows and choose “Install”). You can then open the SVG in Inkscape and customize the “From:” stamp to whatever you’d like using the newly installed font.
Make sure to select the new text and “Convert to Path” prior to saving and importing into Easel.

10 minutes
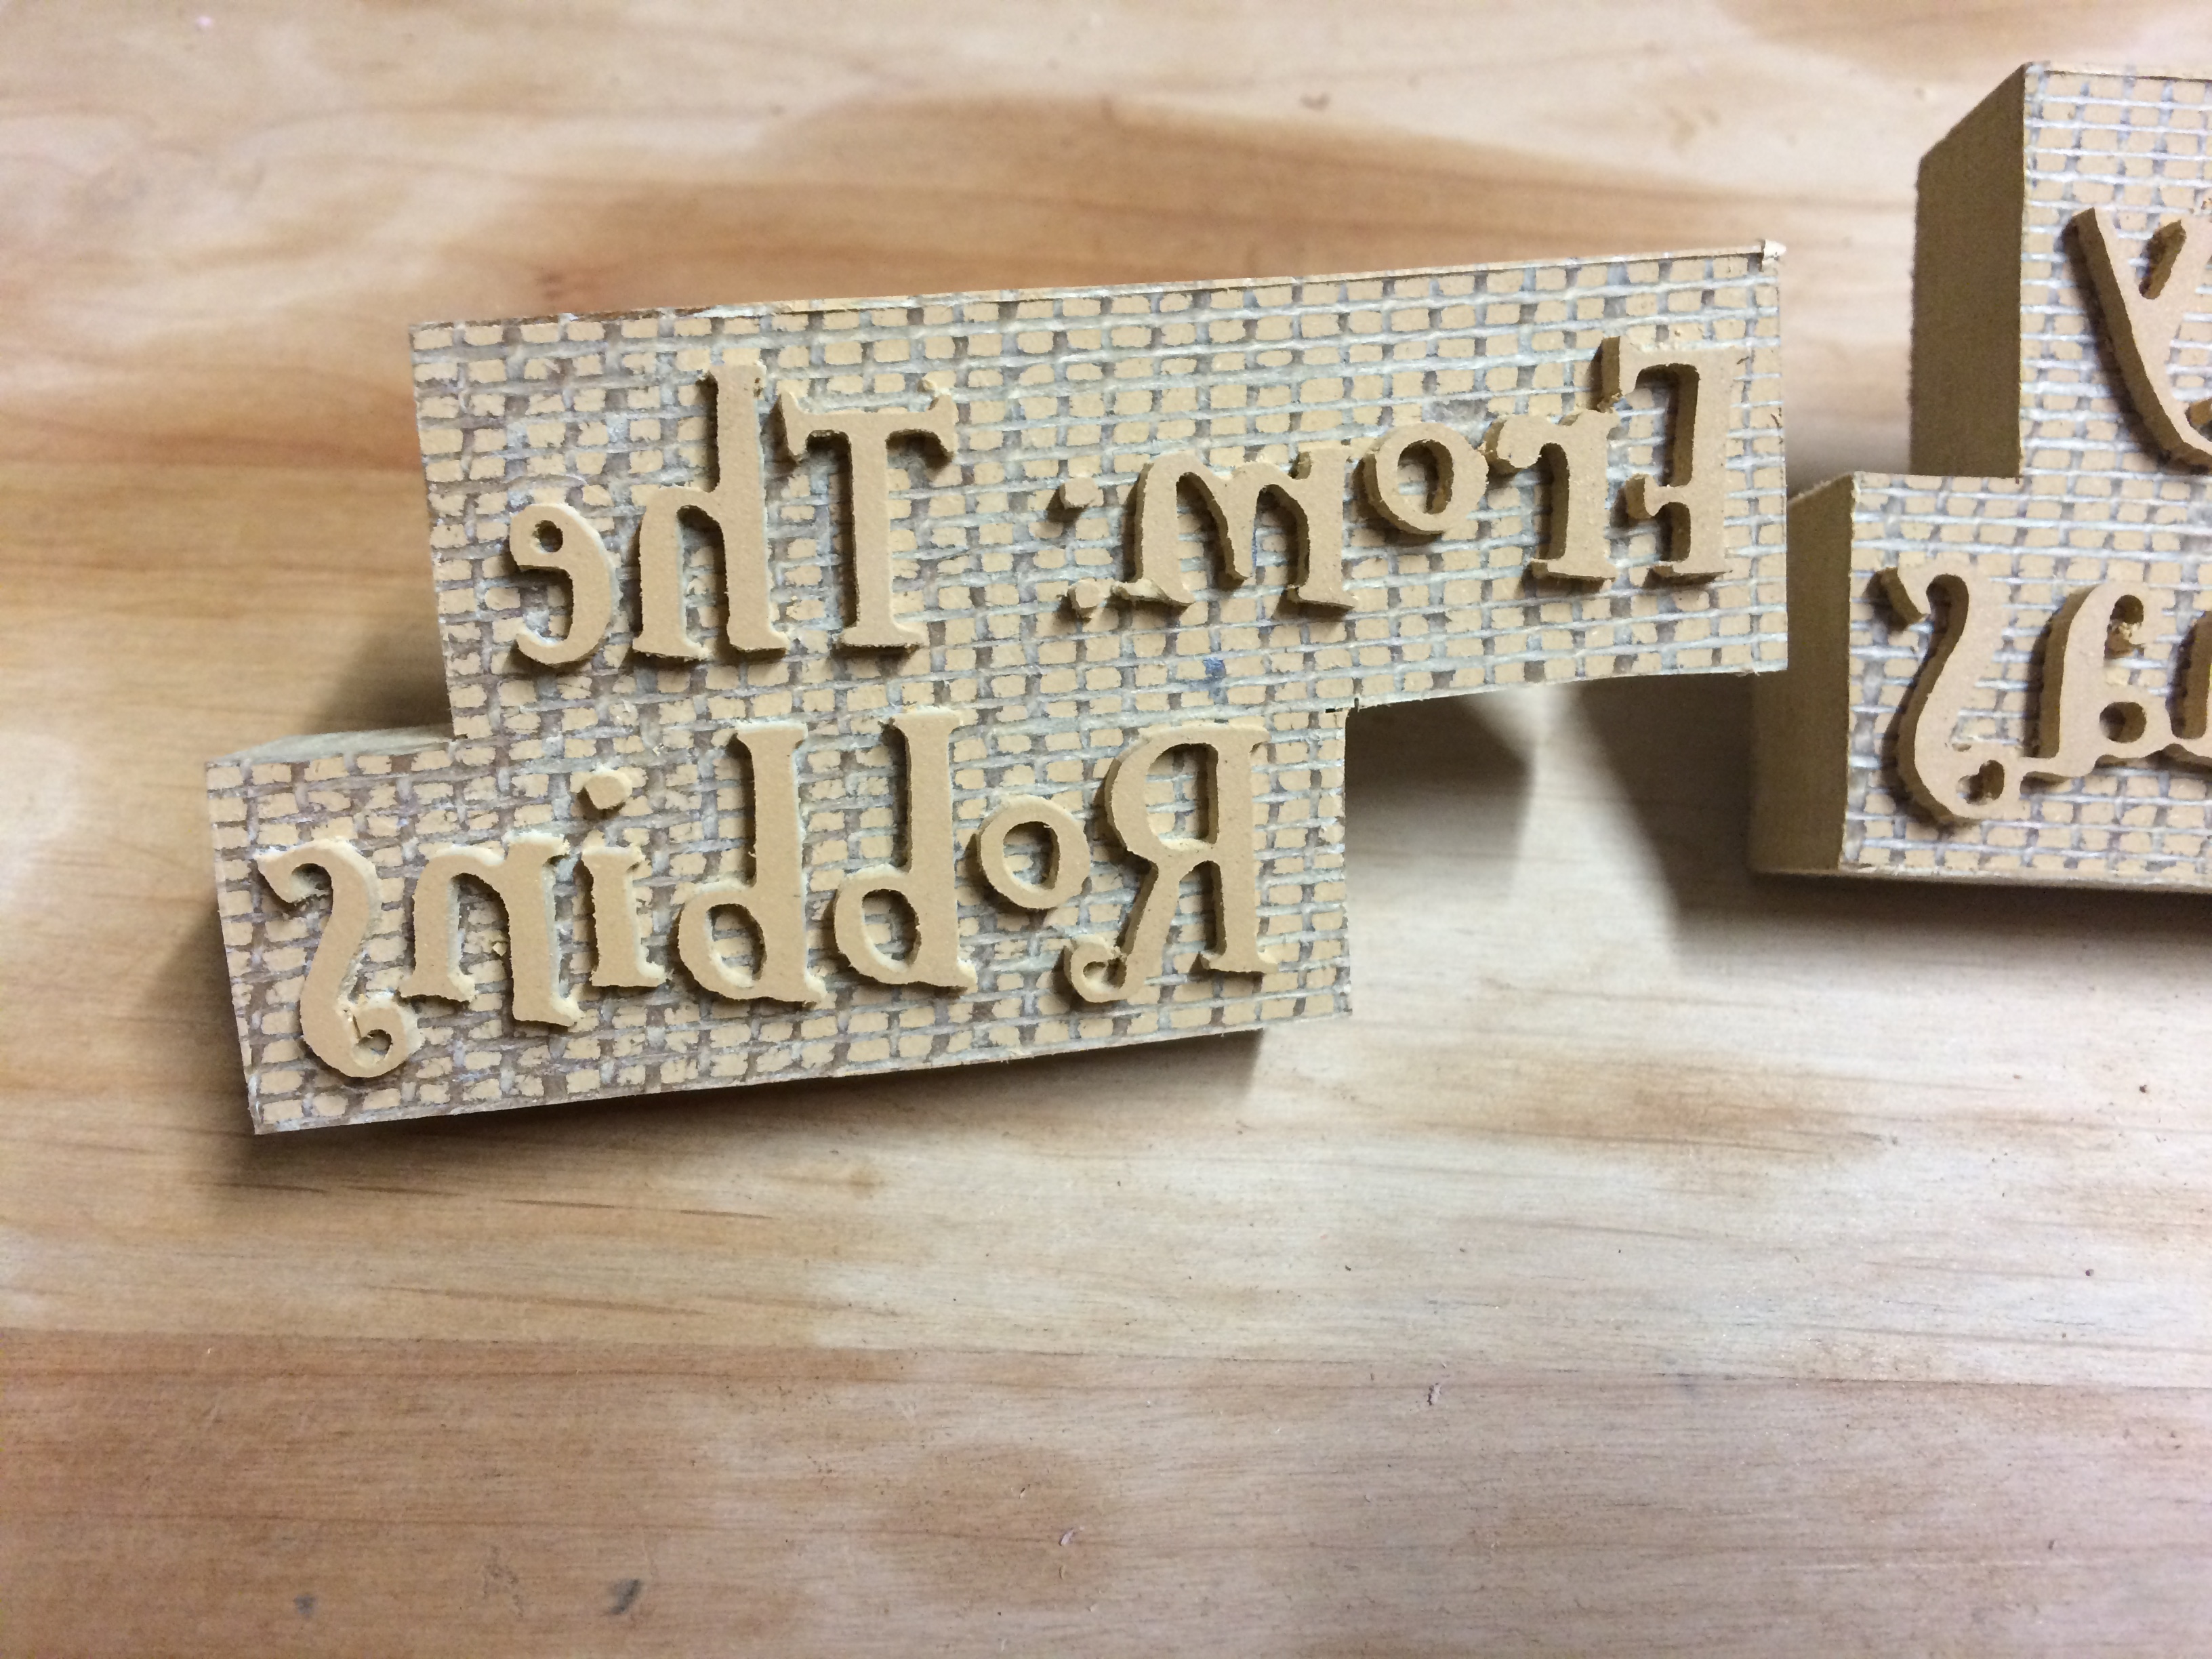
Import the newly created SVG into Easel and size the parts according to how big you want to make your stamps. Make sure you select all of the text and Edit > Flip Horizontally. This will allow your stamped text to read left to right correctly.
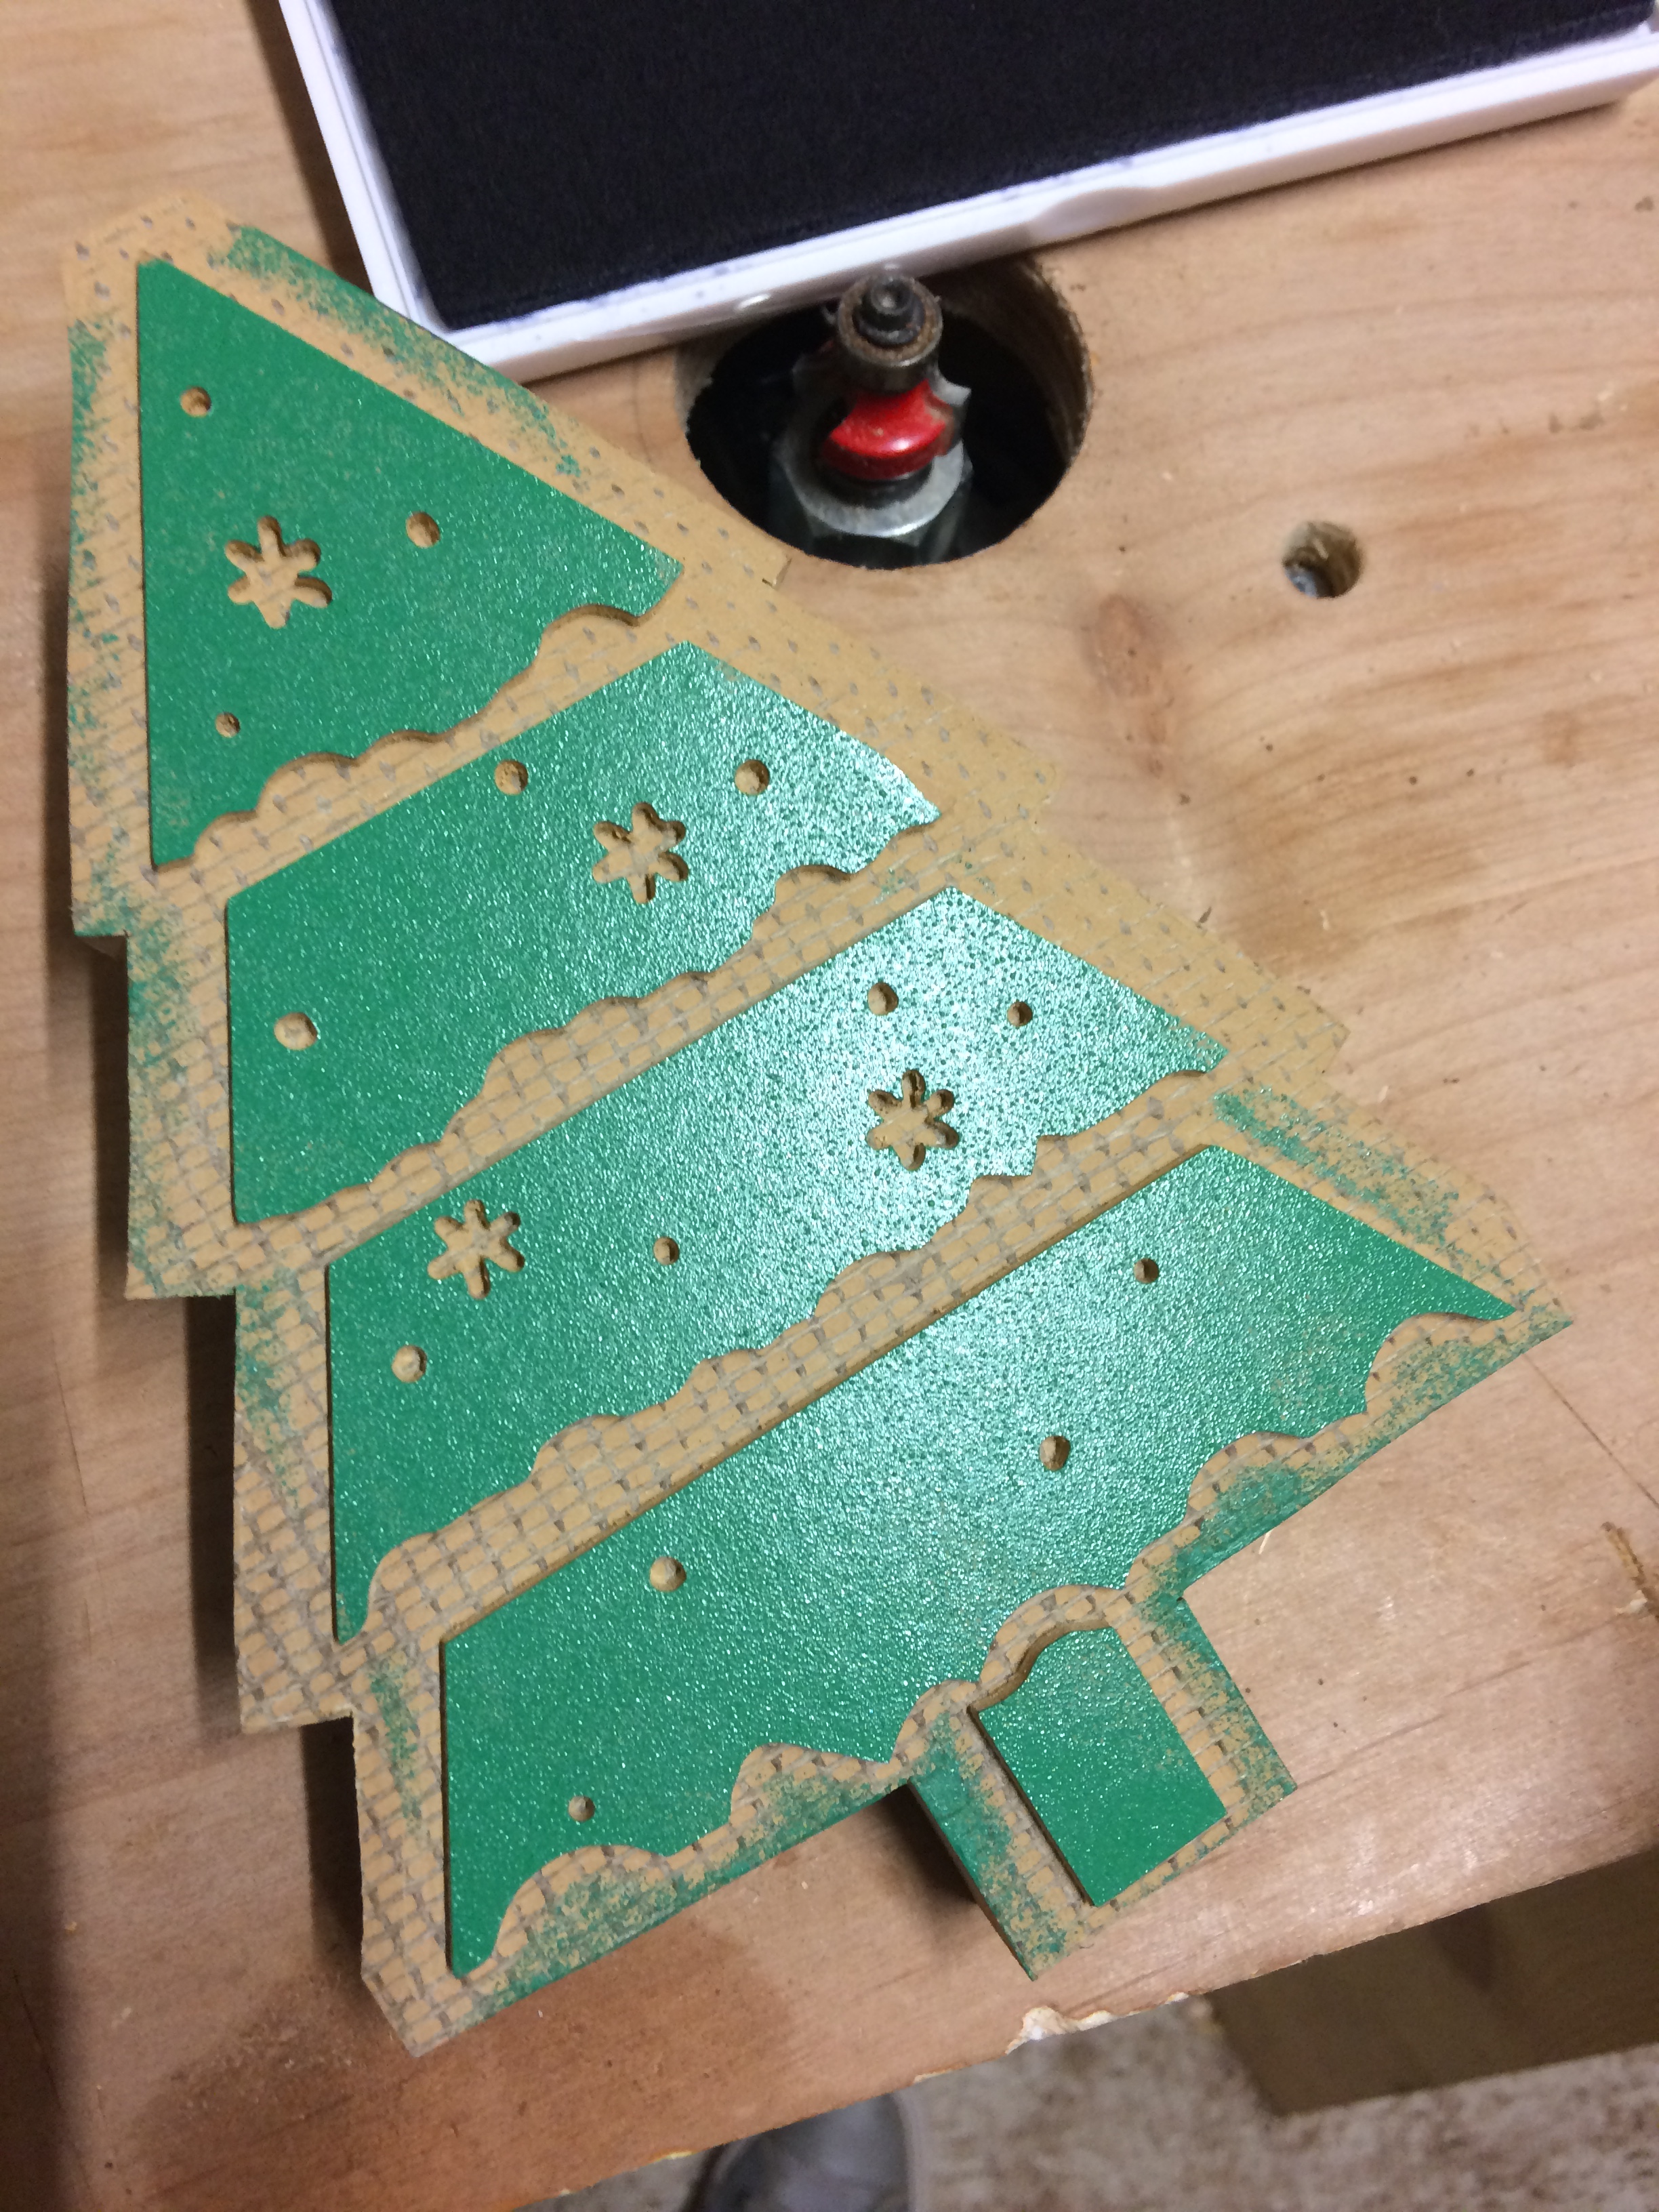
I also added background shapes to my Easel project and cut them out, leaving the stamp text and shapes in relief. To do this, set the stamp text and Christmas tree to 0" depth fill cut and create a shape behind it set to 1.2" or however thick your linoleum is!
40 minutes
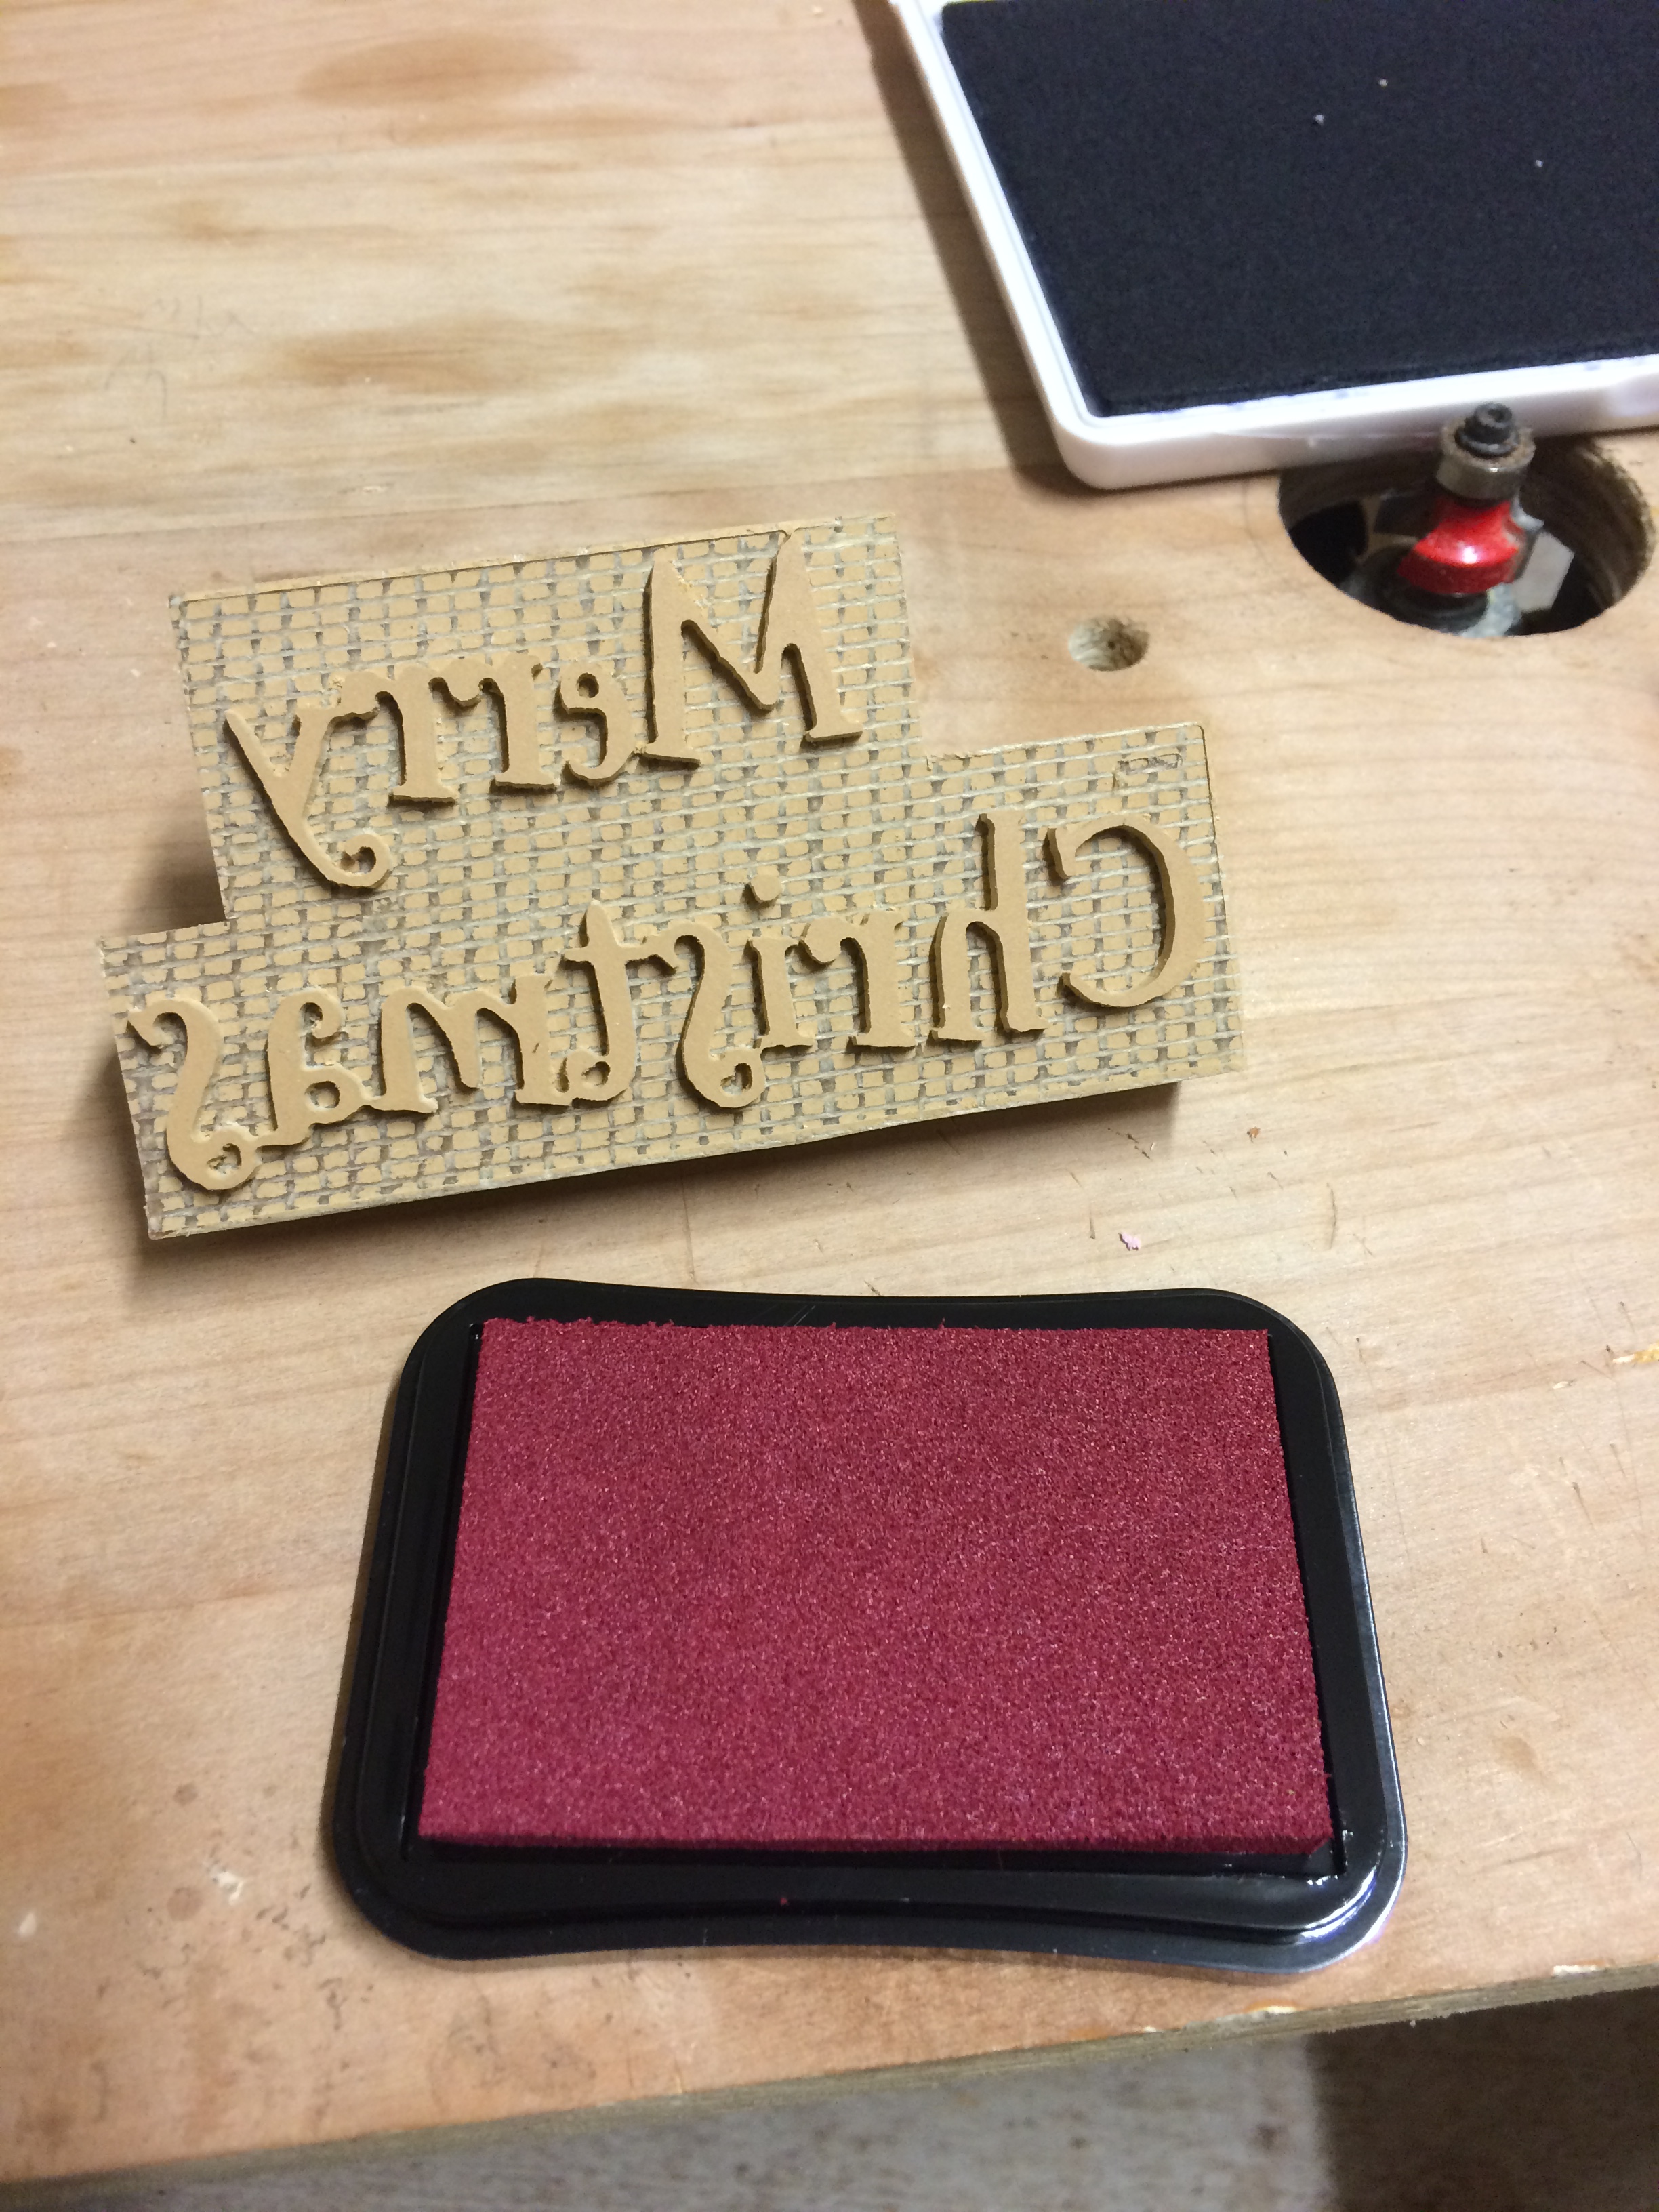
Secure your linoleum block to your wasteboard and set easel up and start cutting! I used a 1/16" Two Flute Upcut Endmill. It worked like a charm.

10 minutes
You can use Easel to do this portion, but I found it easier to just cut out the extra (non-carved) portions of the linoleum block with a scroll saw. Just about anything will do, you just want to leave only the portion to be stamped.


10 minutes
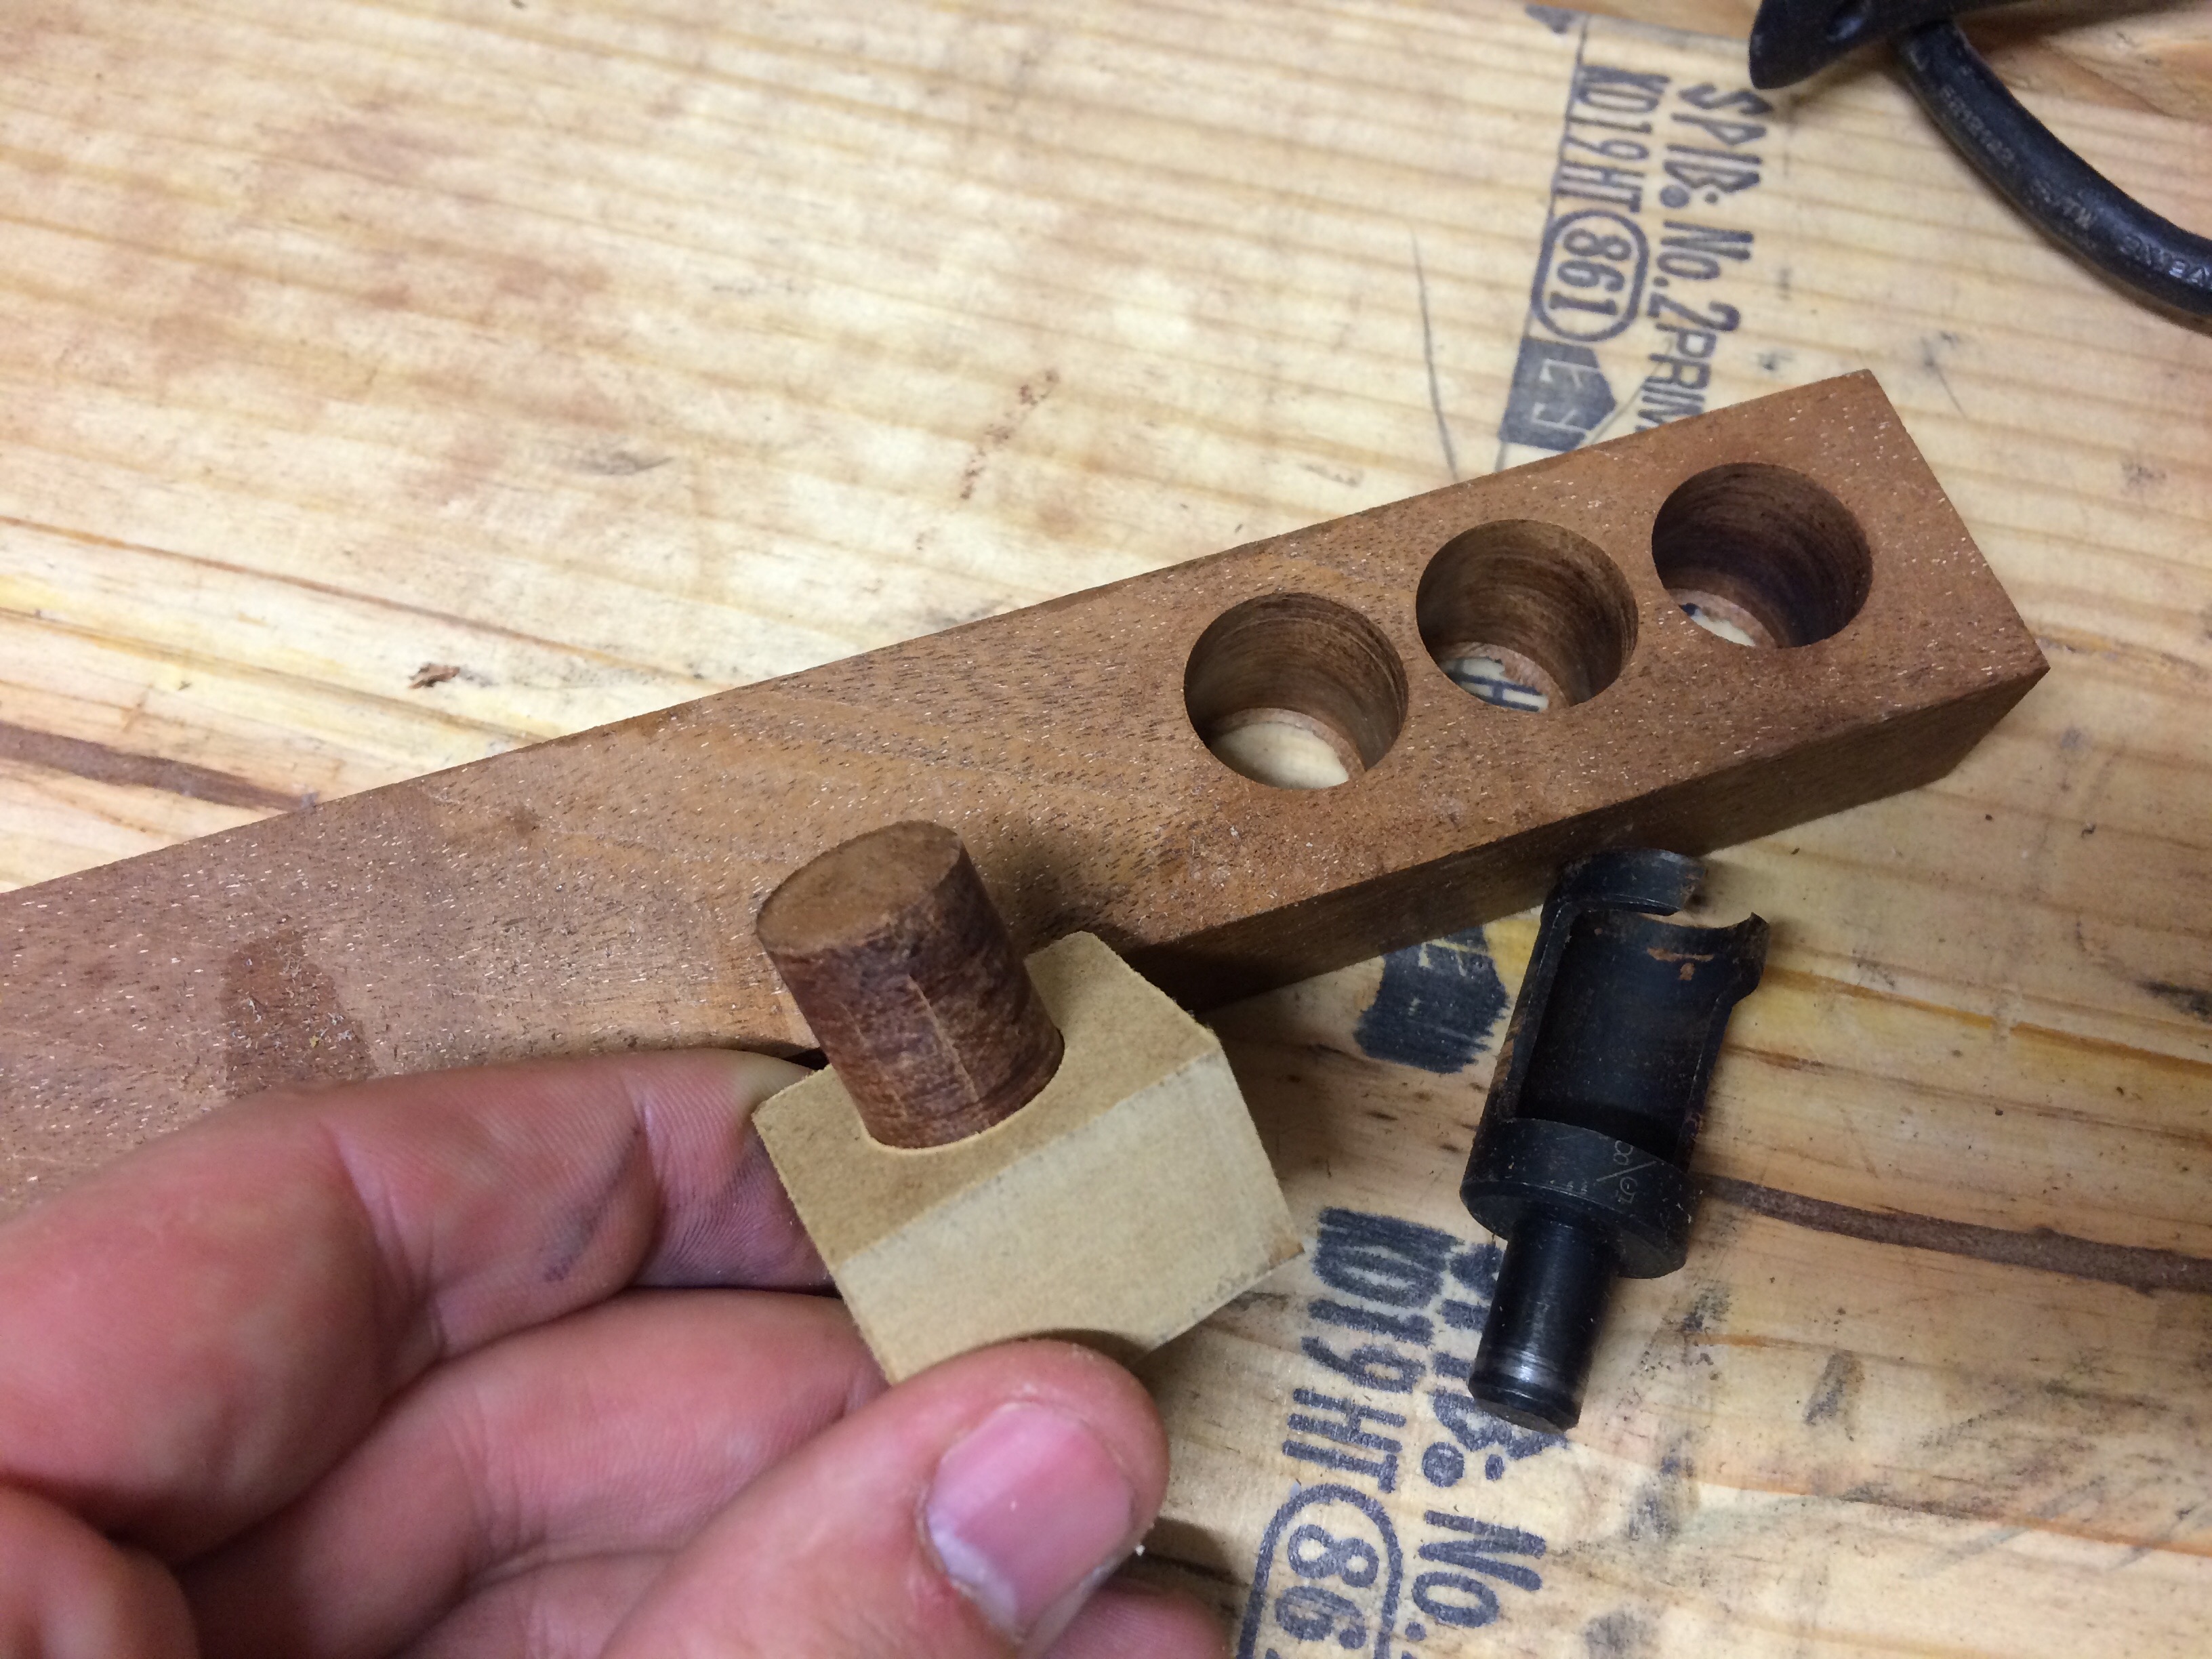
I used a plug cutting bit to cut some dowels and attach them to the back of the stamps for easy access.
Using a drill, drill holes into the MDF portion of the stamp and glue in an appropriately sized plug or dowel. This will make the stamp easy to hold and ink without inking yourself!
5 minutes
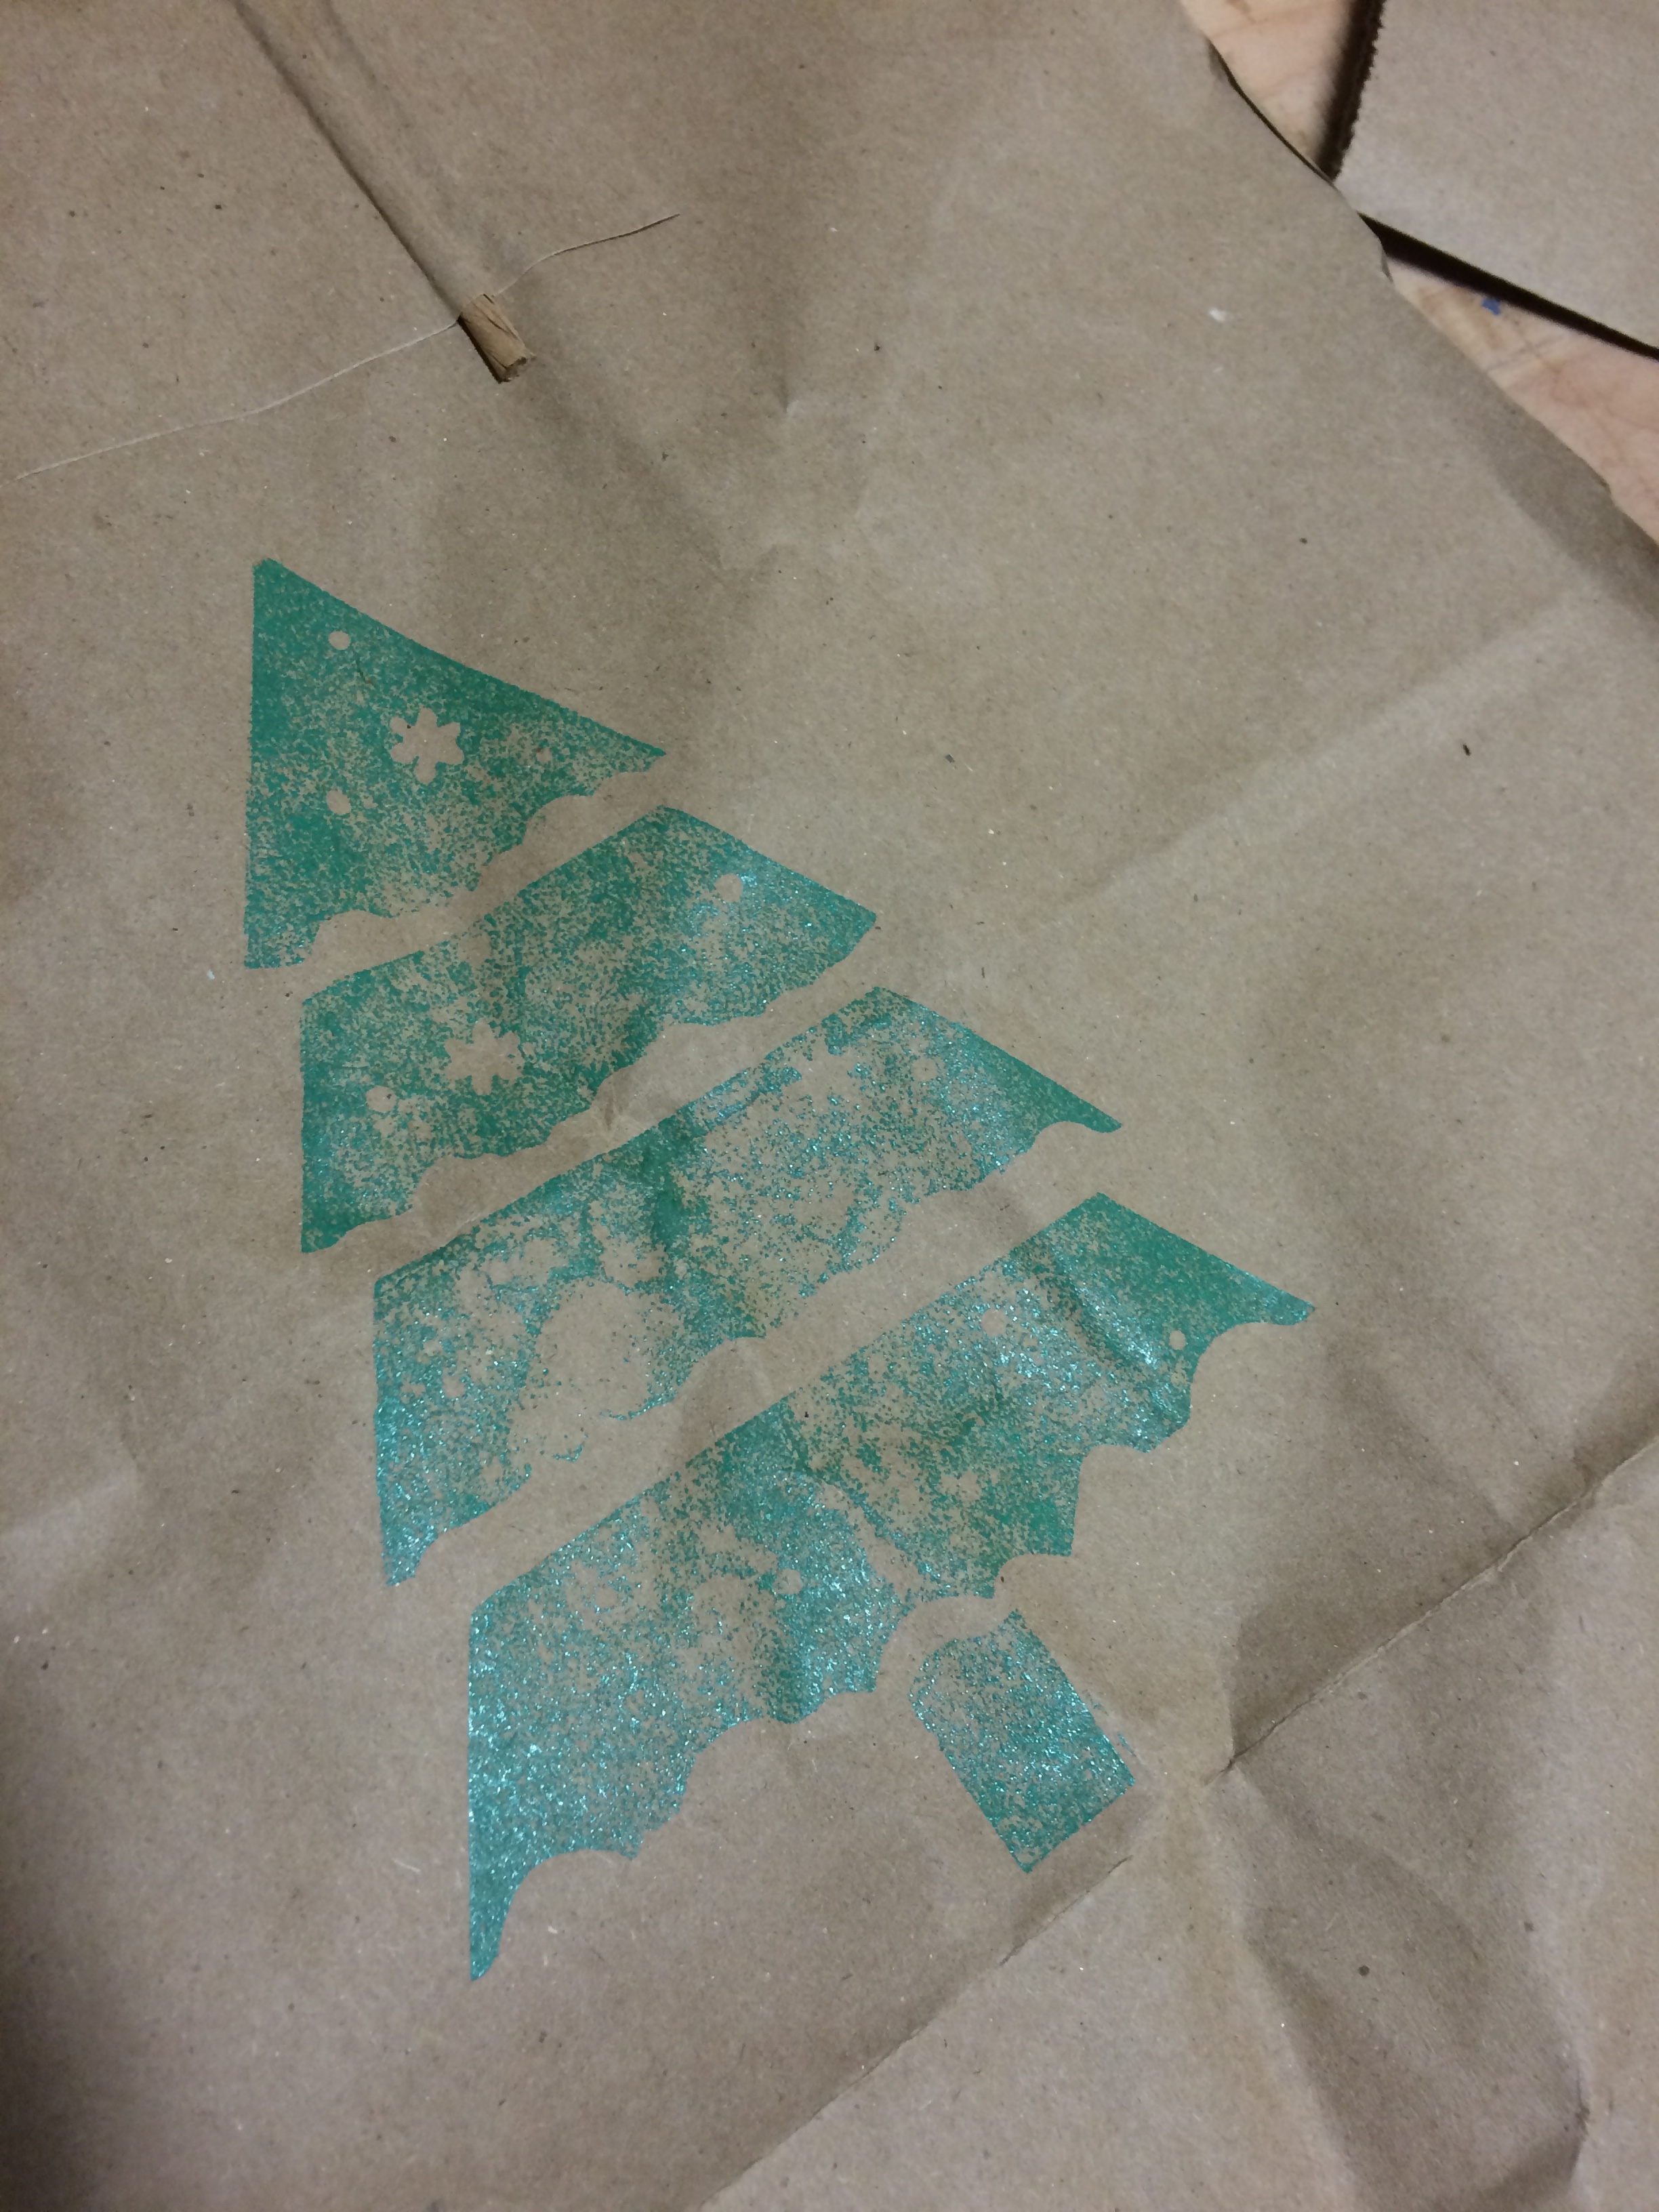
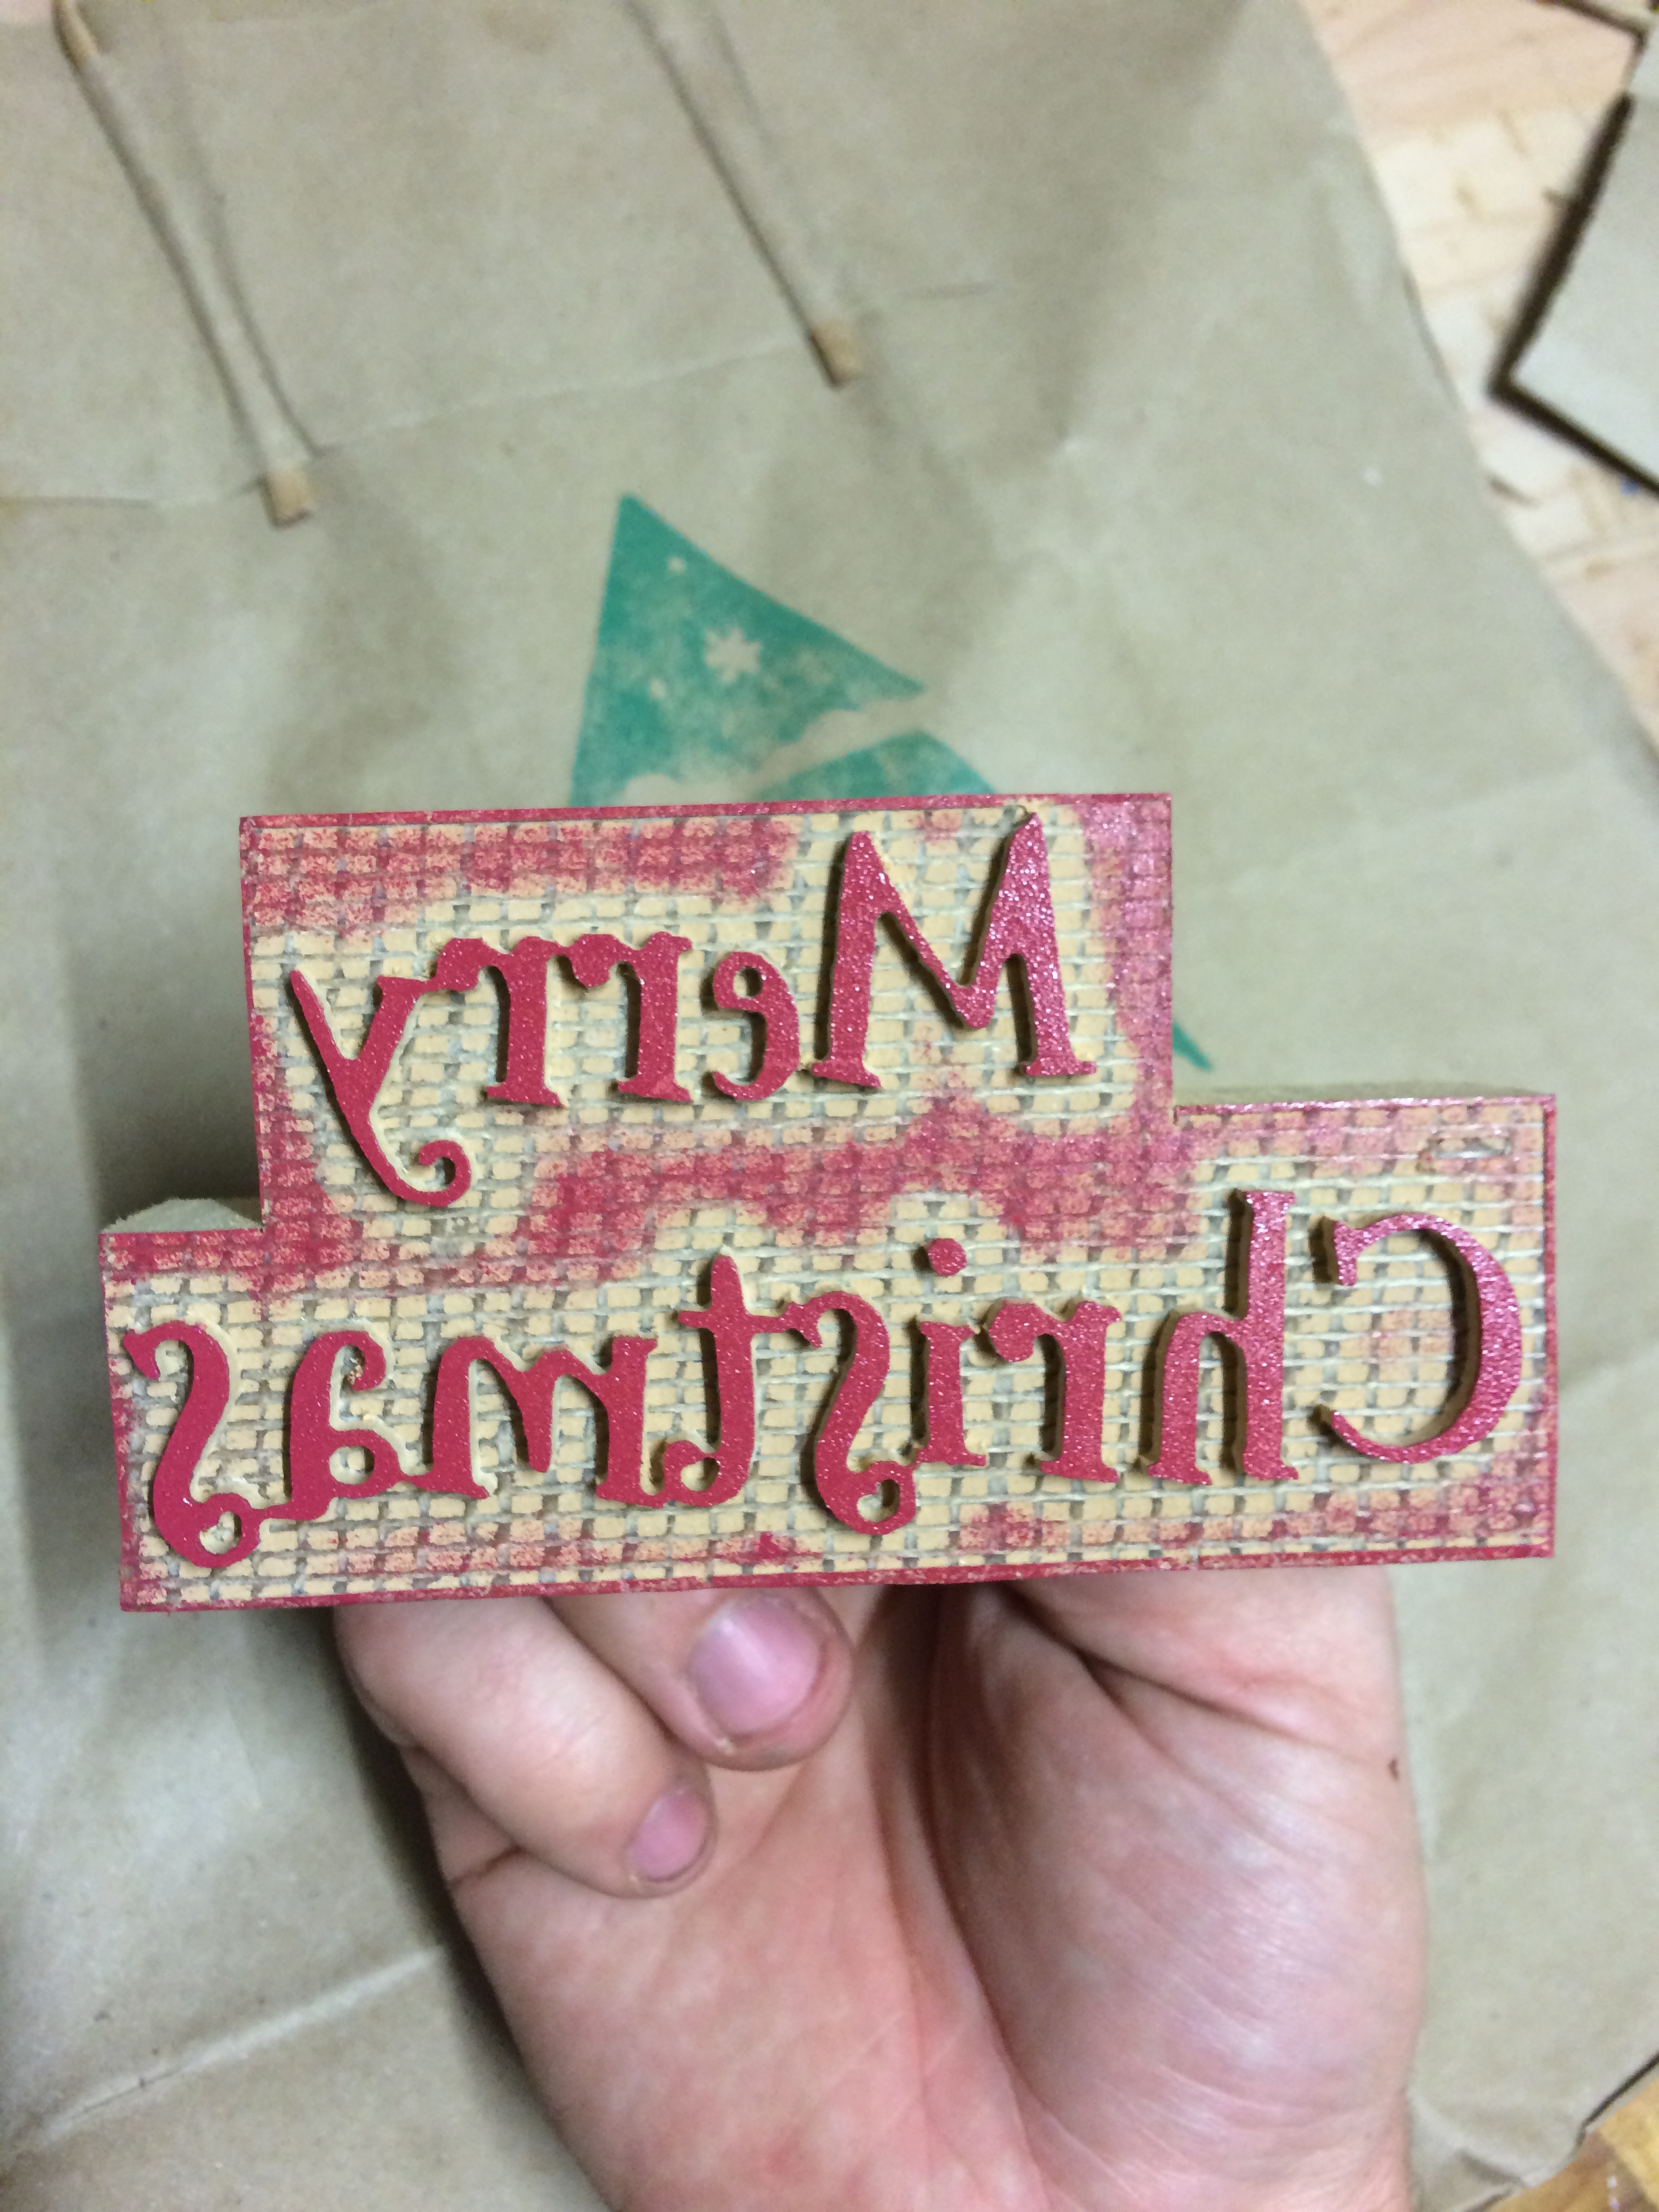
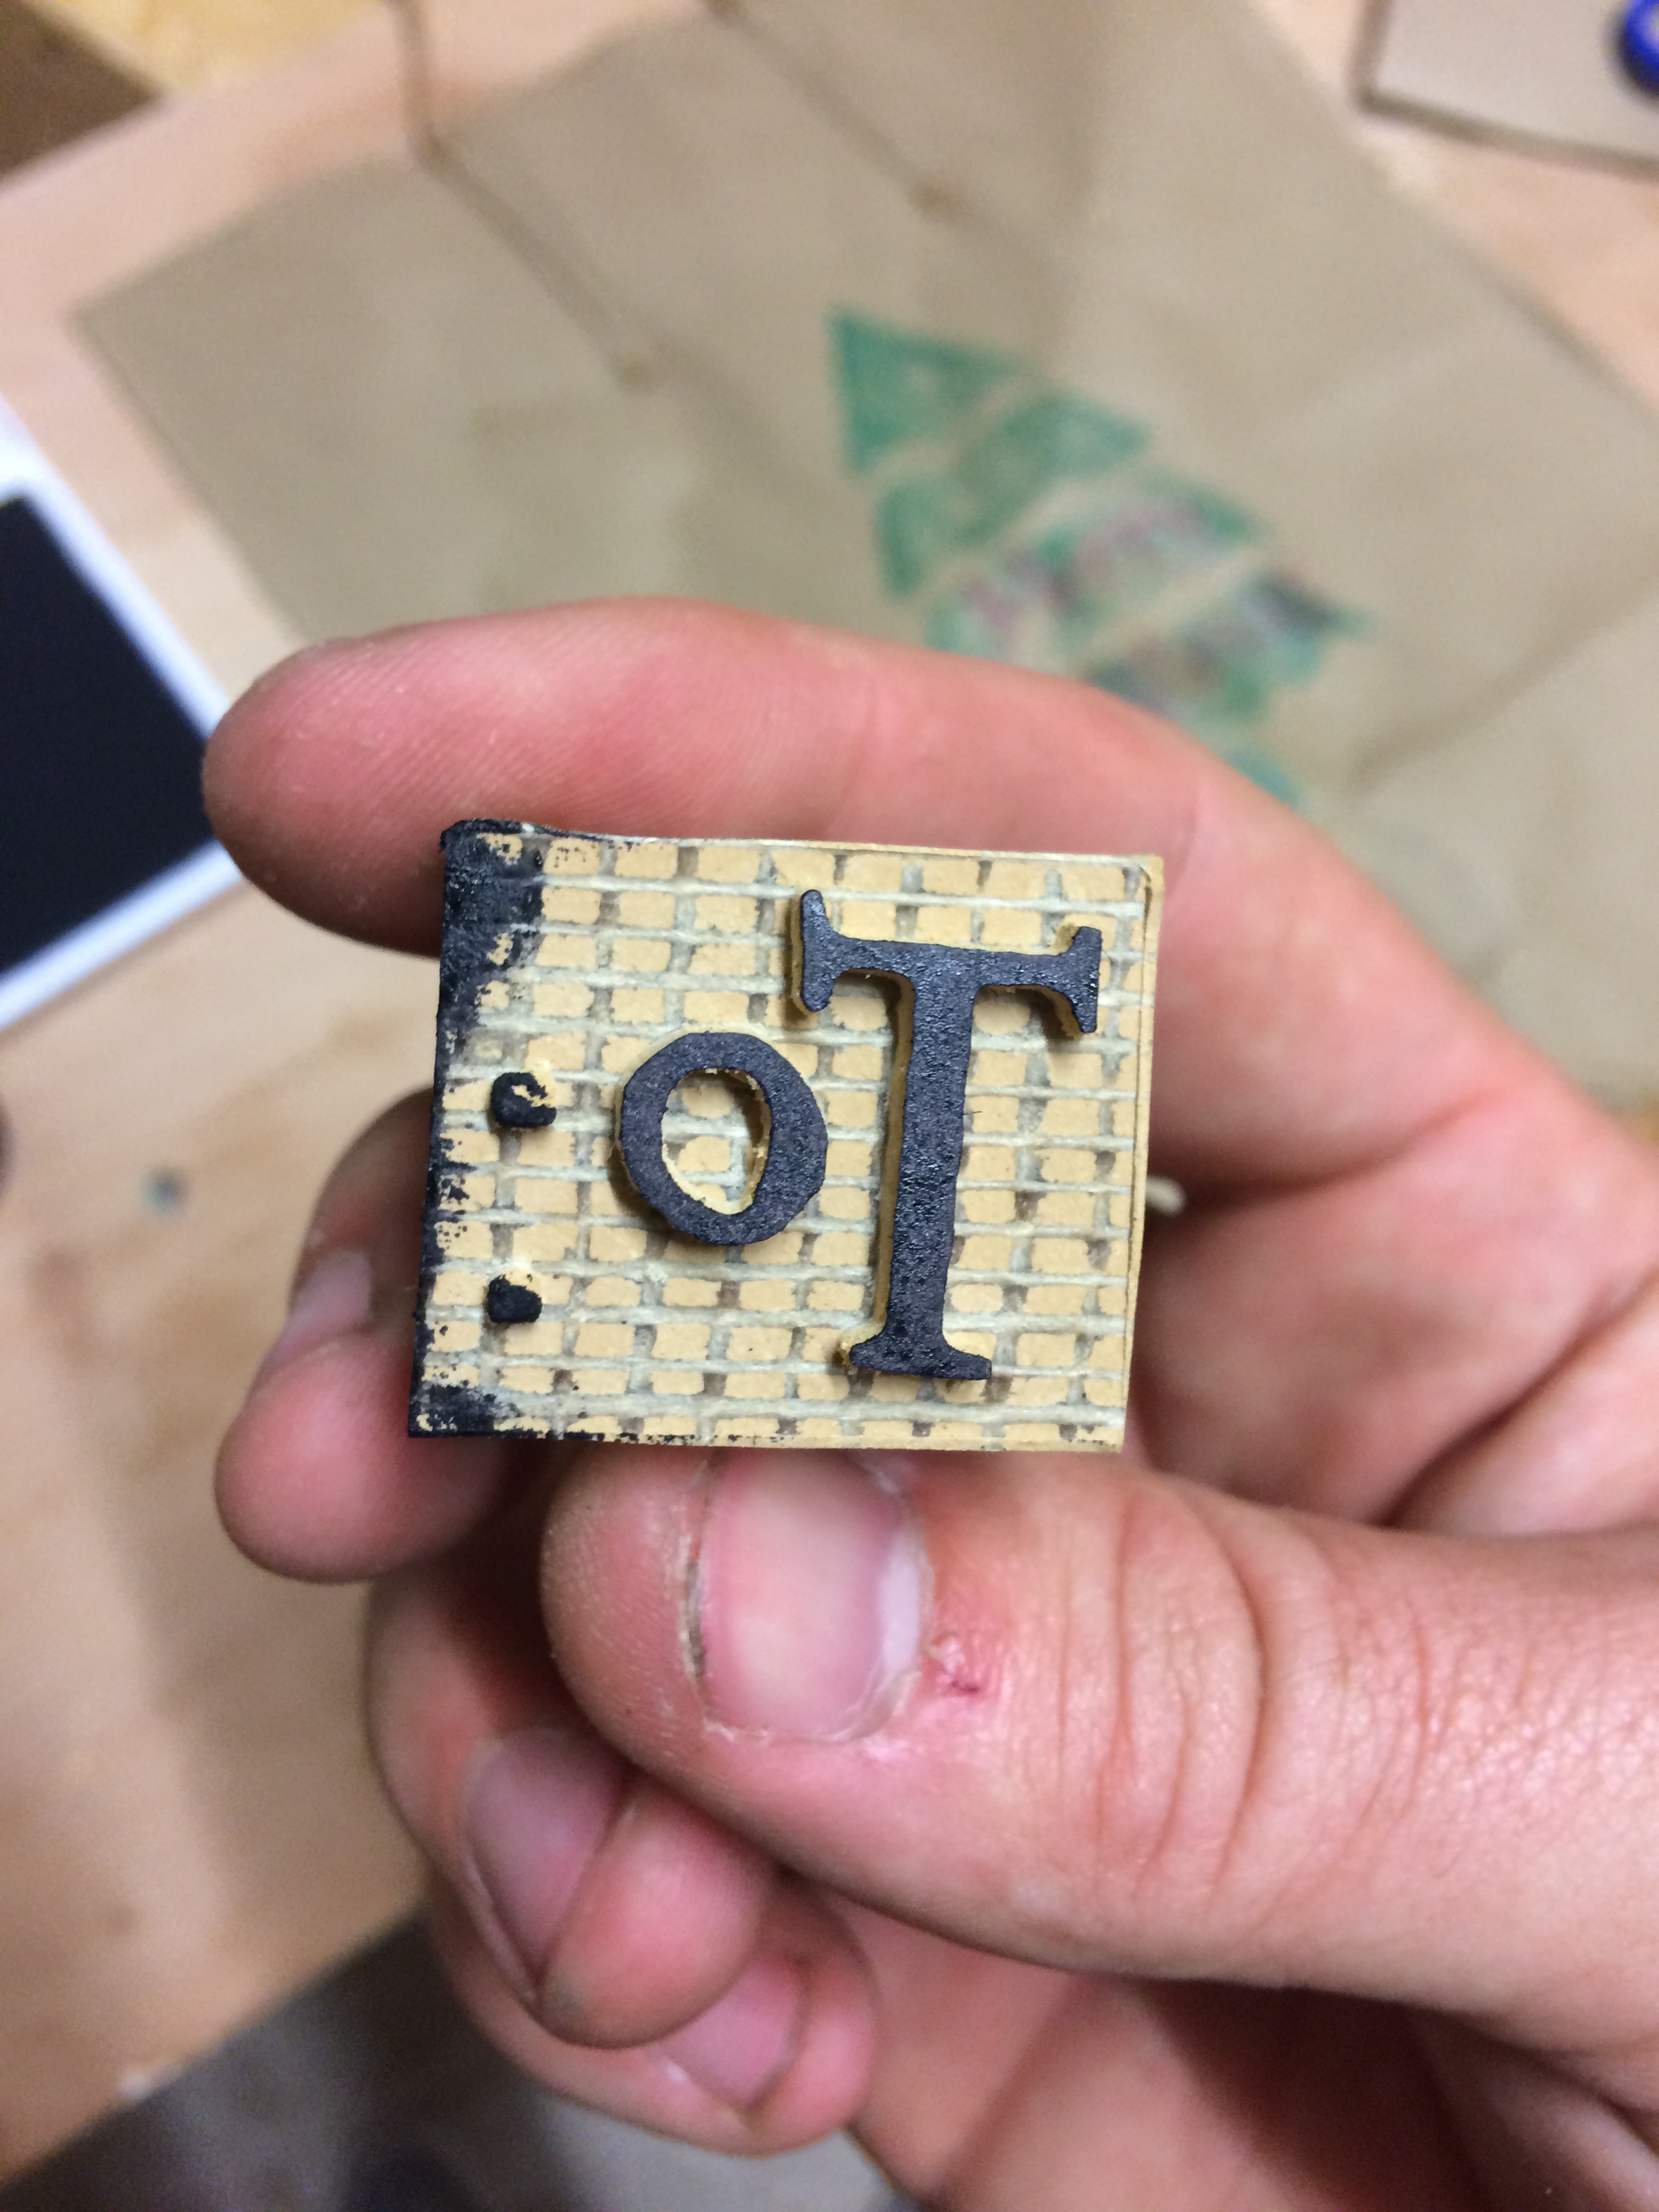
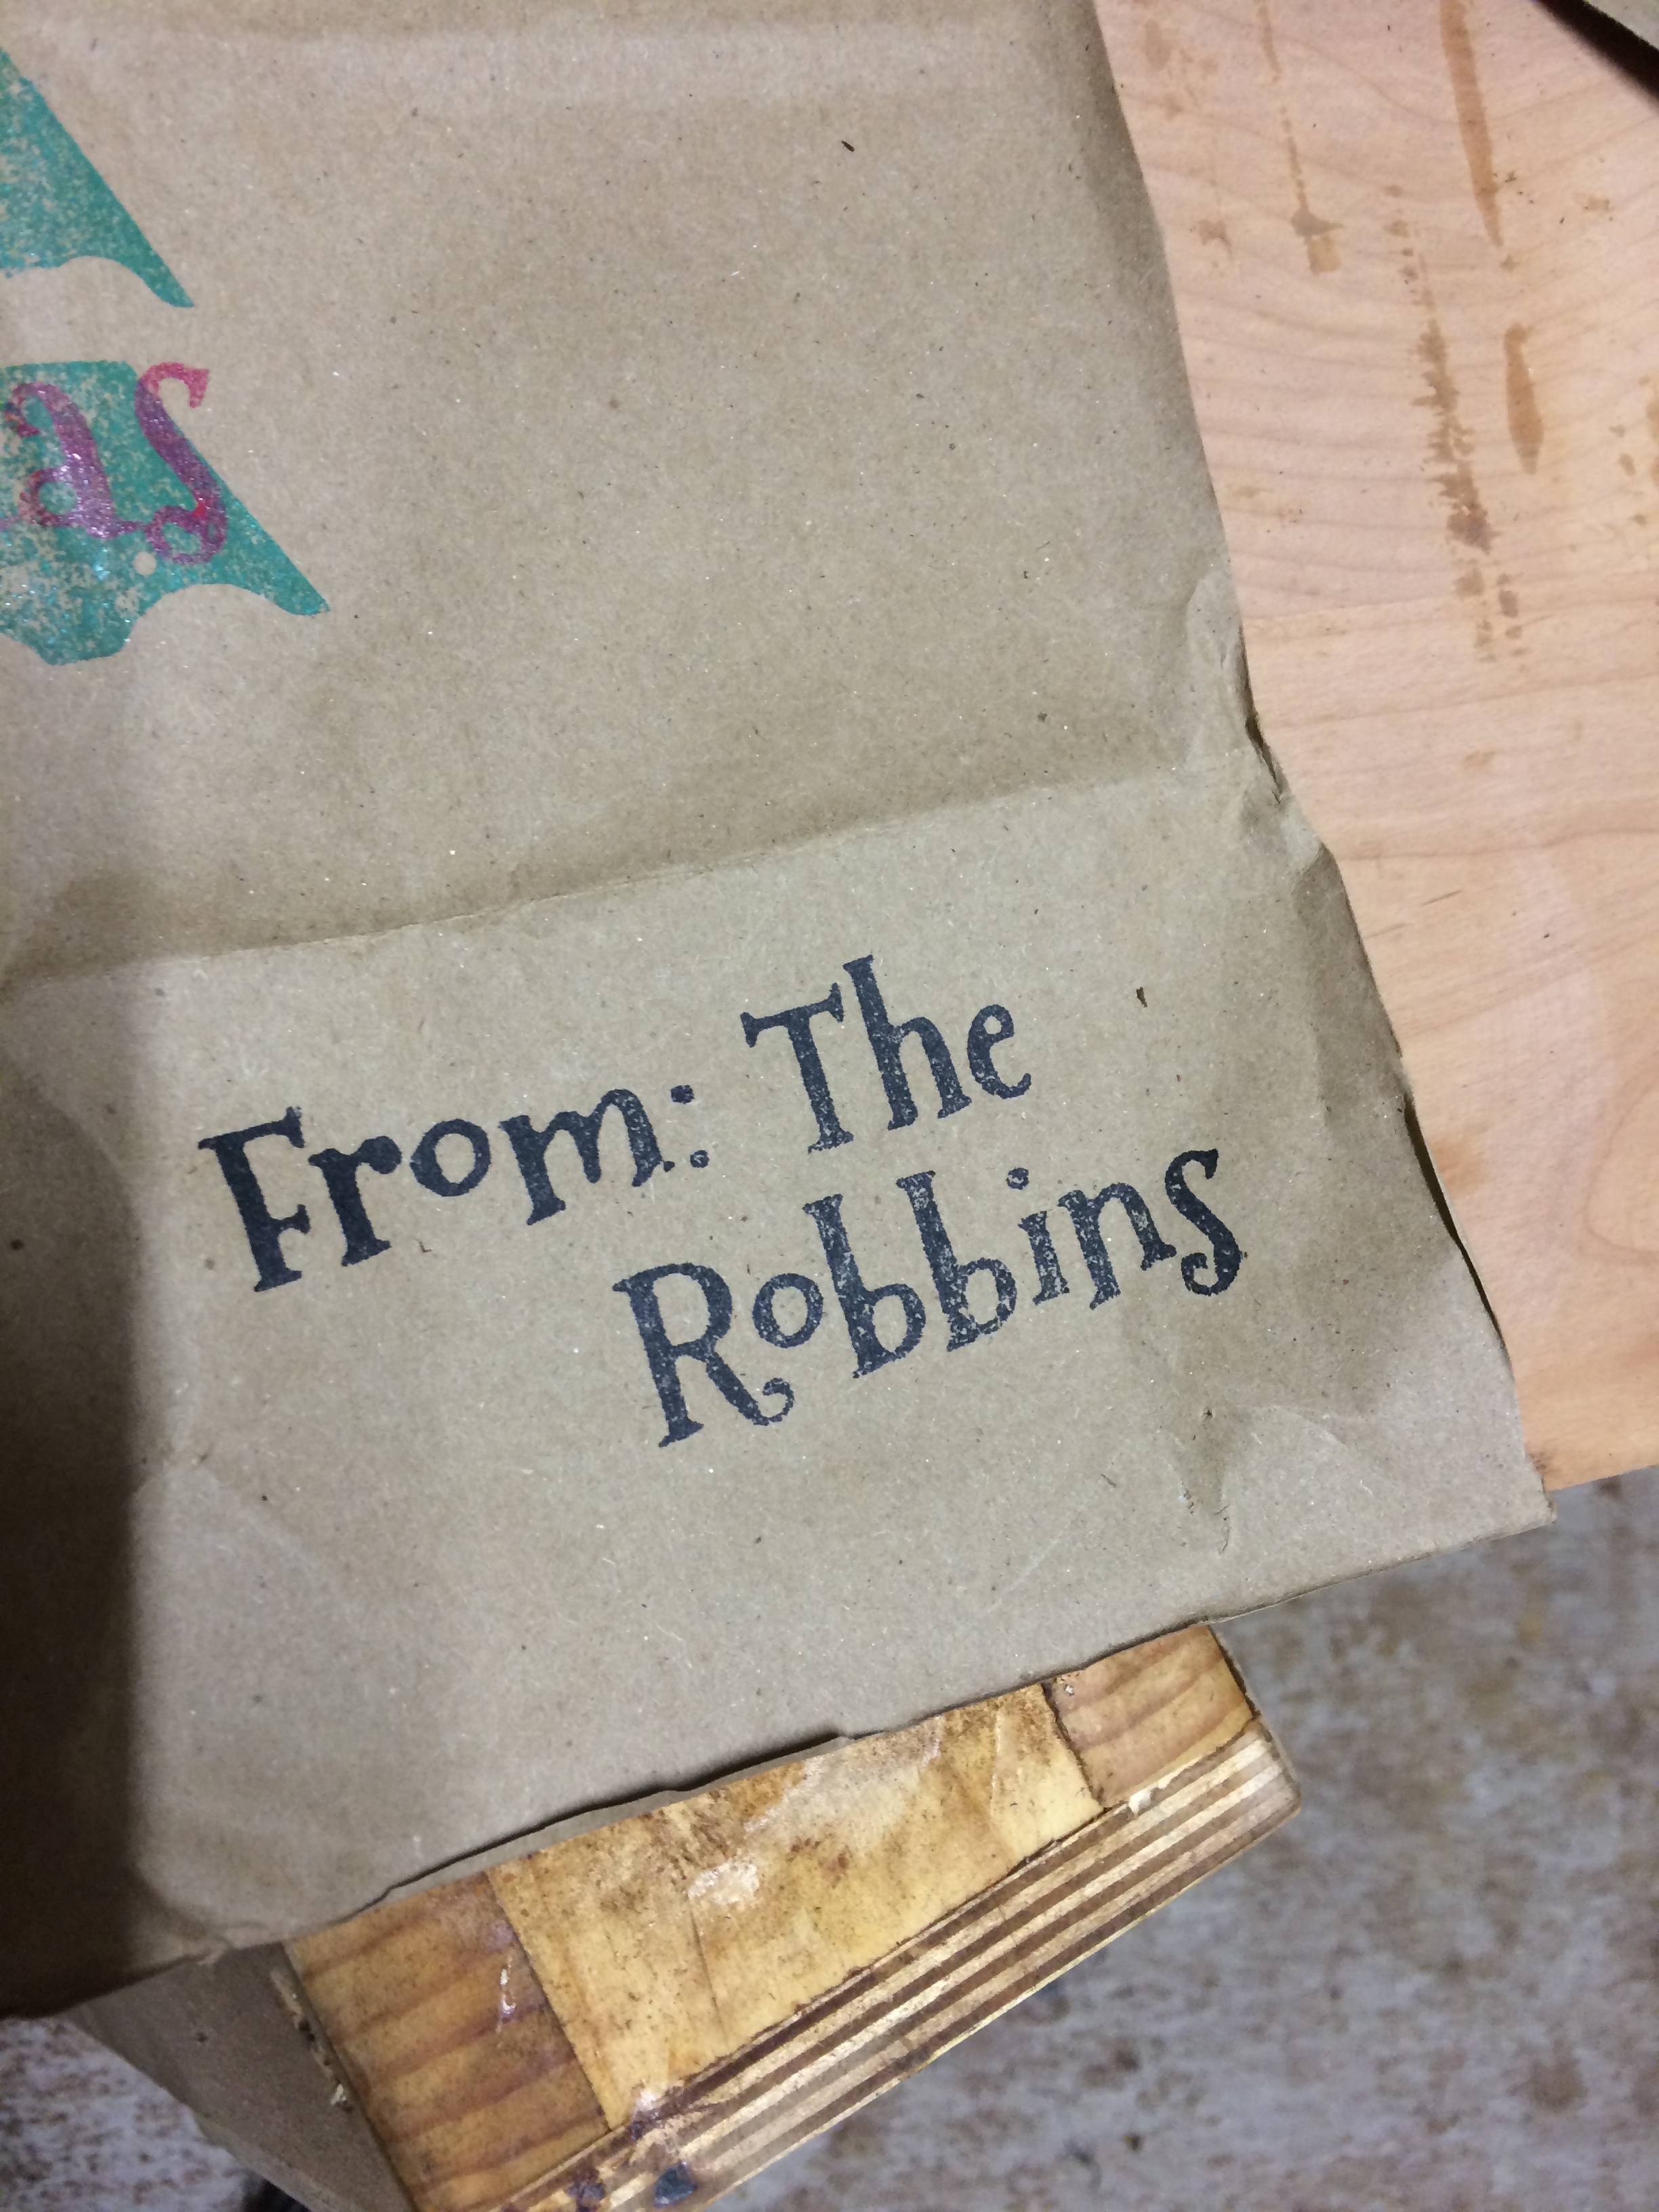
Using your beautiful new stamps and some store bought ink, start stamping those Christmas gifts!


Rob Stoner