
A traditional style woodworking mallet is a great addition to any shop! This project allows you to quickly carve and customize your own personal woodworking mallet.
| Material | Description | Price | ||
|---|---|---|---|---|

|
Cherry Wood (×2) |
6" × 12" × 1/2" Cherry Wood |
$17.72 |
|

|
Hard Maple (×2) |
6" × 12" × 1/2" Hard Maple |
$17.72 |
|
| Add to Cart |
$35.44 |
|||
1 minute
Materials:
-1/2" Hardwood (I used hard maple and cherry, both are available from inventables)
-Wood glue (Tightbond 2 is my preference)
-Finish (Finish is optional but will greatly enhance the look of your finished product, I used spray on polyurethane)
Tools:
X-carve
Bandsaw (Optional)
Random Orbit Sander
5 minutes
Open the project in easel and customize it to your liking with your initials or a simple design!
Set up your material and secure it tightly to the wasteboard.

60 minutes
I used an 1/8" 2 flute straight bit from bosch.

2 minutes
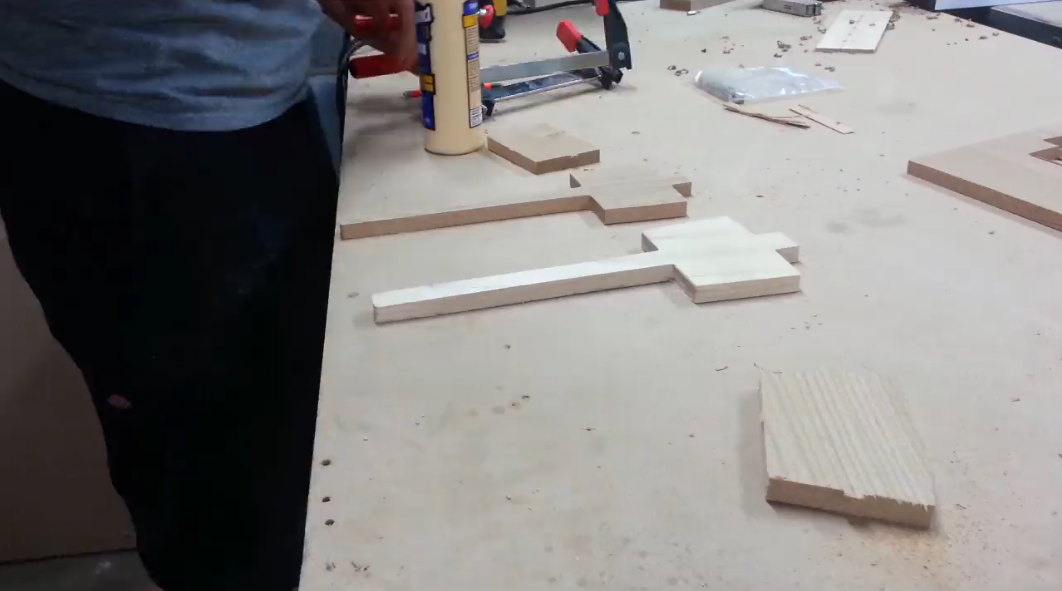
Layout your pieces, clamps and get your glue ready. It helps to have a silicone glue brush for spreading the glue around the pieces evenly but this can be achieved using your finger or a paint brush.
5 minutes
Add glue to the faces that will be joined together spreading it out to ensure total coverage of all surfaces.

3 minutes
Quickly add clamps to your glued mallet, the more clamps the better! Check the surfaces when tightening clamps to ensure things are staying even and flush.

5 minutes
If you have a bandsaw and your pieces shifted slightly the bandsaw can be an excellent option for cleaning up and making faces perfectly even.

15 minutes
Shaping the handle, smoothing edges and faces as well as adding a customized feel can all be accomplished using a random orbit sander a clamp and a low grit sanding paper.

Finish is an optional step but will greatly enhance the look of your finished product as well as add life to the tool. I used 3 coats of a simple and quick spray on polyurethane sanding between coats with 320 grit sandpaper.


Johnathan Branson