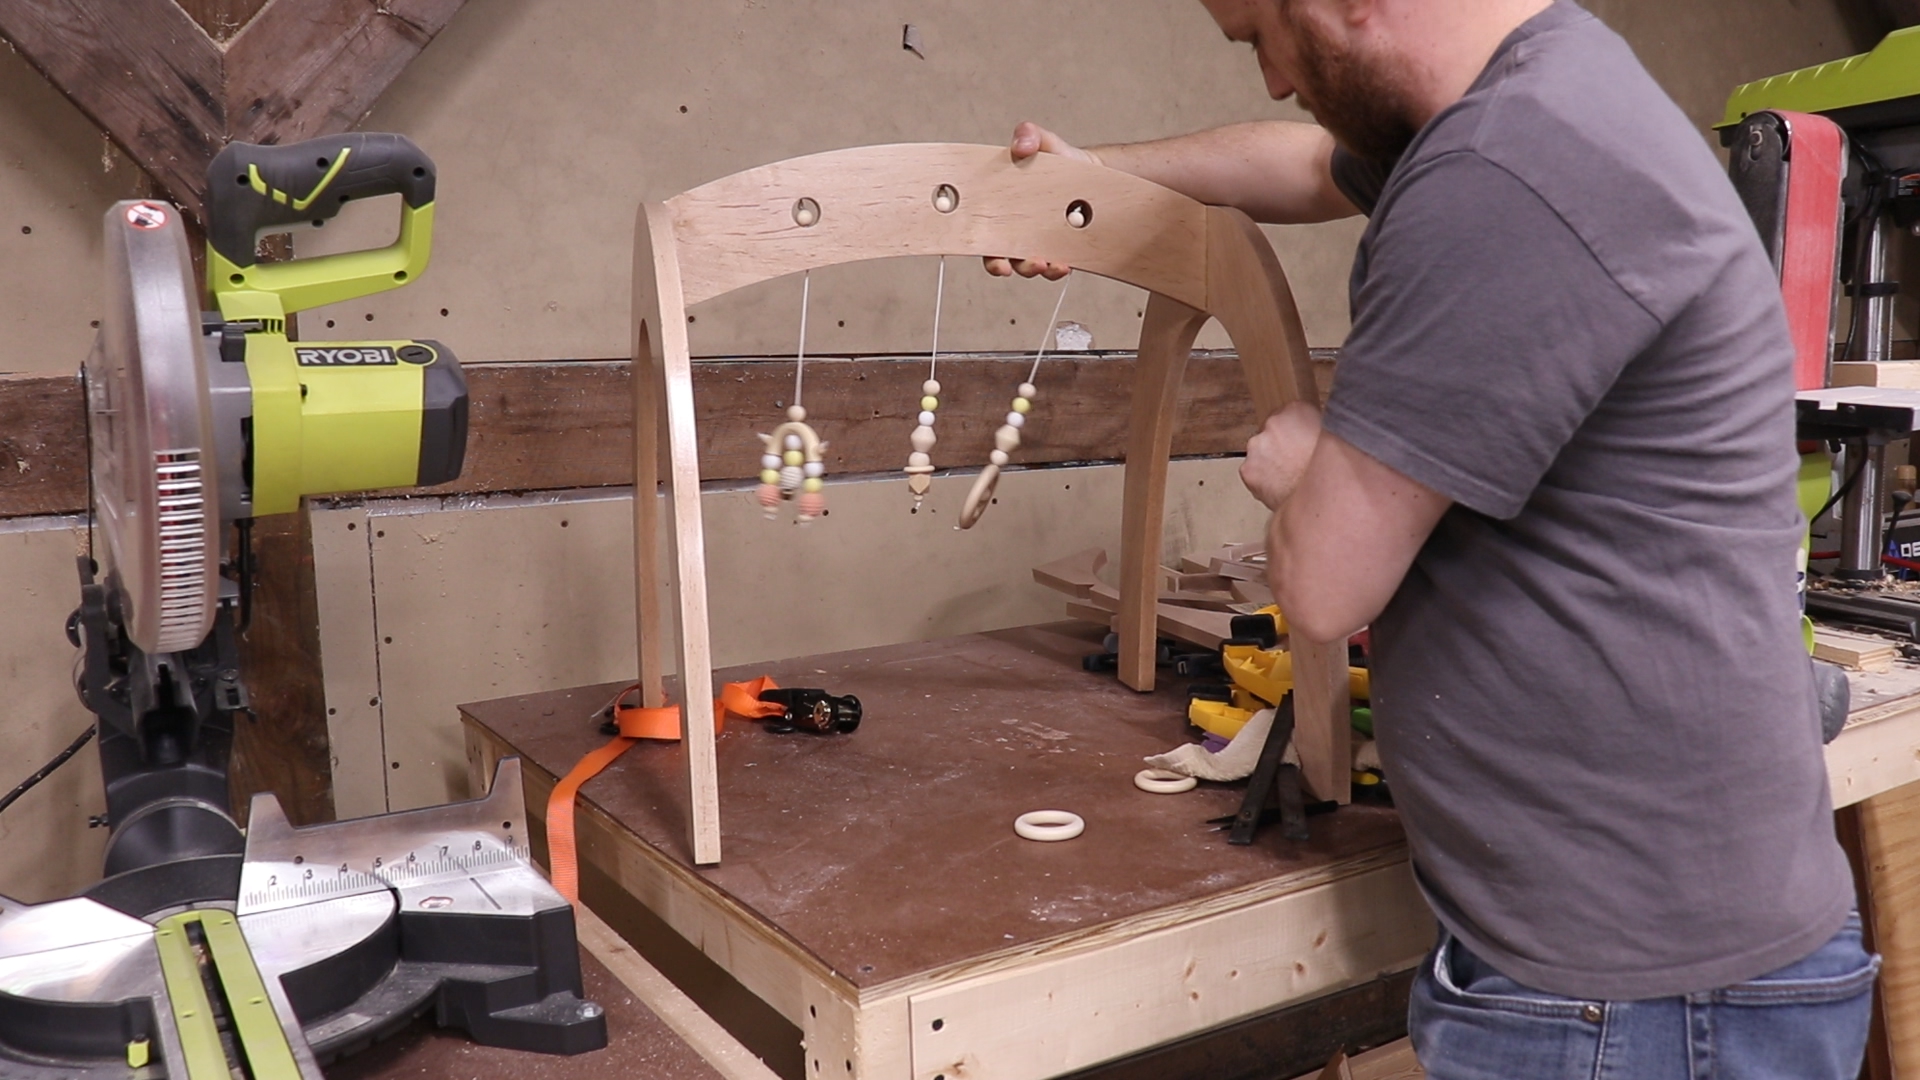
My daughter is growing up pretty quick and she’s starting to grasp for things and interacting with the world around her. So I figured it’d be a good time to build her a baby gym. I’m sure you’ve seen these, they are an A-frame or an arch with toys hanging from them for the baby to grasp onto.
180 minutes
My daughter is growing up pretty quick and she’s getting to the point where she is starting to grasp for things and interacting with the world around her. So I figured it’d be a good time to build her a baby gym. I’m sure you’ve seen these, they are an A-frame or an arch with toys hanging from them for the baby to grasp onto. I’m going to build two baby gyms. The first one I’m going to use cheap plywood and cut it out using regular power tools. The second one I’m going to use a nicer hardwood and cut out the pieces using the Inventables X carve.
I created the design in Fusion 360 and printed out the templates on paper. I’ll use some spray adhesives to glue them to the plywood. When I cut these pieces out on the bandsaw I left the edge just proud of my line so that I could come back with my belt sander and sand it up to the line. To duplicate the front and back leg of the baby gym I roughly cut out a second copy and finished it using the flush trim bit on my router.
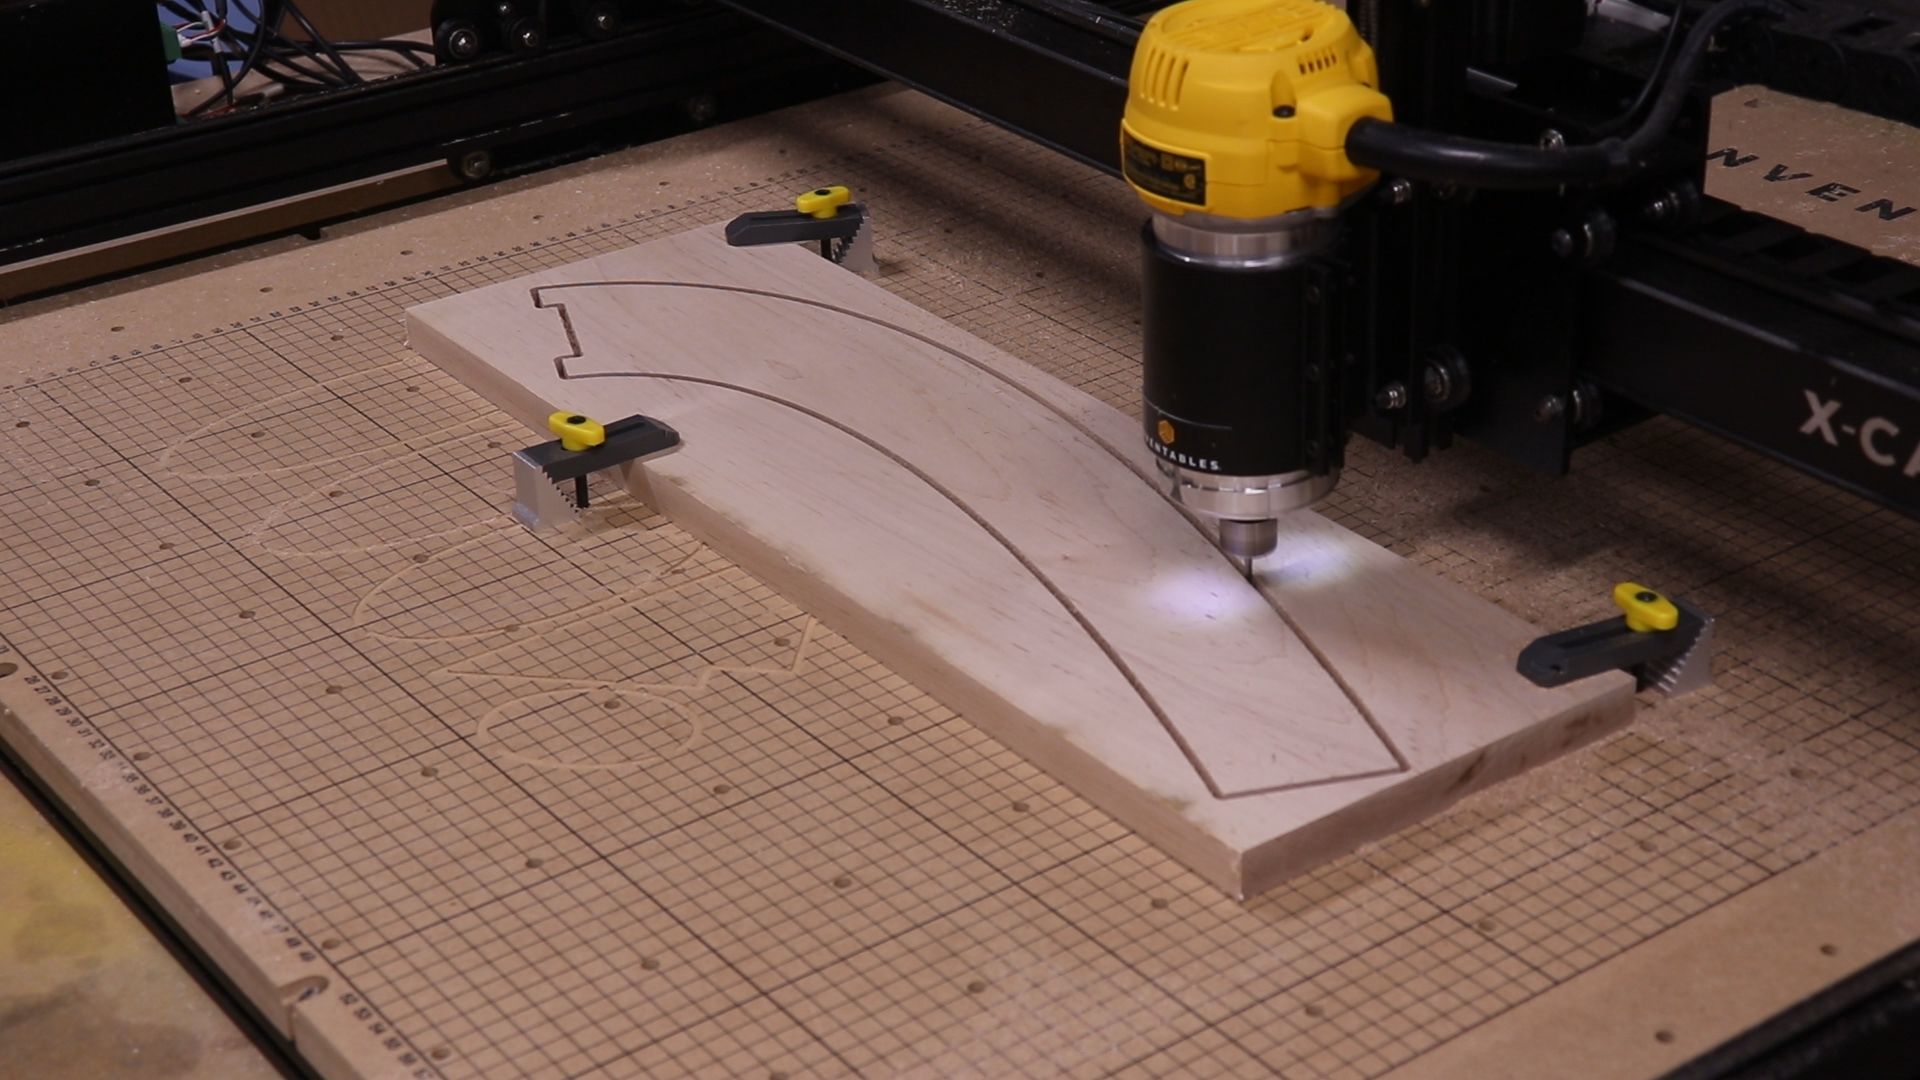
As I said at the beginning, I’m going to be building two baby gyms. For the second one I’m going to use some soft maple. Before throwing it on the X carve I need to cut it to size on the miter saw. After the pieces done being cut out on the X carve, I sanded them down.
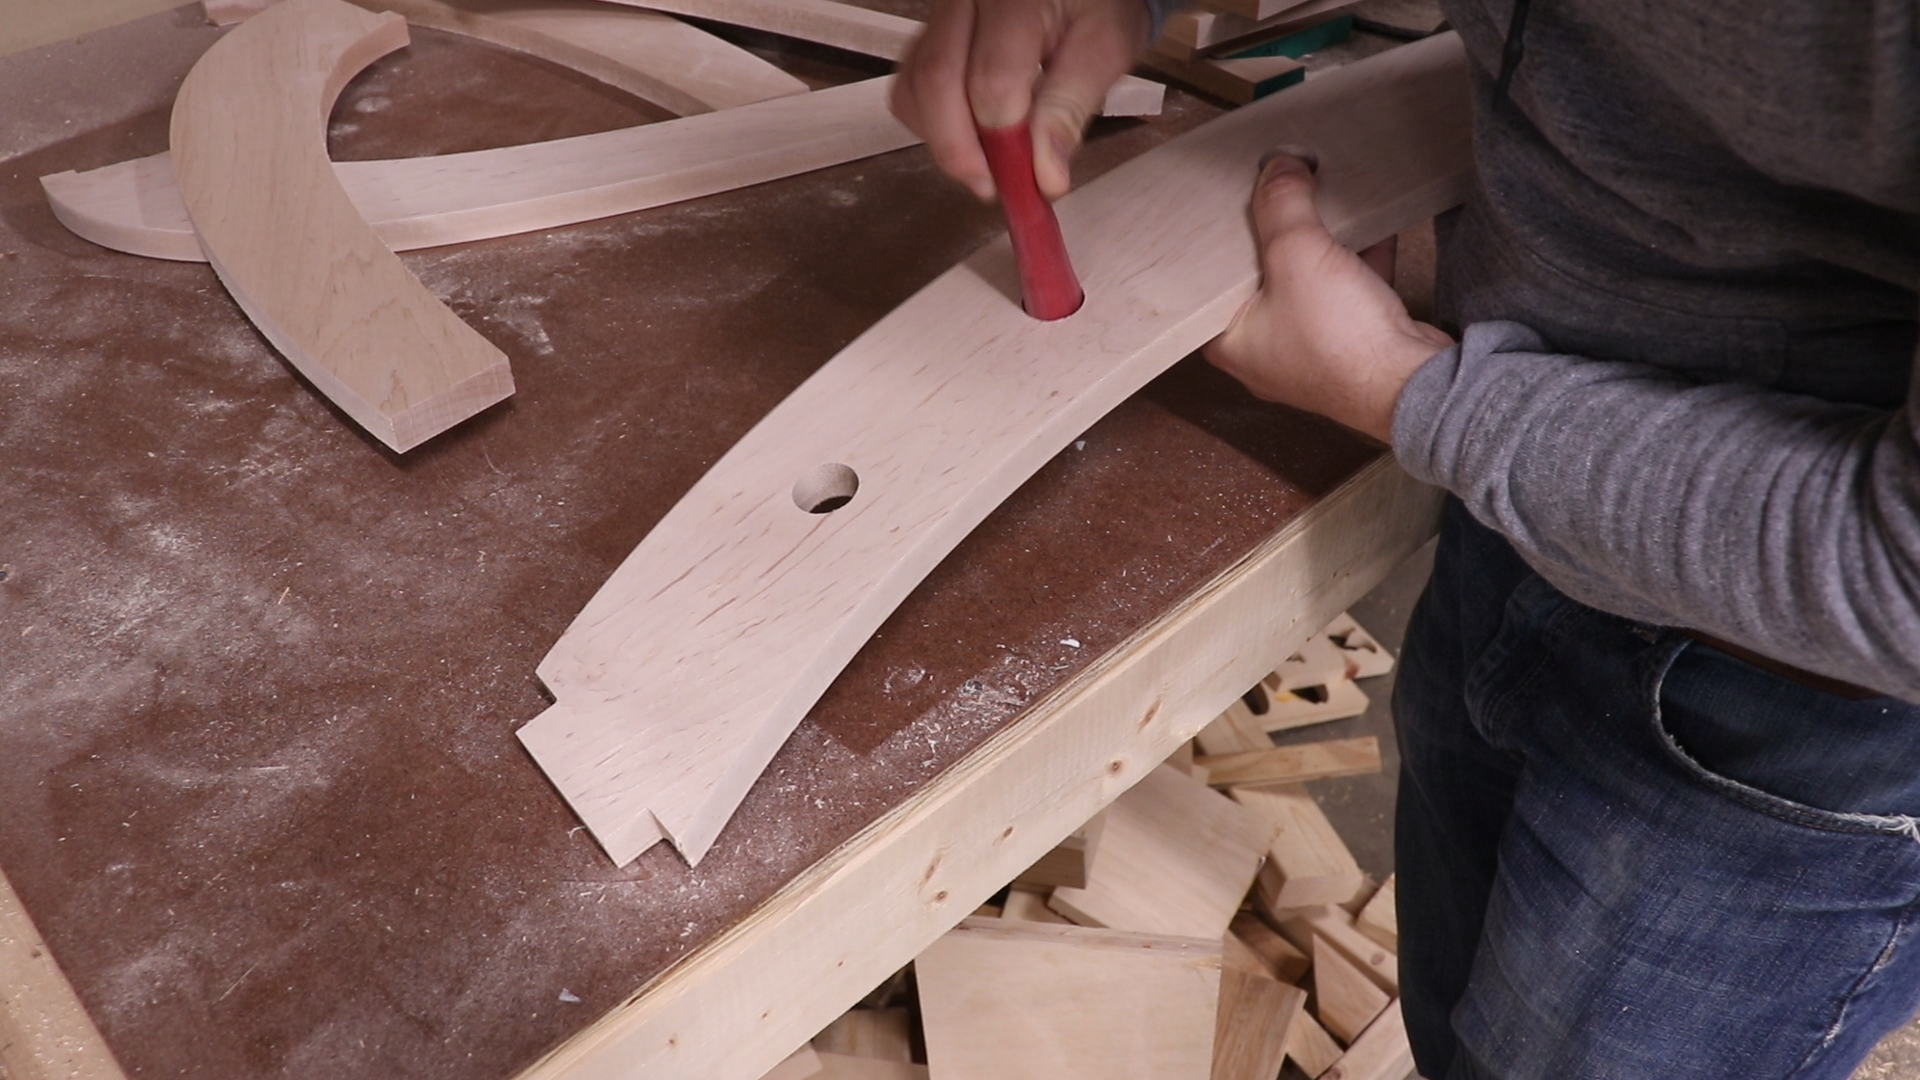
Because these pieces were round in shape, I had to come up with a clever strategy to clamp them while gluing them together. I took the stock material and cut it in half, which gave me a form that I could clamp together. This did require a small notch to be cut out for the clamp to grab onto. After gluing the pieces together I did some more sanding For the plywood version of the baby gym I used some edgebanding to hide the ugly edges of the plywood.
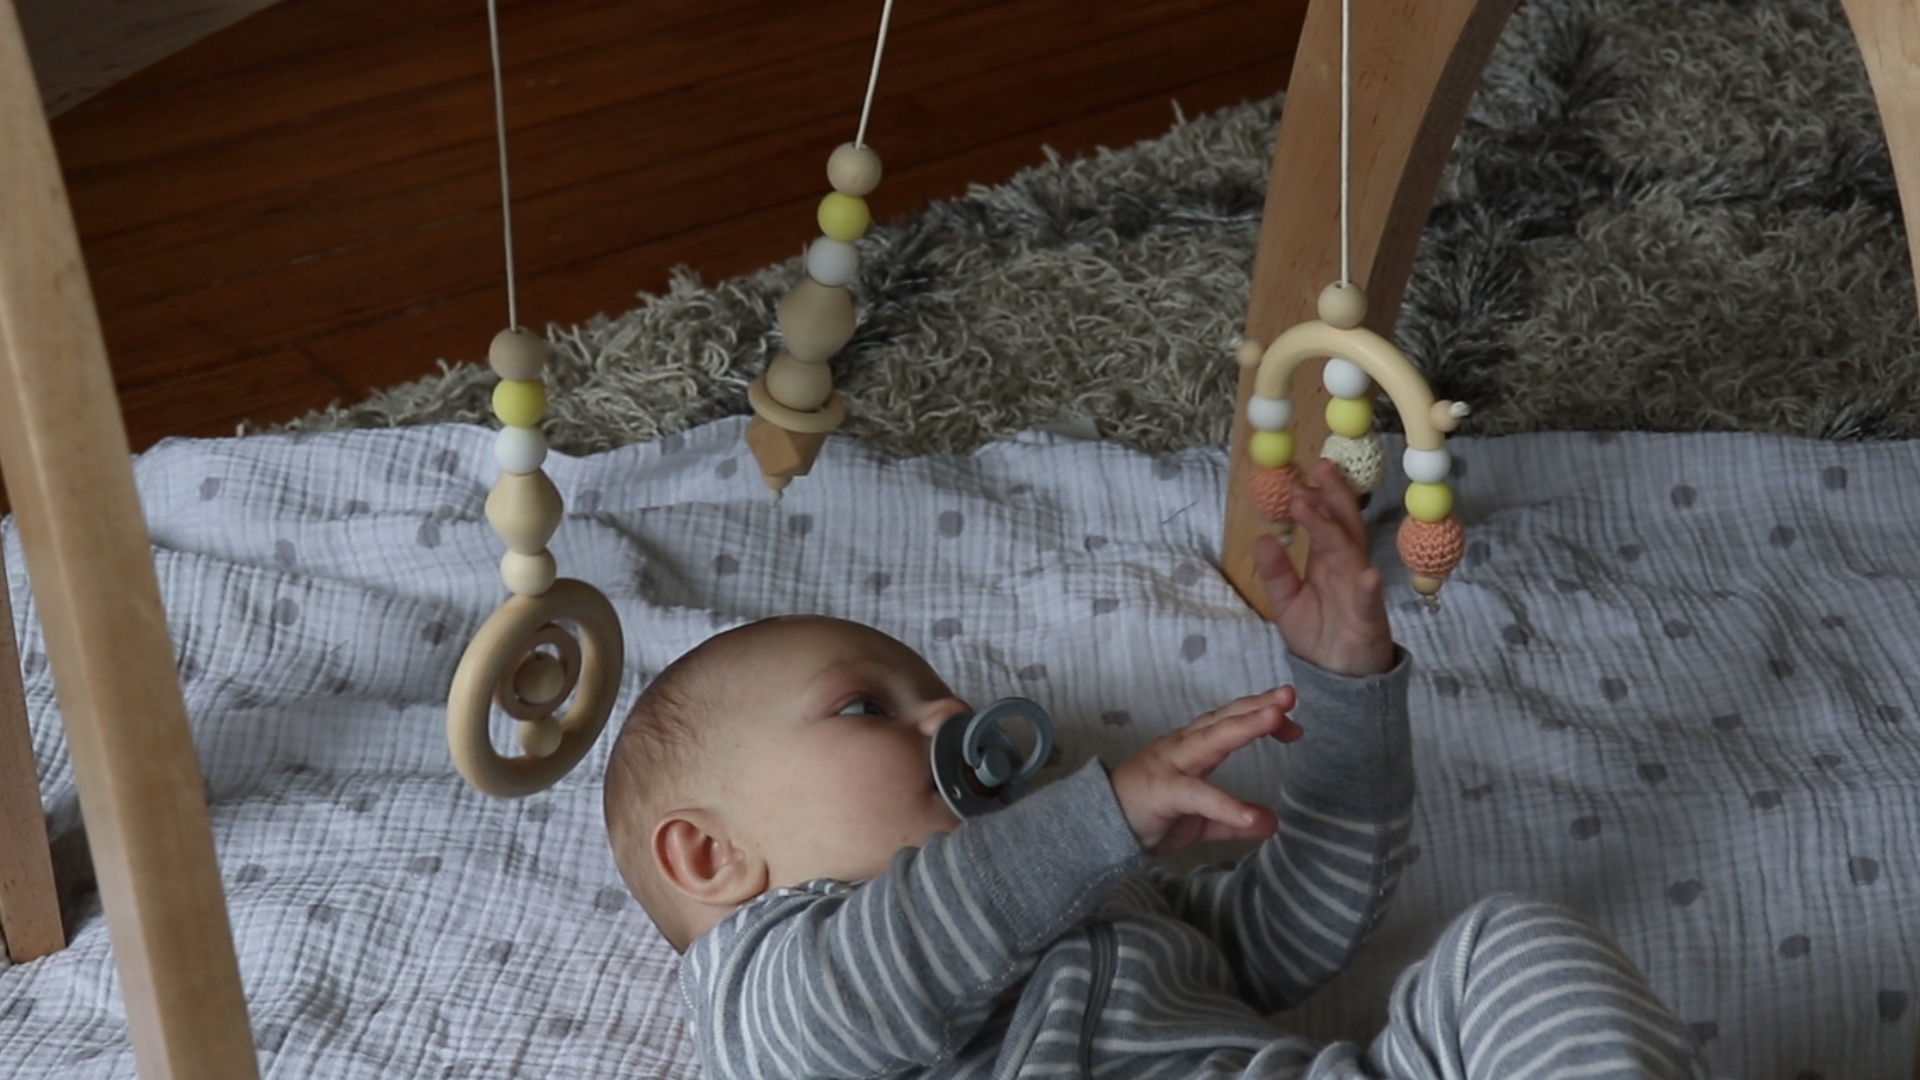
For the finish I wanted to go with something very simple so I used polyurethane. This was my first project using a hardwood and the finish really makes a difference. I’m really happy with how this turned out. The last step was to attach these hanging toys that we bought on Etsy. My wife would like to replace these in the future with some hand-knitted animals. This should be pretty straight forward because these are just attached using a simple knot. With that, the baby gym was complete.
I want to know if you’d be interested in something I’m calling “byte sized kits”. For some of the project videos I release I would like to sell kits here on my website with all the parts you need to make your own. If I get enough interest I will make a limited run of the parts you will need to build this baby gym yourself. Let me know in the comments if that’s something you’d be interested in.


Kristina Ash
Zach Hipps
stephen monroe
Zach Hipps
Jasmine Hinson
Zach Hipps
Geddy Whalen
Zach Hipps
Ed Carmona Jr
Zach Hipps
Zach Hipps
Ed Carmona Jr