
My son wanted a toy sword so i came up with this. Nothing fancy but it was to big to make on my X carve so i put in a scarf joint.
Please watch the video for how i set up the scarf joint. Its easier to show you that way than to try and explain it hear. Also when i first tried to cut this file. Easel did not like the idea of using the same line as a milling line and a parting line. So i made all of my parting lines 1/8" bigger then turned them in to inside cuts. This allowed me to cut everything at one time instead of having to do 2 cuts. The SVG included is with the parting lines adjusted.
1-12″ × 24″ × 1/2" sheet of plywood or MDF
sandpaper
woodglue
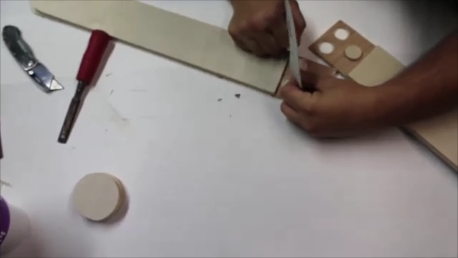
Part out all of your pieces form the wast. Use a hobby knife to trim off the tabs and give everything a good sanding.


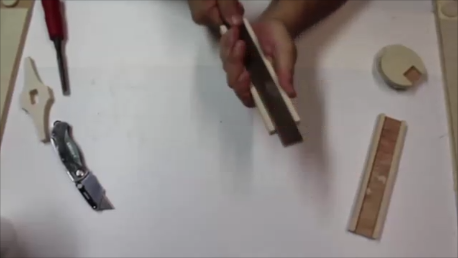
This is going to be a tight fitting joint. Use a file and sandpaper to clean the inside of all the joints. Be careful not to remove to much material or it will cause the joint to not fit together properly.

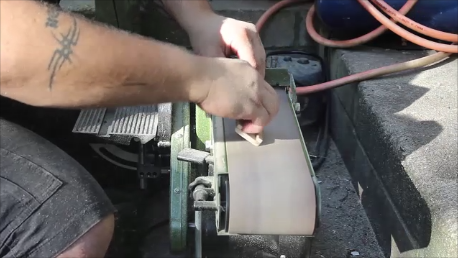
use sandpaper or file to smooth the outside of the handle. Make it fit nicely in your hand. i used my bench top belt sander. got to love power tools :)
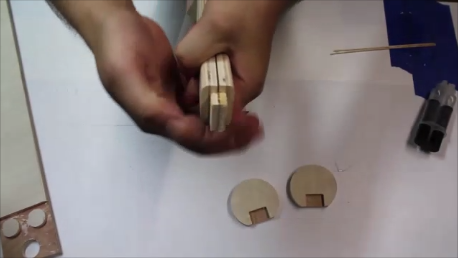
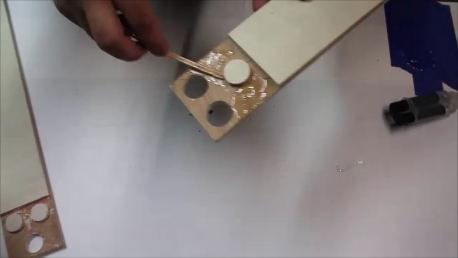
time to start gluing everything together. Start by gluing the guard in place then attache the handle. lastly glues the pommel to the bottom if needed use clamps to hold everything together till it is all dry.


after the handle has dried its time to glue the scarf joint together. This is not somewhere you want to conserve glue. Make sure every surface that is going to touch one another is covered. use a hammer and scrap of wood to make sure the joint is completely seated. Use clamps to hold together if necessary till glue sets.

After all the glue has cured give the sword a good final sanding. Make sure that you smooth out any unevenness at the scarf joint. Finish the sword as you see fit.

