
Paul J. Bennett
Milbridge, US
Build this little badass balance bike for your local “crumb snatcher” today!
| Material | Description | Price | ||
|---|---|---|---|---|

|
Birch Plywood |
Thickness: 1/2 in, Dimensions: 12 in × 24 in |
||
60 minutes
Using the downloaded Easel Files for this project, cut out all the parts. Pay attention to material thickness for each part.

40 minutes
Sand the edges of all the parts, and check to make sure the holes for the bolts/axles are large enough for the fasteners – adjust as necessary.
60 minutes
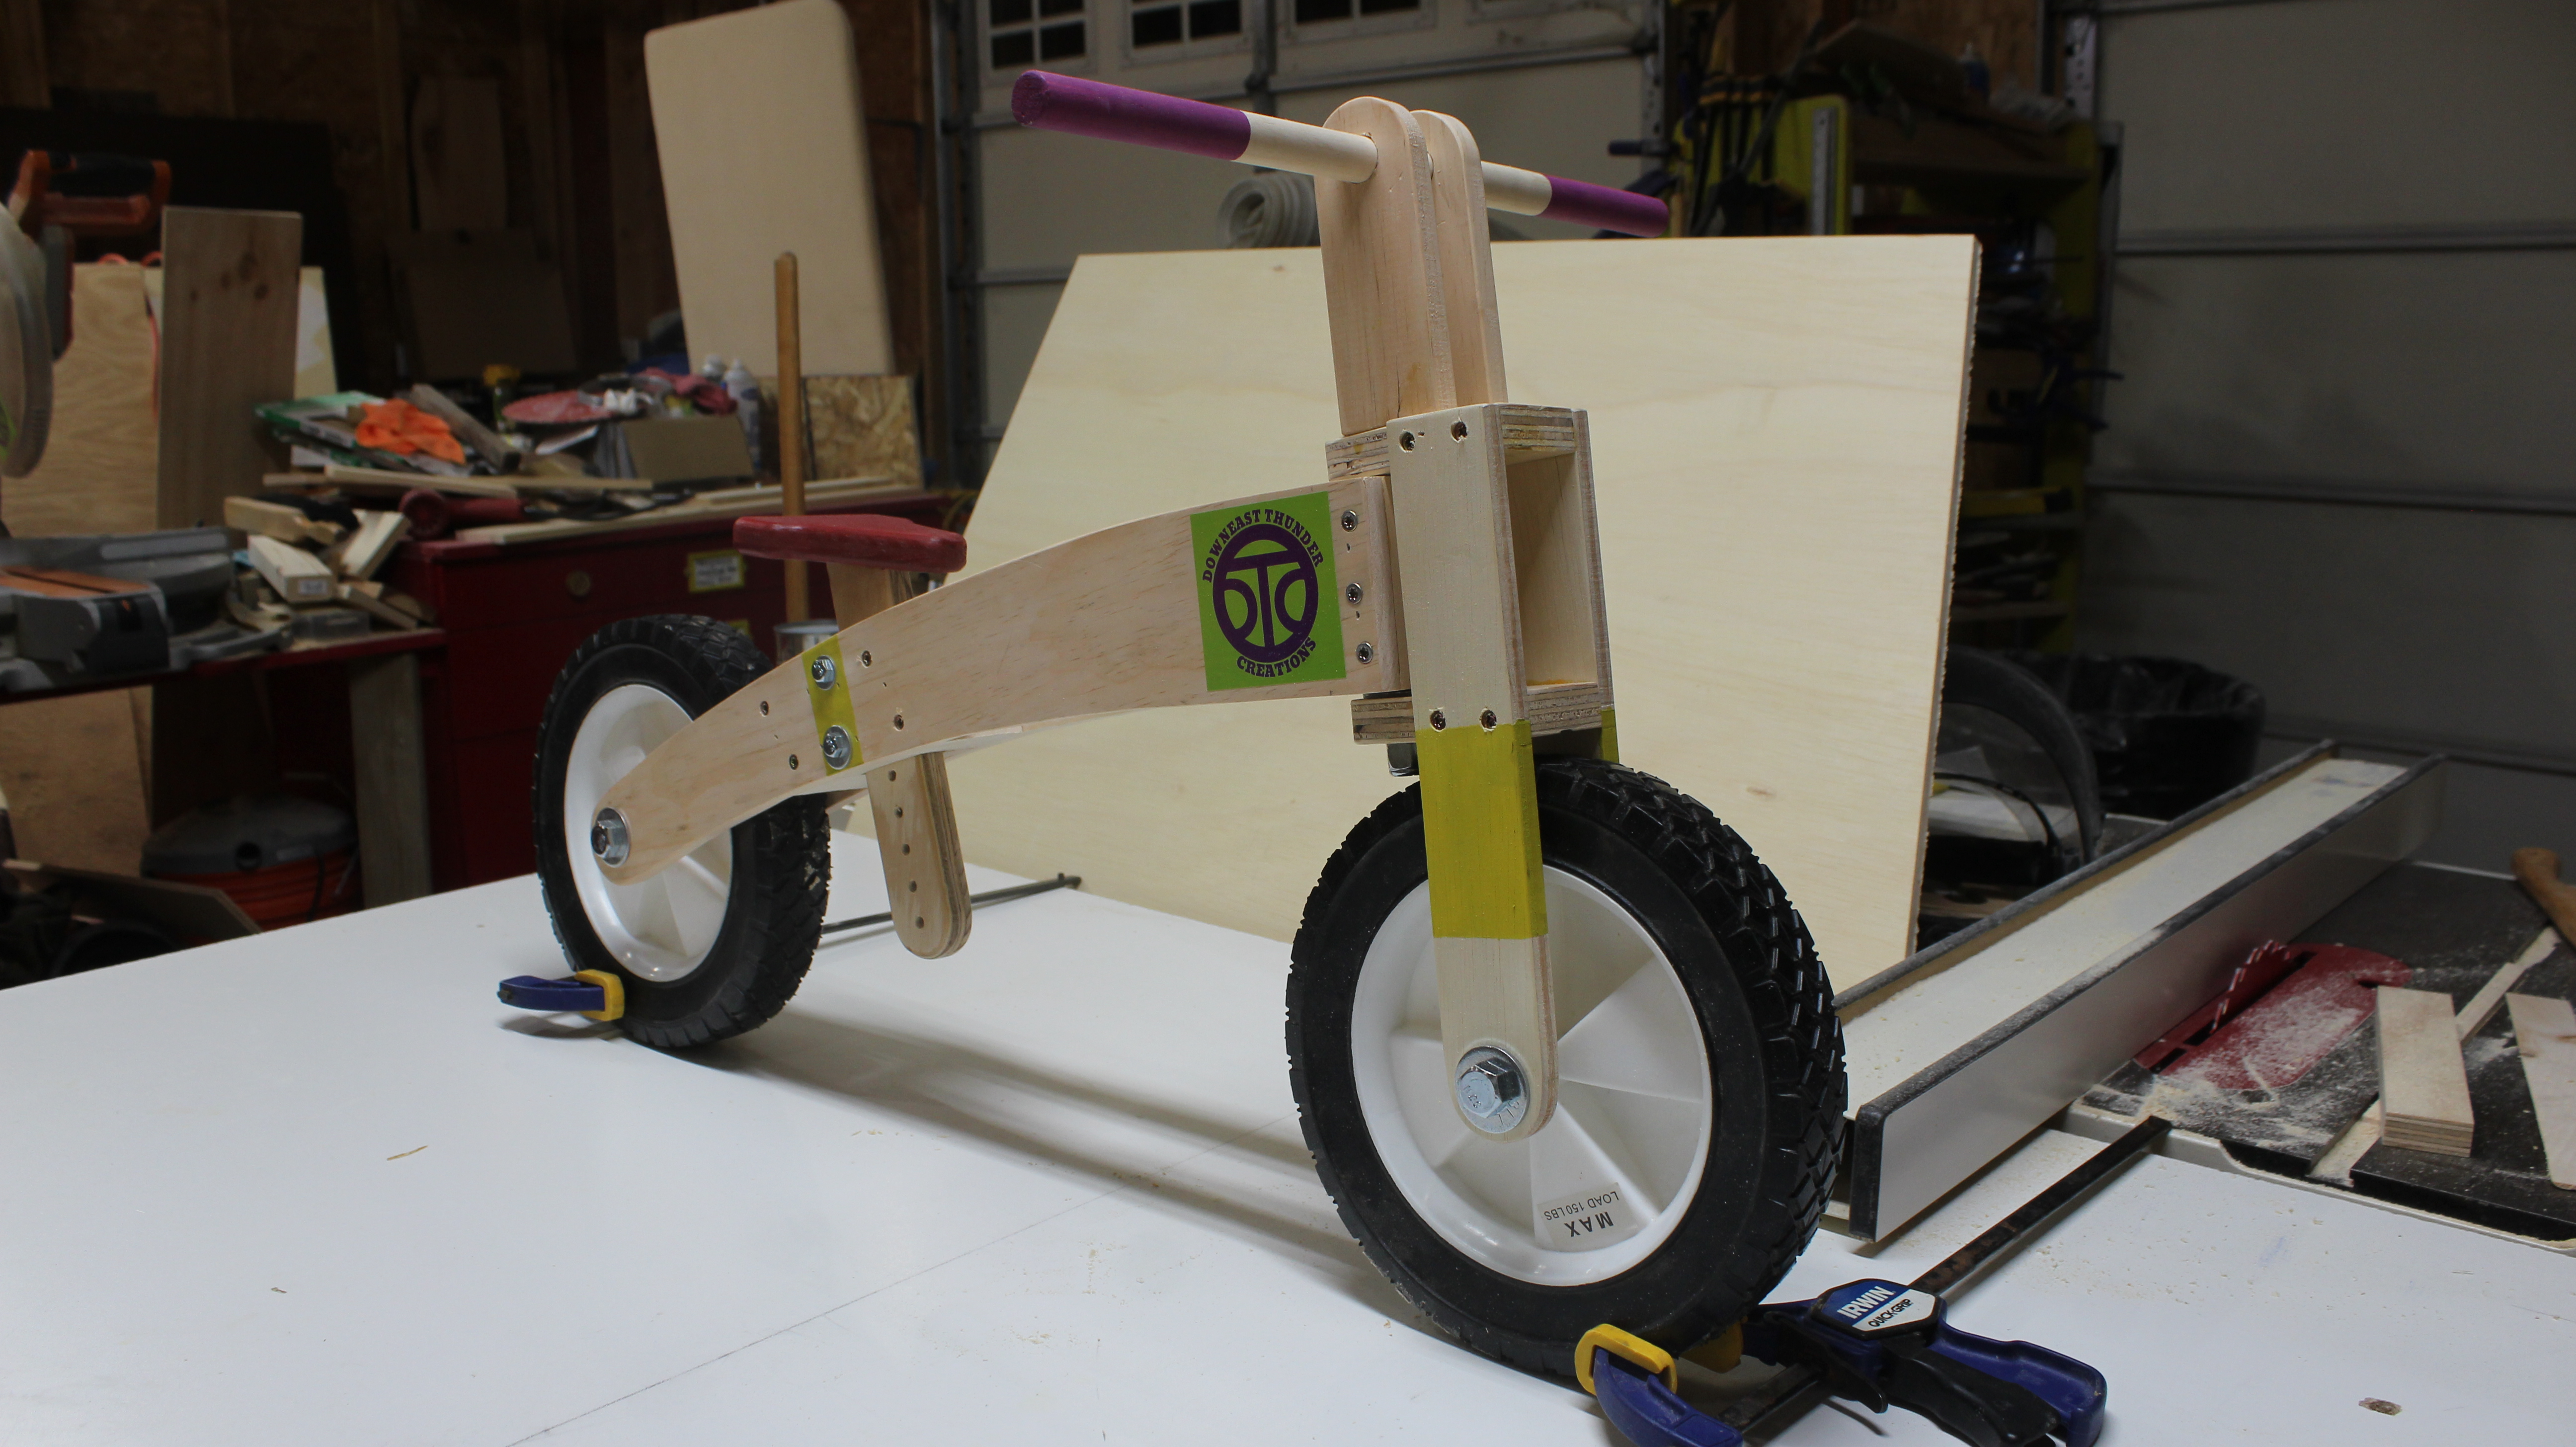
Watching the YouTube video I posted will show you how I assembled the balance bike. Simply follow the same procedure. In many of the assembly steps, I used glue and brad nails to hold the arts together as the glue dried, followed by drilling/countersinking holes and adding screws.
The wheels I used are from Harbor Freight (10" solid wheels).

30 minutes
You can any paint or graphics now or earlier in the assembly process.

When adding the 10" Harbor Freight solid wheels I used washers between the main frame/forks, and wheels in addition to the outside of these components. Be careful not to overtighten.
I used “Nylock” nuts to prevent the nuts loosening and falling off.
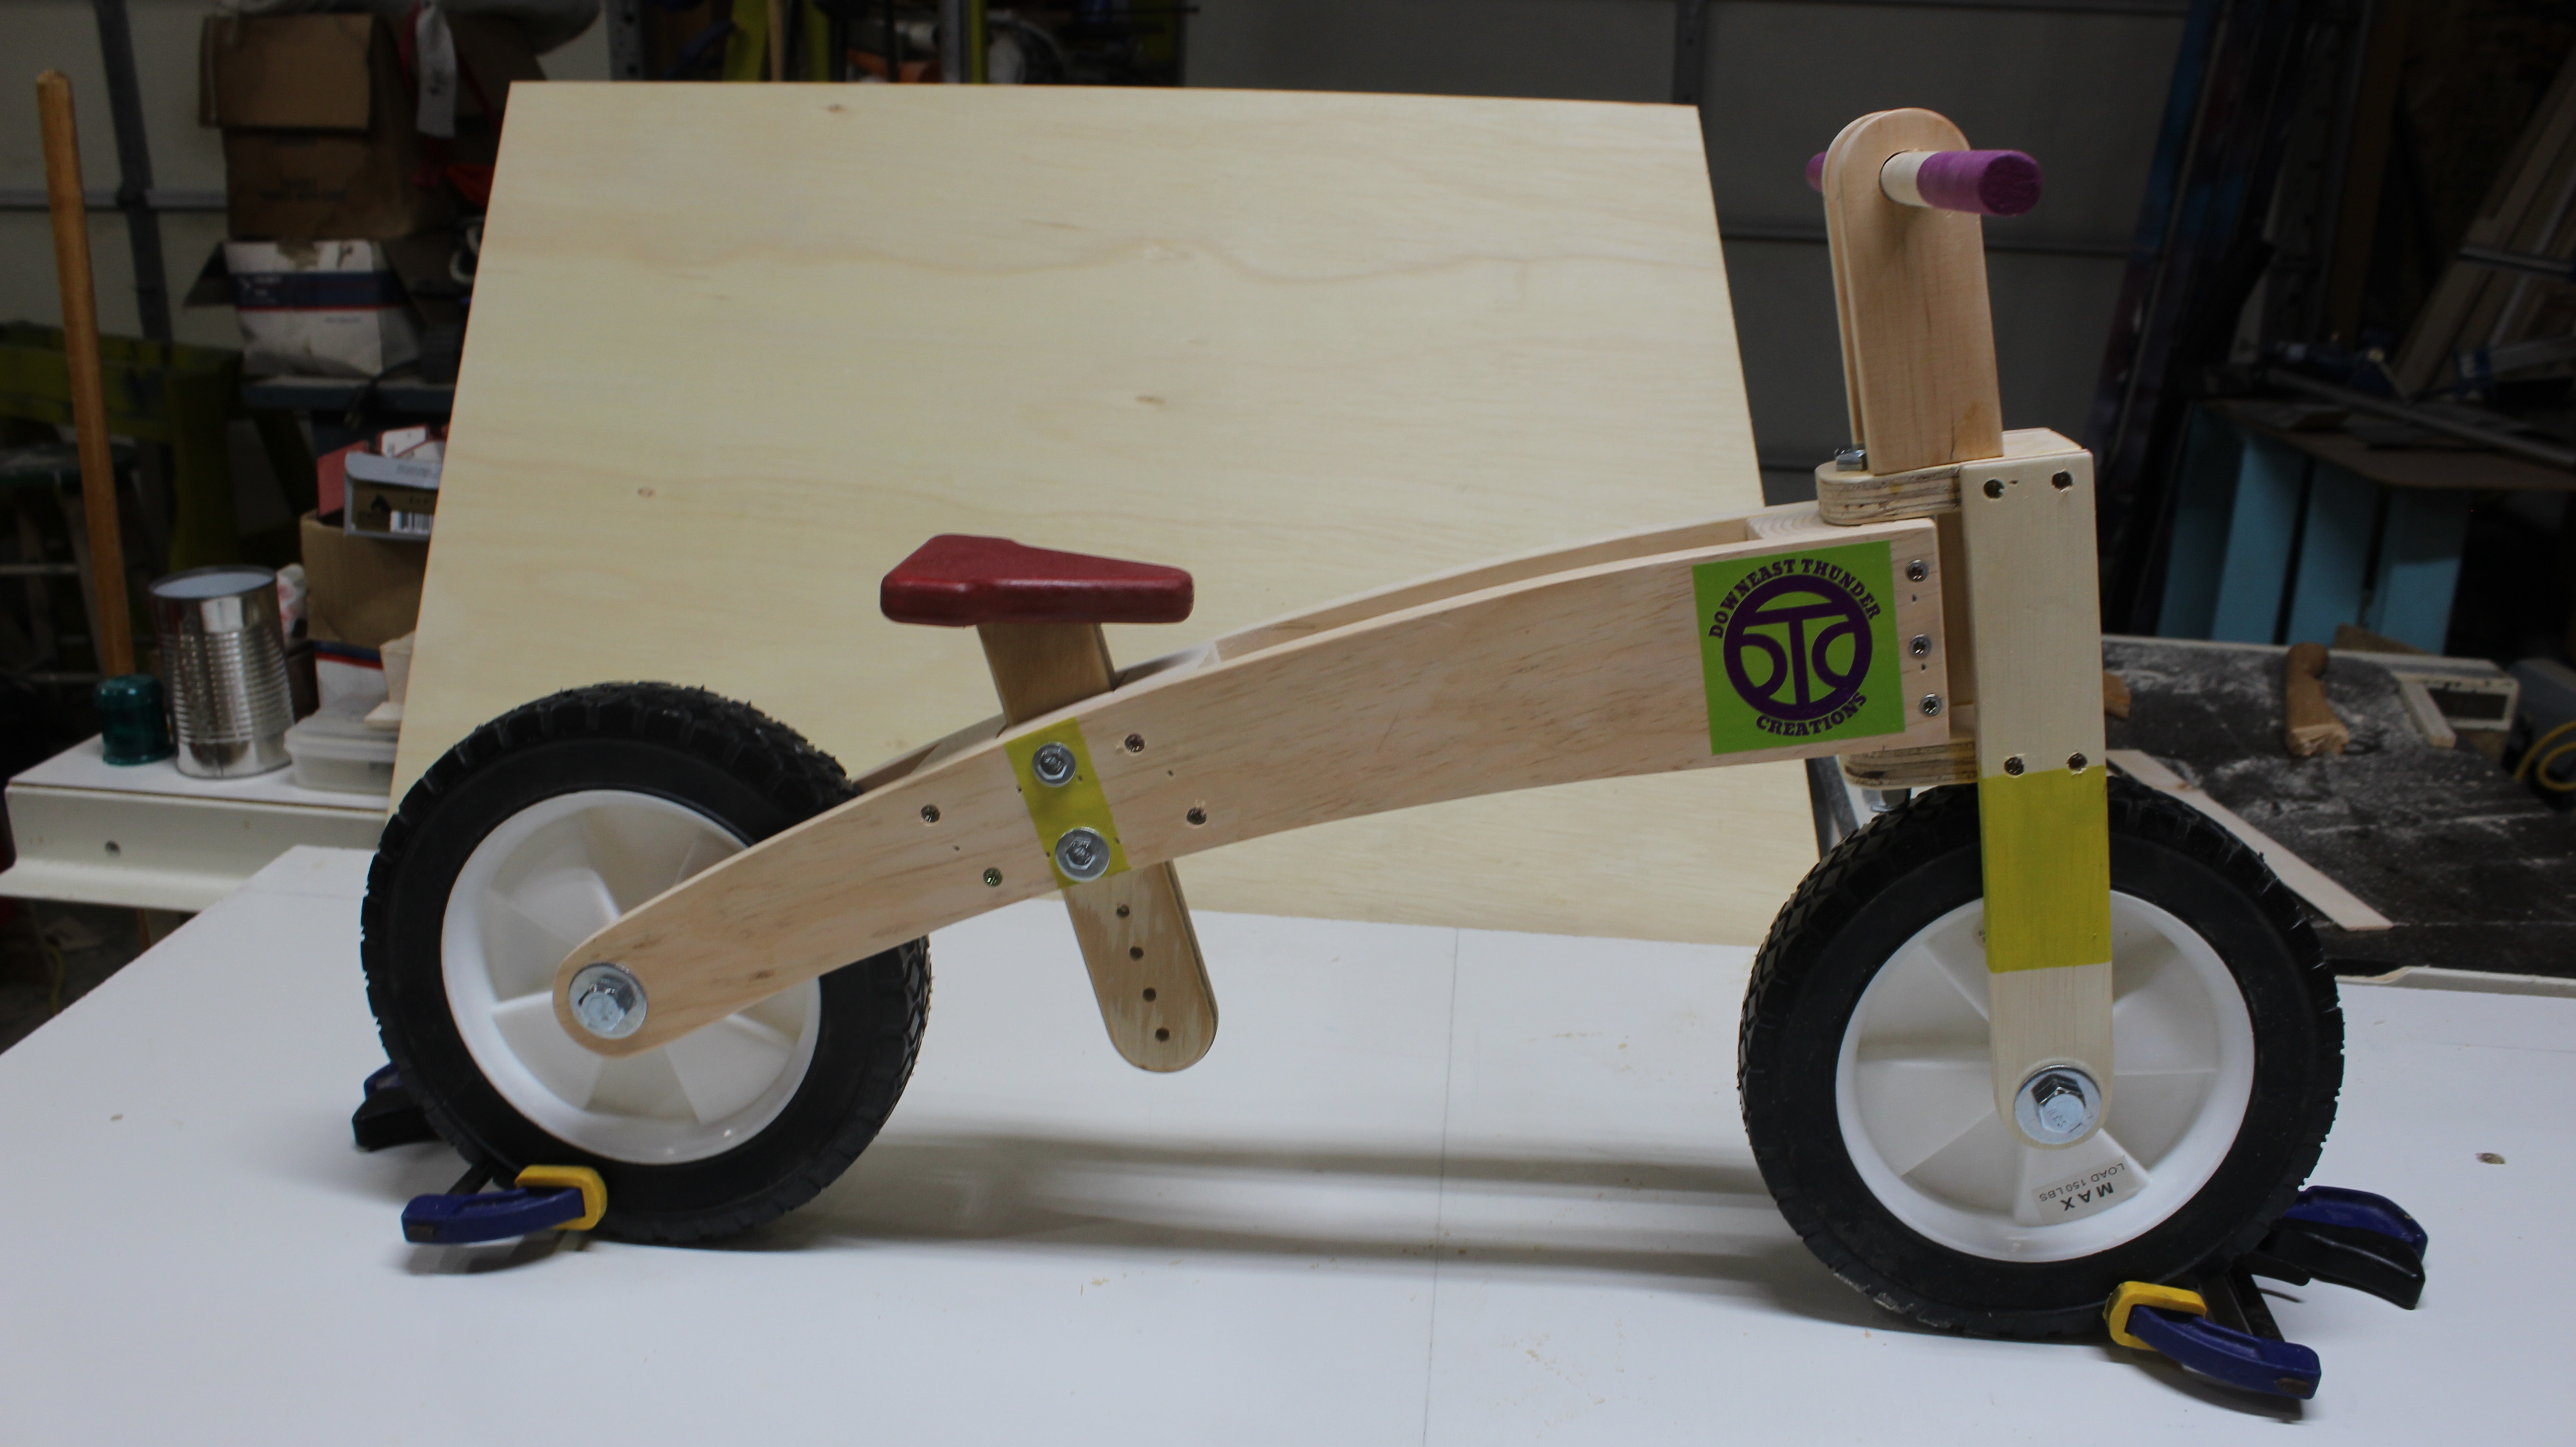
Adjust the seat height for your little “crumb snatcher” or for the toddler you’re planning to gift this bike to. You also may consider applying a sealing coat or two of water-based, clear polyurethane to all the components.

Wrap it up and add a bow! I’d love to see your version of this project when it’s finished. Please consider sending me a picture or two – thanks!


