Stanisław Matczak
Wrocław, Poland
Within the terms of your challenge, I decided to try my hand at creating a sushi tasting board.
Sushi board in 60 minutes?
That can’t be easy!
| Material | Description | Price | ||
|---|---|---|---|---|

|
Gorilla Glue |
Size: 2 oz, Dry Color: White |
||

|
Hard Maple |
6" × 12" × 1/2" Hard Maple |
$8.86 |
|
")
|
Mineral Oil (Food Safe) |
14 oz bottle of food safe mineral oil (Do not use) |
||

|
Plastic Finishing Kit |
Plastic polish (2 oz), plastic cleaner (2 oz), polishing cloth, sanding block, 150 and 600 grit sandpaper |
||

|
Sanding Sponge |
Fine/Medium Sanding Sponge |
||

|
Two-Color HDPE - Red on White |
Thickness: 1/4 in, Dimensions: 8 in × 12 in, Quantity: 1 |
$6.80 |
|

|
Two-Color HDPE - White on Red |
Thickness: 1/4 in, Dimensions: 12 in × 12 in, Quantity: 1 |
$9.97 |
|

|
White Corian® |
Thickness: 1/2 in, Dimensions: 8 in × 12 in, Cut Tolerance: +/- 1/8 in |
||
| This project's Bill of Materials is not complete. Add to Cart |
$25.63 |
|||
Sushi has always fascinated me, it is a simple yet complex meal. Sushi usually only takes a few simple ingredients, however with a very specific set of skills one can produce a variety of fascinating combination of flavors and an assortment of visual appearances. In addition, the uniqueness of sushi’s preparation, the way it is designed to be served, and the specific way in which it is to be eaten, does not allow it to be treated as any ordinary dish. Typically, the impressive visual appearance of sushi is complemented by the dish which it is served on; it can be a simple black piece of stone, a wooden tray, or a ceramic plate which is beautifully decorated with painted Japanese ornaments.
Within the terms of your challenge, I decided to try my best at creating a sushi tasting board. Since I have not yet worked on a CNC machine, I am asking for your understanding and forgiveness for the amateur errors I may make and welcome feedback with an explanation of how a future error could be corrected.
In creating this project the choice and combination of colors, materials, and functionality were important to me. The design of the project was to be relatively simple and modern. I wanted the sushi board to appear vibrant and light, but to also keep its Japanese character. To achieve this design, I chose a light colored wood as well as white Corian, and I added a red circle with Two-Color HDPE (red on white) to give the appearance of the Japanese flag. The red circle is engraved in a way in which the white Corian shines through allowing a Japanese sushi symbol and a simple symbol of Mount Fuji to be seen. There are two carved out spaces in the Corian on the left side of the sushi board which are designed to hold the soy sauce, ginger, and wasabi paste. On the right side of the sushi board, there is a space for a strip of Corian to be attached to serve as a place to lay down chopsticks. The base will be created using Two-color HDPE (White on Red) so to not only function as a stable base for attaching the project’s elements, but to compliment the visual integrity of the project as a whole.

After cutting the X-carve elements, the cut joints should be cut off and any imperfections sanded. The groove made in the wooden element where the Corian strip will adhere should be aligned and adjusted so that the Corian inlay fits easily yet snug. This groove can simply be sanded, if needed, by using a piece of sandpaper wrapped on a wooden block. The left and right elements should be glued to the base. Once these elements are dry, the Corian strip and red circle should also be glue down. If there are any protruding Corian corners or any imperfections noted, these should be sanded with sandpaper. The wooded element should be wiped down and protected with mineral oil (Mineral Oil- food safe).
The upper edge can be rounded with a milling machine for additional aesthetic appeal;
however I do not know if this is allowed in the competition, so it is just a noted additional option to consider.

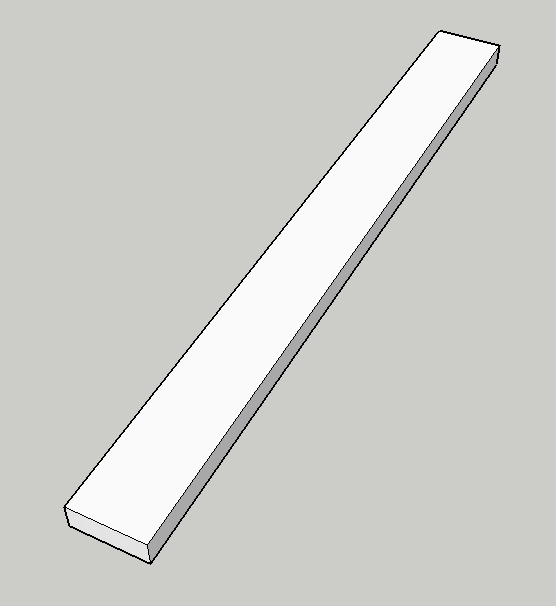
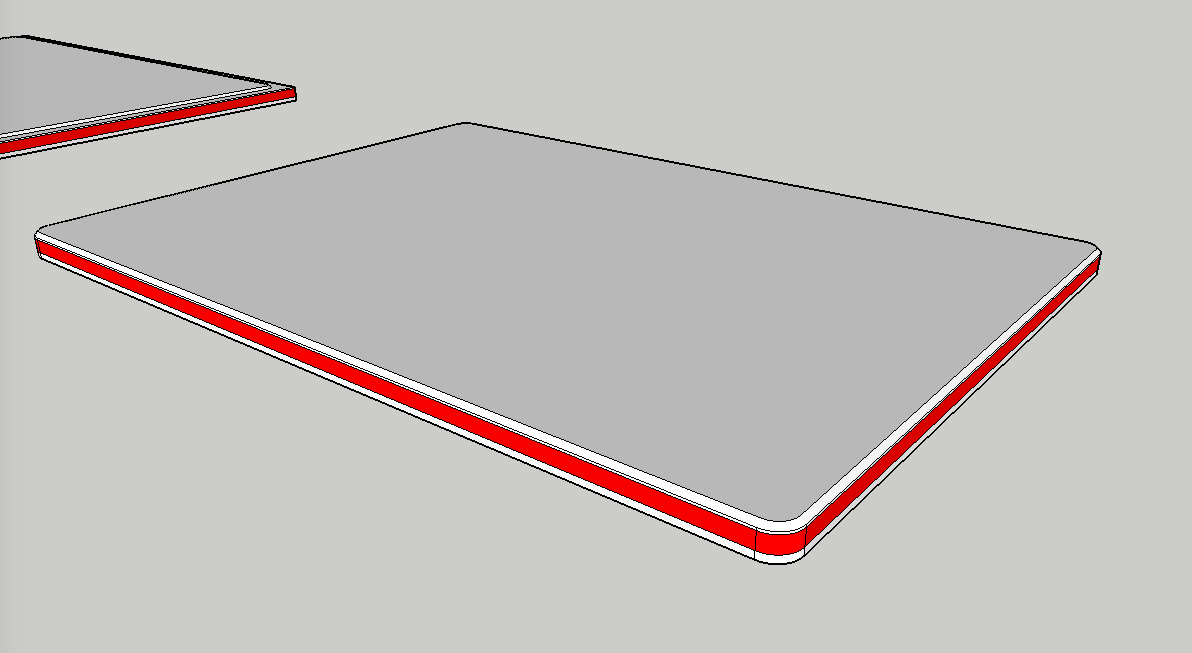
Base – steps


Left part – steps


Right part – steps


Circle and Corian strip