
Donald LeBlanc
Eastvale, California
We recently had my son’s birthday party and he wanted a Superman theme so I decided to make some Superman logos. 5 smaller ones to give out as prizes and 1 big one to hang in his room.
| Material | Description | Price | ||
|---|---|---|---|---|

|
Birch Plywood (×2) |
Thickness: 1/2 in, Dimensions: 12 in × 24 in |
||
30 minutes
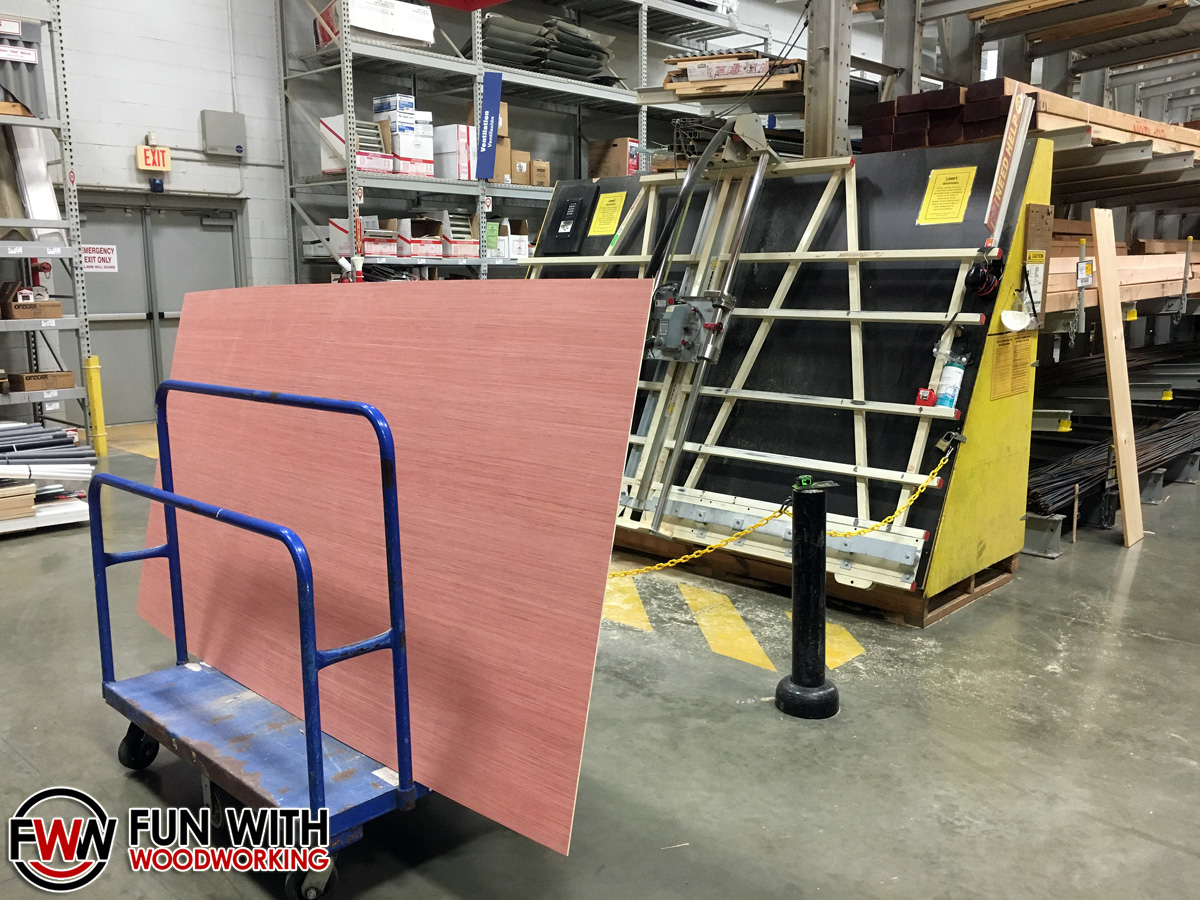
I checked the prices at my local Lowes and it was around $8 for a 2′ × 2′ × 1/4" plywood panel and you need 2 of them for this project. I checked the full sheet plywood area and found a 4′ × 8′ × 1/4" sheet for just under $16. I had them cut the sheet down the middle on the 4’ length, then stack the 2 pieces together, and cut those in half. This left me with 4 – 2′ × 4′ pieces. I took those home and cut them in half so that I ended up with 8 – 2′ × 2′ panels.

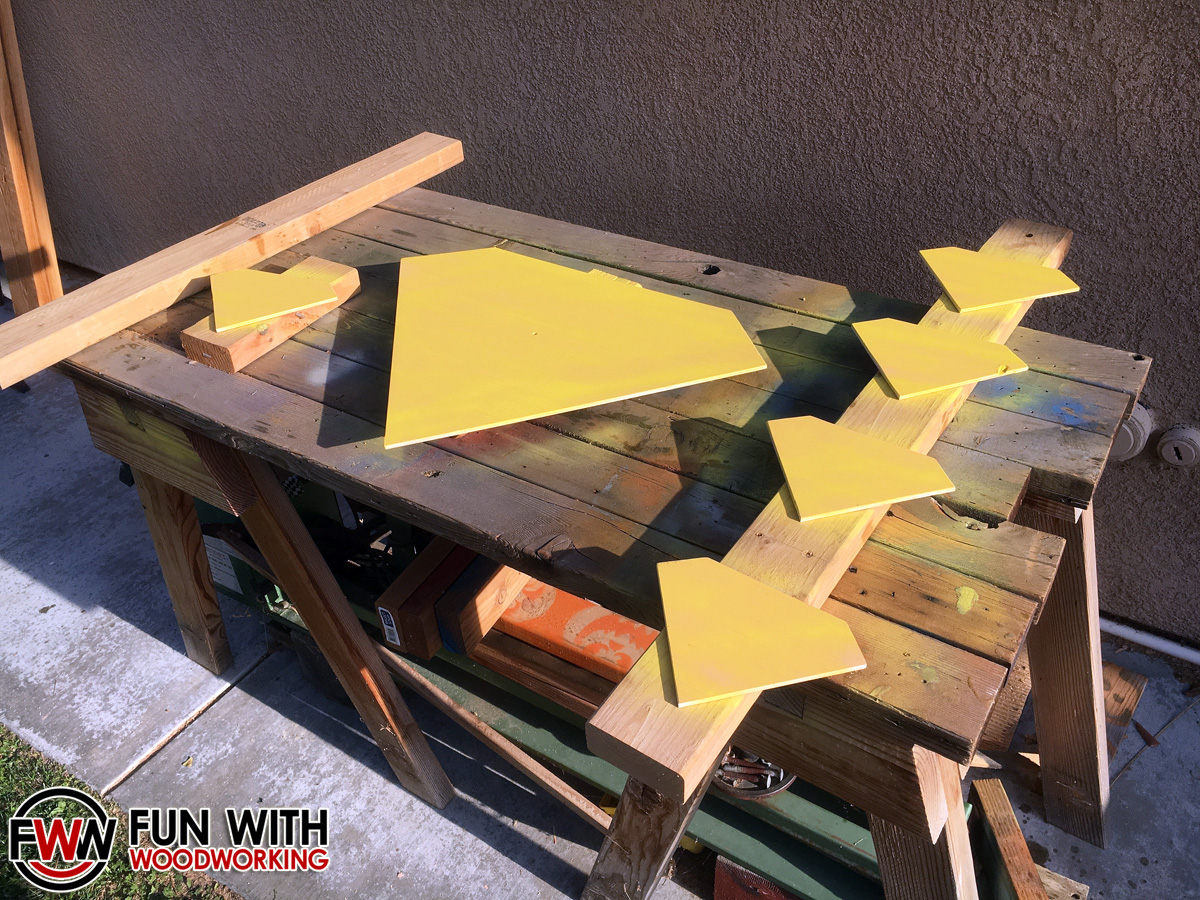
I have an X-Carve CNC machine. I found a black and white Superman logo on the web and imported it into Easel. I resized the logo to make 5 – 6″ × 8″ logos and 1 – 16.5″ × 22″ logo. Make sure to rotate the logos to make them upside down and don’t just flip them on the horizontal axis. I made 2 copies. 1 with the “S” cutout and 1 without.


90 minutes
I cutout all the smaller “S” logos first followed by the large one last. I then cutout all the backer shield pieces in the same manner.


30 minutes
Once everything was cutout I took the backer shield pieces outside and spray painted them a bright yellow. The paint had a little trouble sticking to the plywood so I sprayed the “S” pieces with a flat black and let it dry for an hour or so. I then followed that with a coat of bright red.


Once everything is completely dry use a hot glue gun to attach the top red piece to the bottom yellow shield

