
This is a project to show the basic items needed to make a standard 3 wheel MakerSlide carriage. It includes some MakerSlide for reference. You should determine if the piece chosen is right for you. You can edit your cart at any time after adding.
Press a bearing into one side to the wheel. Place the shim washer on the bearing and press the second bearing into the wheel. The bearing can be pressed in by hand by pushing against a firm flat surface. Make sure the bearings are going in straight. You can use a 5mm screw to make sure the washer stays centered. If the washer moves it is easy to re-center it later with a thin item like a paper clip.

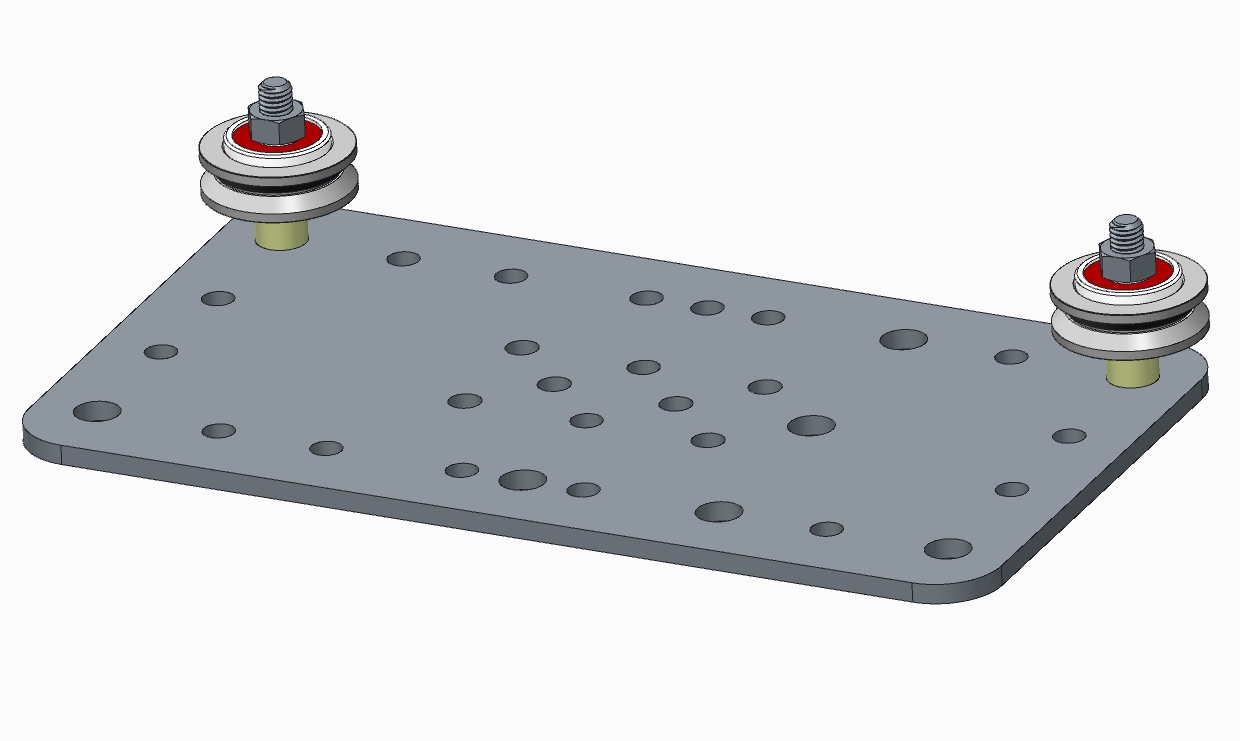
The wheels are installed on 3 holes in the corners of the plate. 2 holes of about 5.1mm diameter are used for fixed wheels. The carriage plate is not symmetrical, so look for the side of the plate that has the 2 smaller holes in the corners.
Place a mark on the eccentric spacer on the surface nearest the center hole. This will give you a reference for adjusting later. Install the spacer with the marks facing the outside of the carriage. This will start with the wheels in their widest position. Install the wheel in the larger diameter hole on the other side of the carriage from the fix wheels.
When you put the completed carriage on the MakerSlide adjust the wheels so they just light contact the rail. Excessive tightening will damage the wheels and put a flat spot on them


Rishi Taparia