Chris Baber
Kentucky
Gear driven open/closed sign.
YouTube Video on the the Sign
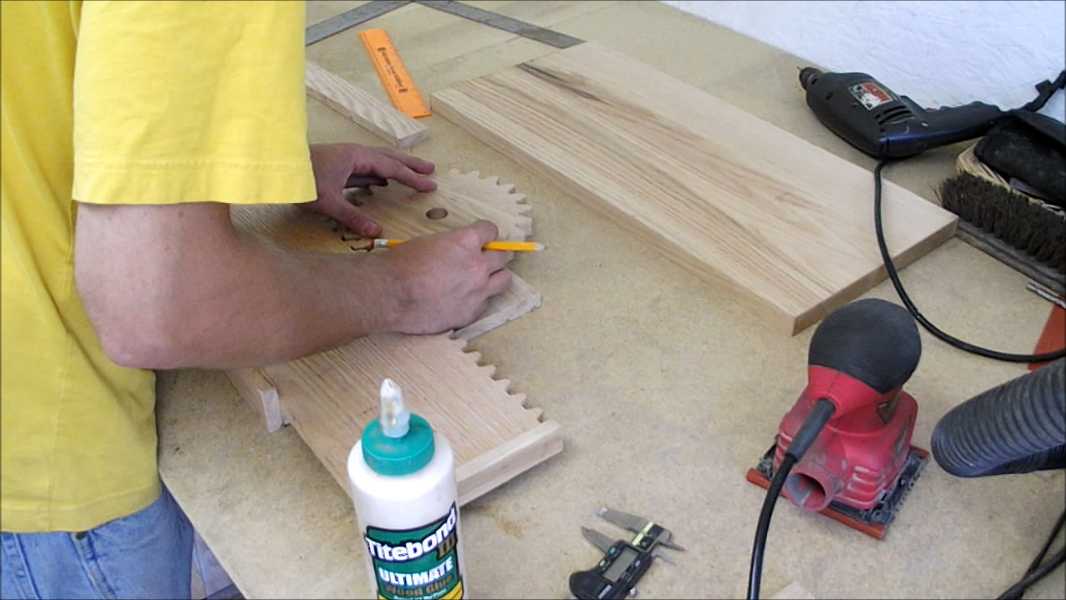
Open the Easel program and move the pieces to place and size you would like. Remember if you scale any of the gears. Scale both the rack gear and the round gear together to keep them fitting each other.


Cut your board into the size that will fit the scale of your sign. You can make it as fancy as you would like. Remember that it needs to be big enough to cover the Closed Part of you sign and have room for the gear on top.

Paint the letters Black from all angels.

Run the closed/Open board thru the planer until all that shows black is the letters

Glue and clamp up the stops on the ends of the sign. I made mine 1/2 over the thinkness of the sign board.


Glue 2 spacers on the front board about 1/16 above the rack gear so it will not bind on them.

Make your back plate the same size as your front plate. Cut out a half circle at the top to expose the gear and rack in action. Only screw the top of the back plate in place. This will leave room for the rack to move in and out smoothly.
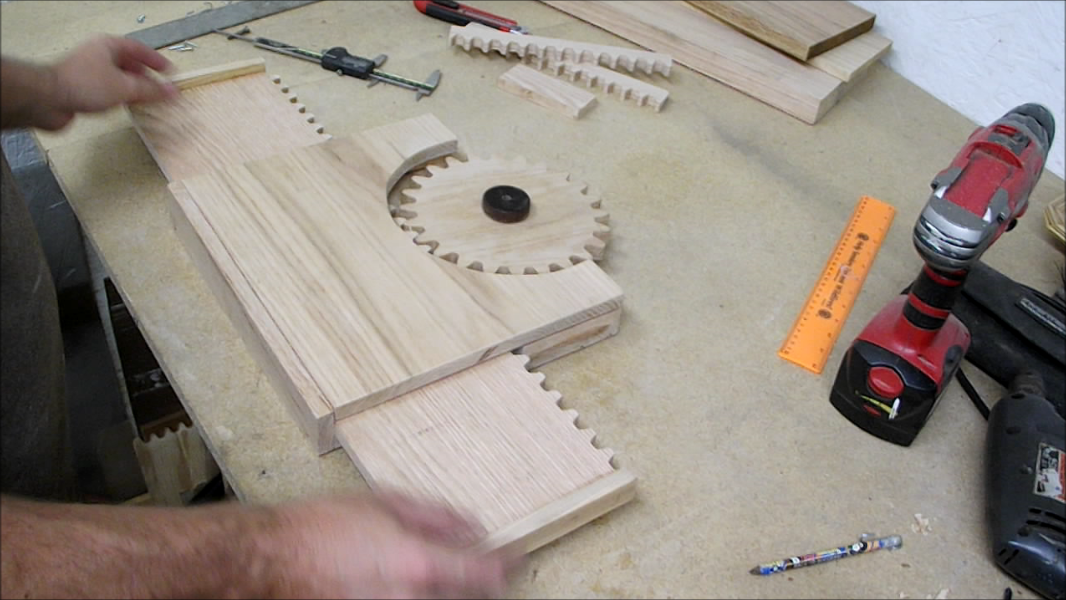

You can use a lathe to turn a pin to hold the gear or if you do not have a lathe you can use a dowel to pin the gear on. I counter sunk a screw into the pin to attach it to the front plate.
use small screws to attach all 4 suction cups to each corner.

Add a little water to the suction cups before placing it on the window. If any suction cups are leaking off use a little clear silicone over the head of the screw to seal it back off.
Turn the sign to closed, turn off the lights and go home your done. :)


