
a little tool box or craft box with T joints ( modified dove tail) and Wedge Mortise and Tenon
| Material | Description | Price | ||
|---|---|---|---|---|

|
Birch Plywood |
Thickness: 1/2 in, Dimensions: 12 in × 24 in |
||
5 minutes
please watch
1- 12″ × 24″ × 1/2" piece of ply wood or MDF
wood glue
sandpaper
brad nails
you will also need a hand saw and a mallet.
90 minutes
So this is the part where you fire up easel. grab a six pack (of coke) and watch it run.
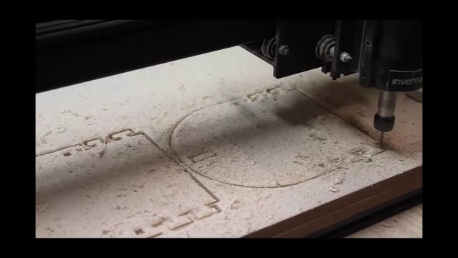
10 minutes
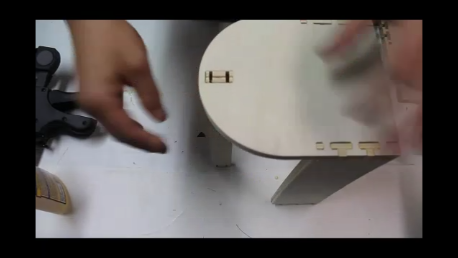
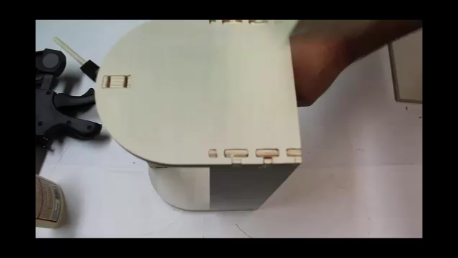
once your X-Carve is finished remove all the pieces from the wast. Trim the tabs and any left overs from your parts.


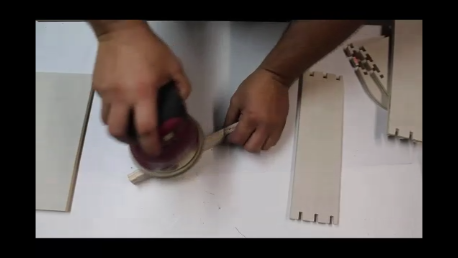
5 minutes
give all of your pieces a good quick sanding. Make sure to smooth out the edges as they will be harder to sand once it is all put together.

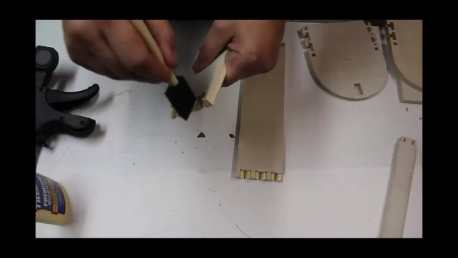
5 minutes
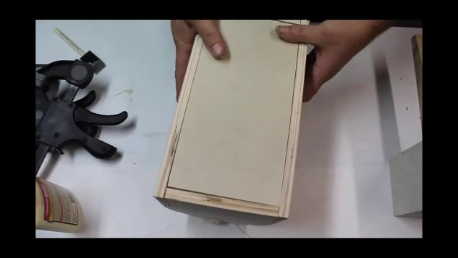
Time to start putting everything together. The side pieces only go in the ends one way so arrange the pieces and glue everything up. Use a mallet if necessary to set the joints fully in to place.
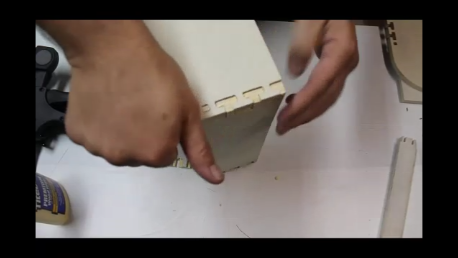
5 minutes
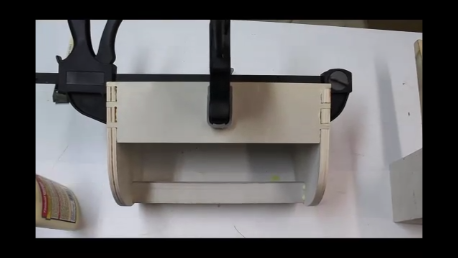
After we put on the first side we need to add the handle because we will not be able to if we put the other end on. Start by sliding the tenon in the mortise then look on the out side and find the 2 slots in the end of the tenon. Place 2 of the 4 wedges in the slots and hemmer them in as far as they will go. Hammering in the wedges will cause the tenon to expand and be wedged in to the mortise.


10 minutes
repeat the last 2 steps
10 minutes
I did not get complicated with the bottom of this box. Simply glue and slide in to place flush with the bottom edge of the box. Add a few brads around the side to hold it in place if you wish.

5 minutes
Add a few clamps to hold everything in place while the glue sets.
5 minutes
After the glue has set use a hand saw to trim the wedges flush with the side of the box. Be careful not to cut or mare the side of the box while doing this.

Give the box a good final sanding. Give extra attention to the joints to make them flush and smooth


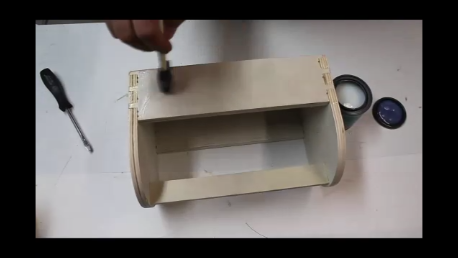
Finish the box how ever yo would like. I used a few coats of Polycrylic clear coat with a light sanding in between each coat.
I made this box to hold my craft paint set but you can use it for all kinds of things.

