
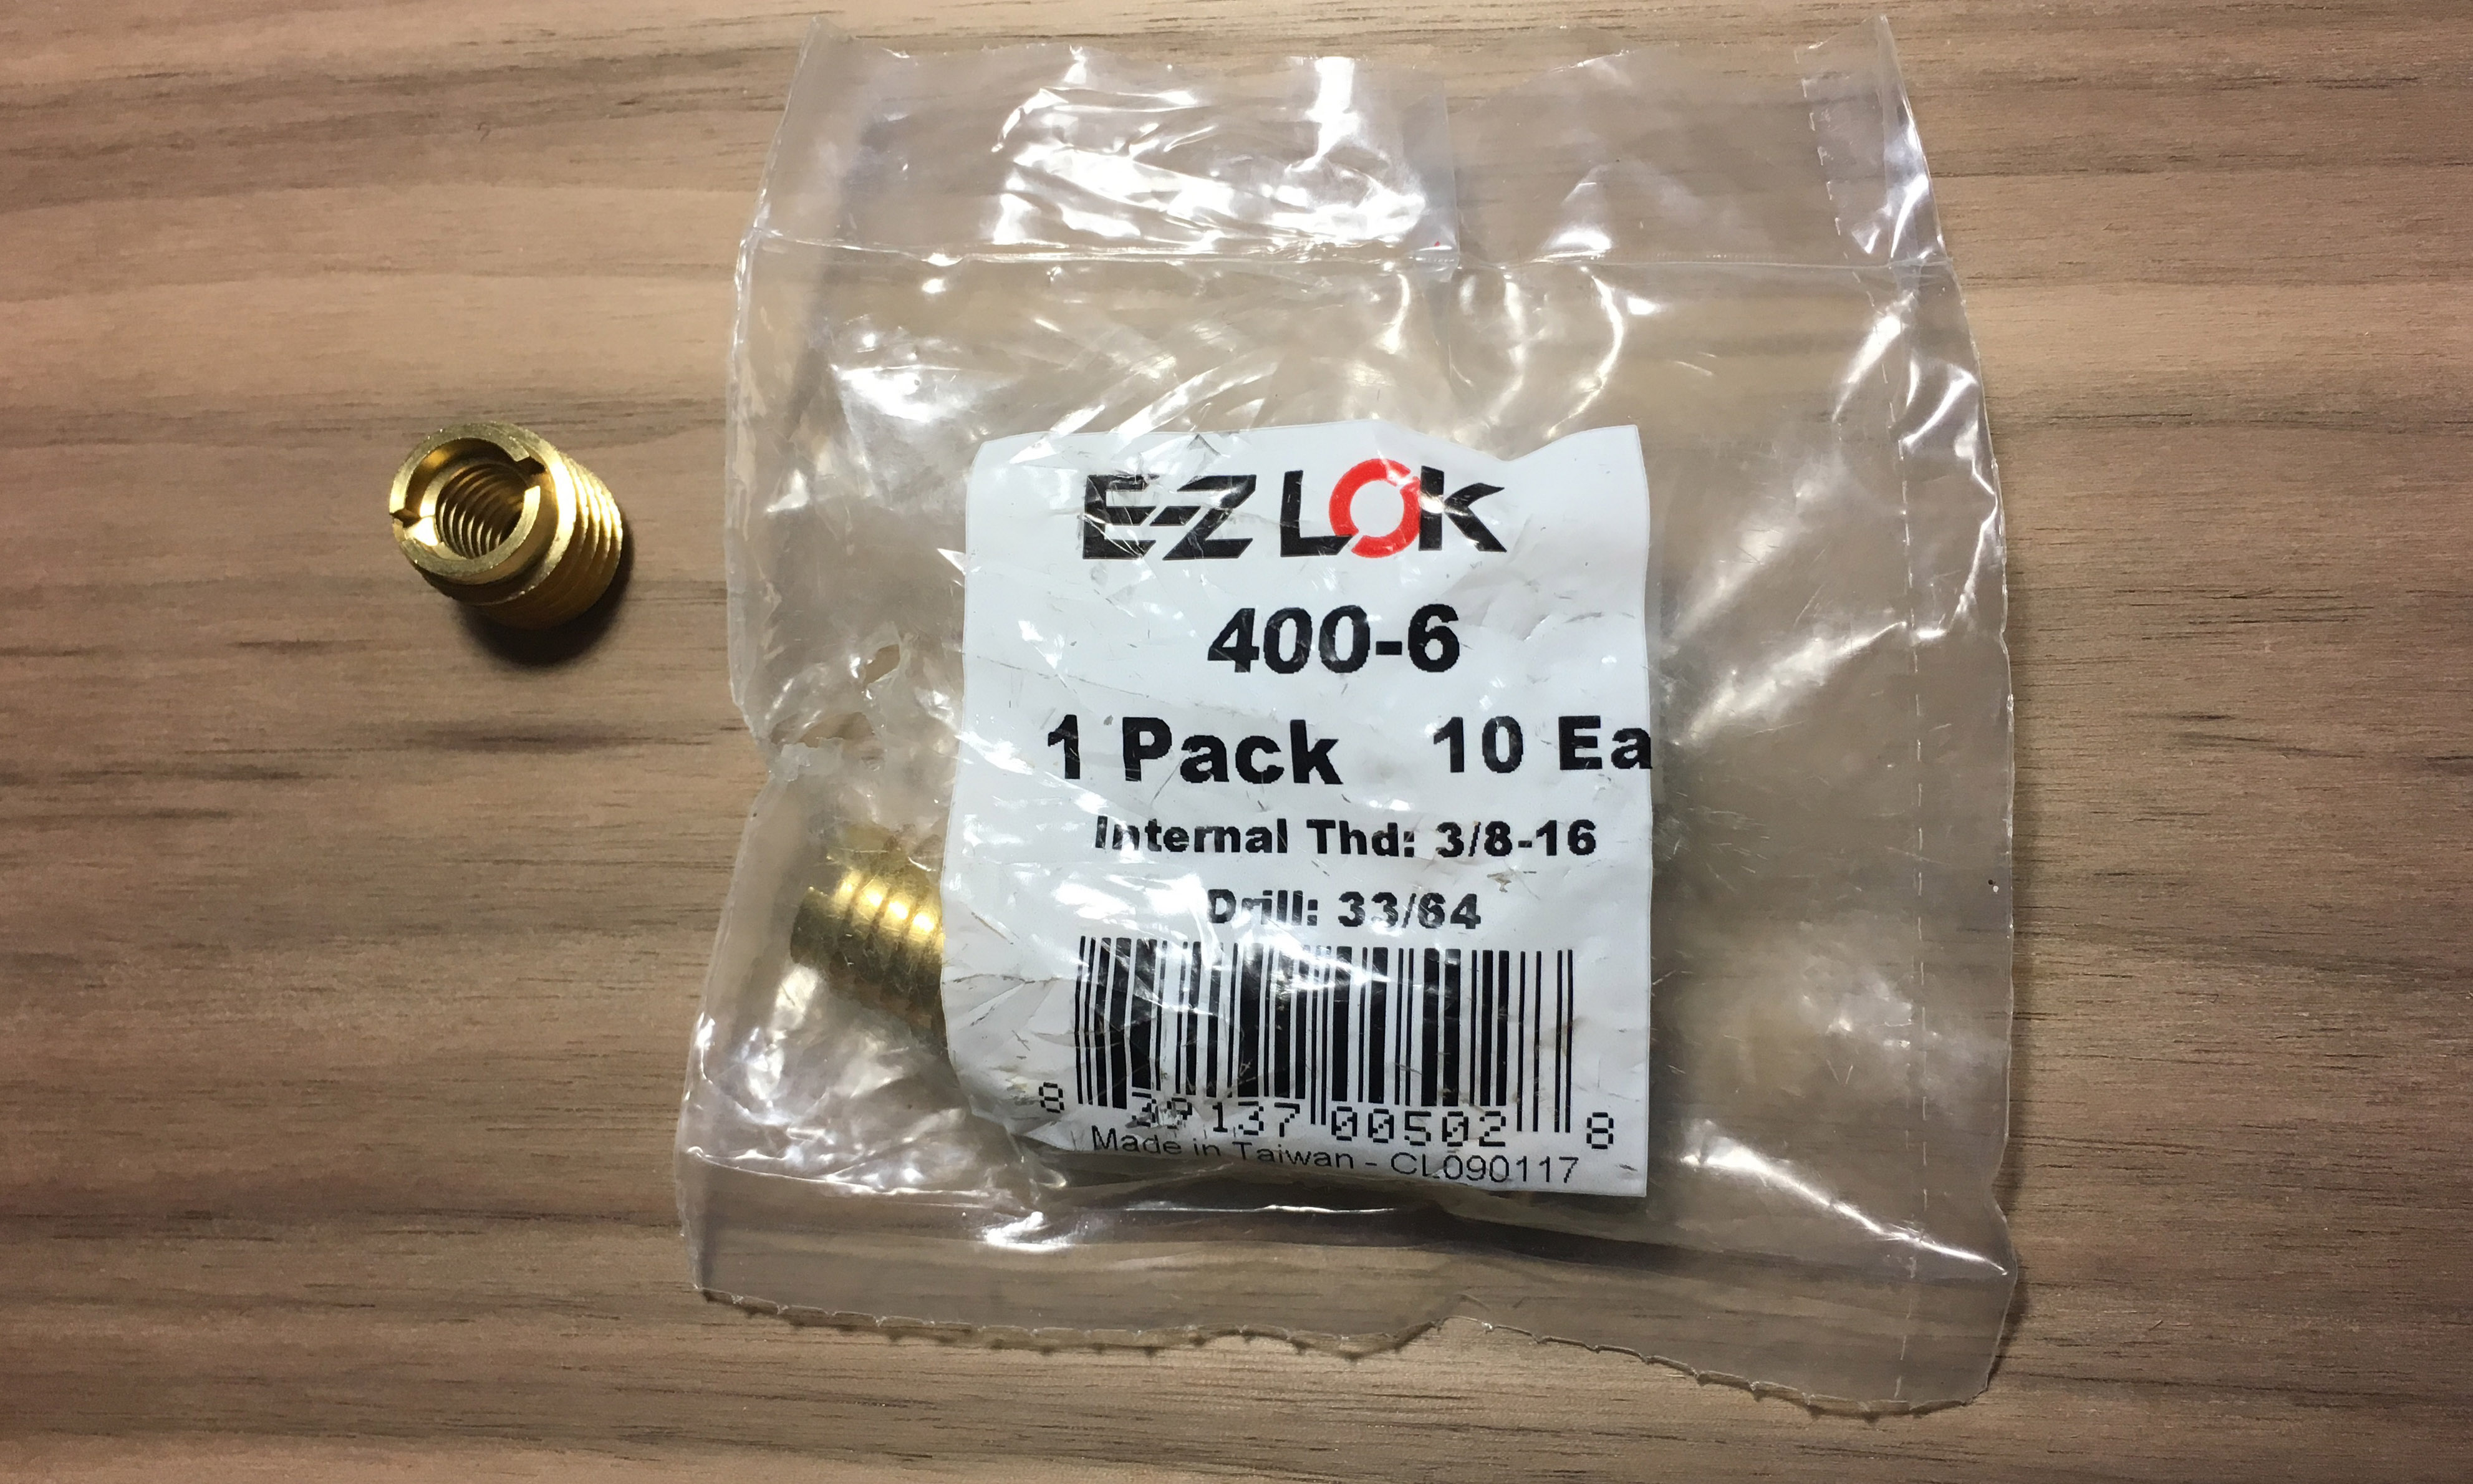
Normally, you would need to drill out a hole for the threaded insert required for a draft pull. But with Easel and a bit of flip milling, you can design a cavity for a threaded insert. Added bonus: you can also duplicate your decoration on both sides of the handle!
| Material | Description | Price | ||
|---|---|---|---|---|

|
Red Oak |
6" × 12" × 1/2" Red Oak |
||
30 minutes
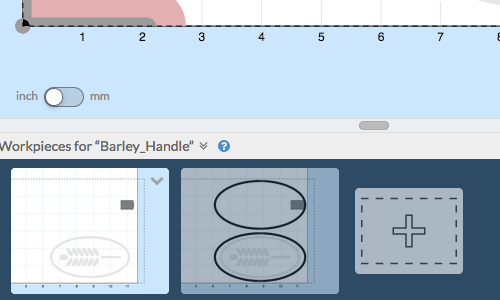
The main technique here is flip milling. Since I needed the cavity for the threaded insert on both sides of the handle, it made the most sense. Plus, it afforded the added bonus of duplicating the barley design on both sides. I used a 1/8" downcut bit for the entire handle, but there’s nothing stopping you from using a ball mill for the whatever image you like to carve.
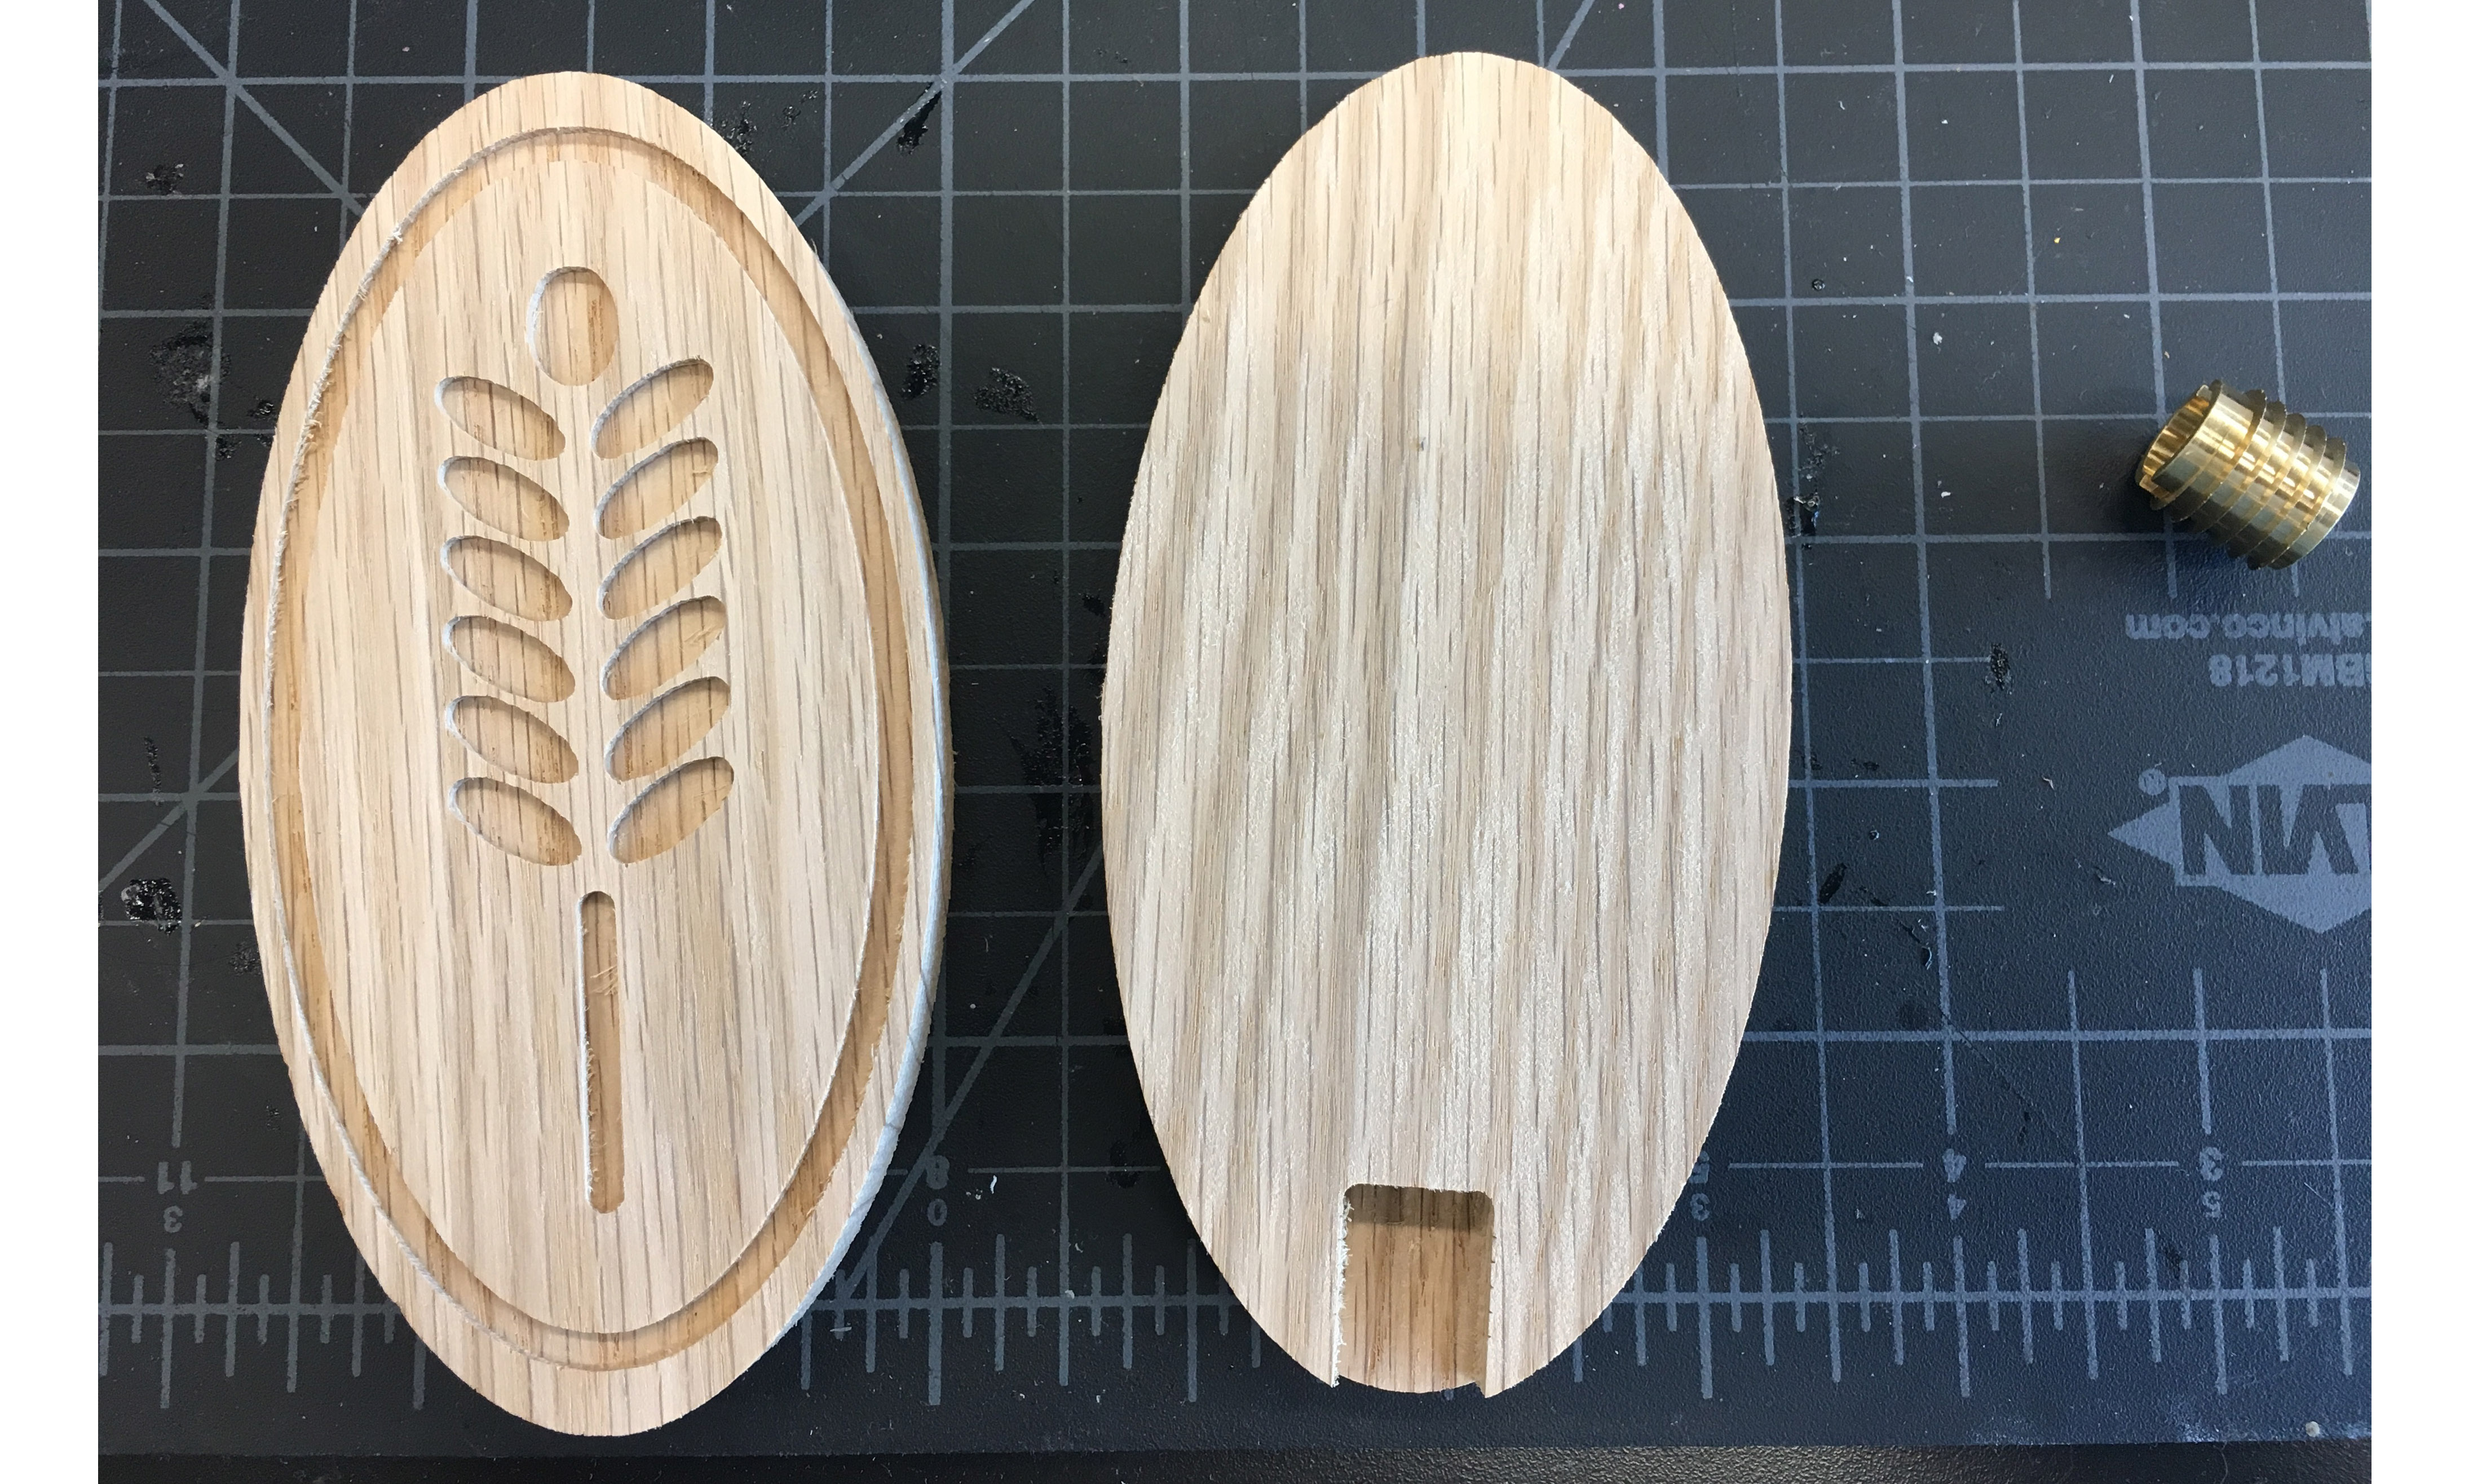
The first cut takes 7 minutes to carve the barley, the offset ring and the first half of the cavity. After that’s complete, I flipped the workpiece along the horizontal axis and align the edges. The second cut is identical to the first, but with the addition of an outside profile cut into the workpiece. Don’t forget to use tabs! This took 22 minutes in red oak

5 minutes
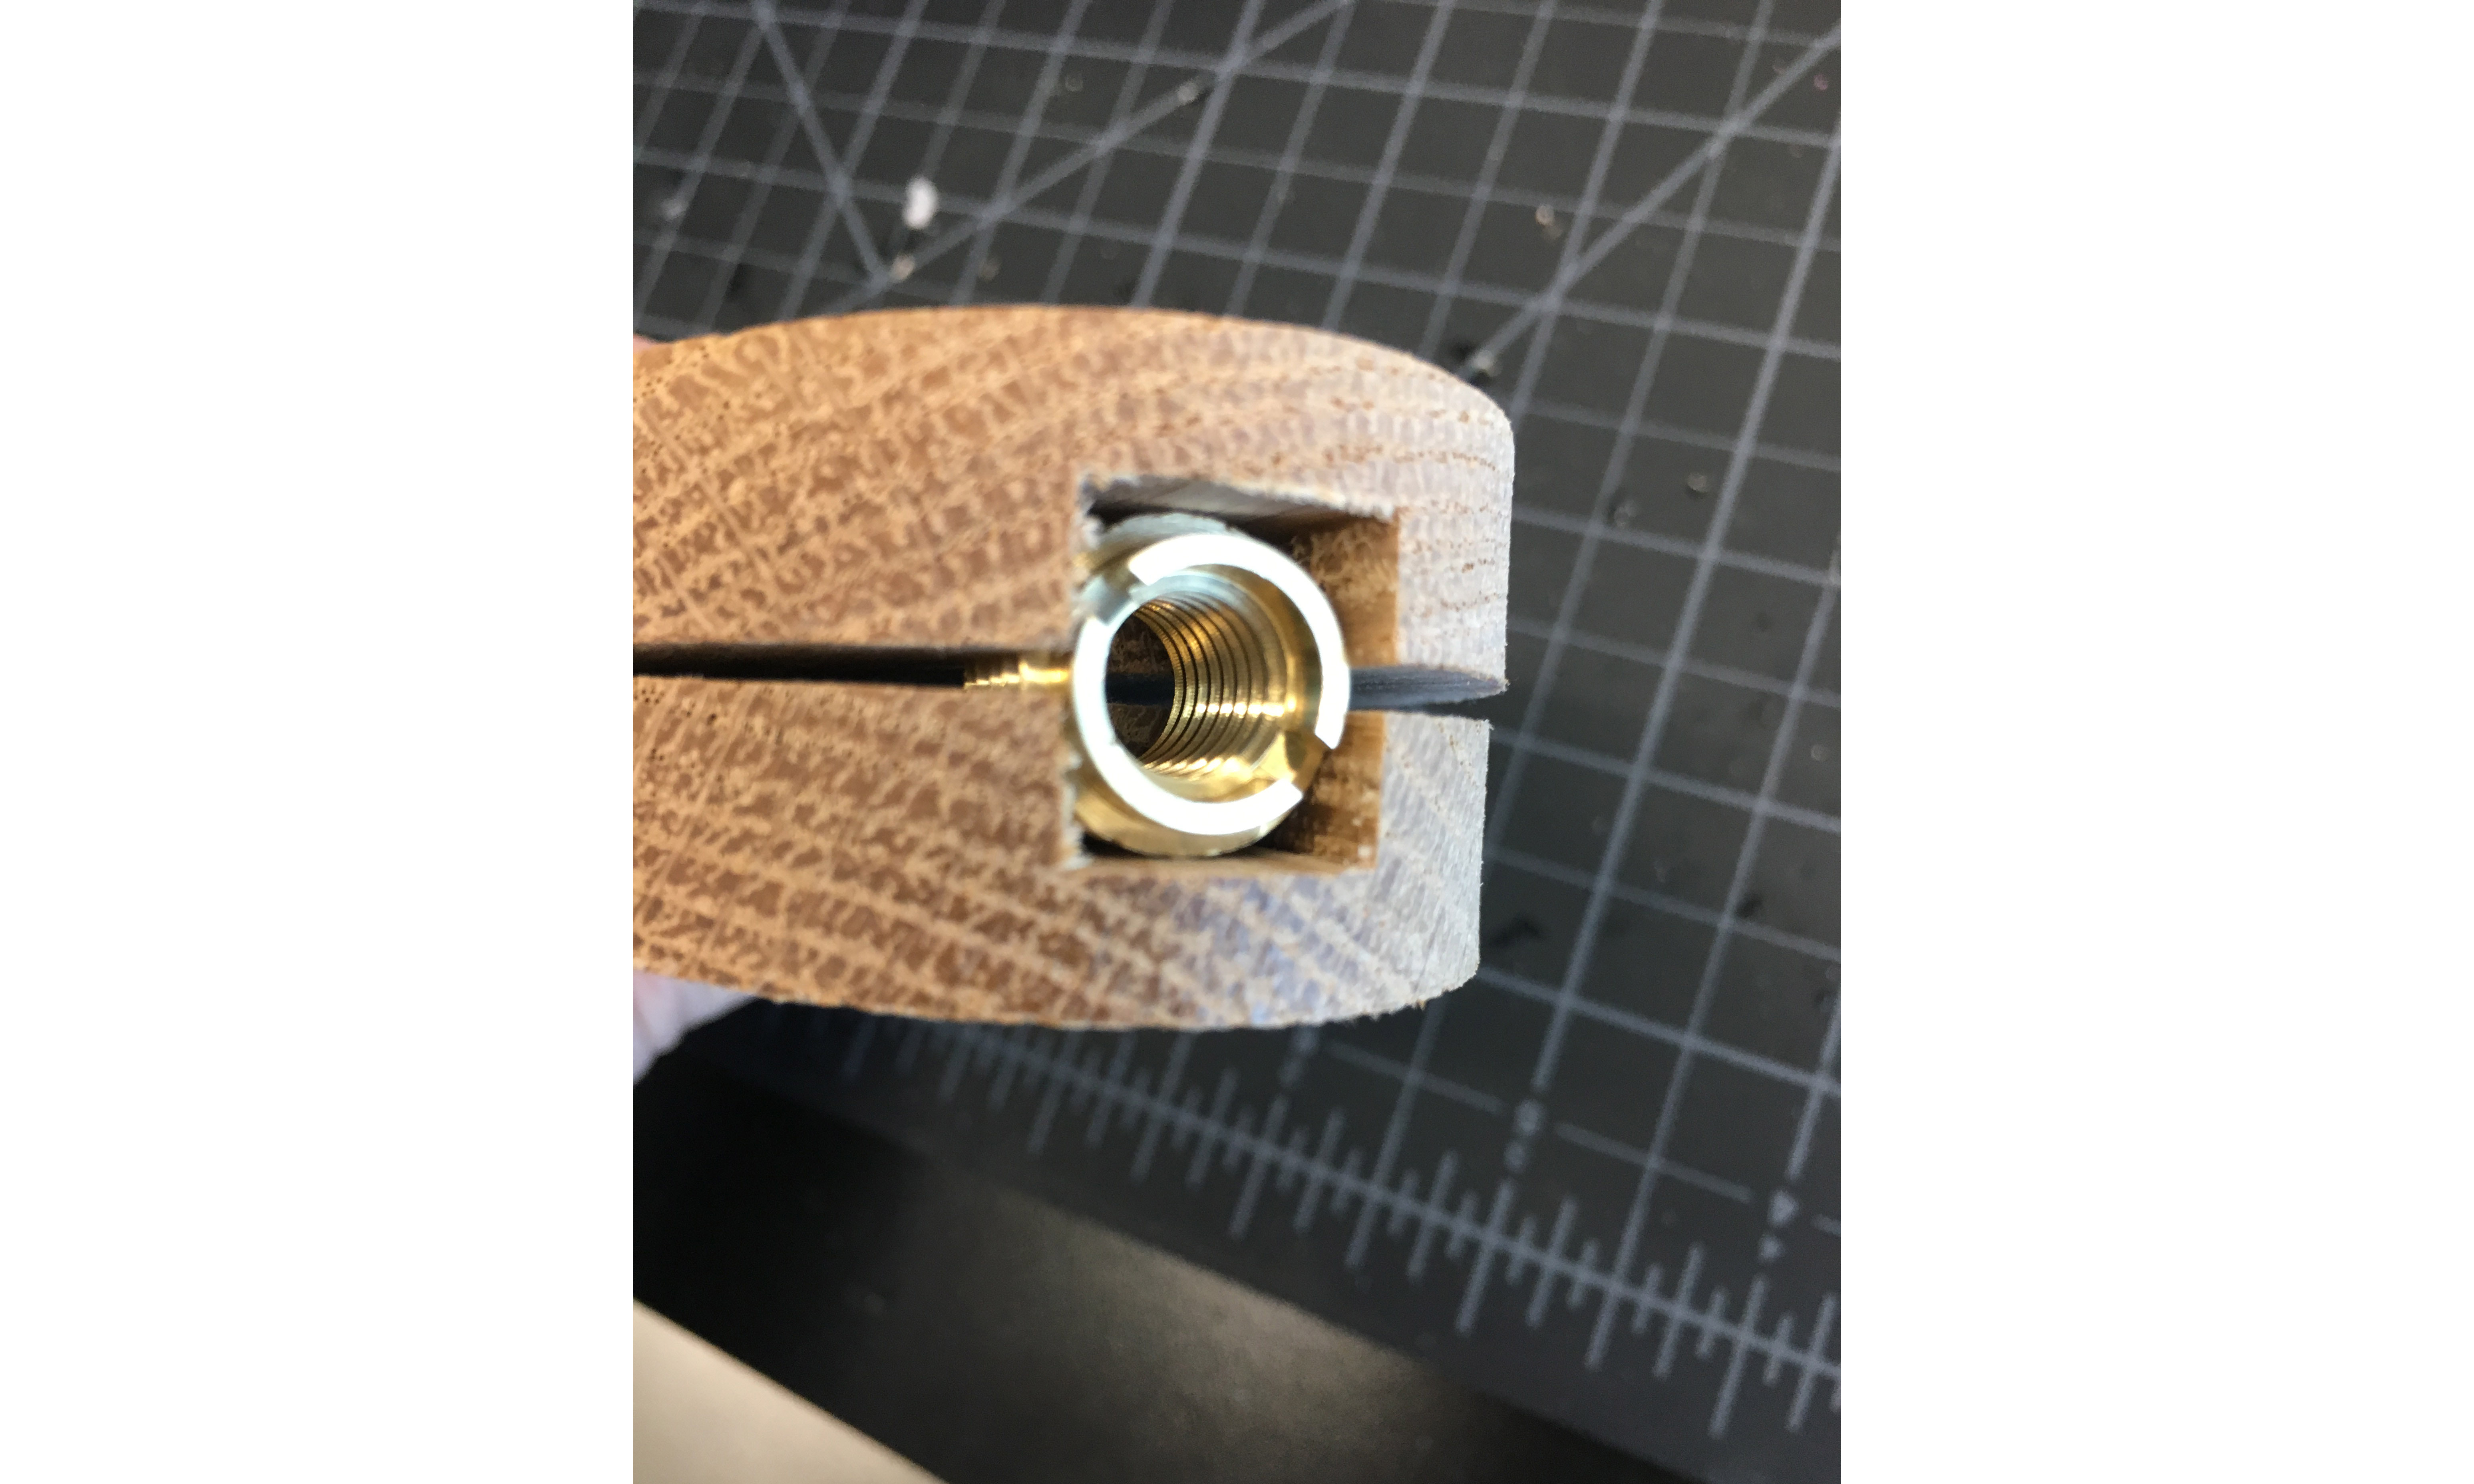
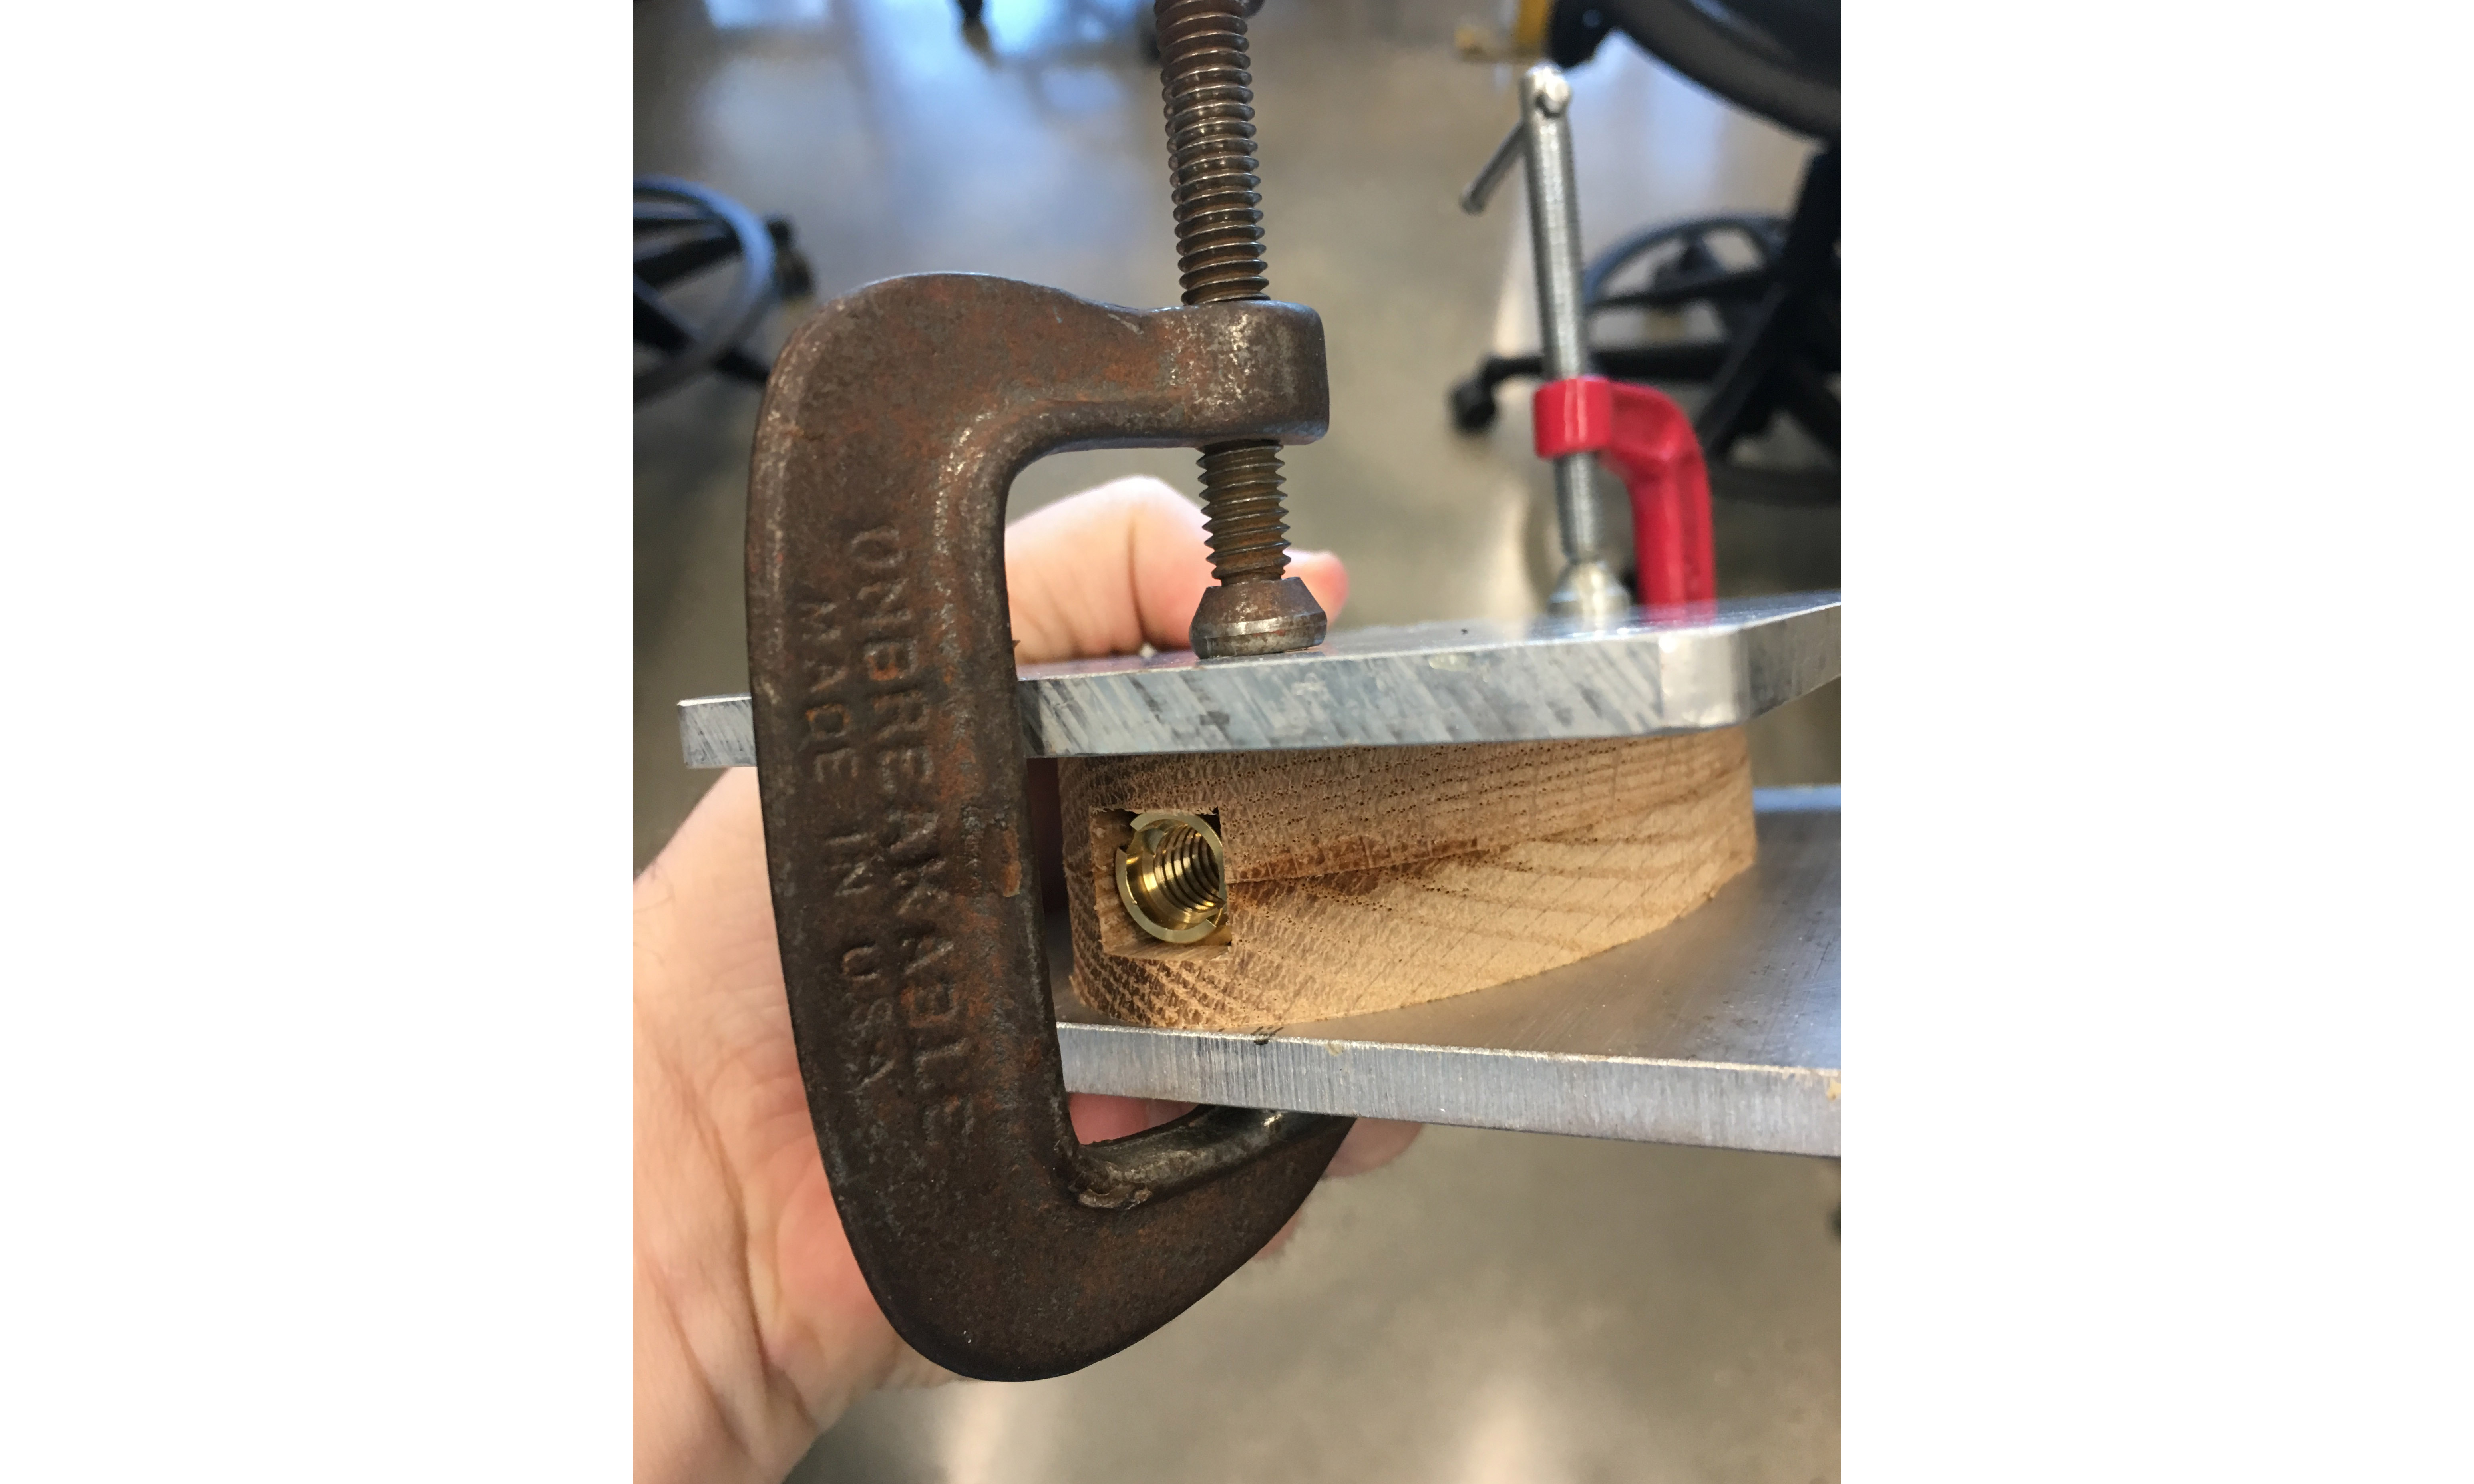
After cutting out the two halves from their tabs, I placed the threaded insert into one half of its cavity and sandwiched it with the other. It took some fine adjustments to align the edges all around. Don’t worry if the two halves are slightly askew; sanding will even it out.
10 minutes
Using Gorilla Glue, I dampened each half of the handle and clamped using two pieces of flat metal, so the clamps wouldn’t mar the surface. I wiped the squeeze out and let stand overnight.
Point of assembly to consider… I could have screwed in the insert after gluing. However, I felt there was a risk of the wood splitting if had glued then used a screwdriver to secure the insert in place. Feel free to experiment. I found my method very fast and secure.

20 minutes
Once the glue had dried, I sanded the handle sides, taking care to flatten and overhangs. A quick air dusting and then two coats of tung oil to bring out the red oak’s plentiful grain.


1 minute
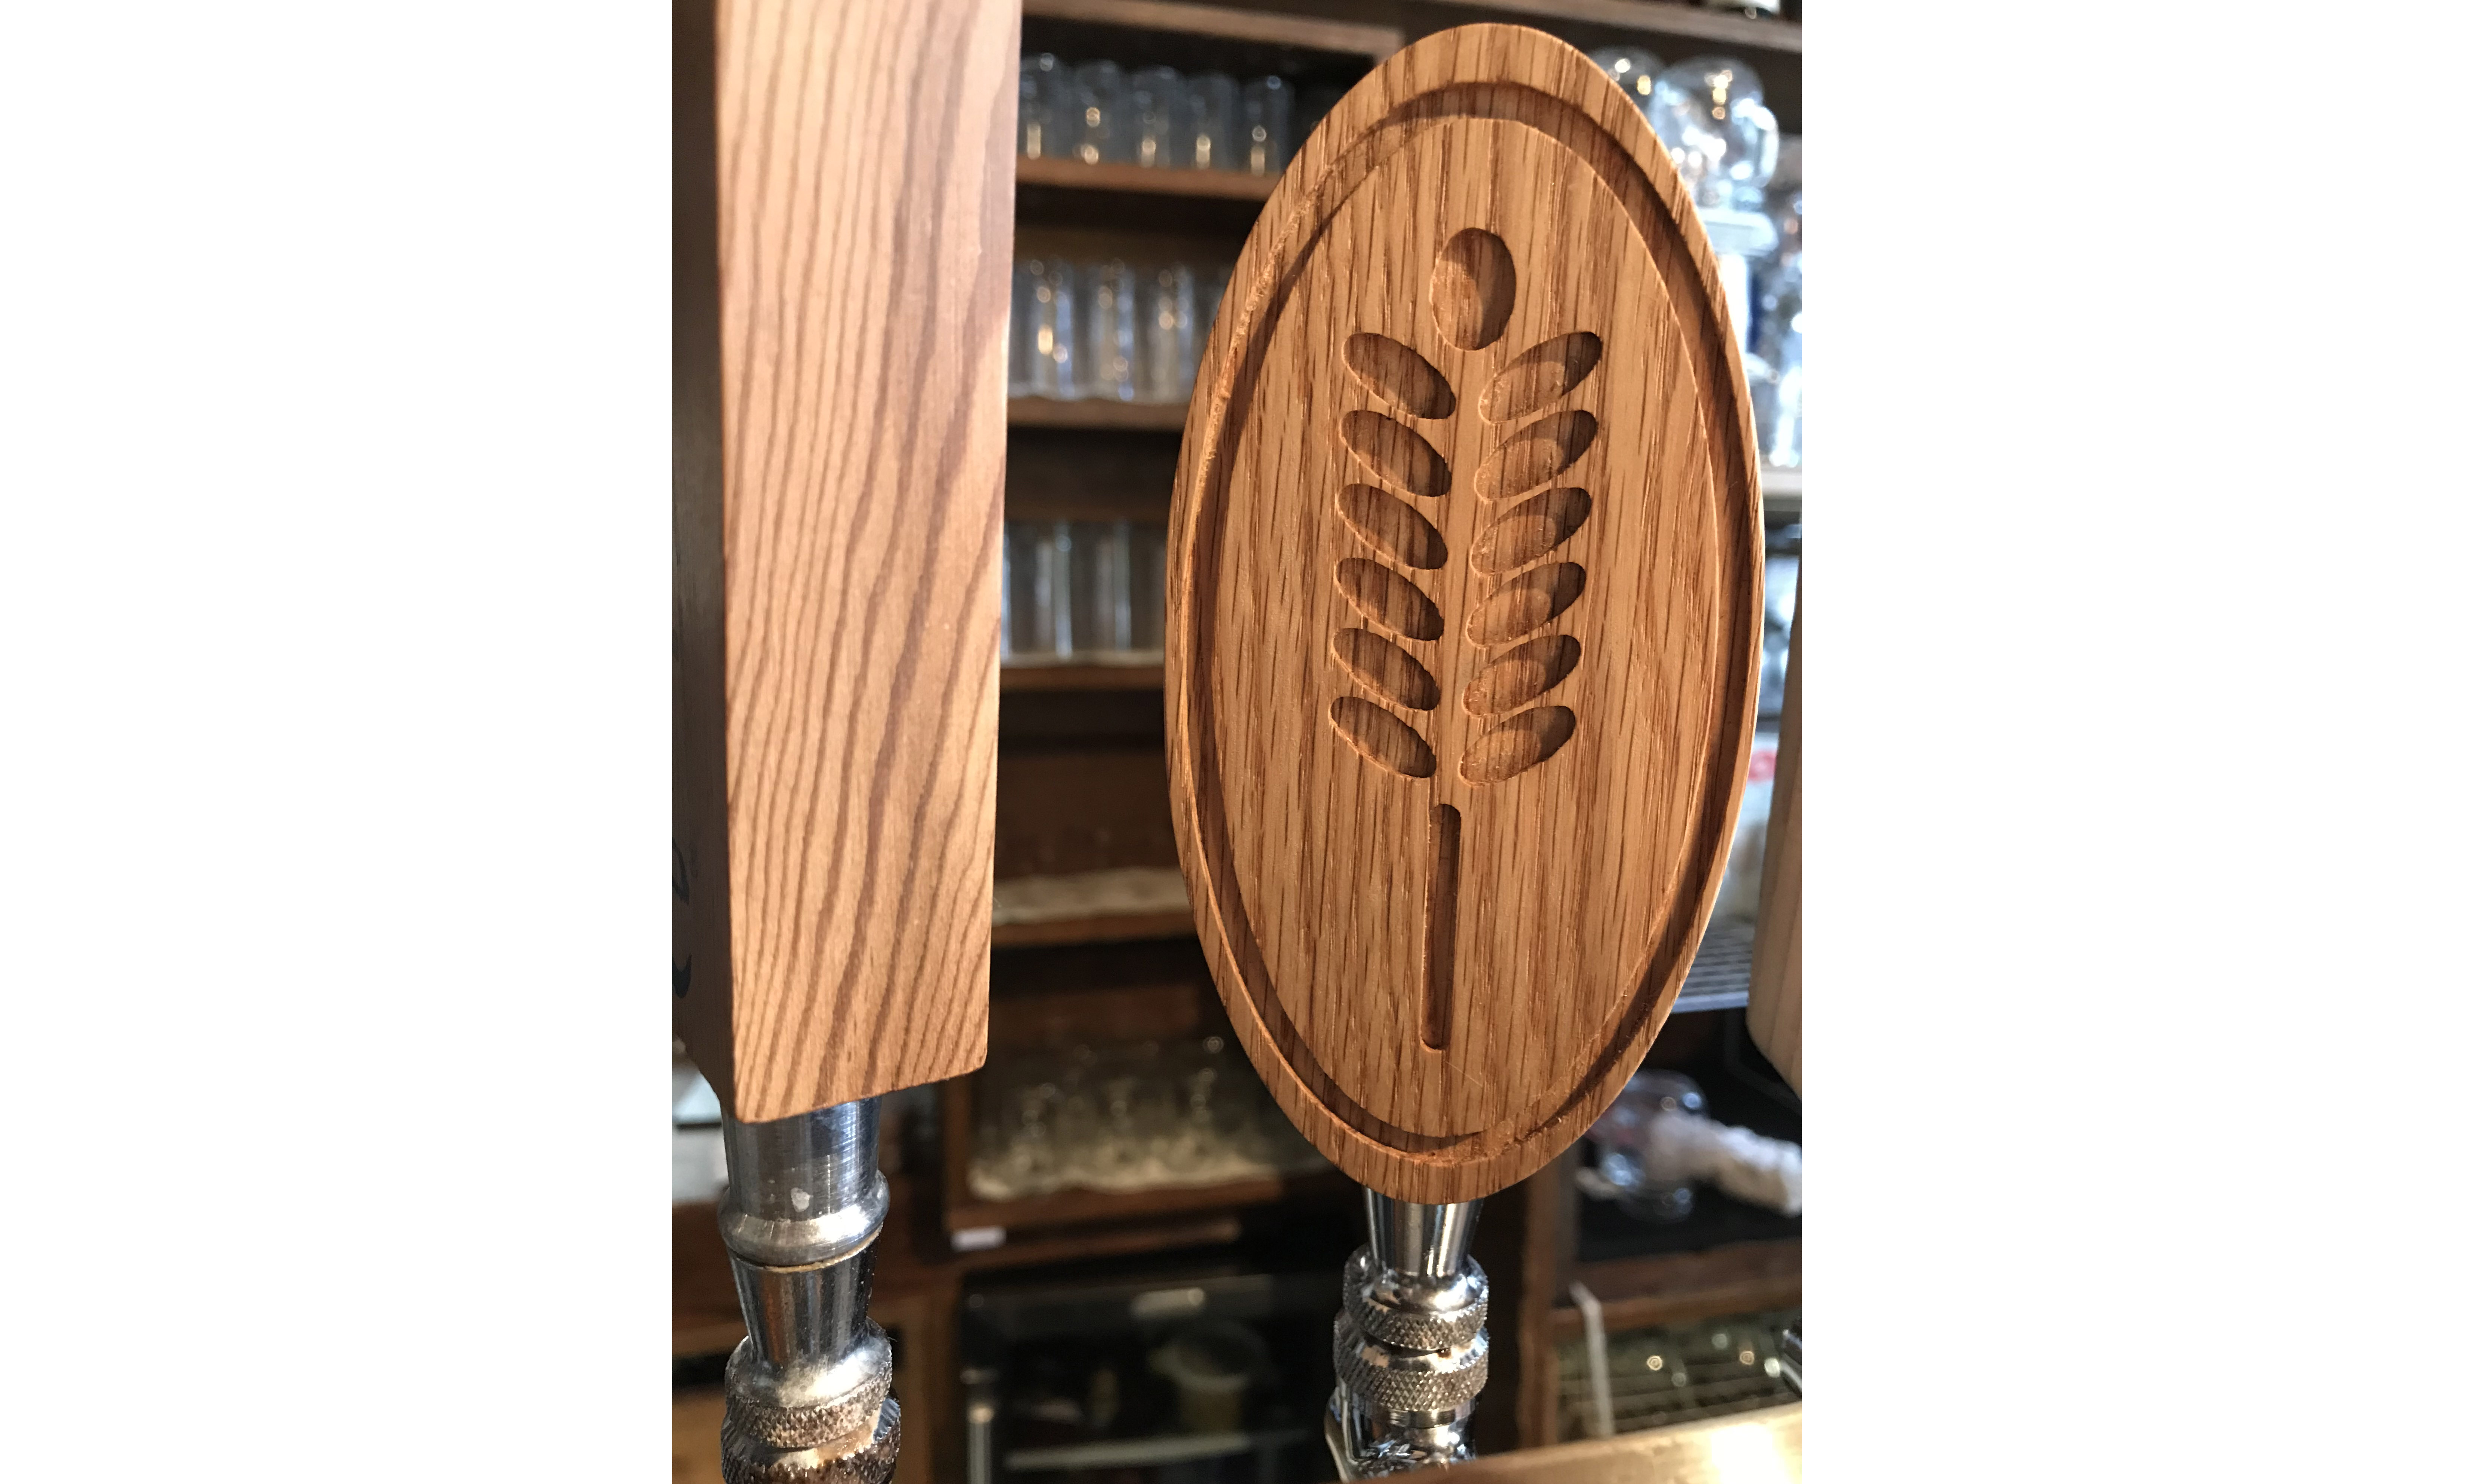
The handle is ready to attach to nearly any tap faucet! Here’s the handle in action among other taps. In fact, the turquoise and white handle to the right was also made using a Carvey, but it took a bit longer than 60 minutes!


Greg Urbanowicz
D Thornhill
Adam Matheson