
April Wilkerson
Texas
A small step stool that gives me a few additional inches to reach those taller places in my home.
| Material | Description | Price | ||
|---|---|---|---|---|

|
MDF Wood |
|||
I am using one 2×6 to make this stool because I wanted the top to be thick. You could also use 2×4s.
Start by cutting two lengths of 11", then glue and clamp these boards together so you end up with a board that is 11″×11″. Note: While the glue is drying, you can start on the next steps.
After the glue is dry, either run it through a thickness planer or use a belt sander to make the surface flat.
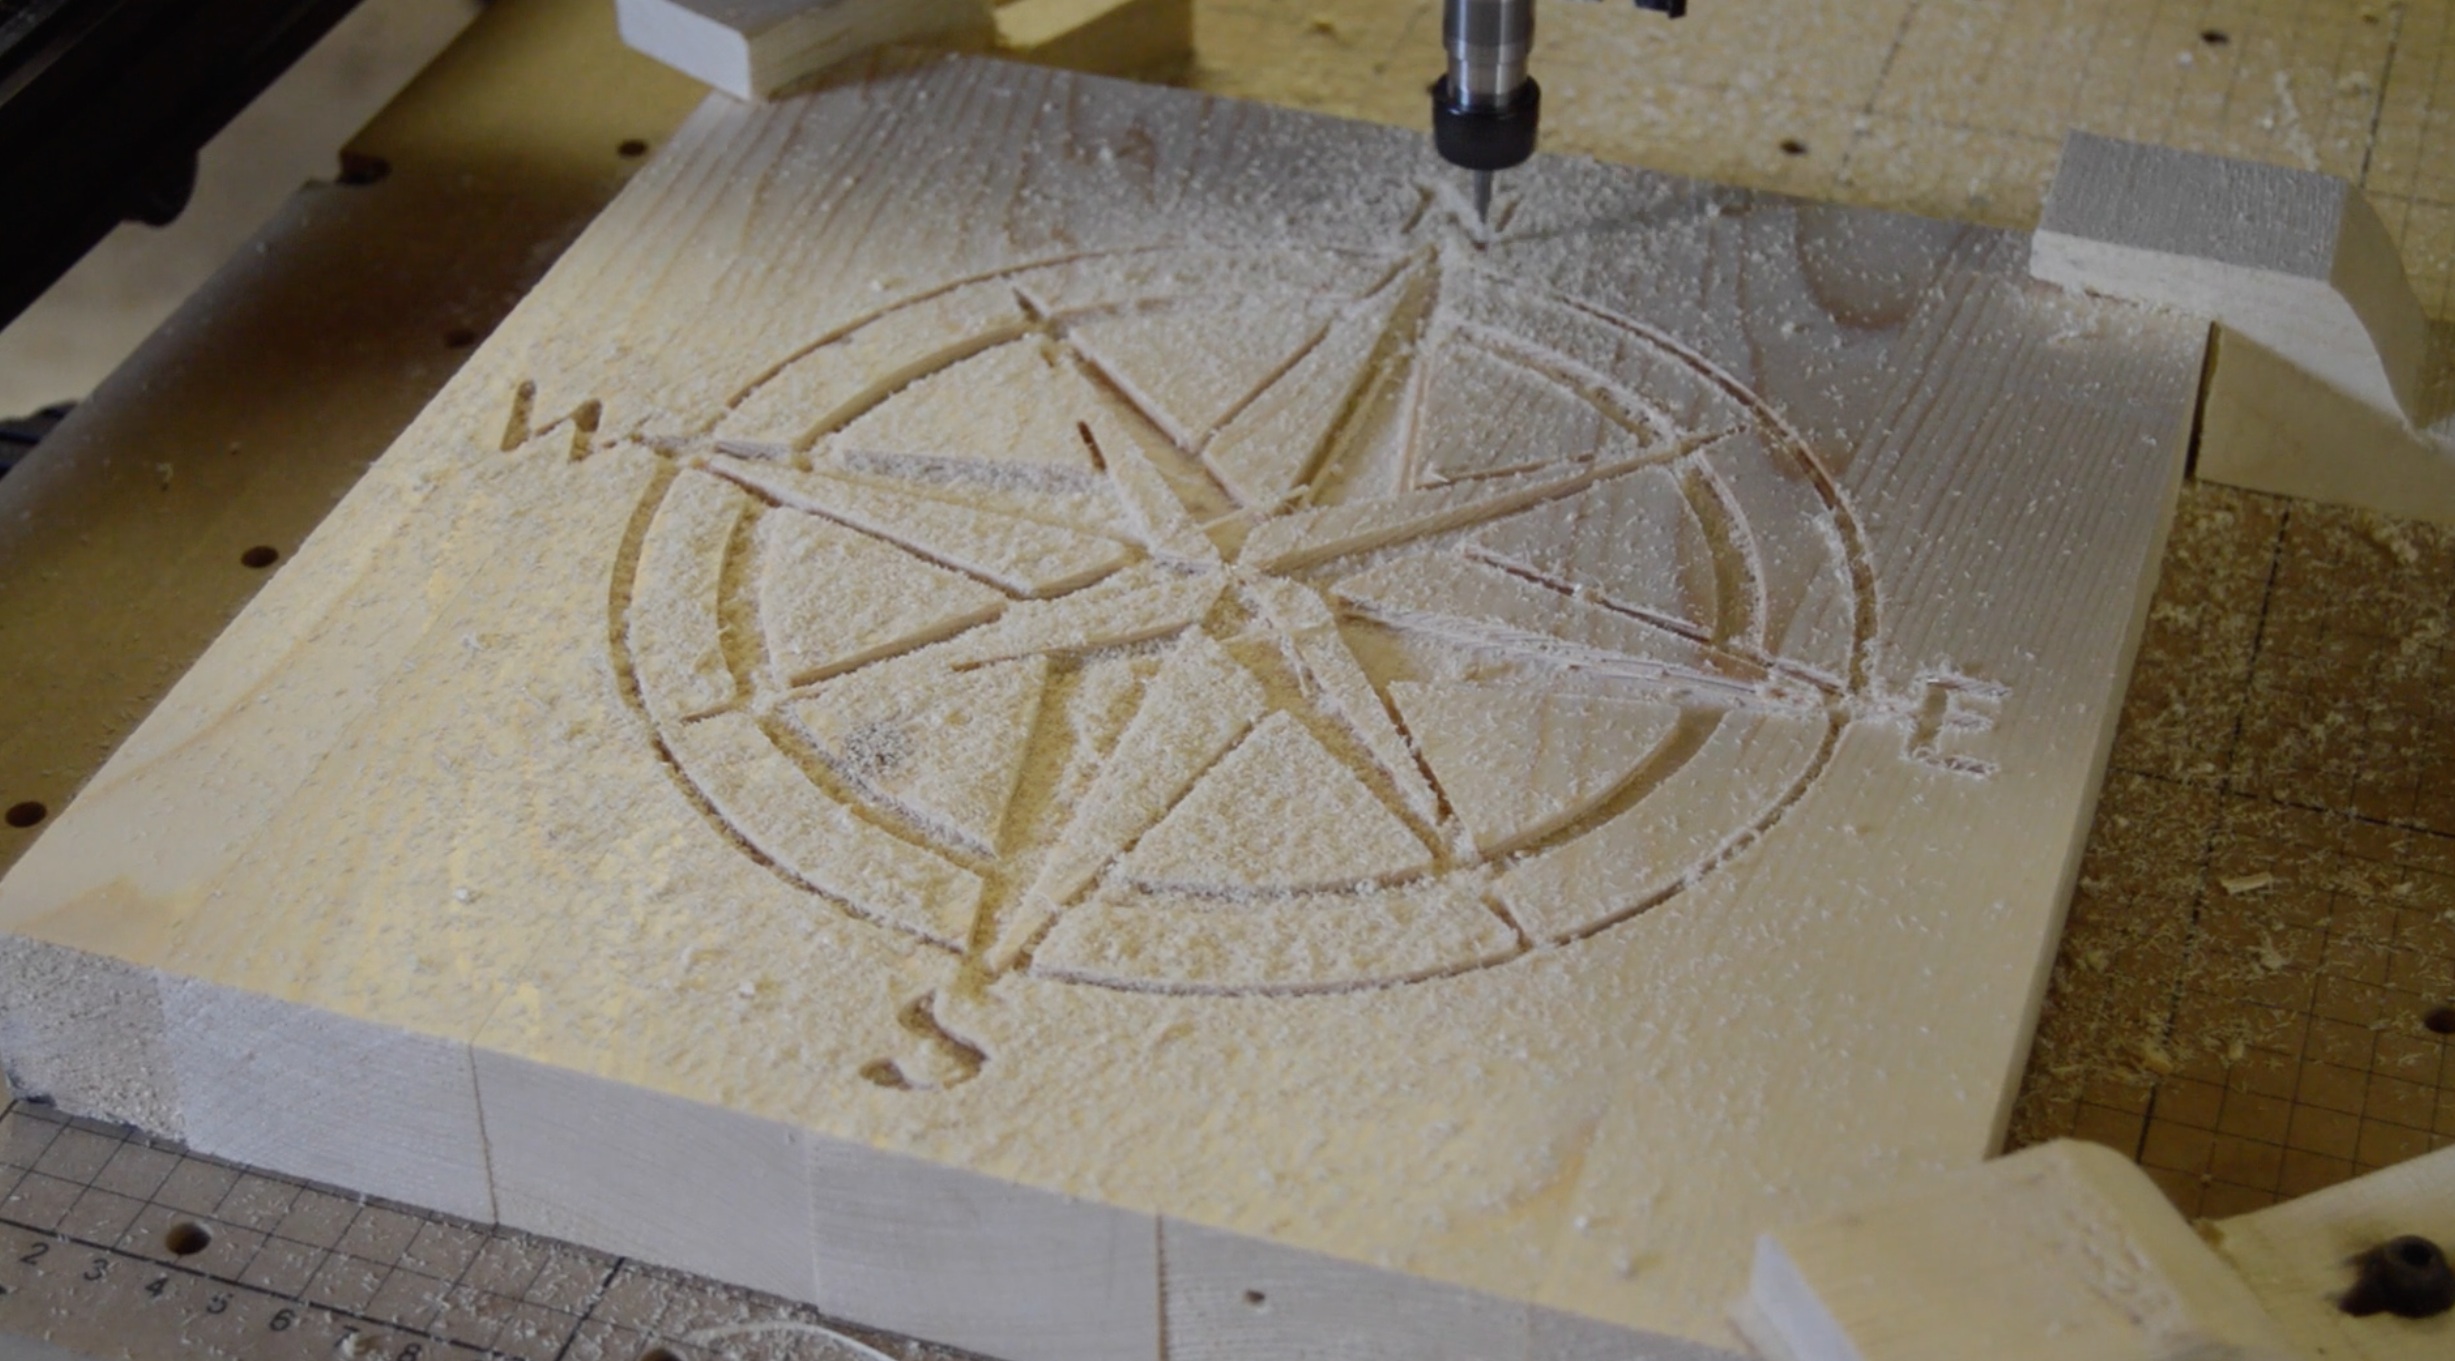
Now set it up at the X-carve to carve whatever design you want your stool to have. If you want your top to be round, you can either program the CNC to do that or use a bandsaw. I chose a 10 1/2" diameter for my stool.
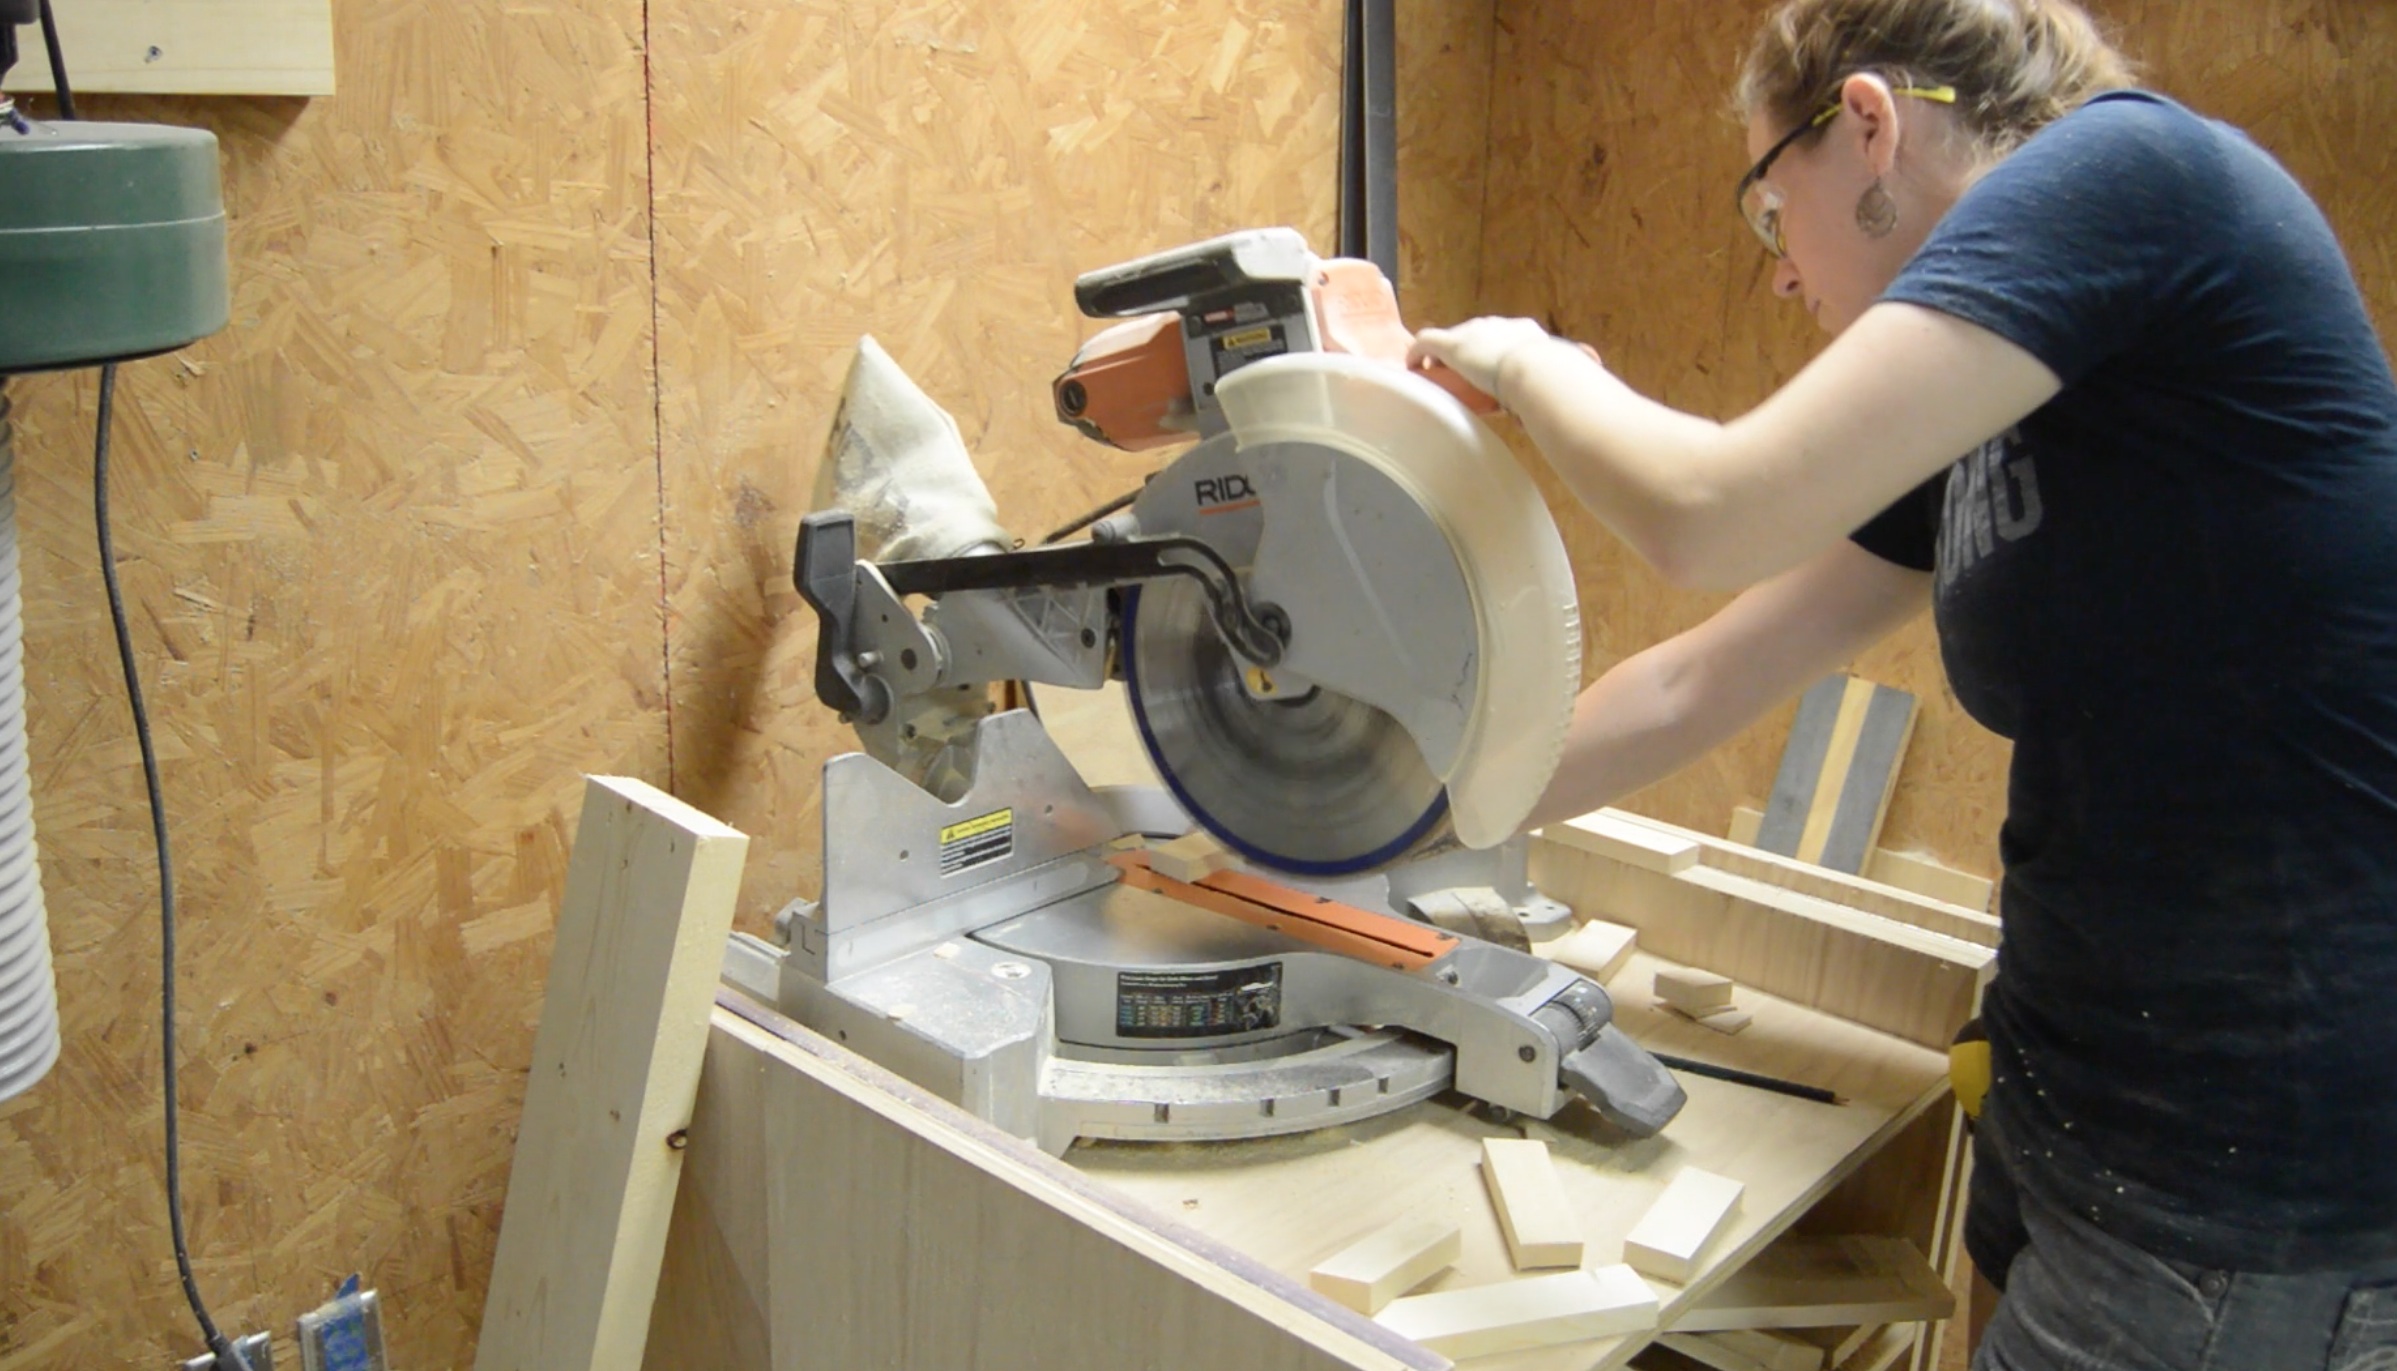
Next start on the legs. I made the legs 1 1/2″ × 1 1/2" square the cut them to be 9 1/2" long. Once all four were cut, I used a temporary fence on my miter gauge to cut a 7 degree compound miter on both ends of each leg.
To make them all the same, I would line up my first cut (with the blade off) then make a pencil mark on the temporary fence where the back end of the piece lined up. This way after I was done cutting one leg, I could move it away then move another leg in it’s place and just line it up with the pencil mark.


Now cut the stretchers that will support the legs. I cut four for the top and four for the bottom. The four near the top are 4" and 5" with a 7 degree angle cut on both ends (I used the miter saw for this). The bottom four stretchers are 6 1/4" and 5 1/4".
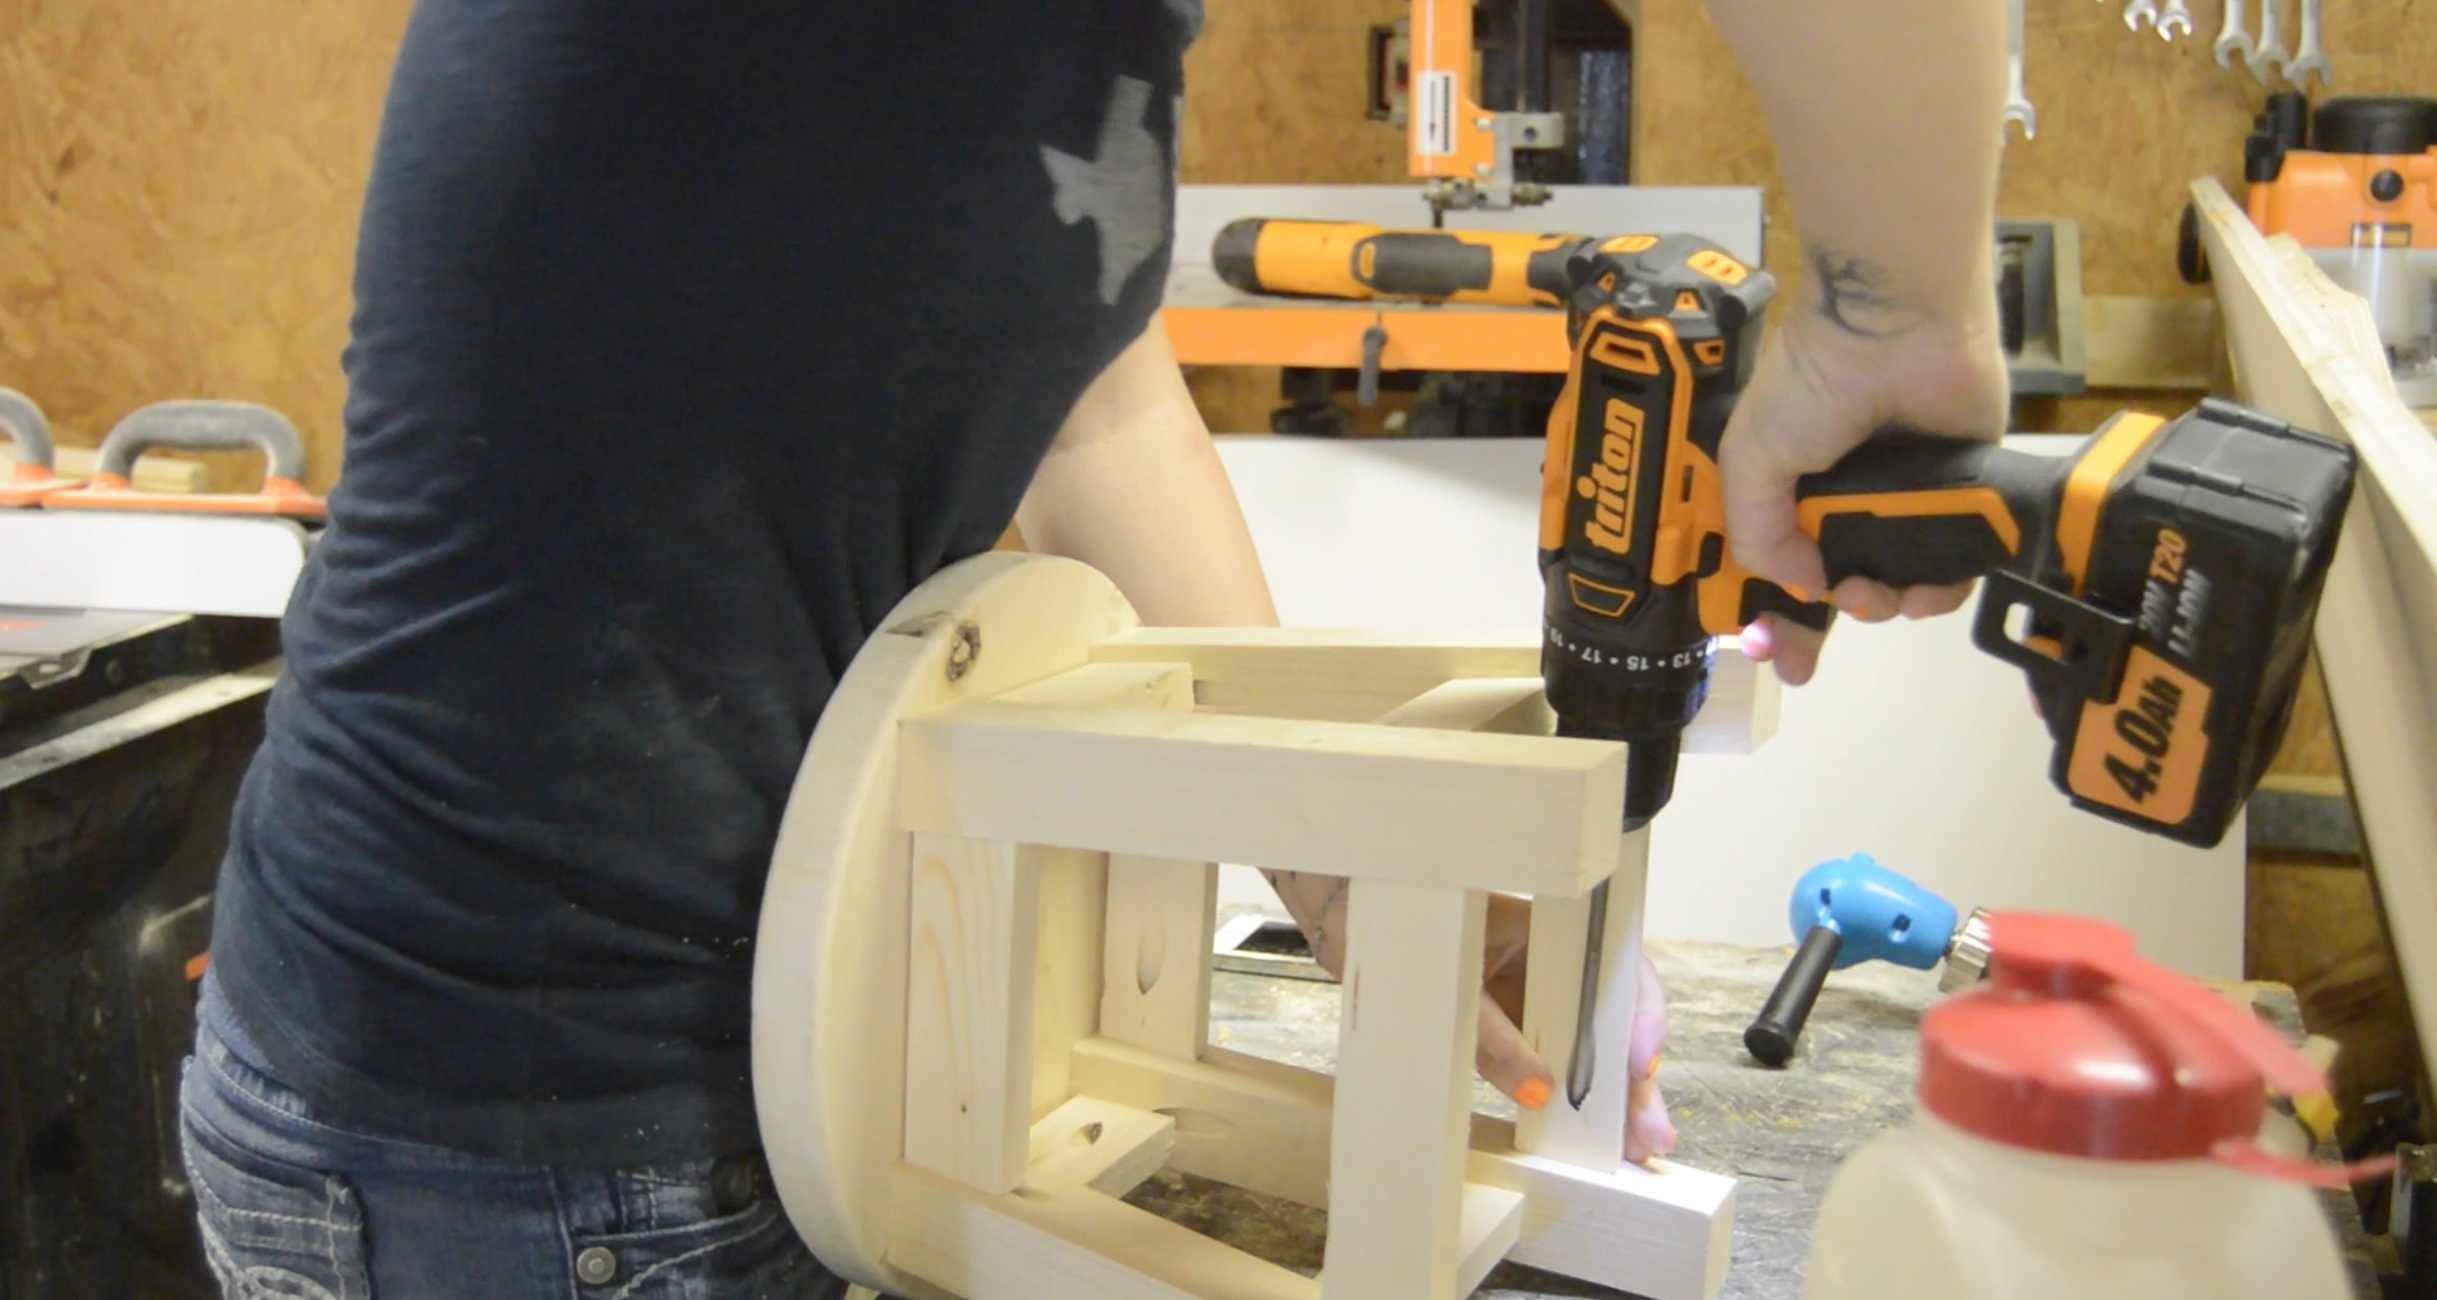
With everything cut, drill pocket holes in the legs and all the stretchers. You’ll need two on each of the legs and one on each end of the stretchers.
Start off by attaching the (what will be) top stretchers to the legs. Be sure to use wood glue on all these joints.
Once all four are attached now you can use the pocket holes in the legs to attach the assembly to the stool top. Next, add the bottom stretchers, staggering them slightly so the screws don’t run into each other. I just eye balled the placement of these, but they are roughly 1 1/2" and 2 1/2" up from the bottom.

I’m using this step stool for standing on, not sitting, so I’m not worried about leaving imprints on butts/legs. However, if you want to use this for a small sitting stool, then consider either using the X-Carve to also cut perfect inlays or adding epoxy to fill in the design.
Apply whatever finish you would like. I decided to use a darker stain called Carrington by Varathane.
Check out my website at Wilkerdos.com for more projects of mine.

David Kearl
Matthew J. Martin Sr.
Mike Stevens
Jonathan B. Carlson
laura palmer
Finehand37