
A simple engraved polka-dot bow tie made from 1/8" stock. This design simulates a polka-dot fabric style, but preserves the look of the wood by just engraving the design. Endless possibilities here – could be done in any color or style of wood, could include any different color or pattern of fabric.
8 minutes
Mount a piece of 1/8" wood to your work surface, set the machine up correctly, and run the Easel program attached to this project, using a 1/16" bit. This doesn’t take long, it doesn’t have to engrave terribly deep, and then it will cut out the shape of the bow tie at the end.
There are any number of different woods you could use here. I used Walnut, because I feel like it has a sort of elegant look to it, and also it’s what I had on hand. But consider using other exotics. Imagine how this would look in Padauk, Zebra wood, Purple Heart, Wenge, Bubinga, or some other very distinctive wood. You could have a whole collection!

Nothing comes off the CNC flawlessly. You will need some sandpaper to clean up all around the outside profile of your bow tie, and in all the carves. Yes, that means inside each little polka-dot you will probably find a few little fuzzy bits of wood that need to be removed for a nice clean product. Go at it gently with the corner of a piece of 220 grit sandpaper and you’ll get it. Also, just sand the whole top and bottom surface with 220 grit as well. I like to then follow up with 400 grit because I like a glassy smooth surface, but it’s your preference how smooth to sand. Just get it even all around.
Next, apply your finish of choice. I just used a couple of coats of lacquer that I picked up at my local orange big box store in a spray can. Cheap and easy. After I do two coats on each side, I sand lightly with 400 grit sandpaper and then do one final light finish coat. Nice even sprays, making sure to come at it from all angles so you get the finish into the inside of the polka-dot engraving as well!
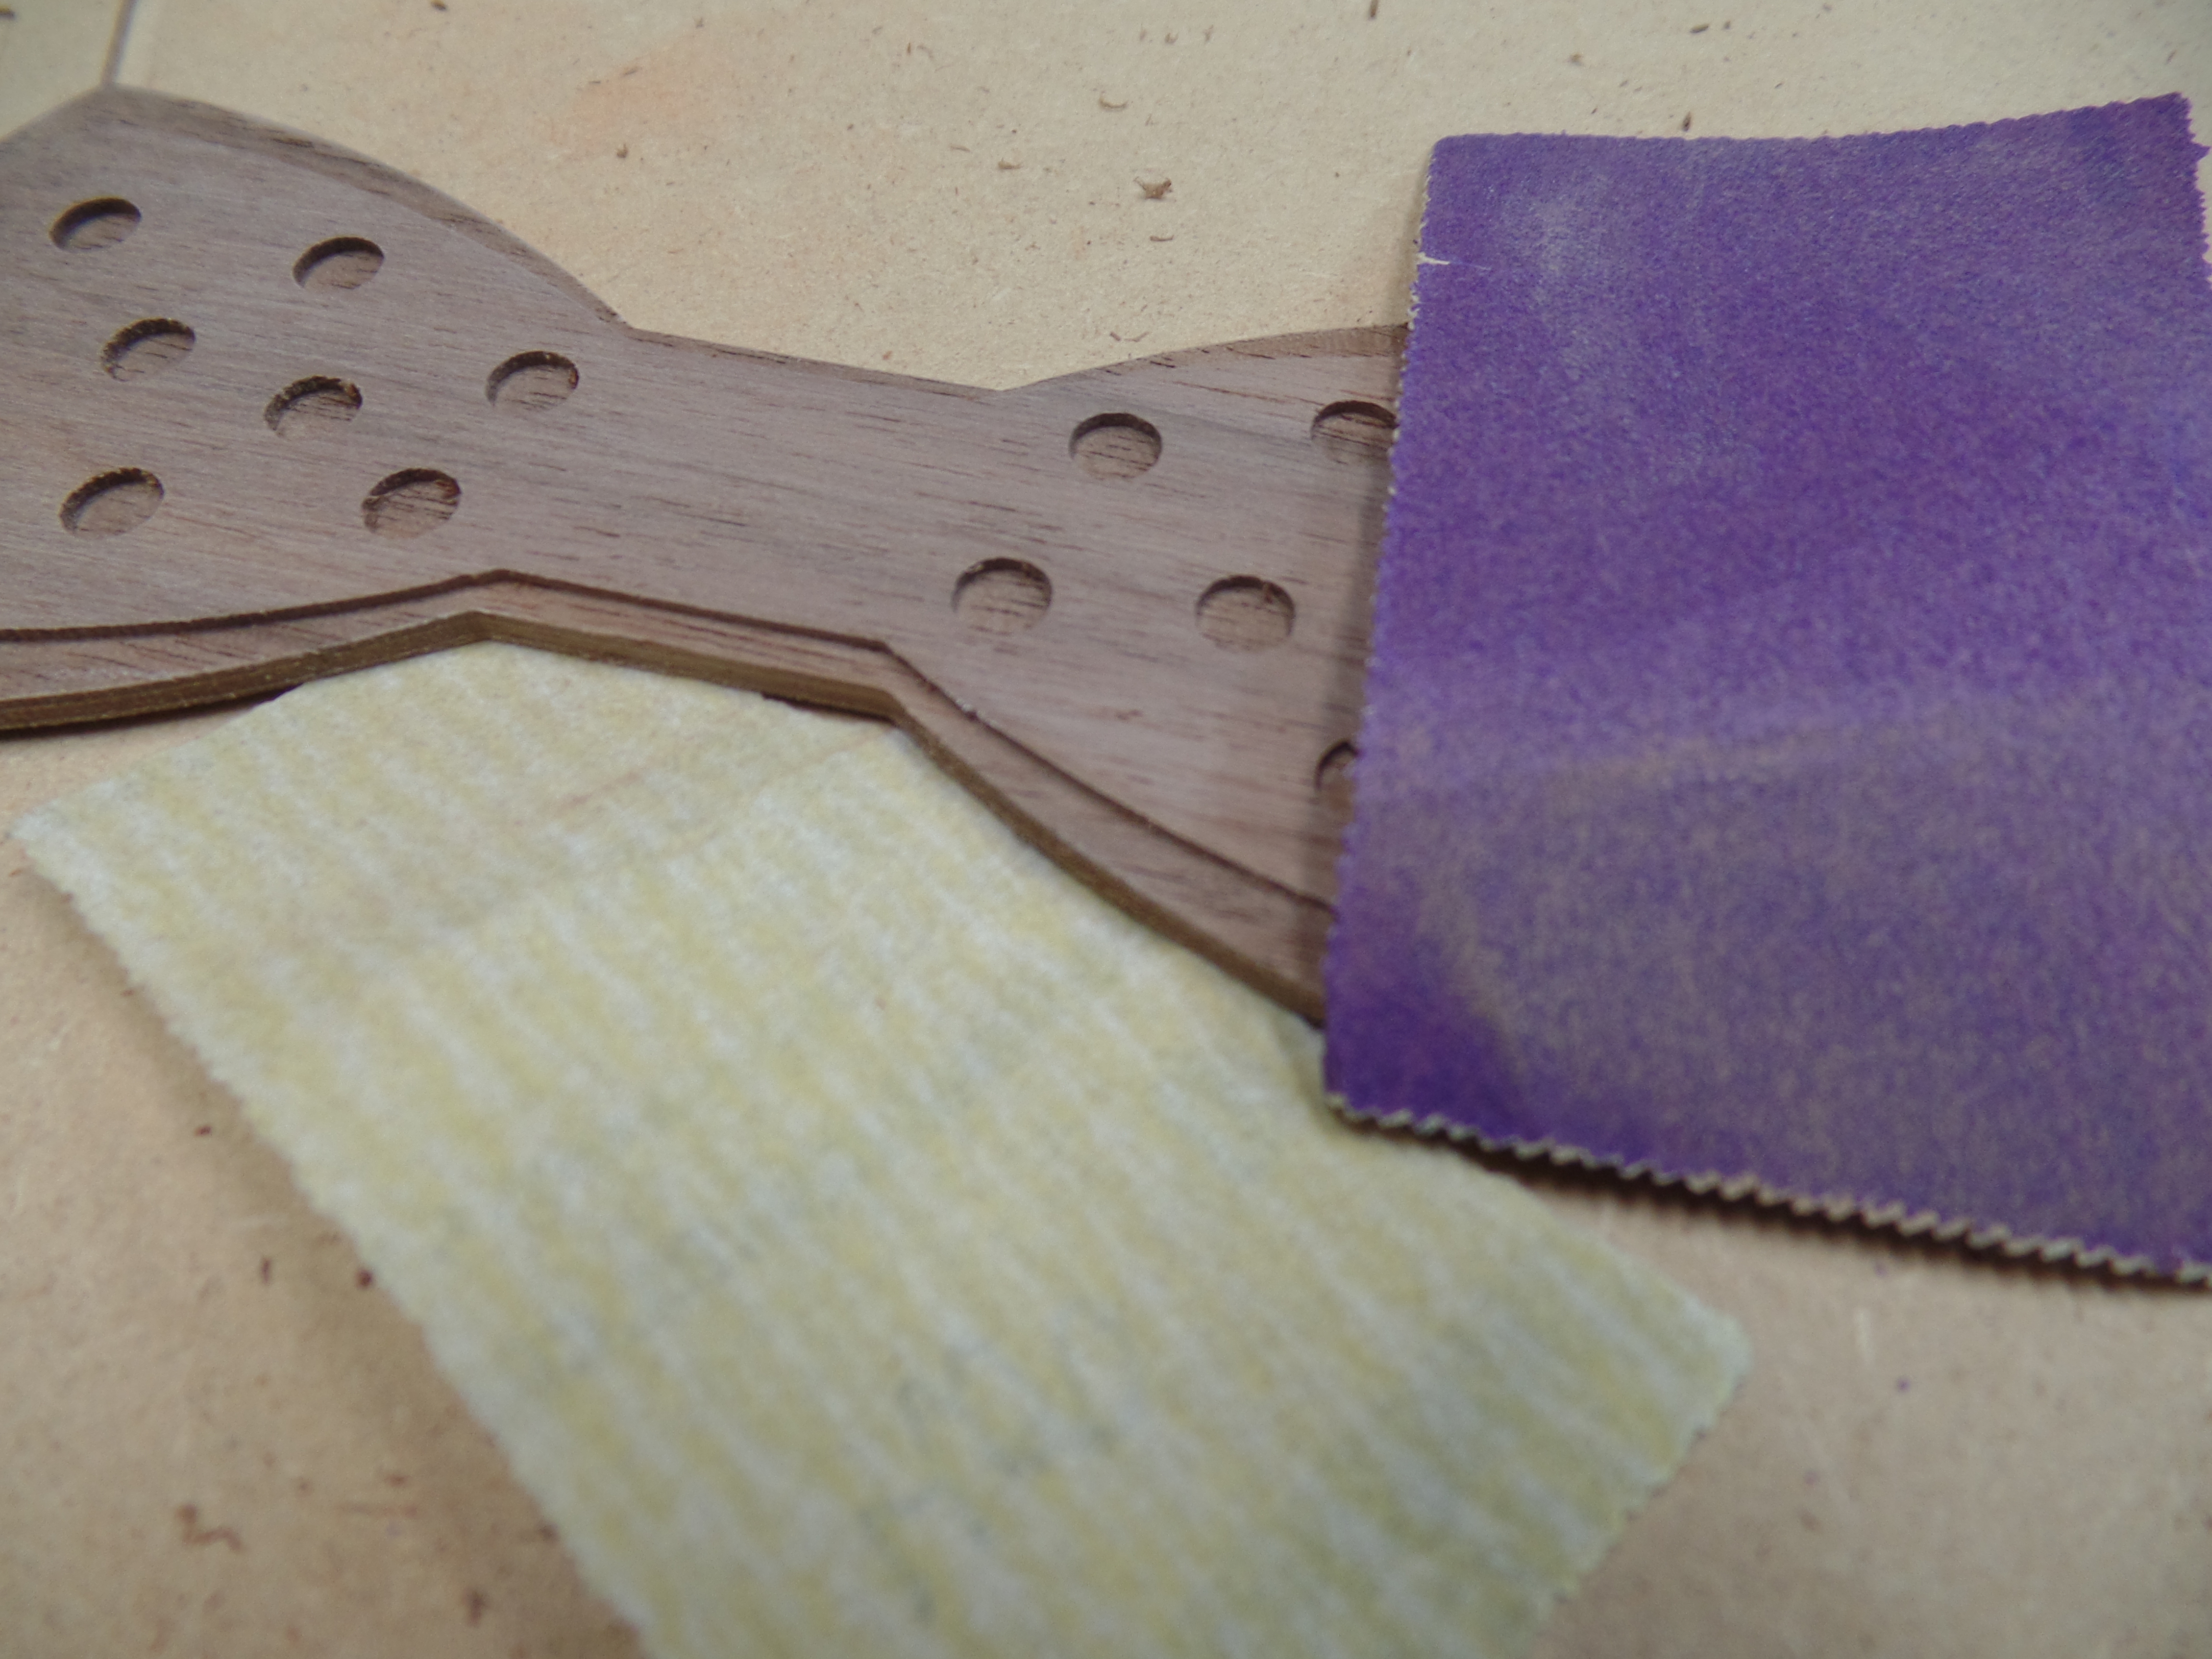
Here’s another chance to showcase your own personality. Choose a fabric that will provide a good contrasting but complimentary color to your wood for the center tie part of the bow tie. I chose a bright yellow color. Also, if your fabric is patterned, I find it looks best with a nice small repeating pattern. Remember, only a tiny bit of this fabric will be visible, so it really has to count!
Make a band of fabric by cutting a 2" strip, folding it over wrong-side out, sewing up 1/4 inch from the edge, and then turning the resulting tube back inside-out so you end up with a 3/4" fabric tube that is right-side-out. Did that make sense?
Iron that tube of fabric flat, then just wrap it around your bow tie, cutting it to the right length. I chose to keep it simple here with a single wrap of the fabric. Then to hold it in the back, just use some glue. Hot glue works great on fabric, or I used medium-viscosity CA (super) glue. There’s your bow tie.

5 minutes
Your bow tie is done. All you really need to do now is figure out how to strap it to your neck. Plenty of options here too, and remember that the neck strap doesn’t matter that much – it will be hidden by the collar of your shirt!
Try a piece of wide elastic, sized to your neck, and super glue the ends.
Get a fabric or canvas strap, size it right, put Velcro on it for adjustability.
Buy some real official bow tie hardware. I got a bunch of it on ebay for just a few dollars. Then follow instructions to make a truly adjustable strap for your tie.
Basically, just get that thing around your neck and wear it with pride.
Here we have engraved polka-dots. You could do so many other patterns – checkerboard, diagonal lines, simple monogram in the corner, team logo engraved on one side, the possibilities are endless here to design your own very simple engraving and personalize your tie to your own likes!


samyuktha
Sam Sonta
DALE W MCCORMICK