
Shawn Ferris
COMMERCE CITY, CO
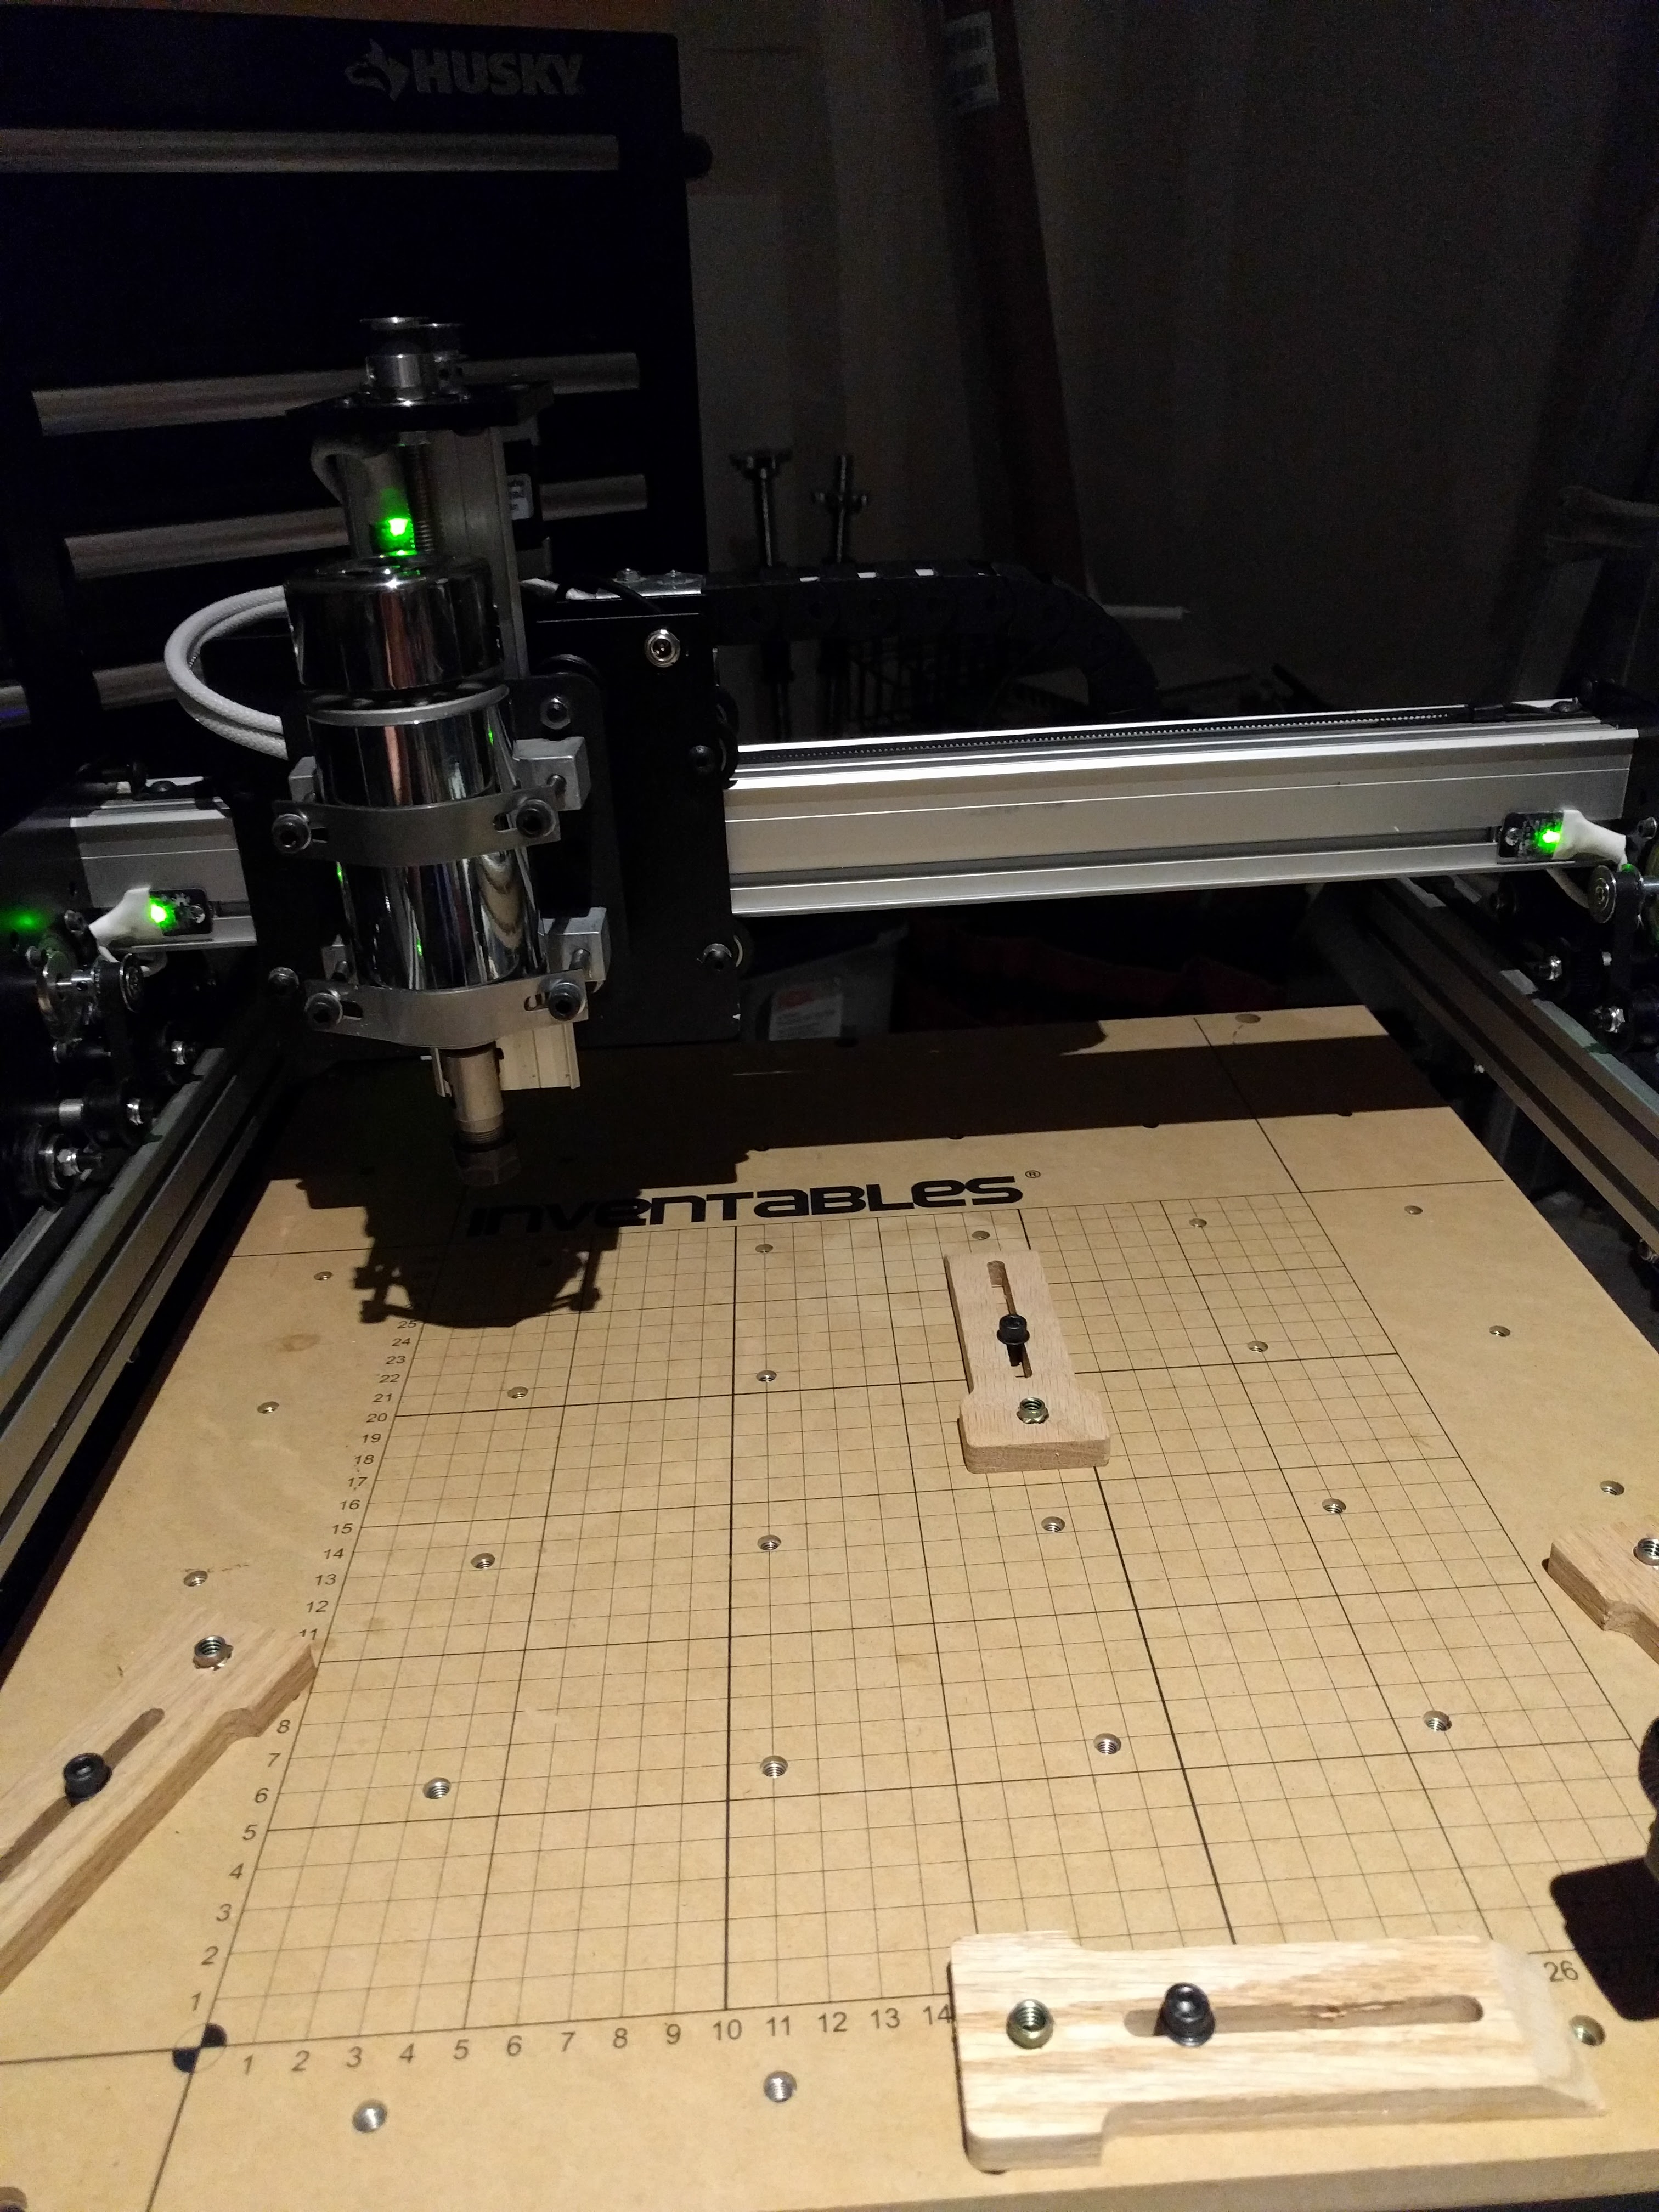
Upgraded my Shapeoko2 to an X-Carve (2015), Quiet Cut Spindle and Creltek hall-effect limit sensors. I also replaced the Uno (grbl) + gShield controller with a Arduino Due (g2core) + gShield controller, in a custom box, w/ an embedded Raspberry Pi Zero W for use on Chilipeppr
I first upgraded the Shapeoko components using the X-Carve upgrade kit:
I thought it would be mostly just replacing pieces, but in the end, you basically have to disassemble the Shapeoko and re-build it from the ground up. Not at all difficult, but definitely time consuming. Just follow the directions for building an X-Carve. (after disassembling the Shapeoko)
This was done using the awesome instructions from here:
Quiet cut spindle upgrade for gShield
I tried to link my project to David’s, but I’d already created this project and it doesn’t appear to you link existing projects, only new..
I built my controller box using makebeam extrusions (10mm) and sheets of LEXAN polycarbonate plastic for the sides. My goal was to be able to use Chilipeppr to submit the gcode, and to be able to do it without a direct connection to my laptop, or desktop.
To meet that latter requirement, I’m using a Raspberry Pi Zero W + a Zero4u USB hub for additional devices, and to provide power to the rPi.
On the rPi zero, I run Arch Linux and the required Serial Port JSON server so that Chilipeppr can communicate to it. All the necessary mounting holes in the controller sides were cut using this set up, and it worked extremely well. (no hiccups)
Even though Chilipeppr supports a grbl workspace, I decided I also wanted to upgrade my Arduino Uno running grbl, to an Arduino Due flashed with g2core.


