Email Support | Mon - Fri: 9am - 5pm Sun: 12pm - 4pm CT | Call Support: 312-775-7009

Which X-Carve is Right for You? Learn More.

Rubber Band Racer

158 likes
1434 opens
324 copies
1982 downloads 10 comments
Beyond Design

Project by

Beyond Design
Chicago, Illinois

General Information

A rubber band powered toy in the style of a classic race car

Like this project Open in Easel®
Material Description Price
Cherry Wood

Cherry Wood

6" × 12" × 3/4" Cherry Wood

$10.86

Walnut

Walnut

6" × 12" × 1/2" Walnut

This project's Bill of Materials is not complete. Add to Cart

$10.86
from Inventables

File Description Unit Price

racer top.STL

$0

Download Zip

$0
from Inventables

1

Mill Racer Frame

Carve the main frame of the race car out of 1/2" material. This is the main functional piece of the car, so choose a durable material.

Use this EASEL link

2

Mill Racer Tires

Carve the tires out of the same material that you cut the racer frame. We kept these as a clean 3 spoke design, but you could add more or less detail to the spokes. You can also add grip to the outside or experiment with the size to get better results.

Use this EASEL link

3

Rough cut the top of the racer

This is the start of the main aesthetic part of the car. Use an 1/8" ballnose endmill to carve out the rough shape of the racer.

Use this EASEL link

4

Finish cut the top of the racer

Use the same 1/8" ballnose endmill and run this cut to clean up the previous step. The finish will still require sanding, but will be much closer.

Use this EASEL link

5

Etch the number 5 into the hood

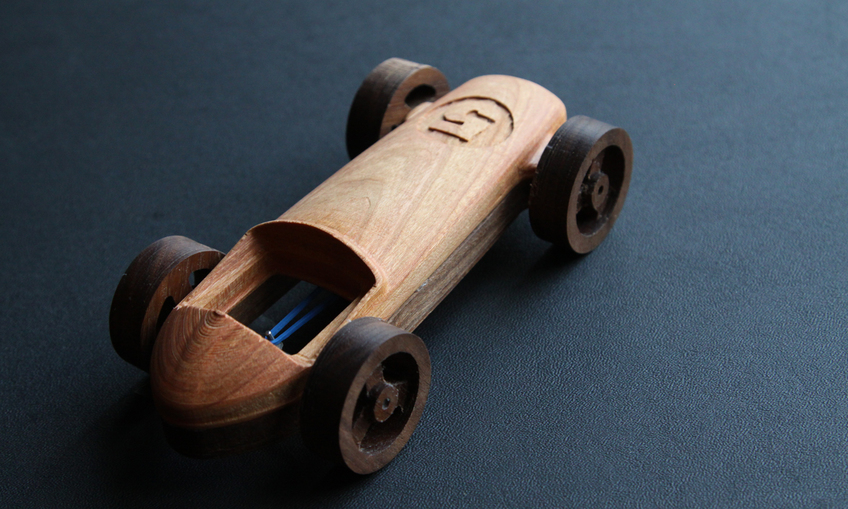
Switch to a 1/32" bit to etch the number 5 into the hood of your race car.

Use this EASEL link

6

Cut the profile of the top of the racer

Use an 1/8" endmill to cut the profile of the racer and remove it from the machine.

Use this EASEL link

7

Sand and Finish

Sand all parts to get a smooth surface and finish with mineral oil.

8

Assembly

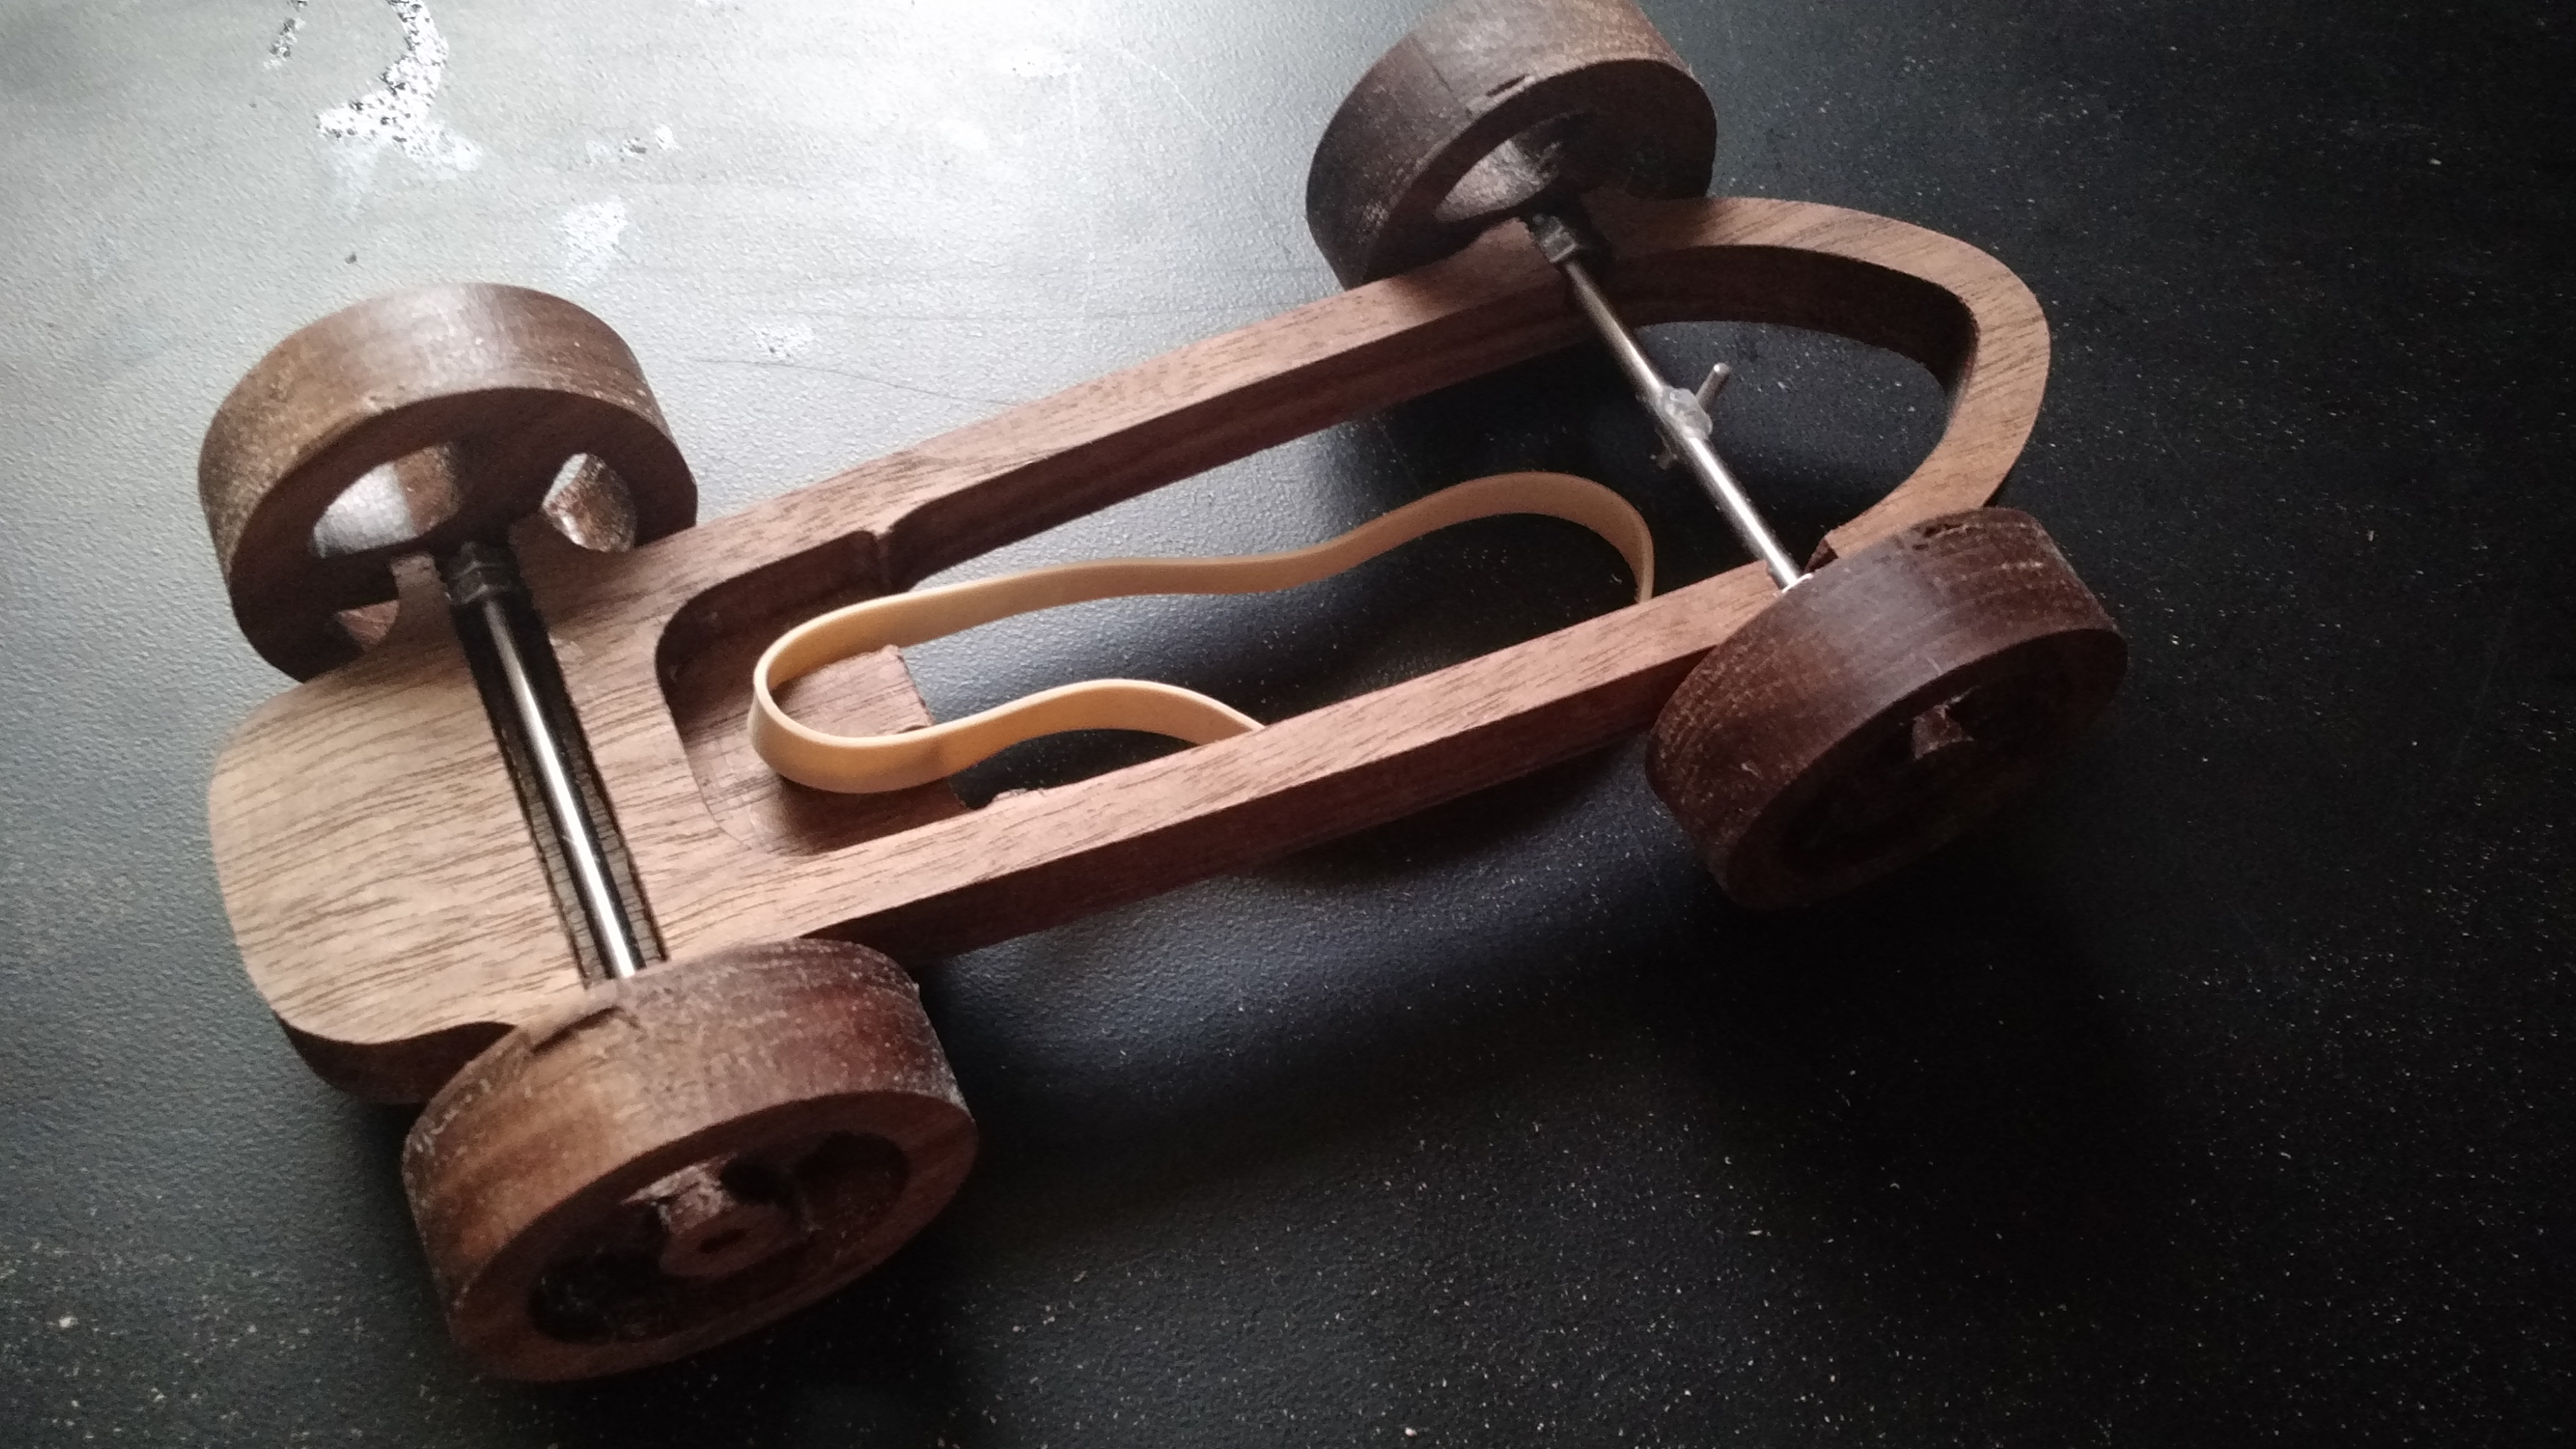
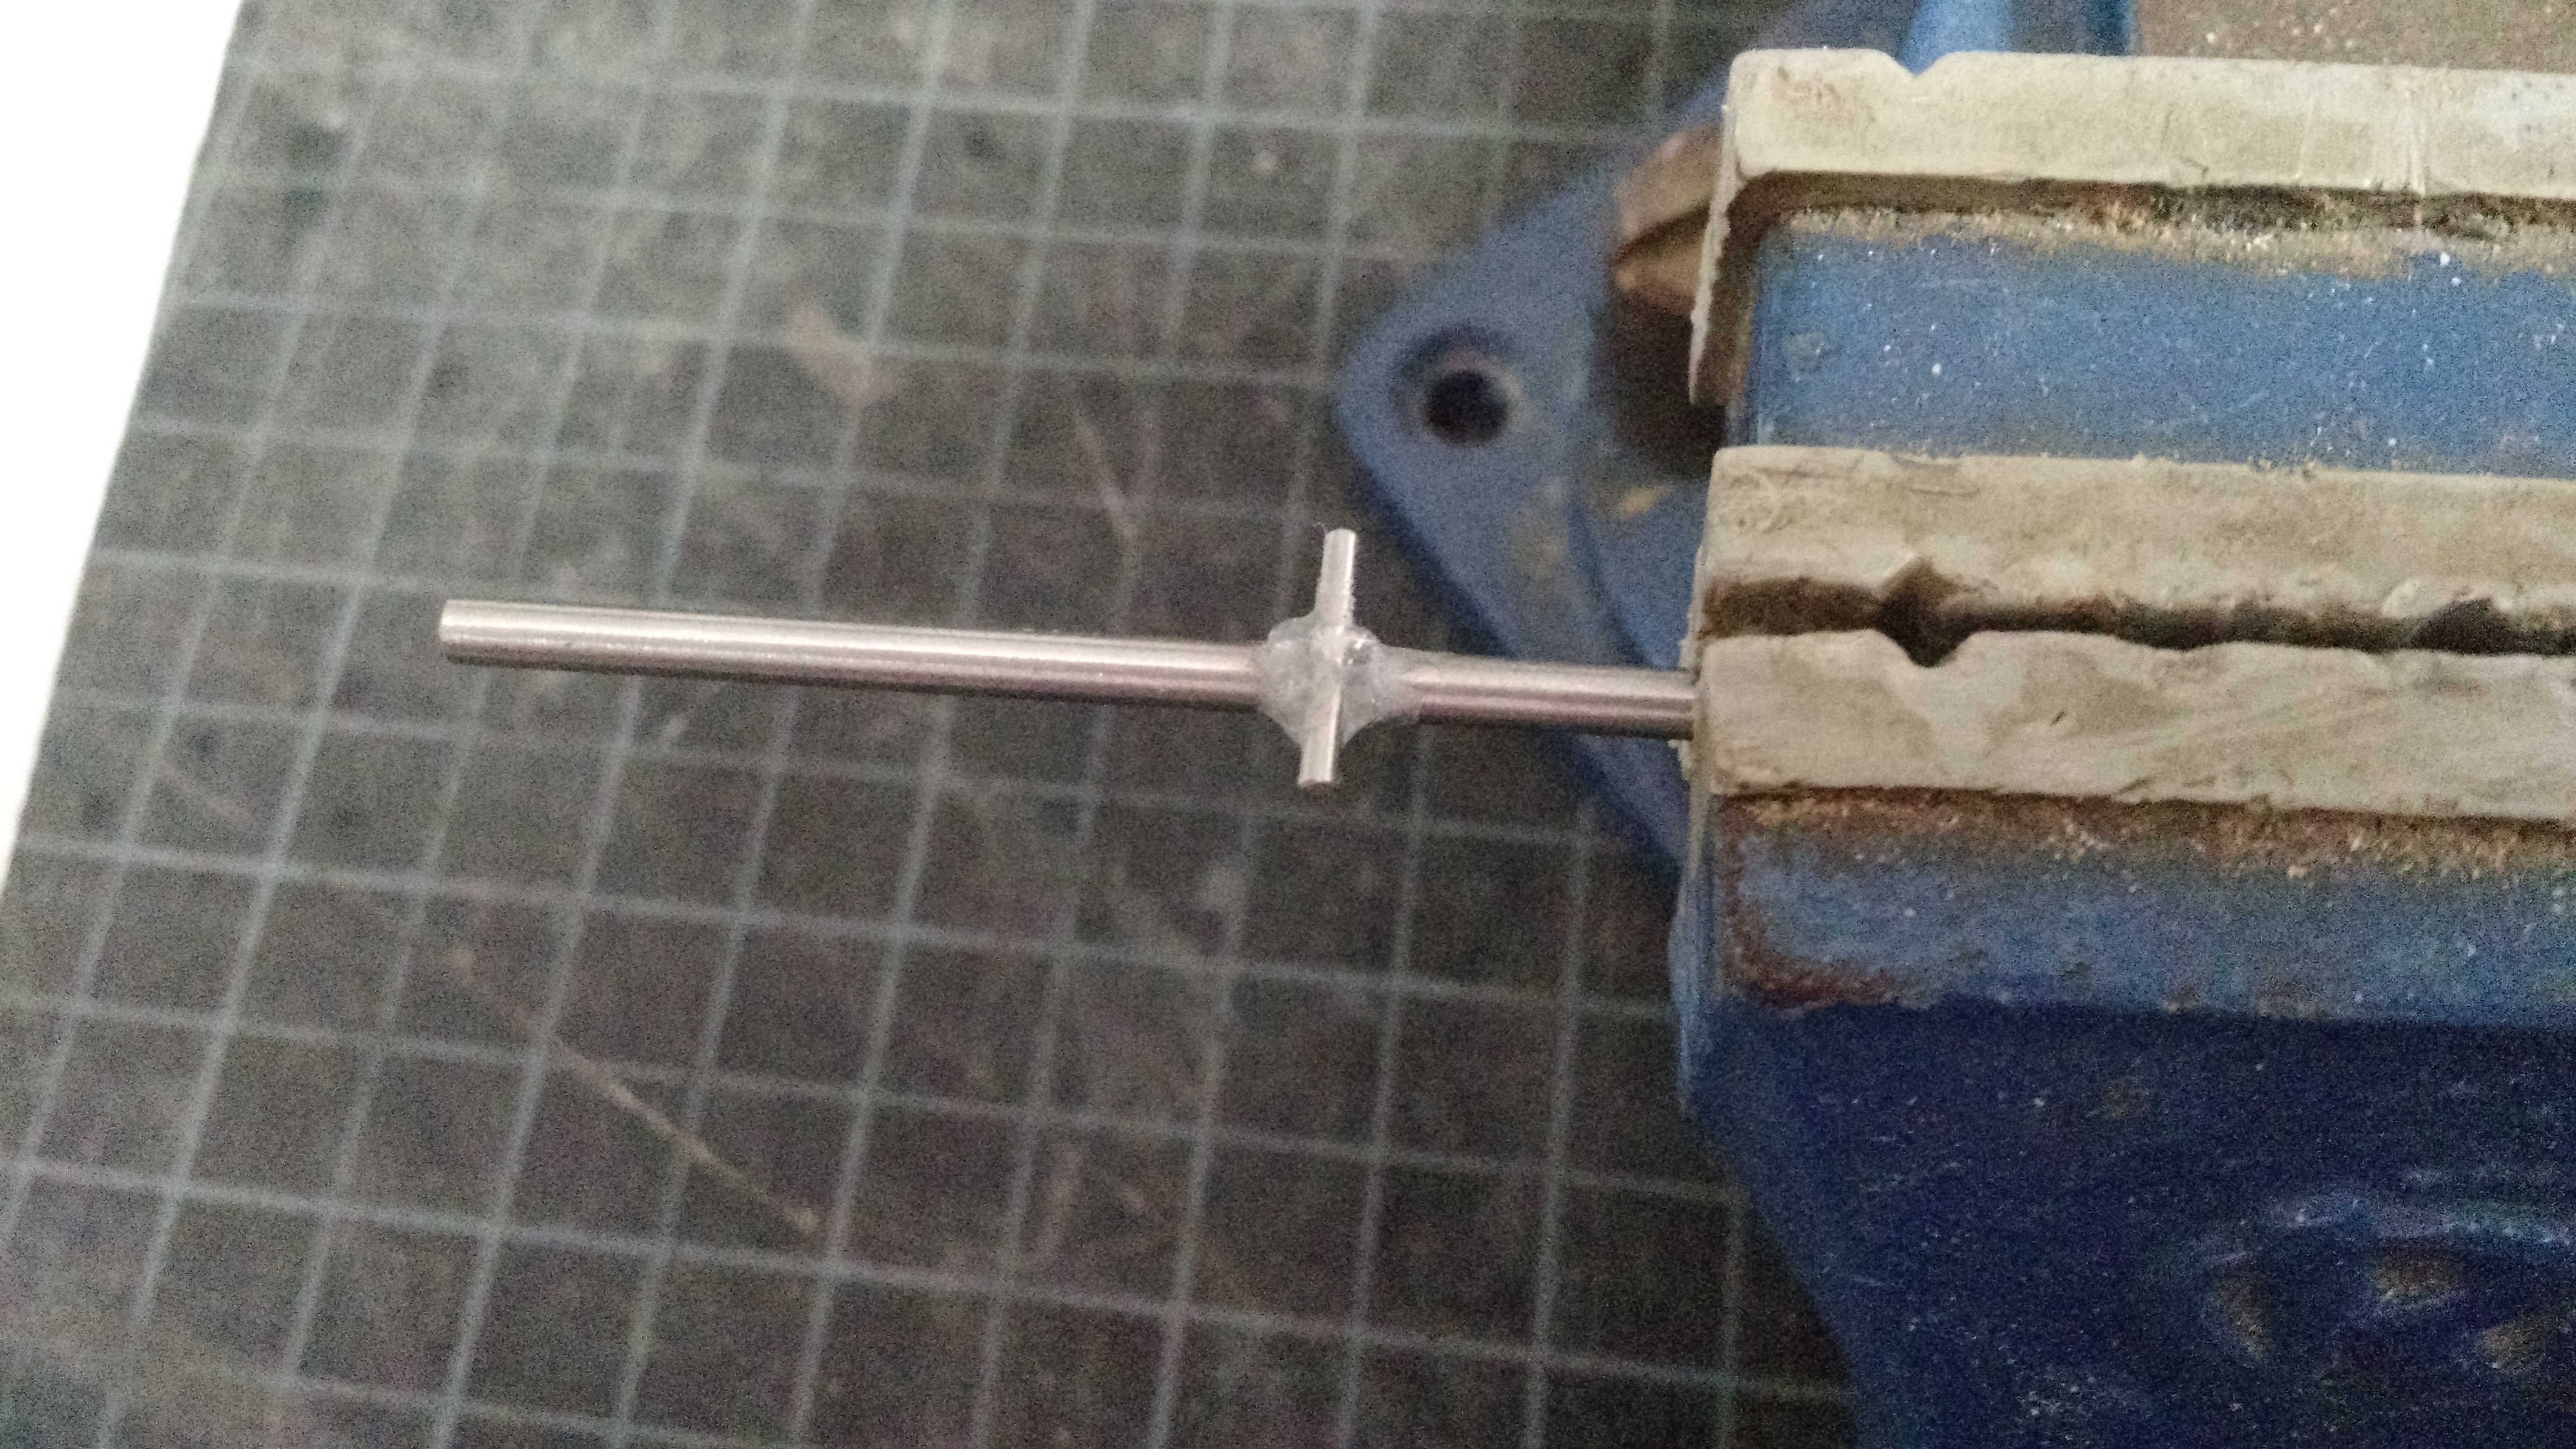
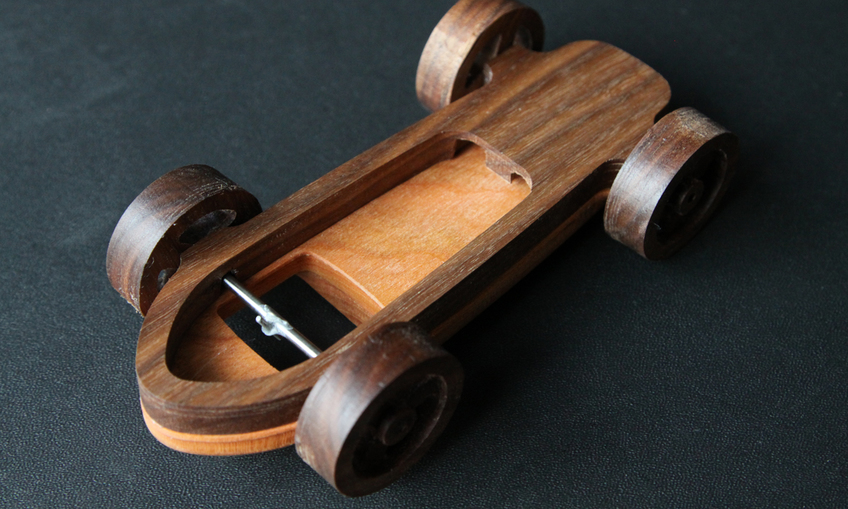
For the axles we used 3mm rod that we cut to length. For the rear axle you can take a short piece and epoxy it in the center to create your catch for the rubber band.

The wheel wells we made using small hex nuts that we super-glued in place.

Once your bottom frame is all set up you can adhere the top piece and tires, Then you are ready to ride!

Volume Studios
Very cool! What software are you using to create the 3D tool paths?
Volume Studios
Beyond  Design
Thanks! We use grid.space https://grid.space/
Beyond Design
Vince Allen
I tried twice to cut the top of the racer and ran into the same problem both times. At the same spot, the Carvey milled right through the body of the car and into an uncut area of the wood. You can see photos in the forum. https://discuss.inventables.com/t/cut-jumping-to-new-orientation/22022/3
Vince Allen
Warren Overmyer
When I'm trying to carve the #5, the path is too high-- its about an eighth of an inch off? Any ideas why that might occur? Thanks!
Warren Overmyer
Chris
Cool design! When I open the rough cut and finish in Easel I get a cut preview only - no way to edit or move it. Is that intentional or is it me? The other parts open in Easel edit pane normally. Just getting started -any tips appreciated.
Chris
Benjamin Jordan
I've tried this several times with the XCarve, but it just doesn't work. Steps 1 and 2 are fine, but step 3 pauses and never resumes. Step 4 is also broken. This project should be removed.
Benjamin Jordan
Travis Olsen
I am having the same problem as Benjamin Jordan its pauses at about 18% on step 3 and won't resume.
Travis Olsen
Scott van Haastrecht
I didn't want to give up after the rough cut-out (step 3) stopped at 18% like the other posted before. So i downloaded the g-Code and noticed that it has loads of "tool changes" in the code. But since we only use 1 tool... After deleting these "T2" "T1001" it worked out great.
Scott van Haastrecht
Kurt Canez
Am I missing something? I only see 1 piece of the project. Looks like the main body. Where's the rest?
Kurt Canez
Glenn Haley
why not have all ths in one easel file with multiple cut sheets at bottom?
Glenn Haley