
Robert Rieke
Los Alamos, NM
This stepstool made out of 23/32 sheathing (plywood) will be handy for reaching items that are normally out of reach. An attached handle (optional) will allow the user to easily move the stool without having to bend over. The stool surface is 14×14 inches, and step height is just under 12 inches.
5 minutes
This project was designed for use with a 24×48 inch piece of 23/32 plywood sheathing (measuring ~ .735 inches at design), and has a glue gap designed for that material. Thicker or thinner materials will require modification of pockets to ensure the material fits.
5 minutes
Ensure your X-Carve has a cutting area of at least 21.5×30.05 inches. If it doesn’t, rearrange the parts as necessary to ensure they will fit on your machine.
Ensure your X-Carve’s stepper motors are calibrated correctly. This project was designed to fit with >.010 inch tolerance, and if your stepper motors don’t move the spindle the proper distance then you will not be able to easily assemble this project. To calibrate stepper motors, you can follow the steps in my instructional video linked on this step.
5 minutes
Don’t blindly follow the cut settings in my project, or followed by Easel!
Many factors can make the difference between a good cut and a rough cut or broken bit. They include machine modifications, bit size and type, and spindle speed. Always perform test cuts using the material and bit you are going to use before starting any project, and record your settings for future projects.
My machine has X and Y axis stiffness modifications, and a Dewalt 611. I used a 1/8 inch 4 flute upcut bit on the whole project. The cut settings I used for my stool were .050" depth, 30 inches per minute, and Dewalt speed of 2.
200 minutes
Ensure you securely clamp the material down. I highly recommend throwing a few strips of double-sided carpet tape down to ensure the material doesn’t pull up in the middle and damage your project or bit.
Home your machine to the lower left corner and top of your material, and ensure again that you have enough cut area. You don’t want to start cutting the project and damage parts from lost steps because you have 1/2 inch less of Y travel than you thought.
Git ‘r’ done.
60 minutes
After cutting is complete, remove all the parts from the plywood. Remove tabs and sand smooth.
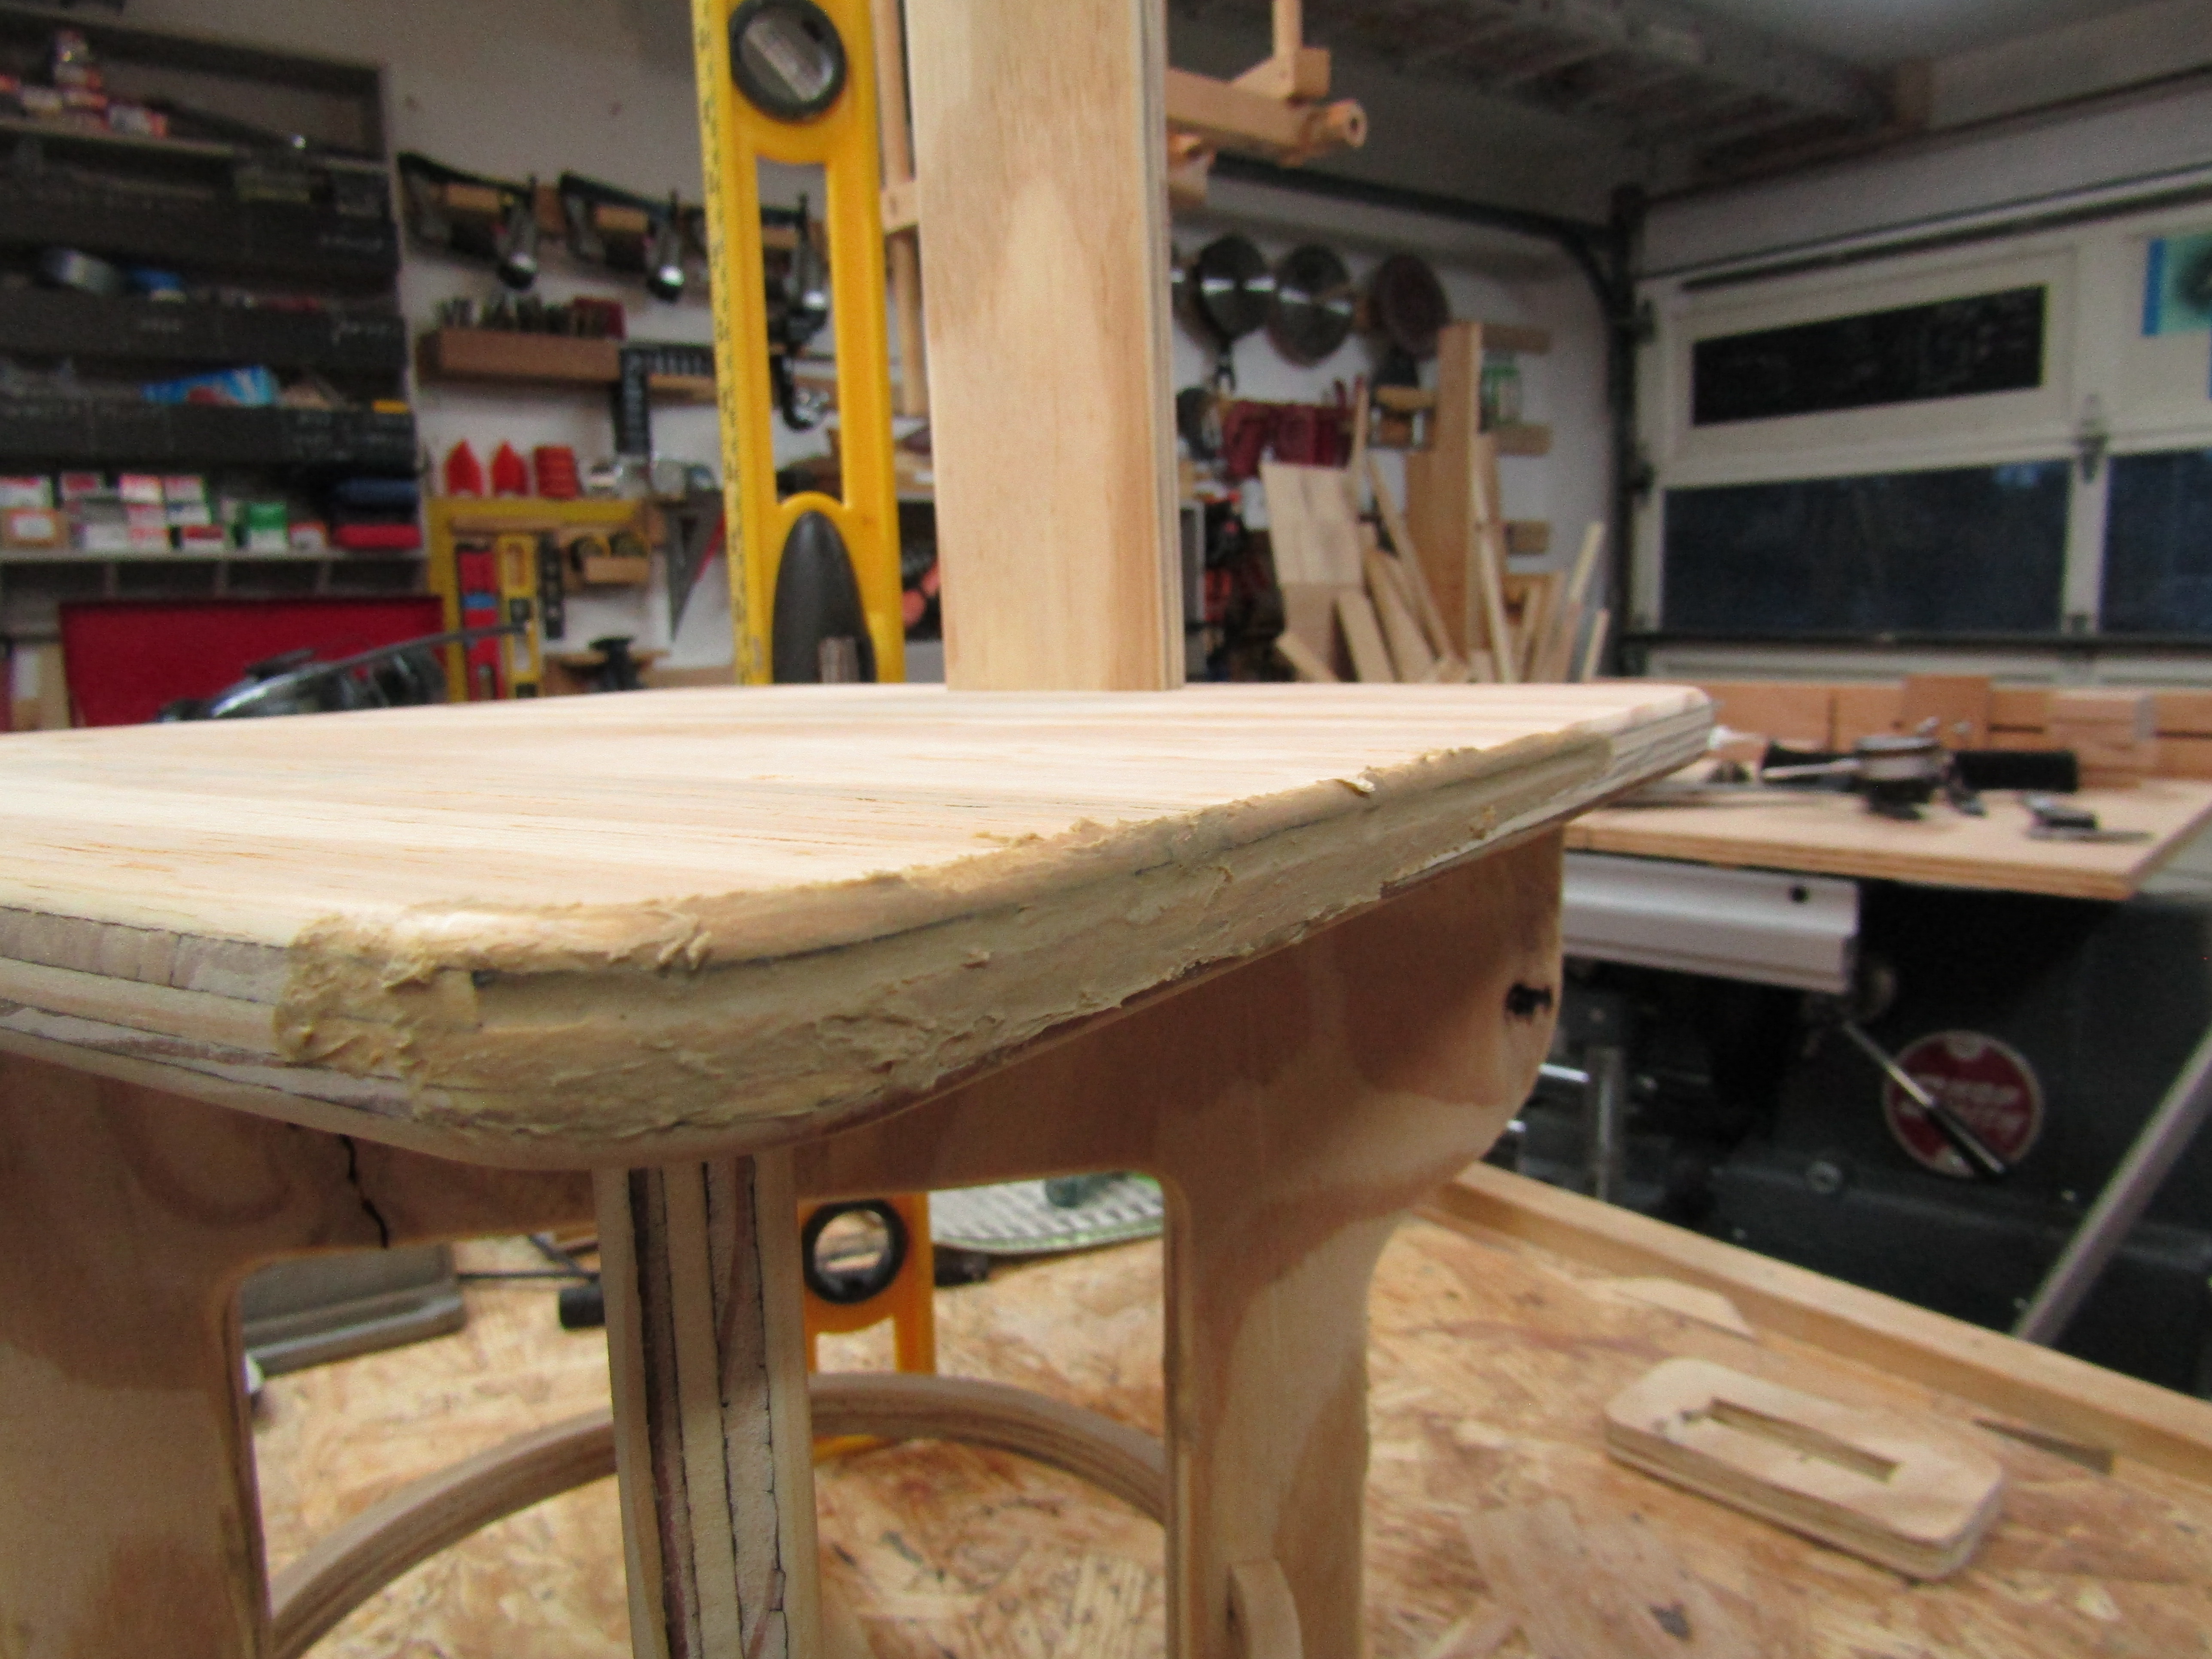
If gaps are present due to missing pieces in layers, fill gaps with wood putty (or wood glue and sawdust if stain is not going to be used) and sand smooth. Since I planned to paint my stool, I used liquid nail to fill the gaps.
Dry fit materials to ensure everything fits (sand as necessary to fit), then round over sharp corners using a sander or router as desired. Don’t round over corners that will be in or near a glue joint, such as the ends of the circular supports or the bottom of the handle.


30 minutes
After everything is sanded smooth and the dry fit is successful, glue the base together in whatever order works best to make sure everything fits right. The circular supports may be the most difficult to fit in place, so 1/8 inch may be removed from one or both ends if absolutely necessary for assembly.
If gaps are present, fill with wood putty or a wood glue/sawdust mixture if desired. Wood stain will typically not stay on wood glue, if the project will be stained use a wood putty that can be stained.
30 minutes
If not already done, sand and dry fit the handle and handle support.
Glue the handle into the stool, then glue the handle support on the bottom of the stool seat. Clamp and allow to dry. If desired, brads or nails may also be added to keep the handle in the seat and the handle support in position.
If gaps are present, fill with wood putty or a wood glue/sawdust mixture if desired. Wood stain will typically not stay on wood glue, if the project will be stained use a wood putty that can be stained.

30 minutes
Touch up sanding as necessary. Paint or finish as desired.
If the top surface of the stepstool is smooth, consider applying non-slip tape or other rough surface material to prevent shoes and socks from slipping.
If desired, apply rubber or felt pads to the feet of the stool to prevent scratches to flooring.


