
Robert Rieke
Los Alamos, NM
Using a few pieces of scrap hardwood flooring and a little spray paint, you can easily make this game that is great for kids, adults, and families.
5 minutes
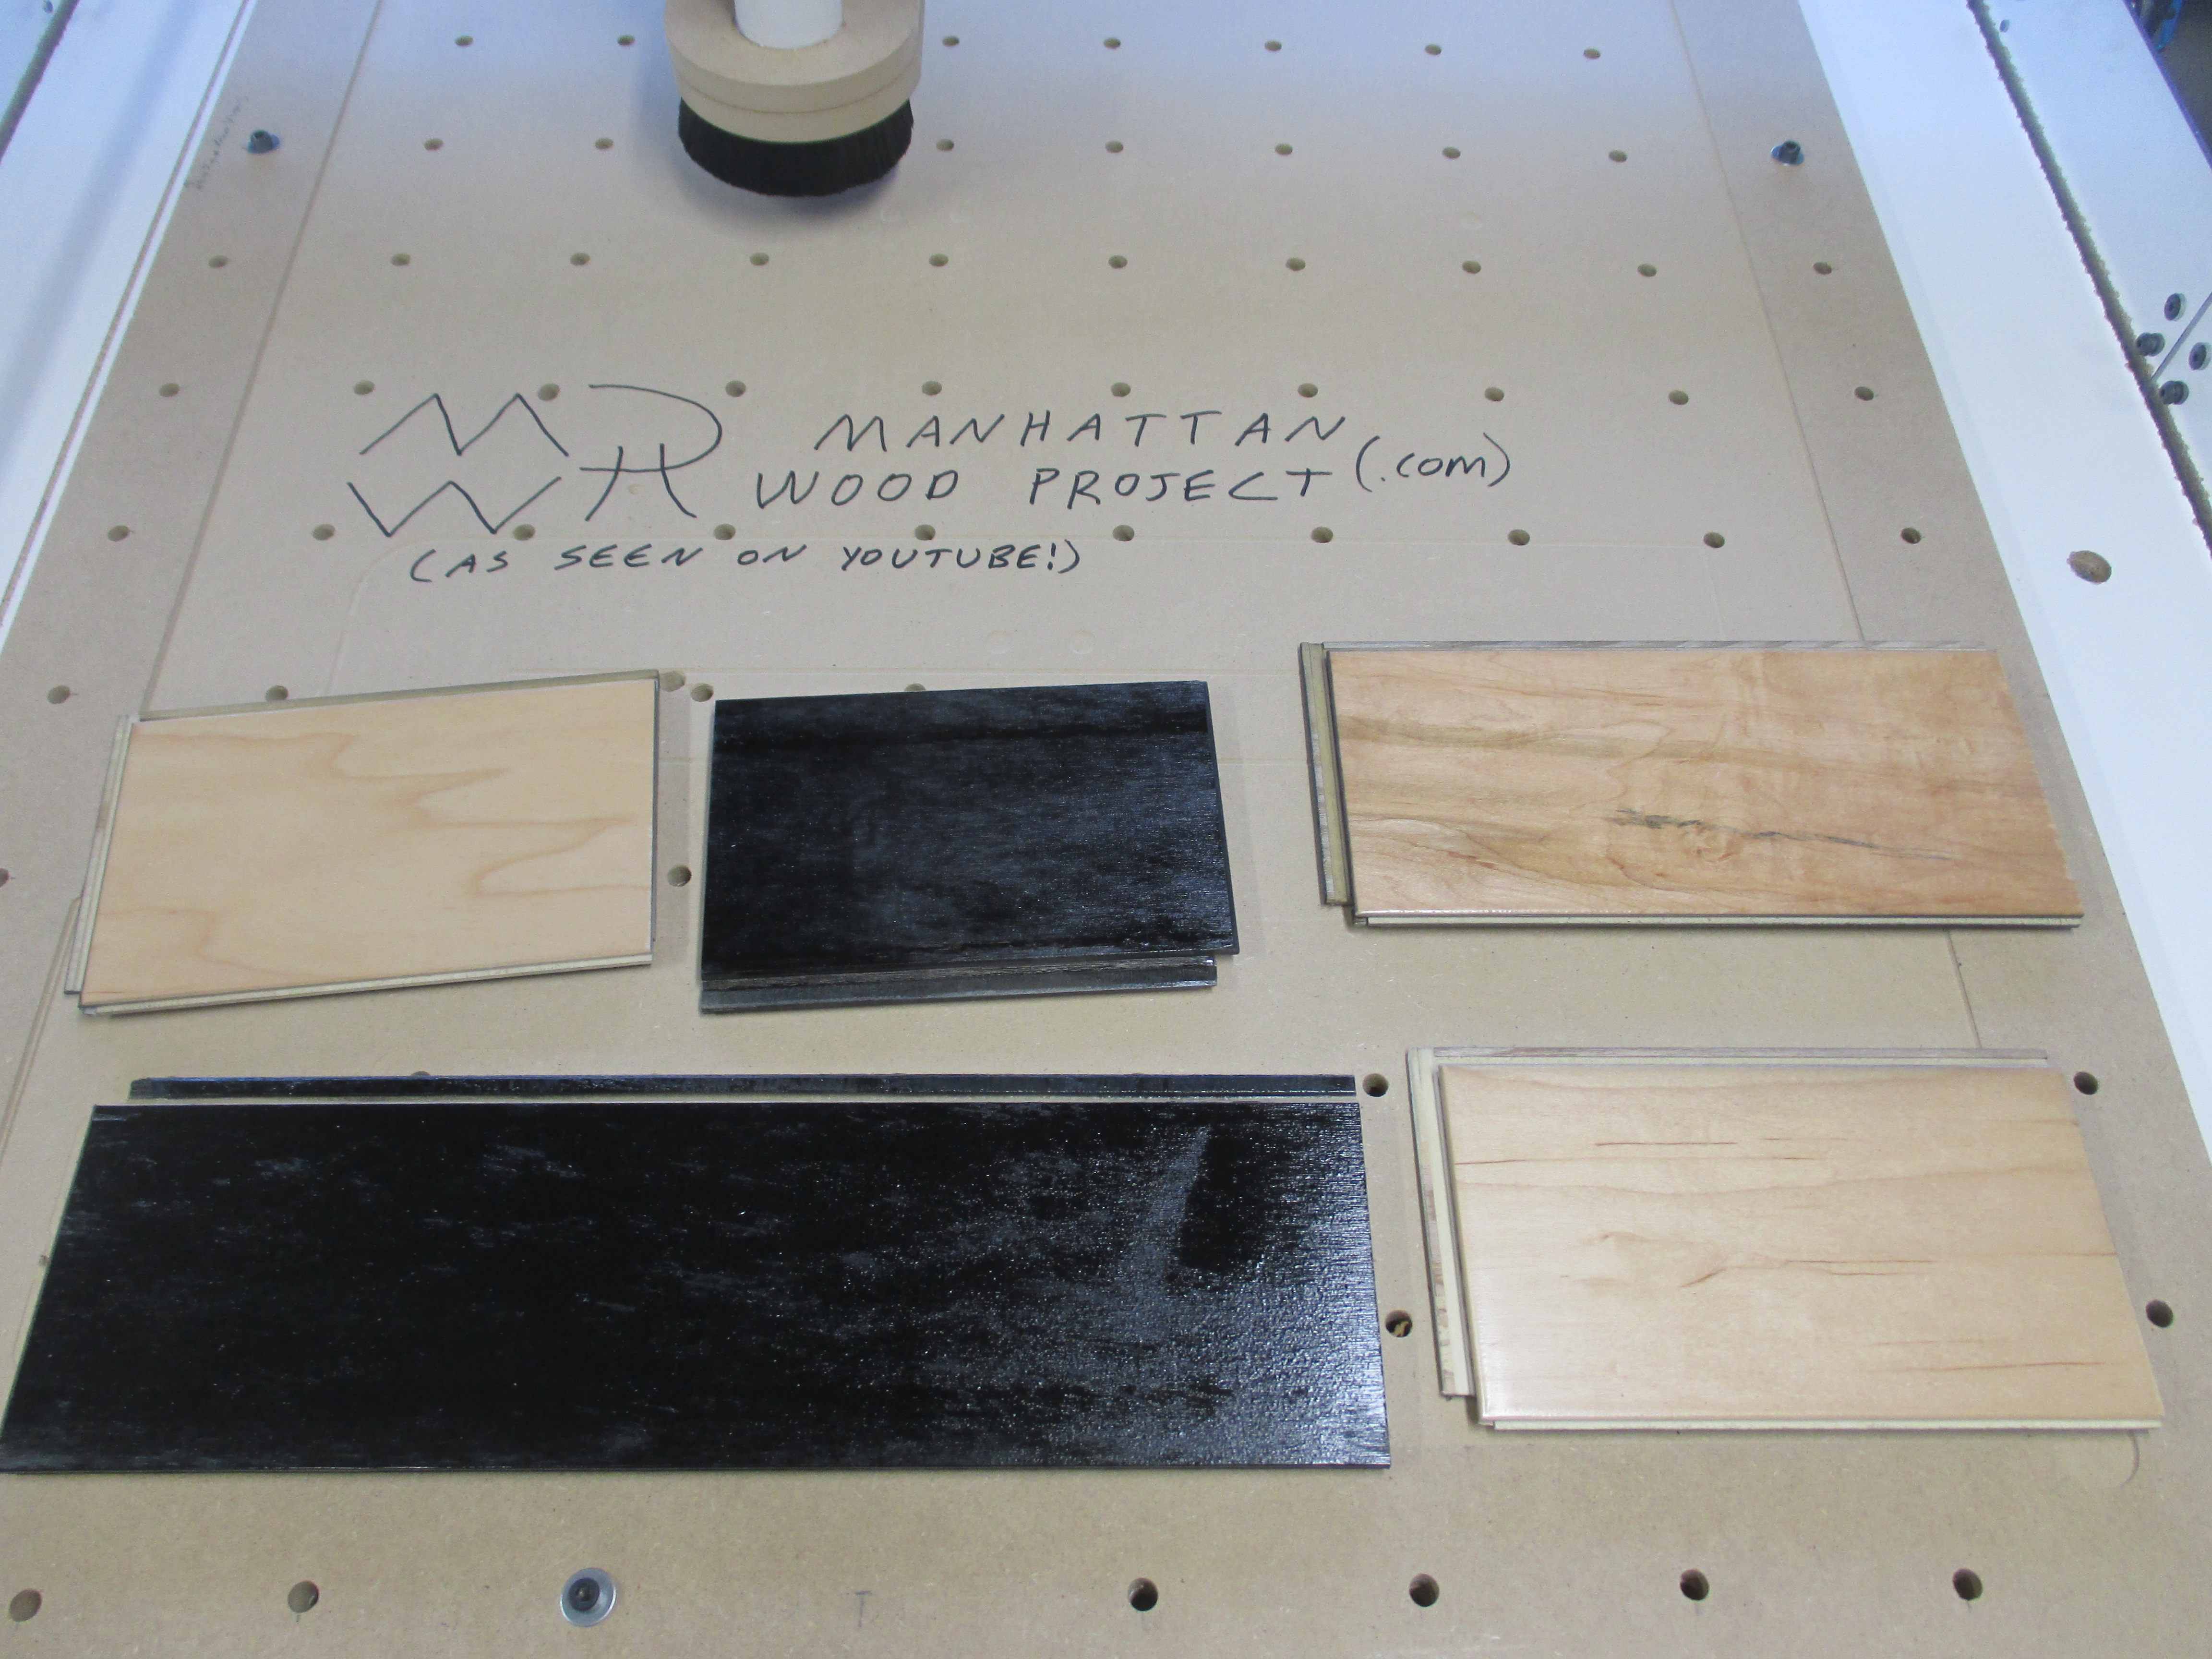
You can make this project out of any thickness and size of wood, but I designed it around maple hardwood flooring scraps I had after overhauling my house. I chose to use it because:
1. The layers of ply give the sides an interesting look.
2. The front was already finished, so no finish is required.
3. The back didn’t have any marks that would show through a coat of paint.
The wood I used had a useful cutting area 3.5 inches tall, and was 0.390 inches thick.
30 minutes
To keep players from recognizing pieces by the wood pattern, you should consider painting the back of the piece of hardwood flooring. I let my son choose the color of paint that should go on my set, and he chose high gloss black.
Be sure to let the paint fully dry for at least a day before setting it on the wasteboard and cutting. Failure to wait could result in a little bit of paint transfer to your wasteboard (and the subsequent dust sticking to the painted pieces). Uncured paint can also gum up your bit and mark up the sides of the pieces, which requires a lot of sanding to get rid of.
60 minutes
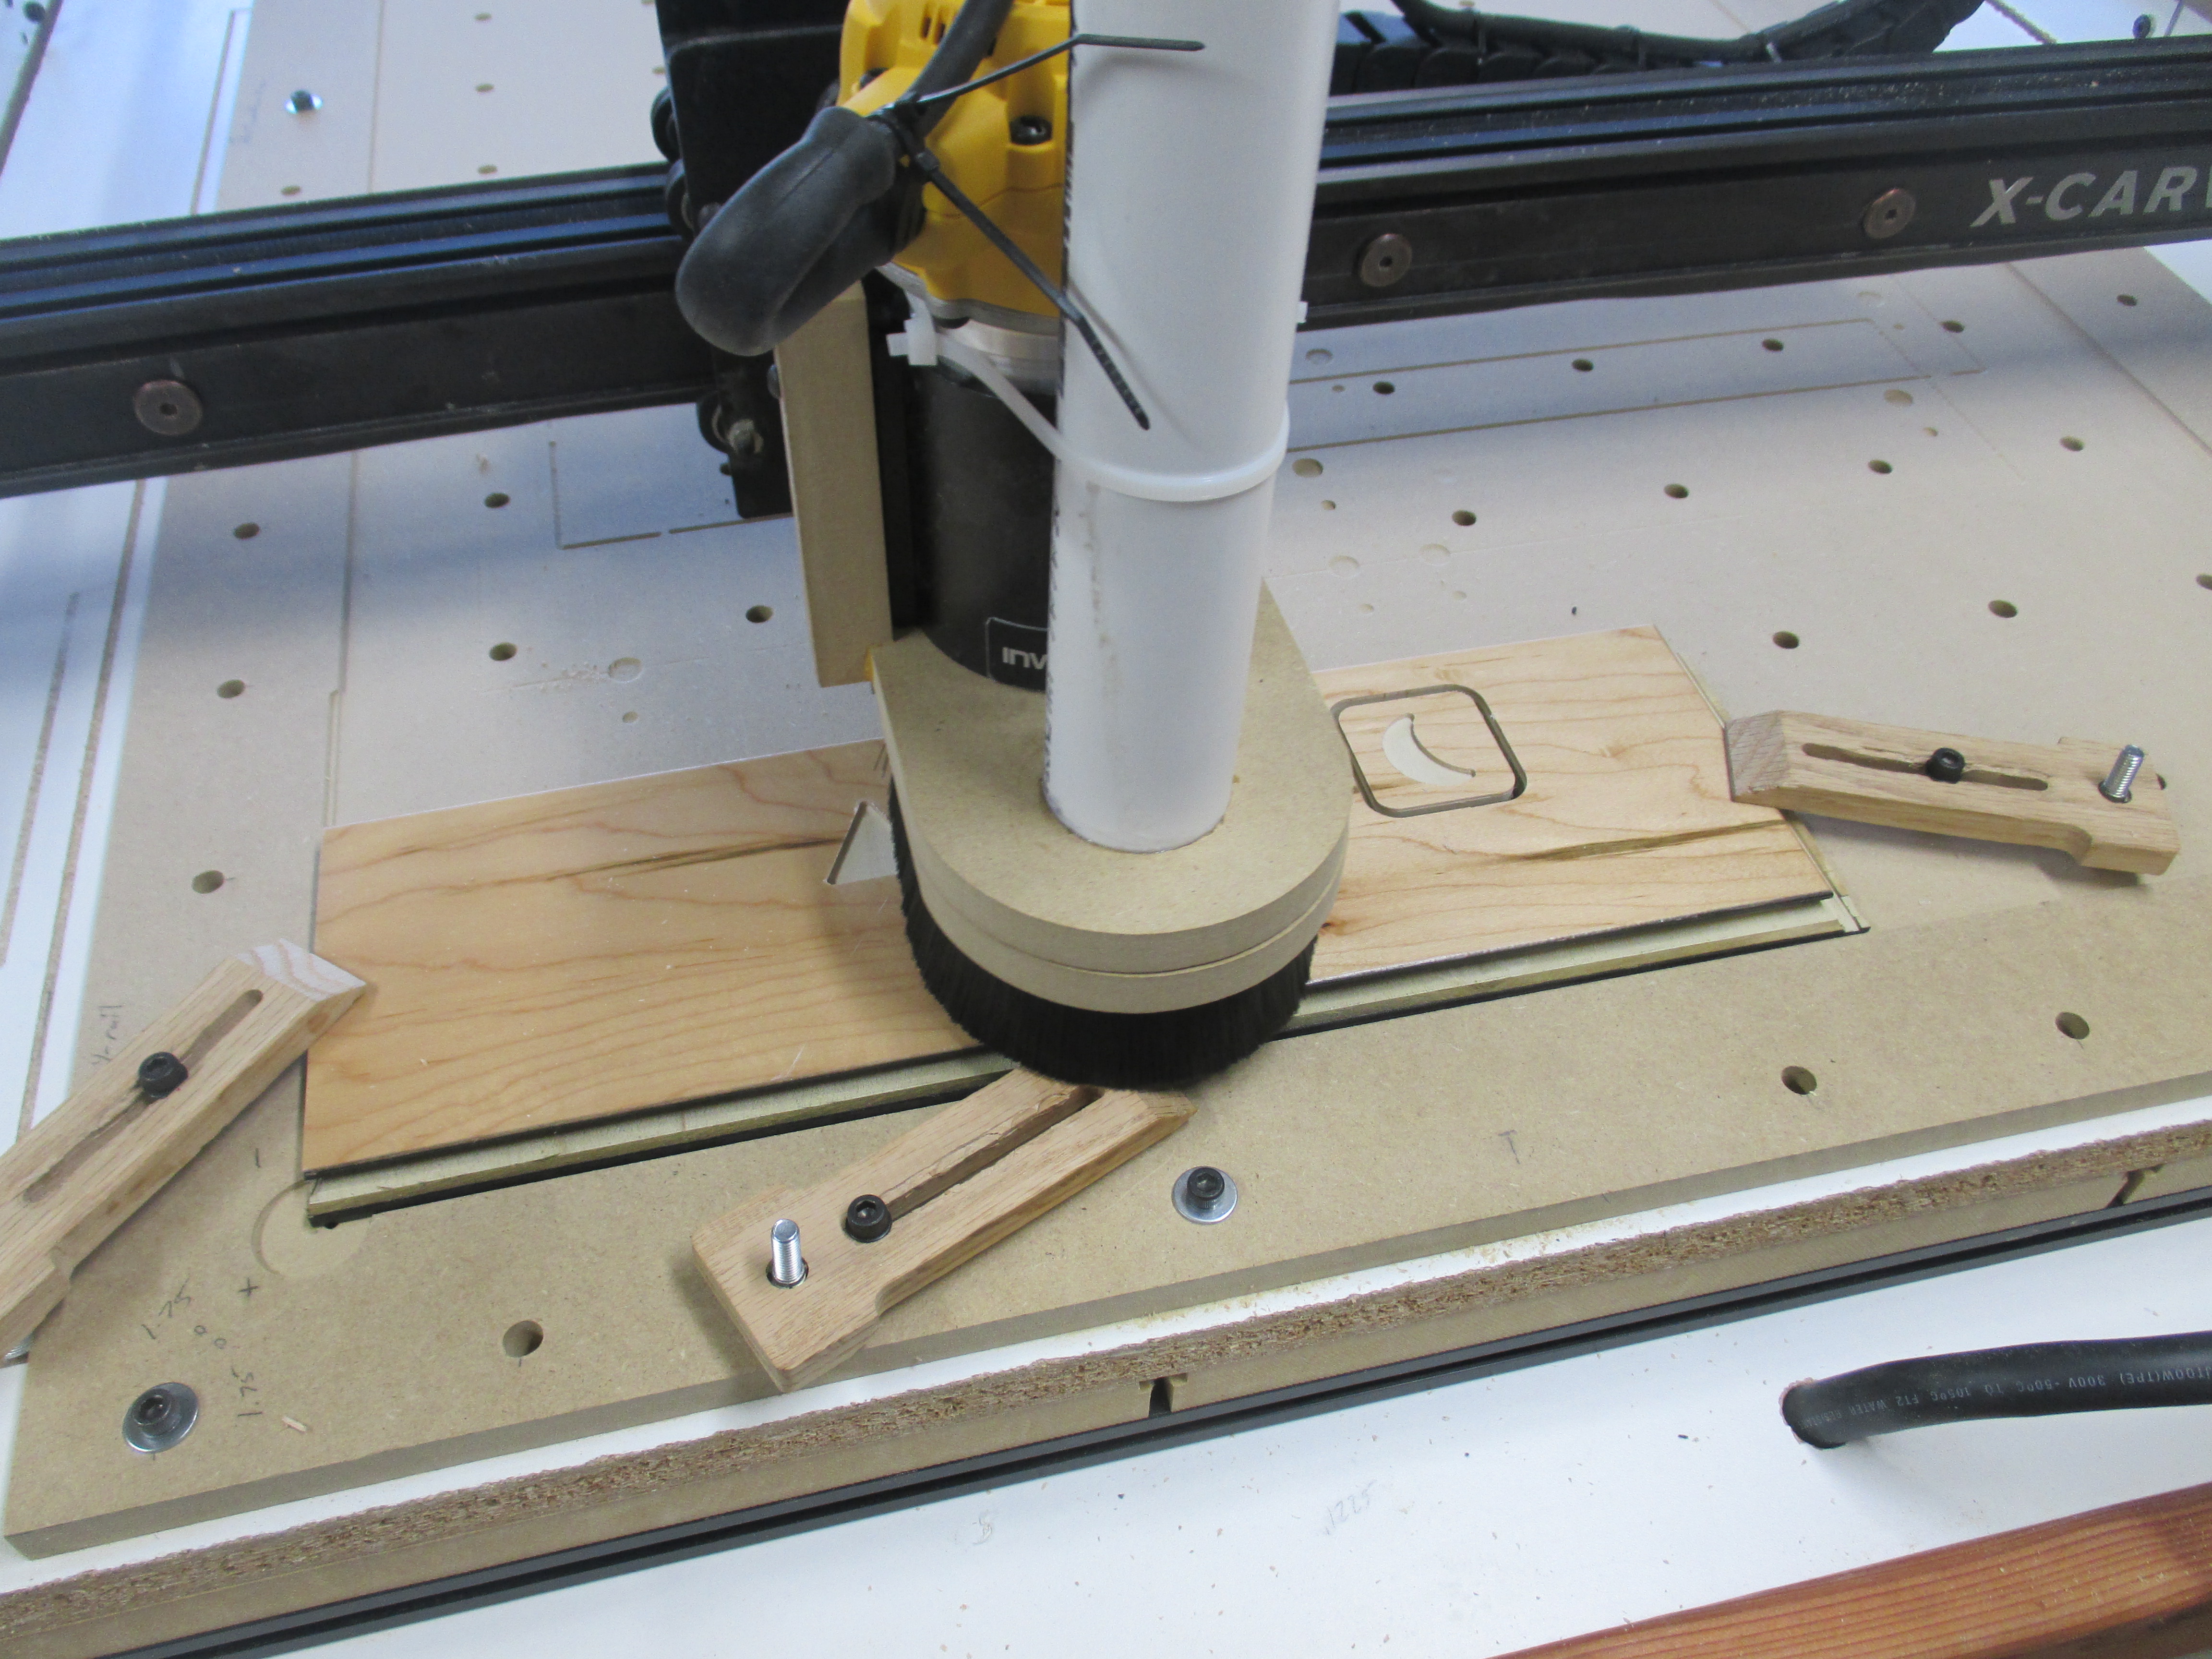
I have the Dewalt 611, and used these settings:
Bit: 4 flute upcut, flat end
Dewalt 611 speed: 2
Depth of cut: .040 inches
Feed rate: 80 inches per minute
Arrange the tiles in the Easel project file as necessary for the size of wood you are using. For tiles that are not part of the immediate cut, you can do one of the following:
a) Make a copy of the project for each piece of wood, and erase the tiles/tray that won’t be included
OR
b) Set the cut depth of all other tiles/tray to 0 inches/mm.
The shapes/figures were all cut 0.075 inches deep so the bit would cut completely through the first ply. The pocket in the tray was cut 0.300 inches deep.
45 minutes
Cut the tray.
60 minutes
This is the part that everybody hates. The tiles will likely have tabs that need to be cut off and the sides may need a little bit of sanding.
Don’t forget that there may be little hands playing with these parts, so I highly recommend that you round the edges slightly so there aren’t any sharp edges. You don’t need to go nuts, just spend a few minutes with a piece of 220 grit sandpaper and you’ll be good to go.
15 minutes
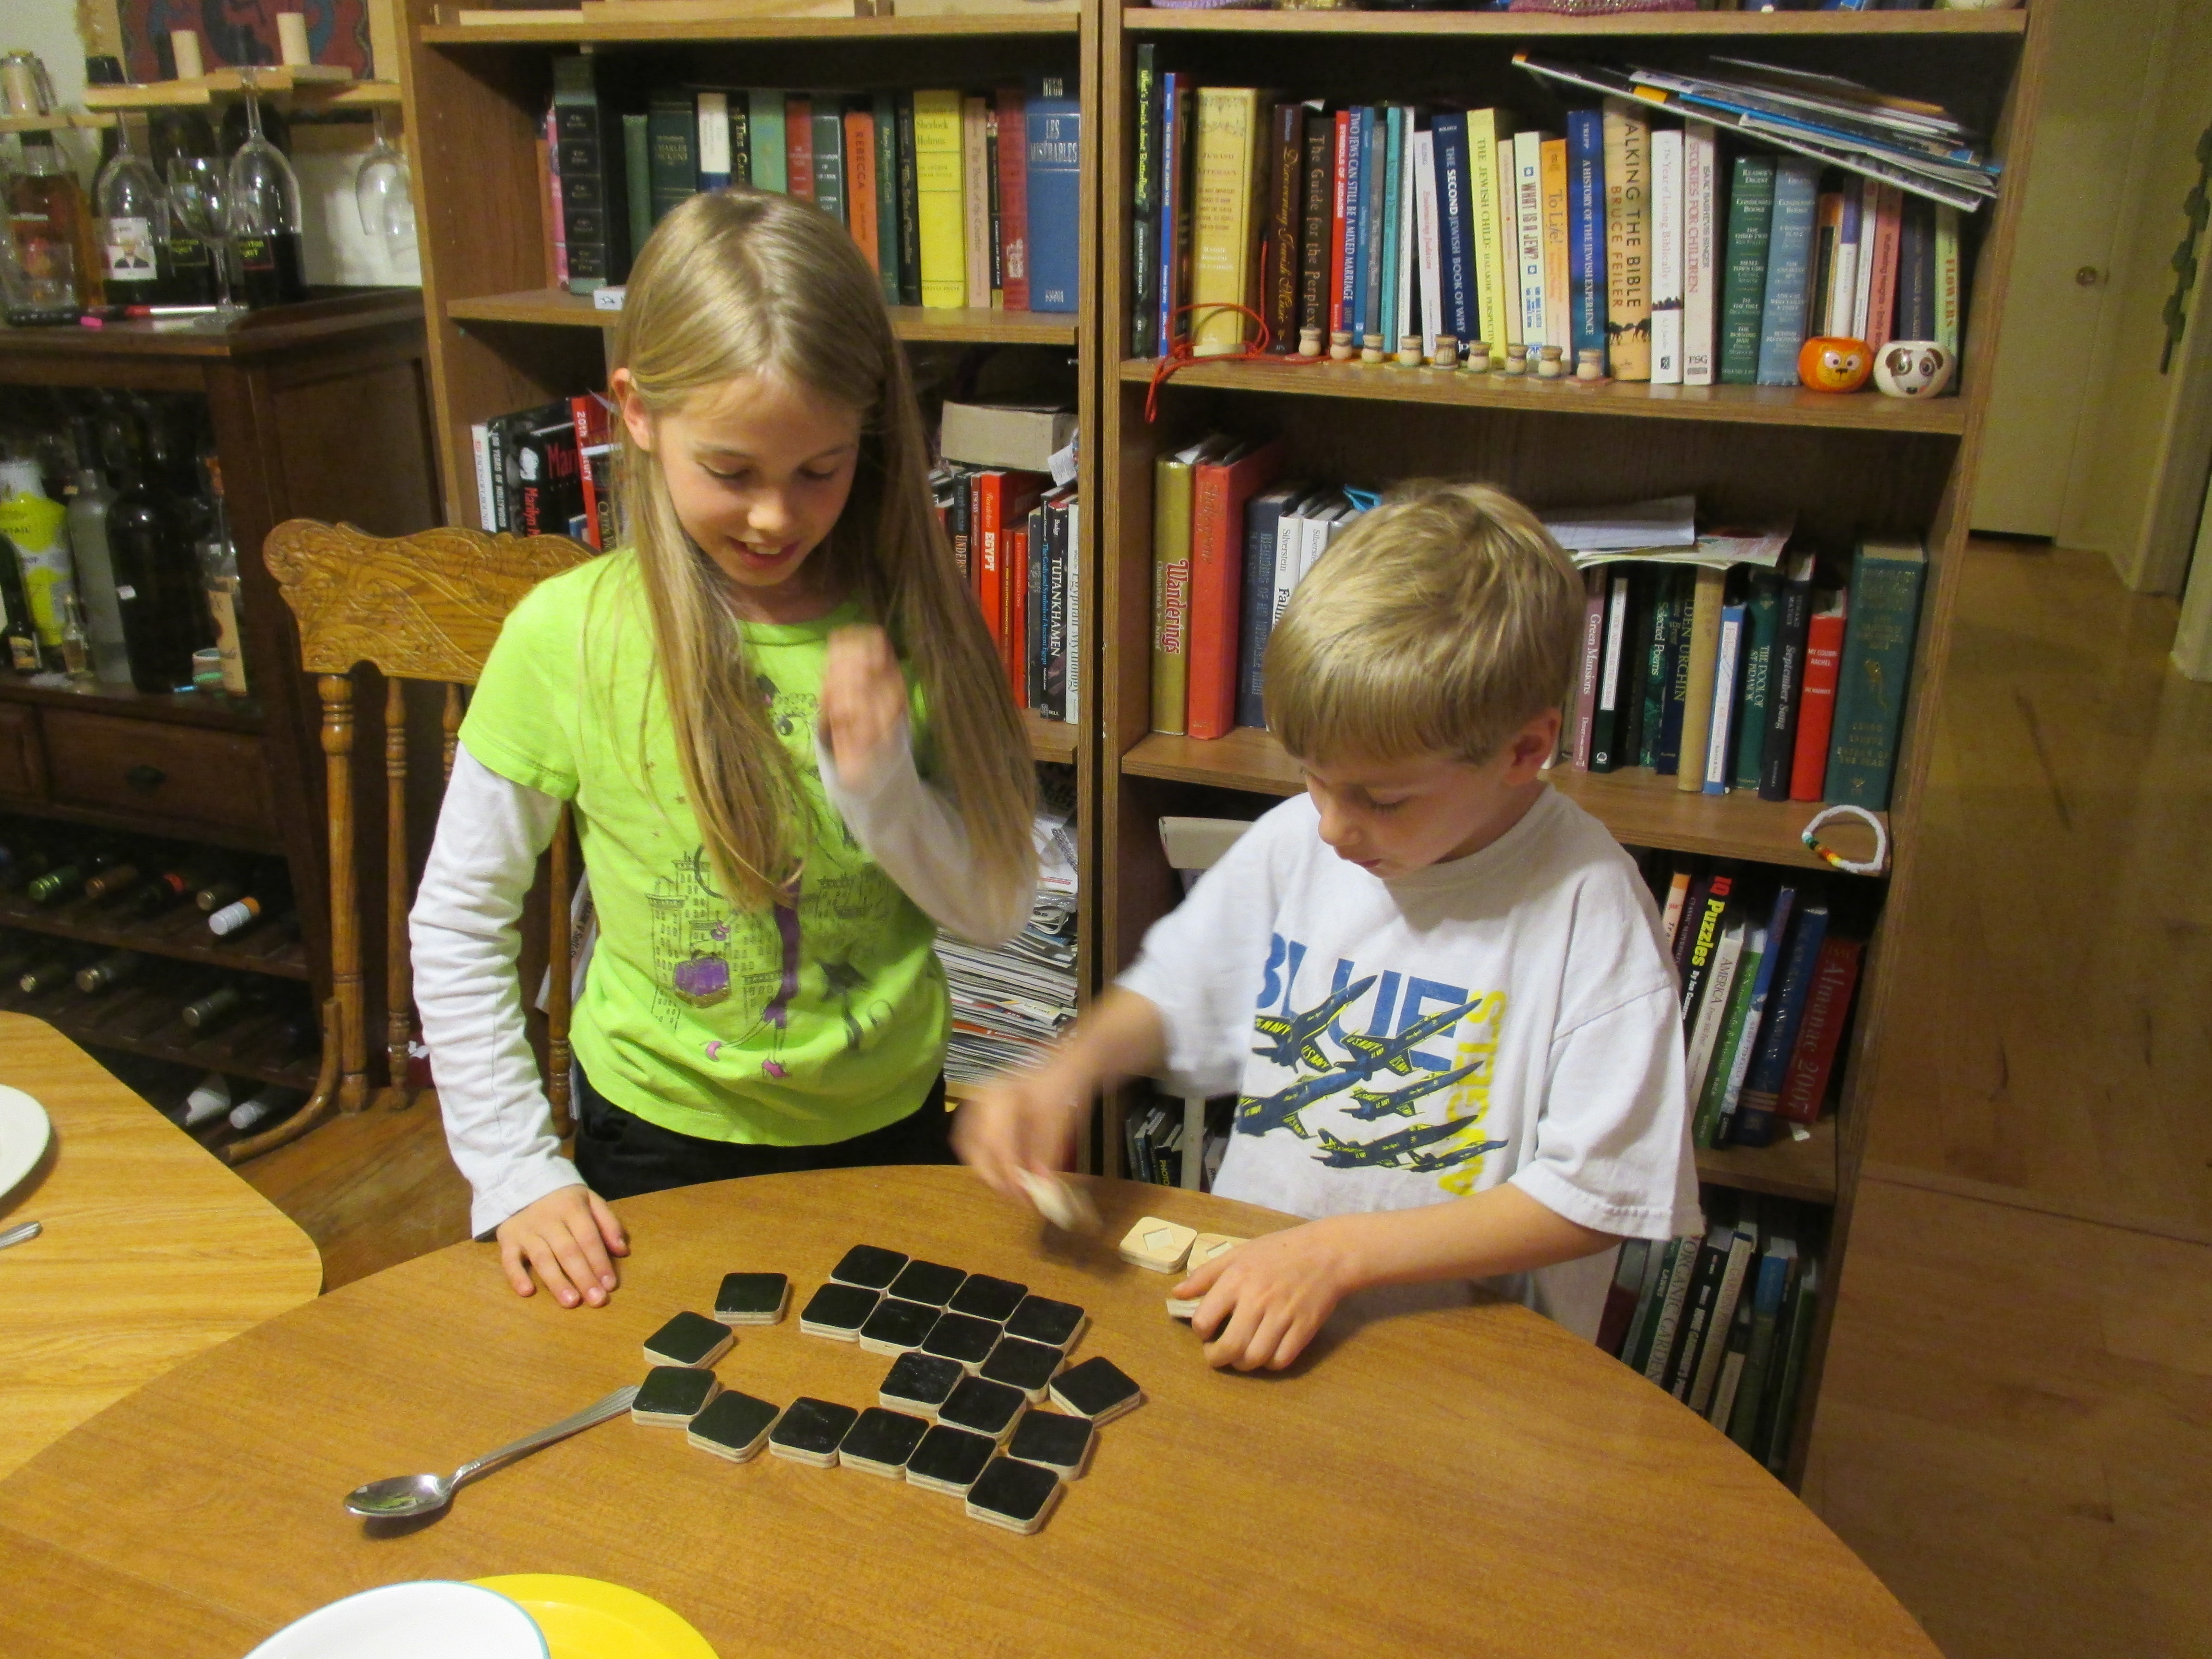
Put all the tiles face down, and choose two. If others are around, take turns. Whenever you turn over a matching set, you get to go again.
To add an element of fun, or to really upset someone, you can add house rules. If I am losing, I like to say that one house rule is that the remaining tiles get mixed up after every 3rd set of matched tiles is removed. That only applies if I’m losing though, since like in Vegas, the house must have at least 50/50 odds of winning. :)
1 minute
Clean up time!
Don’t forget to use the beautiful tray that you made to store the tiles. The pocket is deep enough that it will hold all the tiles when it is roughly handled, yet shallow enough that it will allow you to display up to 4 carved images.


Tim Hunter