
This is a simple instruction on cutting mortise and tenons. I will include an easel file to cut a joint on 2" by 3/4" material for a test.
10 minutes
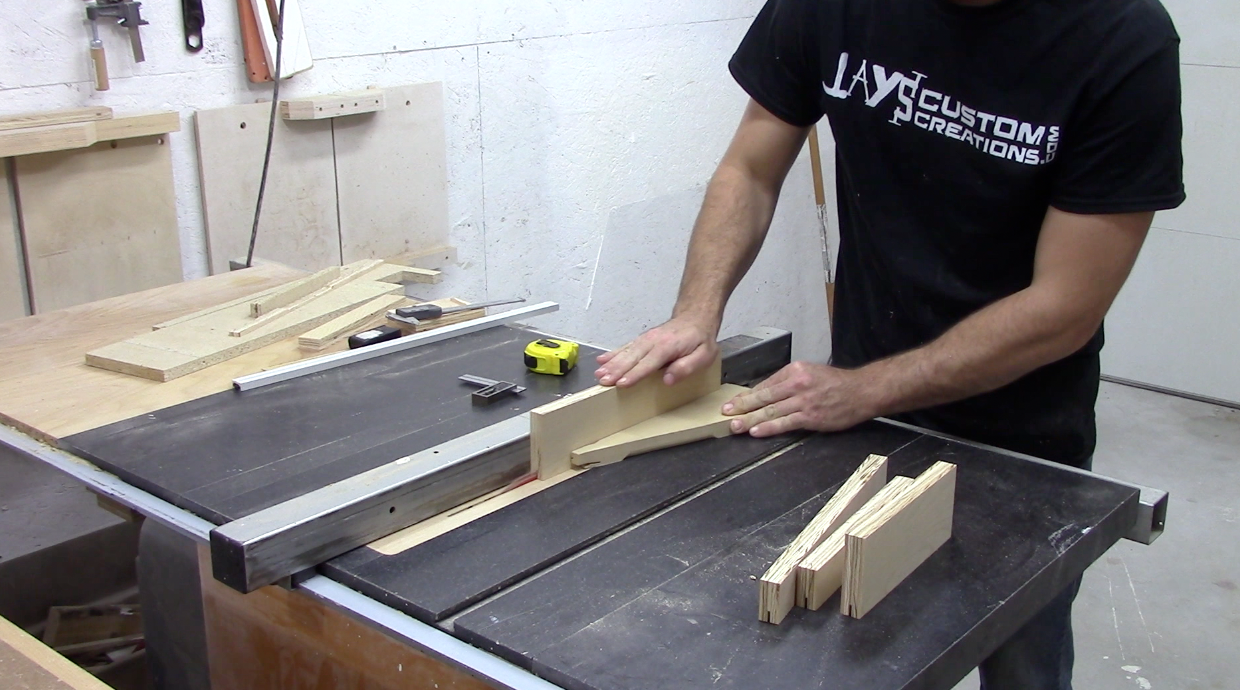
I started out by ripping some plywood to 3 inch strips and 1 and a half inch strips, The 3 inch strips will make up the bottom portion and the inch and a half strips will be used for the top. I then decided to cut rabbits on all the strips before I glued them together this saves me from cutting dadoes later, just a little quicker.
Once all the rabbits were cut I could then glue the 3 inch strips to the inch and a half strips, making sure the rabbits are aligned

I then screwed the first section to the second section creating a T-shape. I then used a small piece of scrap material to make a corner brace and screwed it into place making sure the jig is kept square.

Then I could screw the T- track into each groove. I did this by drilling holes along the bottom of the T-track and countersinking the holes for the screws

Now it is time to cut a section out of the waste bored. I use the CNC itself for this task as this allows me to align the fixture with the cut line, ensuring that the jig is in line with the machine. The hole I cut out measures 2? x 8?

I screwed a block to the bottom of the waste board to allow for more support and also another place to clamp to if necessary.
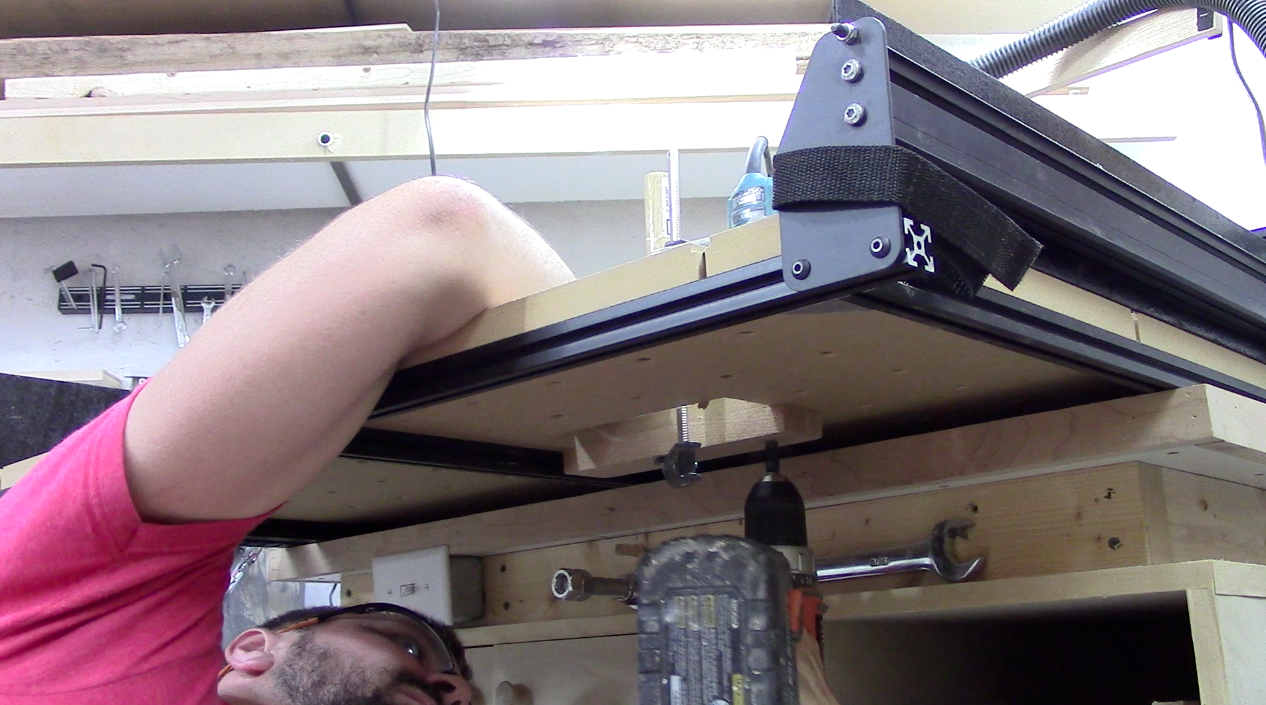
I held the fixture in place by using the hold down clamps and making sure it is in line with the hole I cut with the router.

Next I could clamp the material into place by using hold down clamps and T bolts in the T track. I was careful to make sure that the material is square to the table in both directions

I drew a simple tenon in sketch up by just drawing a square the same size as my material and then drawing the proper size mortise in the middle

I then loaded the tenon into easel. (if using my easel file then it will be the one at 0,0 so just delete the other one at 0,4 for now ). Then make sure the tenon is cut out on the “outside path” and the outside of the material is cut out “on path” It is also important to make sure the outside portion is cut first. This is down by selecting edit and then going to “bring forward” a few time until its all the way forward.

I then load the mortise into easel. (if using my easel file then First delete the tenon at 0,0 and move the mortise over to 0,0 from 0,4). Here you want to make sure the tenon part is set to “fill” and the outside portion has a depth of cut of zero. You also need to turn the whole thing 90 degrees. here you may need to add to the thickness of the tenon by adding some width. I find with loading SVGs from sketch up, when ever you use the “fill” it cuts it about 25 thousands to small. So in easel under the shape tab, I add the 25 thousands. Another important note is to make sure your position is set to 0,0 that way you know to position the centre of the bit right at the corner of the material.

Next we need to position the bit to the very corner of the material. This is because we set the drawing right at 0,0 in easel.
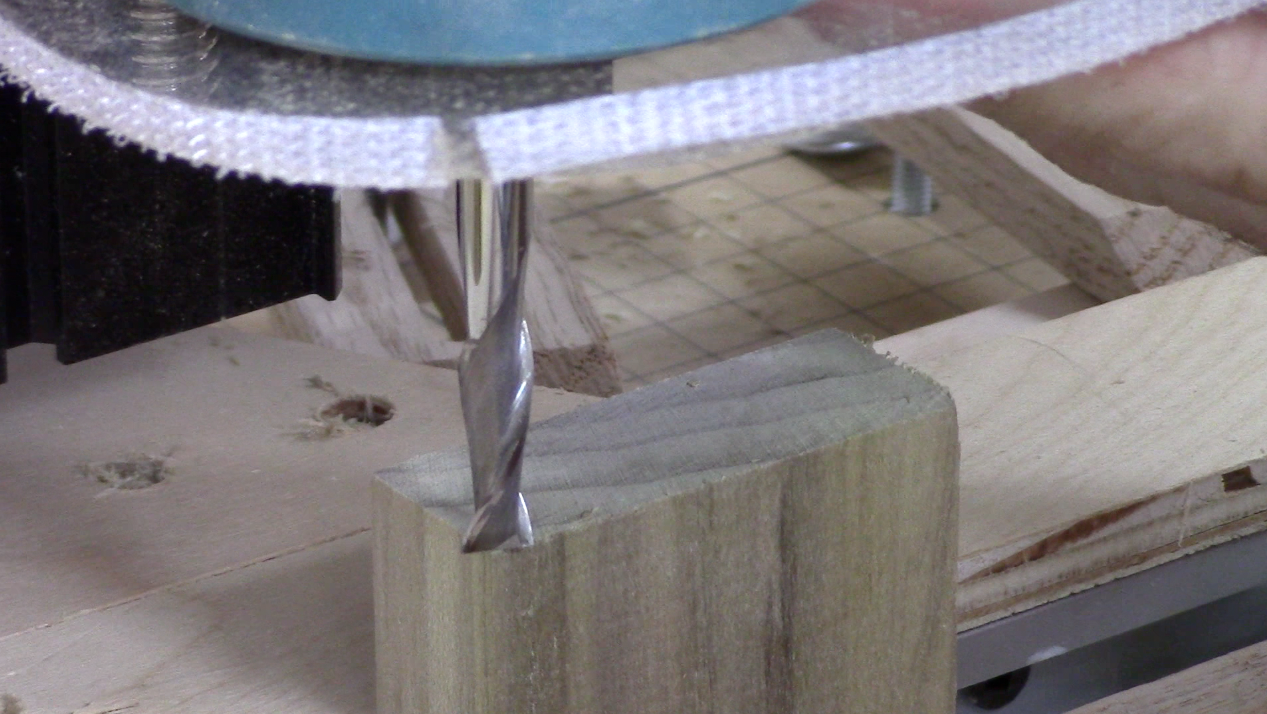
Finally we can cut the tenon we want to make sure that the outside is cut first and then the inside cut second. If it cut the inside first, you would only be left with small conners which would just break off if you tried to cut the outside second.


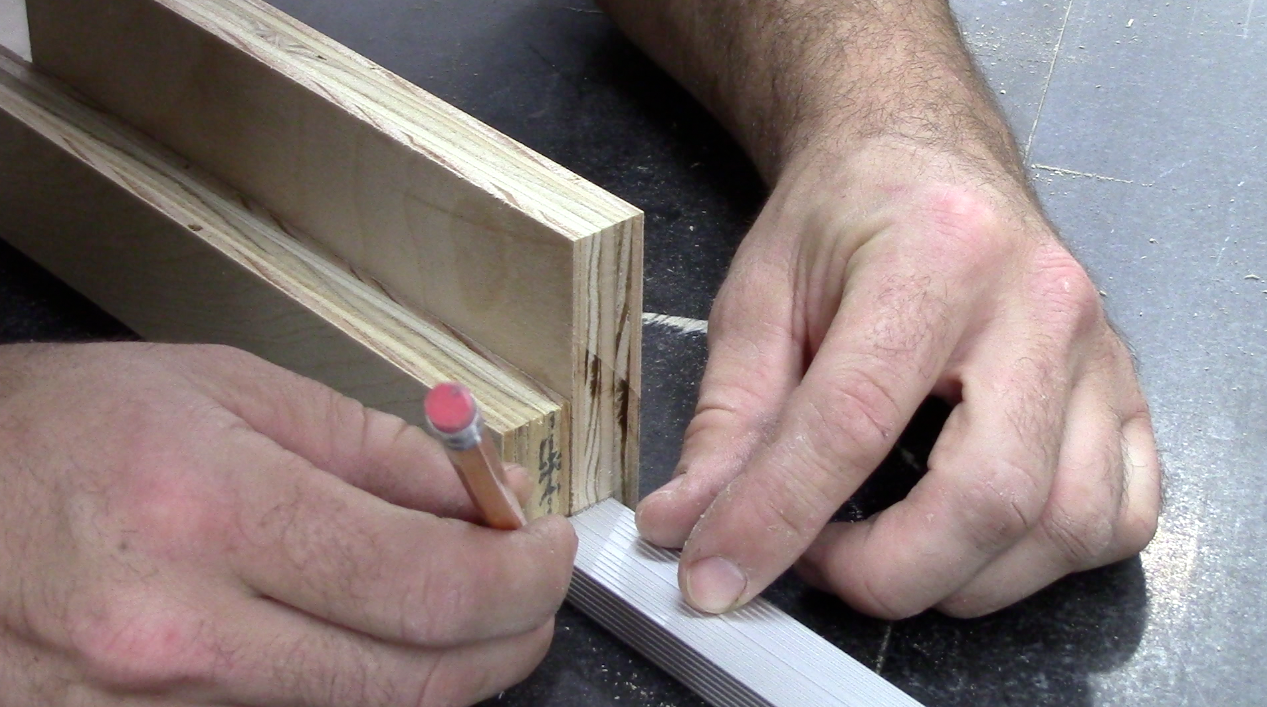
Next we position the bit for the mortise by making a mark of the thickness of our material and aligning the center of the bet with that Mark and the edge of the board. We can then go ahead and cut the mortise.


Finally we can tester fit and if it is a slightly snug, fit then you are good to go!!


Jeremy Richards
April DeRossett