
Cultivate Studios
Chicago, Illinois
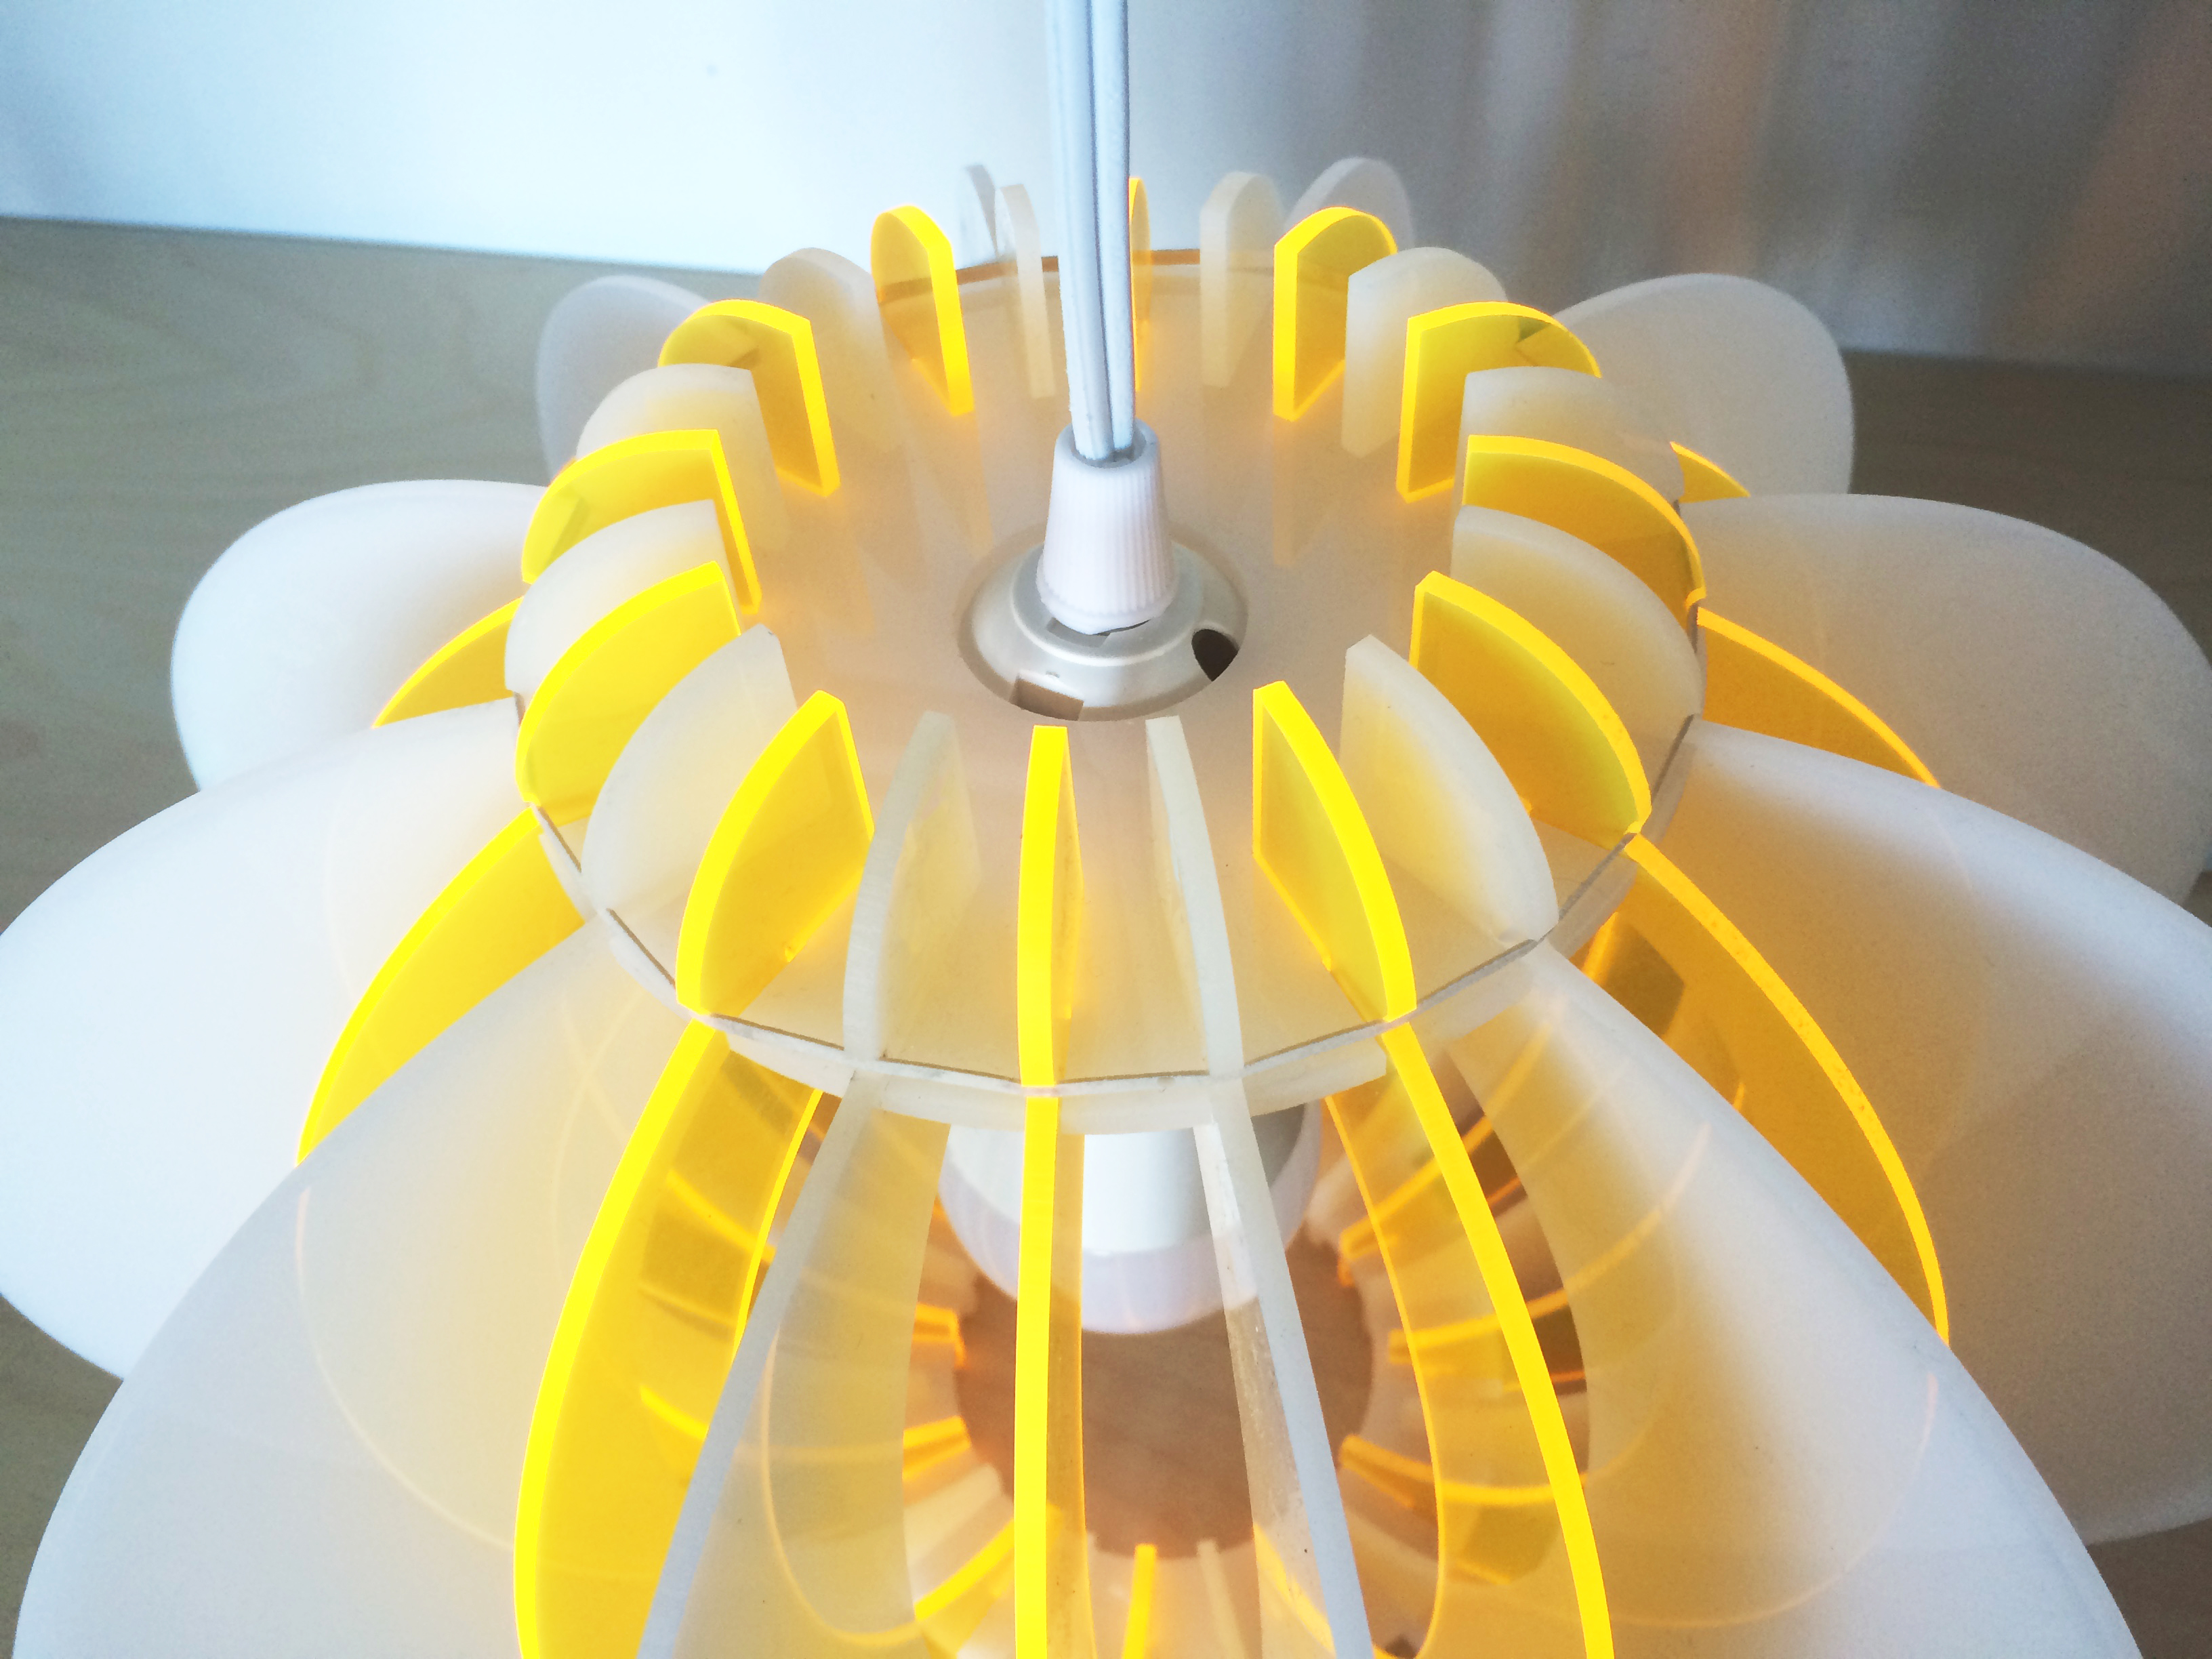
A 26-piece hanging lamp that will make your friends think you spent a fortune! No adhesives or fasteners required. Customize the shape and color of your lamp, or carve exactly as it.
Open both of these files: small ribs and large ribs and follow the instructions in this video
Follow the remaining instructions using your new files.
25 minutes
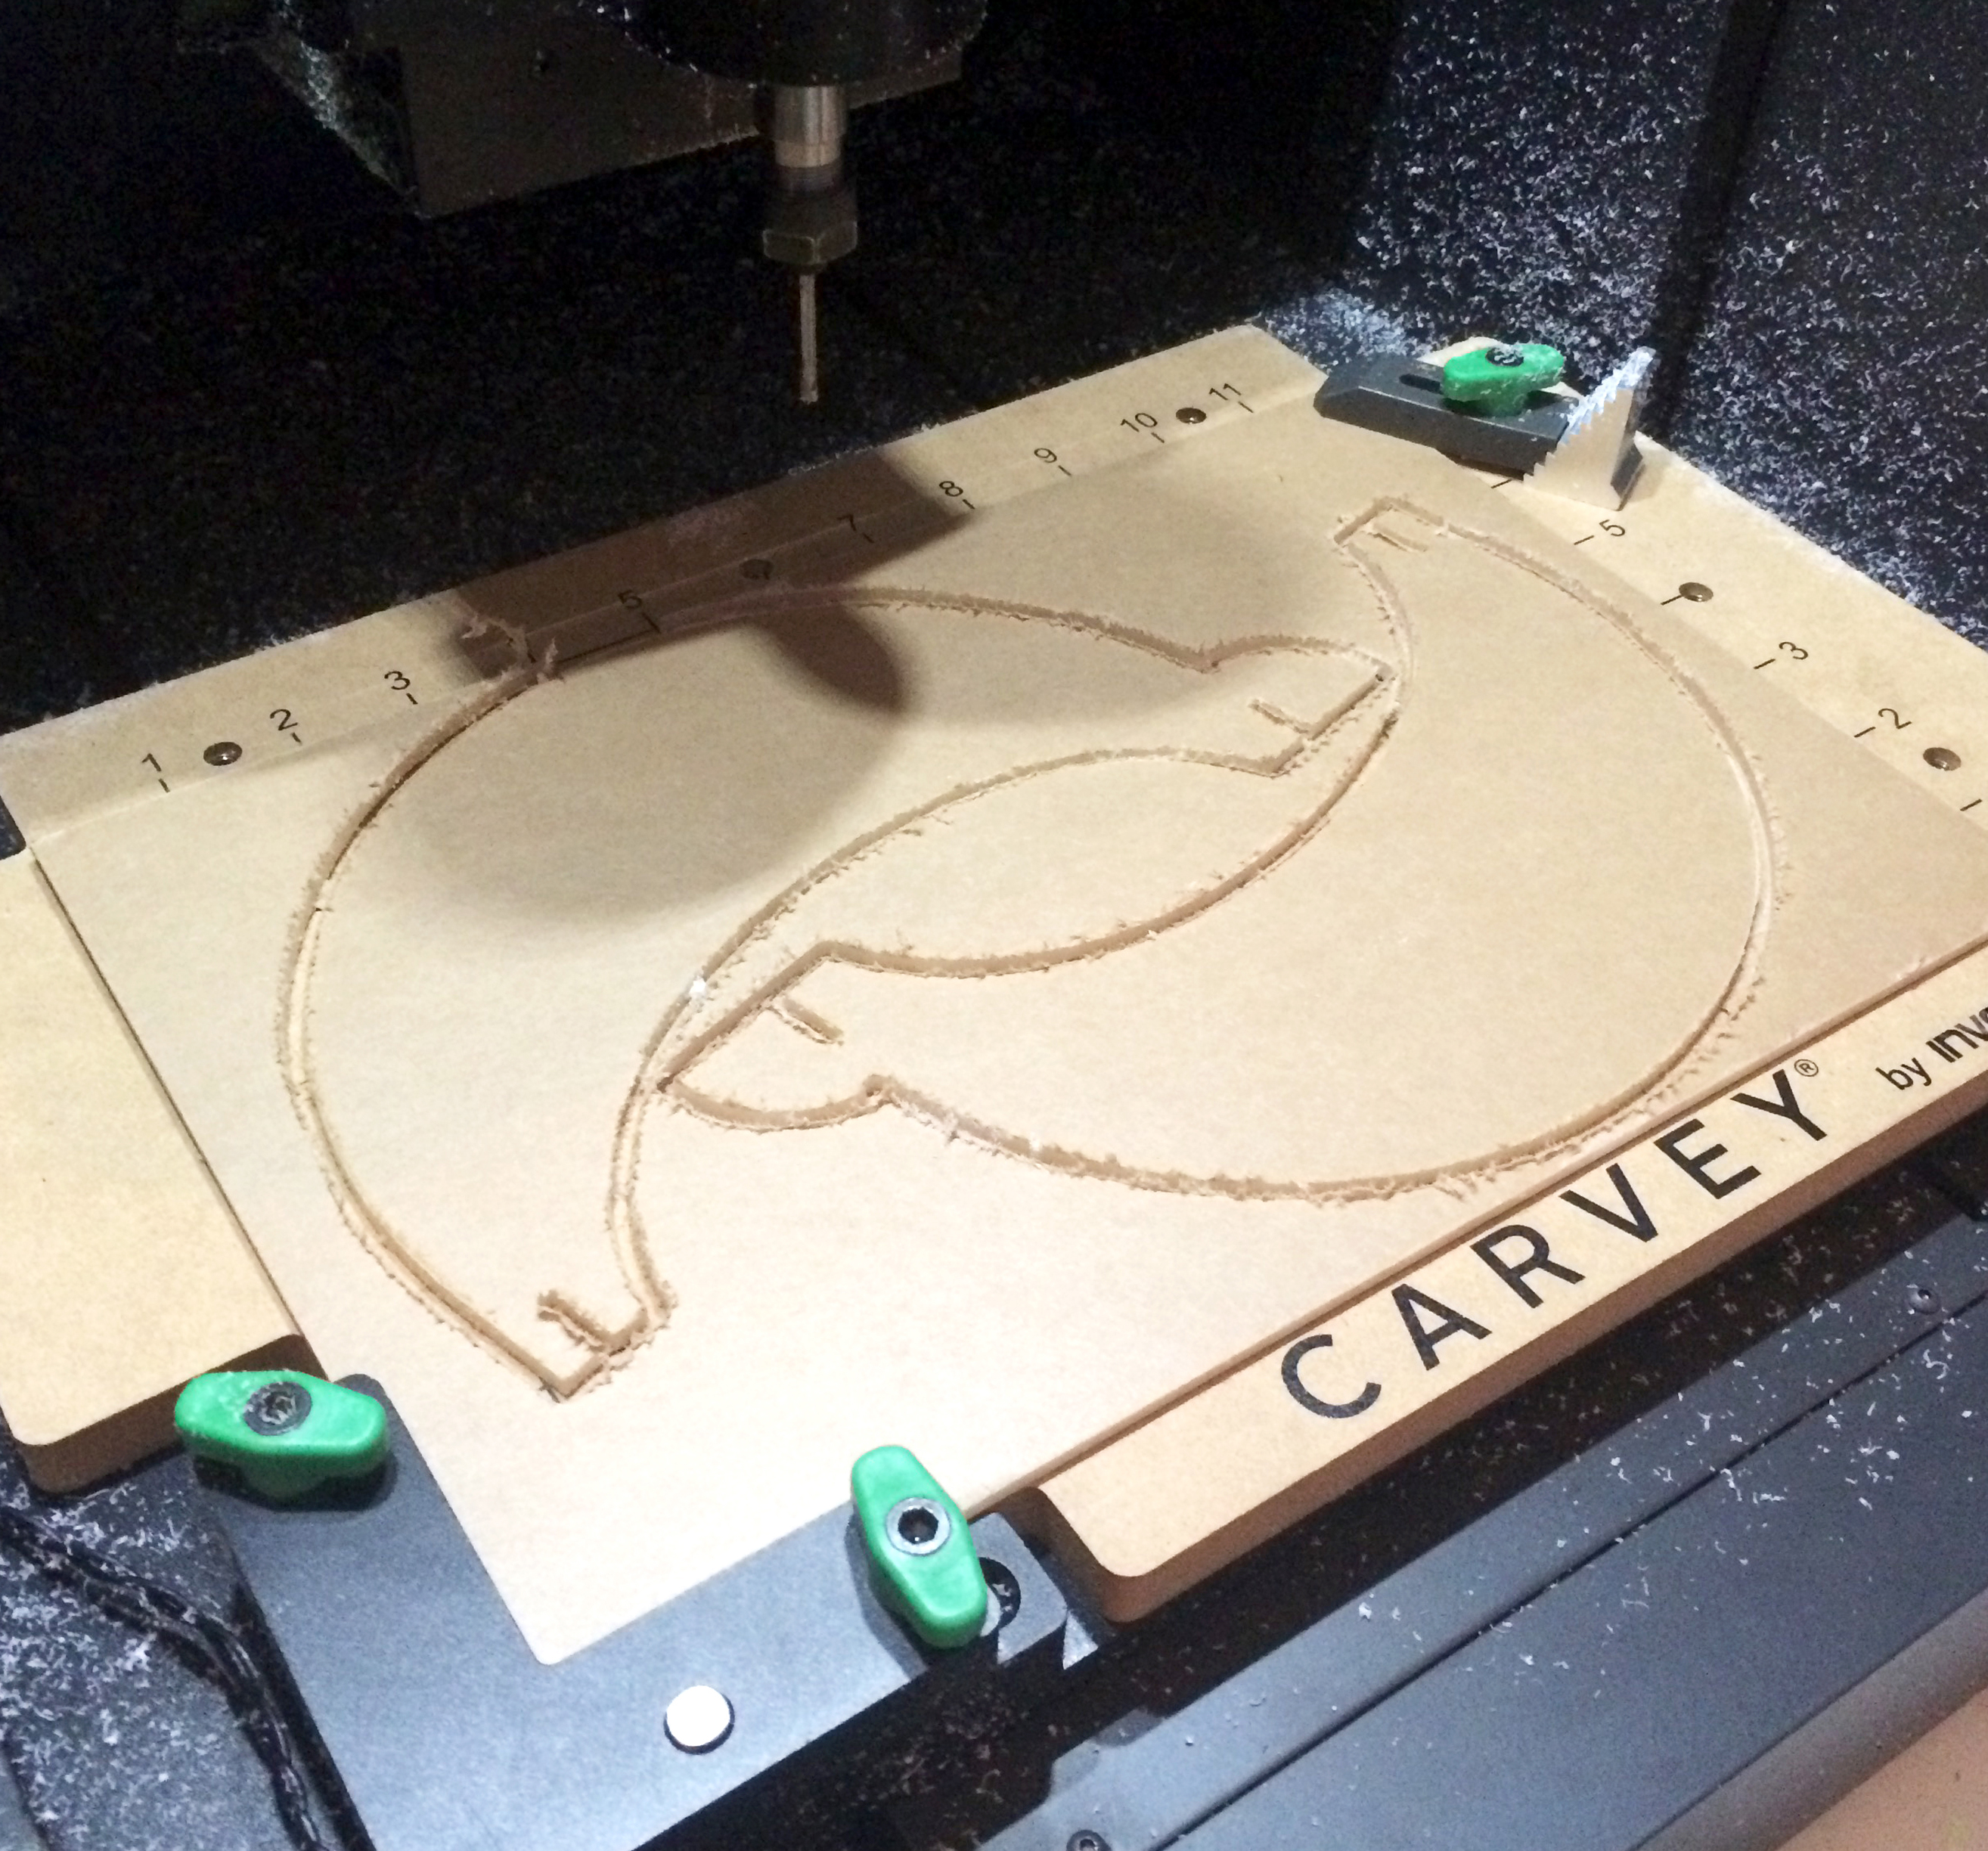
We will be cutting the pieces out in 2 steps, first the slots and then the outlines. This is because we are using 2 different bit sizes to save wear on the smaller 1/16th bits that are needed for the slots.
Measure the exact thickness of the translucent white acrylic (or whatever color you’ve chosen as the primary color), and set the Z value to this measurement as well as the cut depth.
Using double stick tape, firmly secure to the acrylic to the wasteboard.
You will first cut out the slots in this file and then outlines in this file using a 1/16 2FL fishtail bit (blue ring).
Leave the material on the board, and cut out the shape outline in this file using the 1/8 1FL straight bit (black ring).
Mill one sheet.

90 minutes
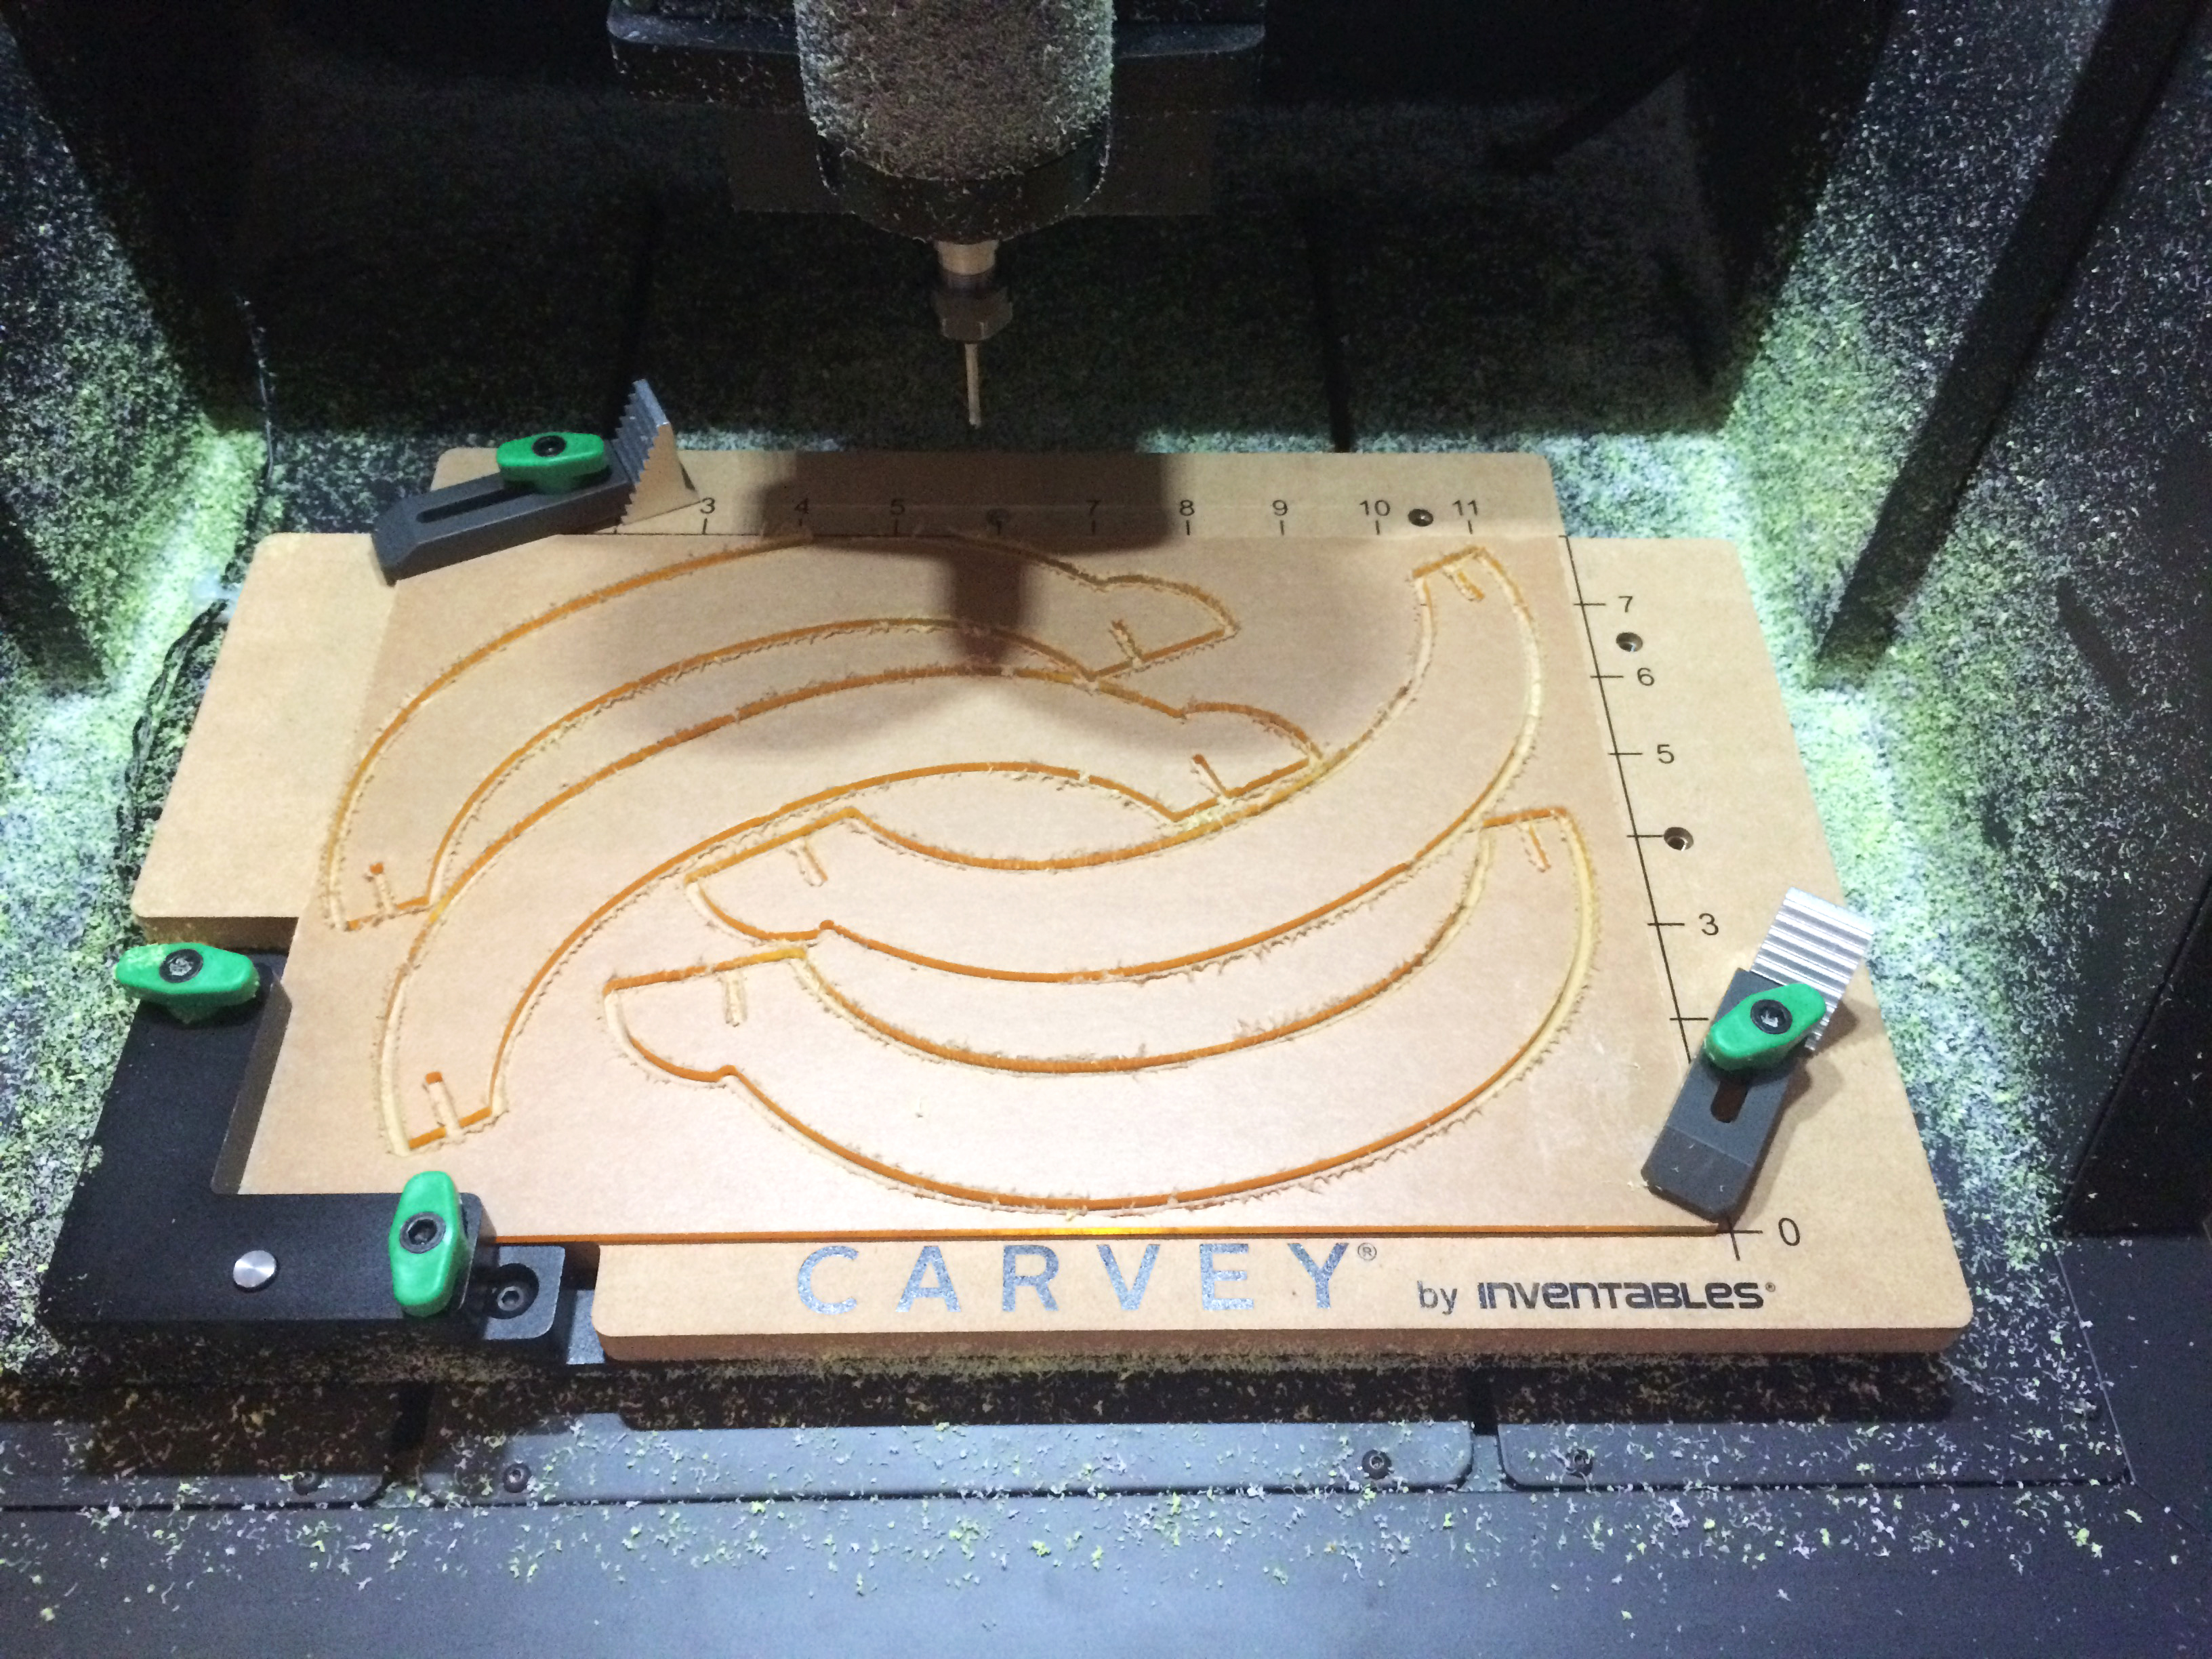
Mill the large ribs using your main lamp color. Remember to measure your material and adjust the Z-value and cut depth accordingly.
First cut the slots using this file with the 1/16th bit, leave the material secured to the wasteboard and then cut out the outlines using this file and the 1/8th bit.
Mill 6 sheets of the large ribs for a total of 12 pieces.
60 minutes
Mill the small ribs using whatever color you would like the core of your lamp to be. Remember to measure your material and adjust the Z-value and cut depth accordingly.
First cut the slots using this file with the 1/16th bit, leave the material secured to the wasteboard and then cut out the outlines using this file and the 1/8th bit.
Mill 3 sheets for a total of 12 pieces
10 minutes
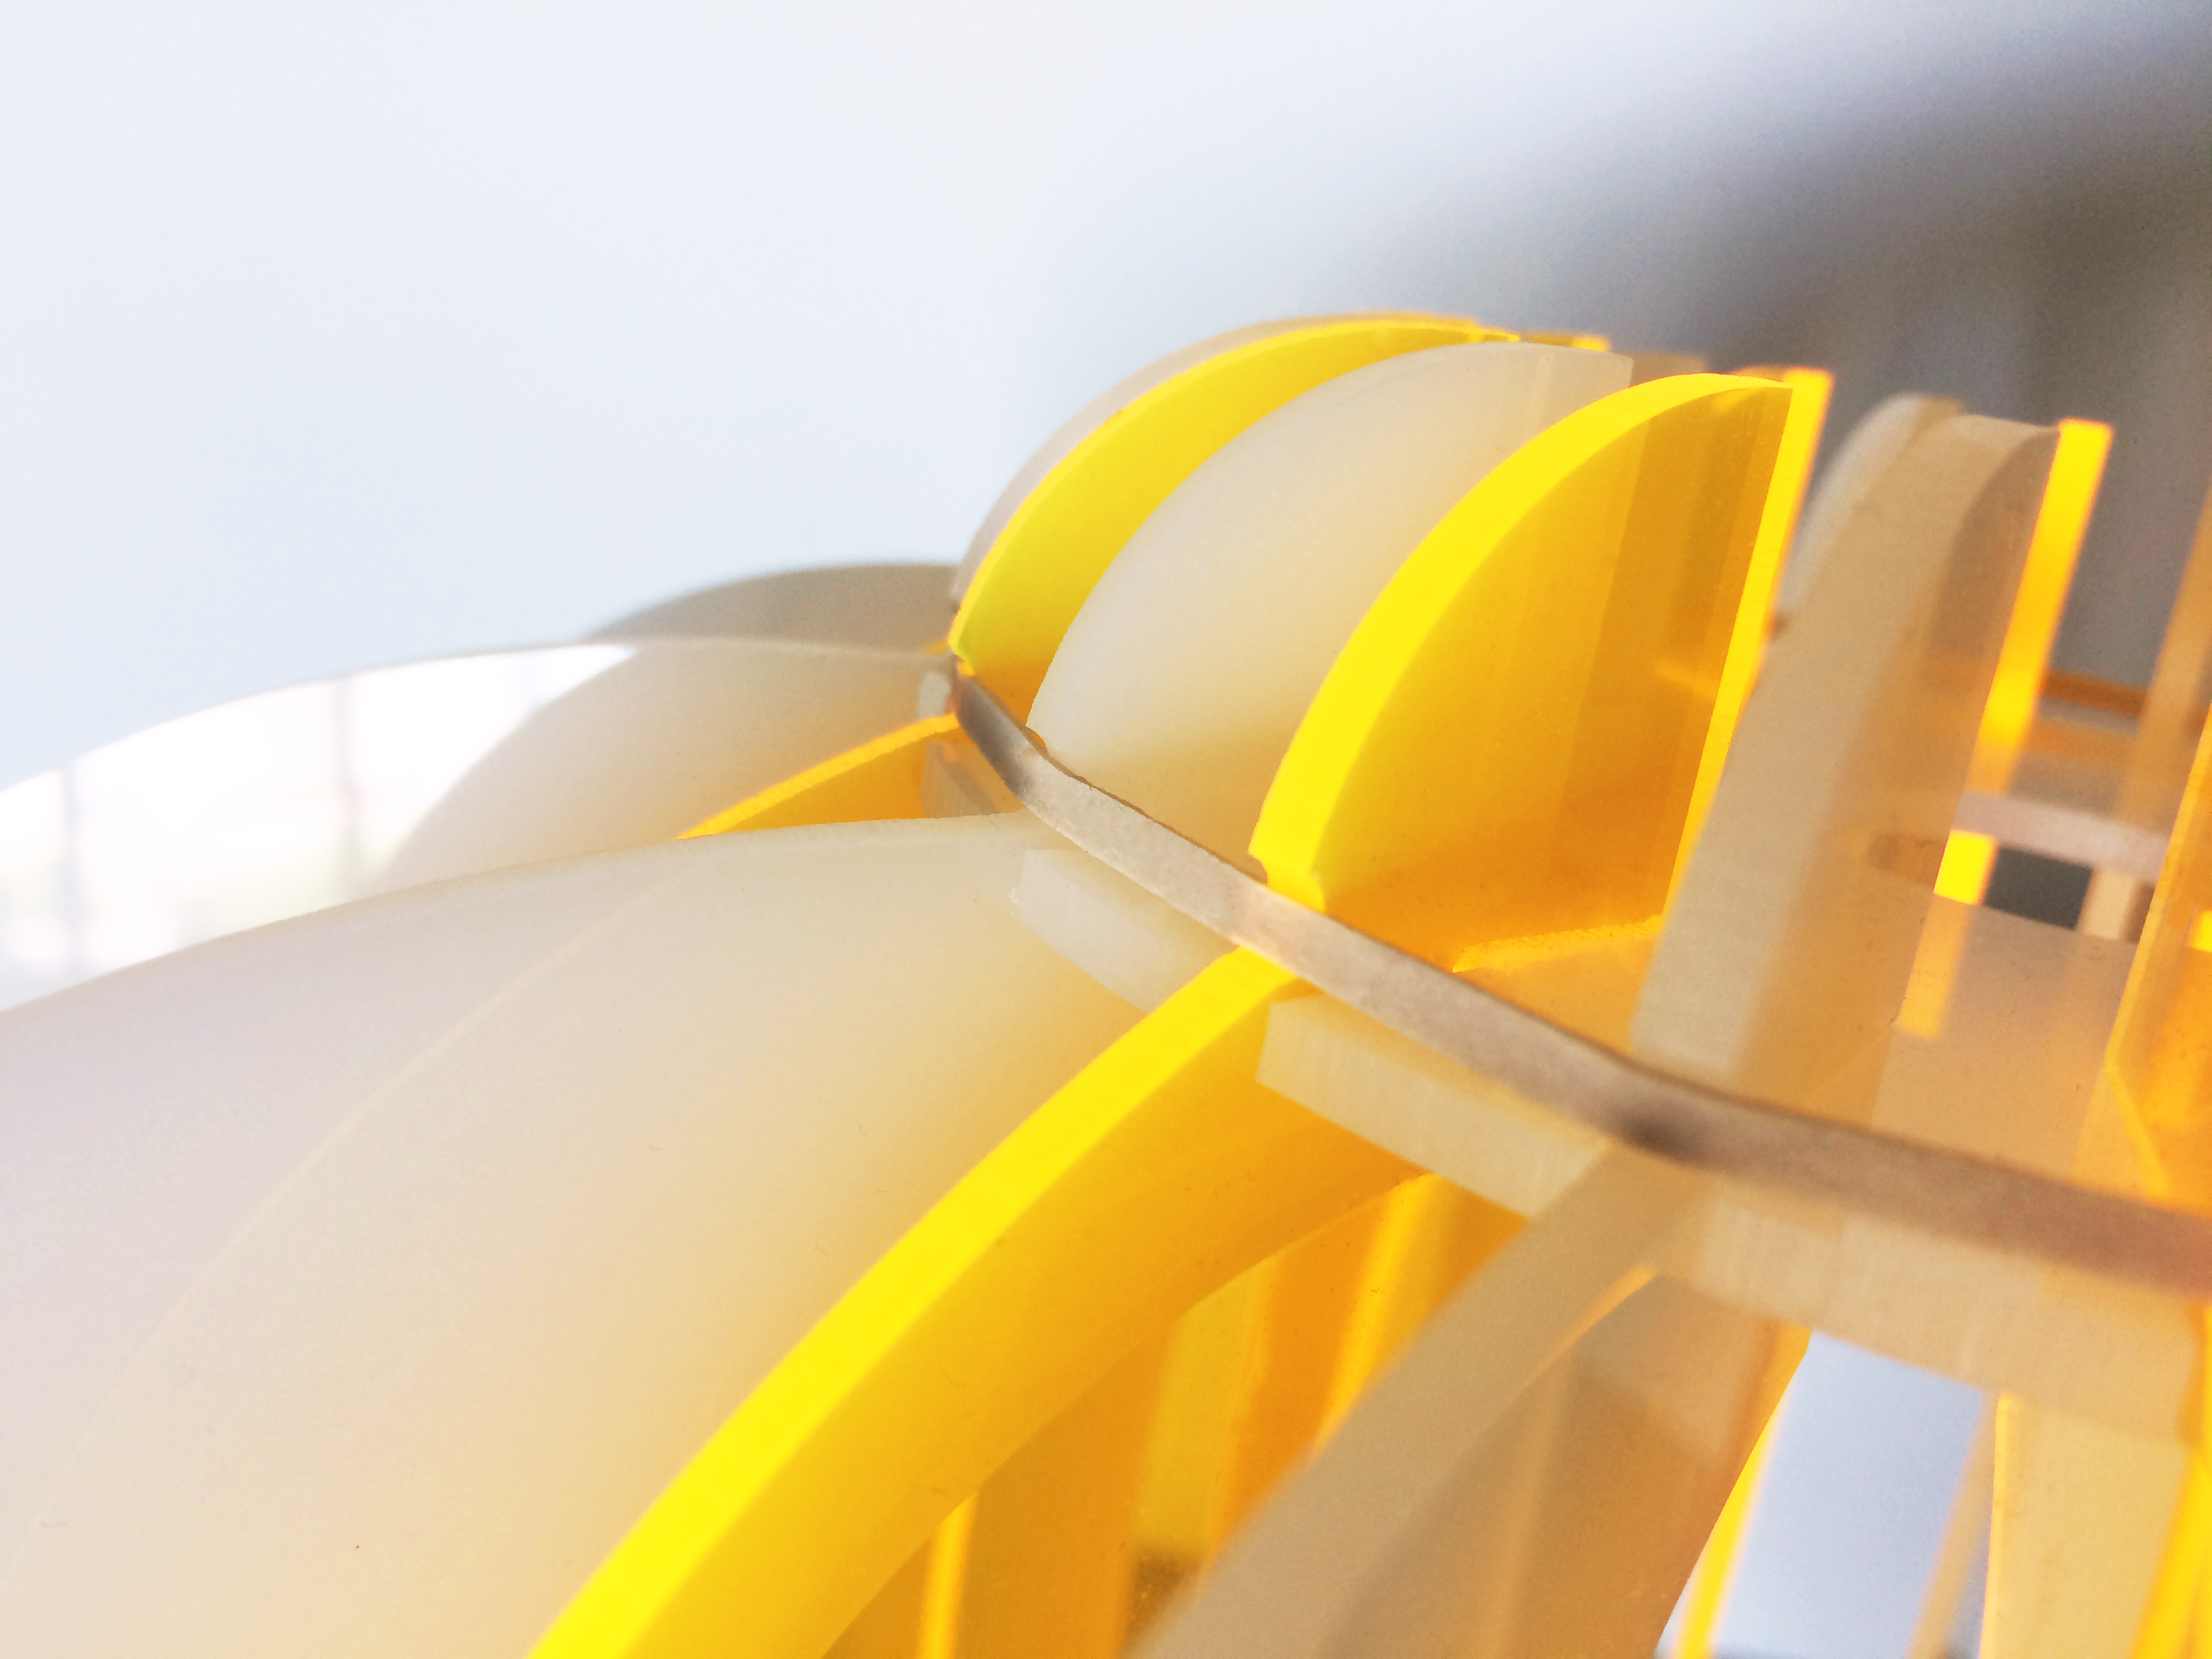
The circle with the smaller center is the top of the lamp, and connects with the end of the ribs with the extra bump. Insert the slots on the ribs into the slots of the circle, alternating large and small ribs.
Once all the pieces are put together, stretch a rubber band or a hair tie around the top of the lamp, and fit it into the small divot at the top of the ribs. this will keep the pieces from falling apart.

Thread the cord of your light in from the bottom, hang, and bask in it’s glow!


PELAGIO MARTINEZ