Minimal wallet created from Walnut, acrylic, aluminum, and Leather. This is the perfect gift for any EDC fan and it really easy to make.
| Material | Description | Price | ||
|---|---|---|---|---|

|
Black Acrylic Sheet |
Dimensions: 8 in × 12 in, Thickness: 1/16 in |
||

|
Brushed Aluminum on Black Laserable Acrylic Sheet |
Dimensions: 8 in × 12 in, Thickness: 1/16 in |
$11.29 |
|

|
Walnut |
6" × 12" × 1/2" Walnut |
$10.86 |
|
| This project's Bill of Materials is not complete. Add to Cart |
$22.15 |
|||
60 minutes
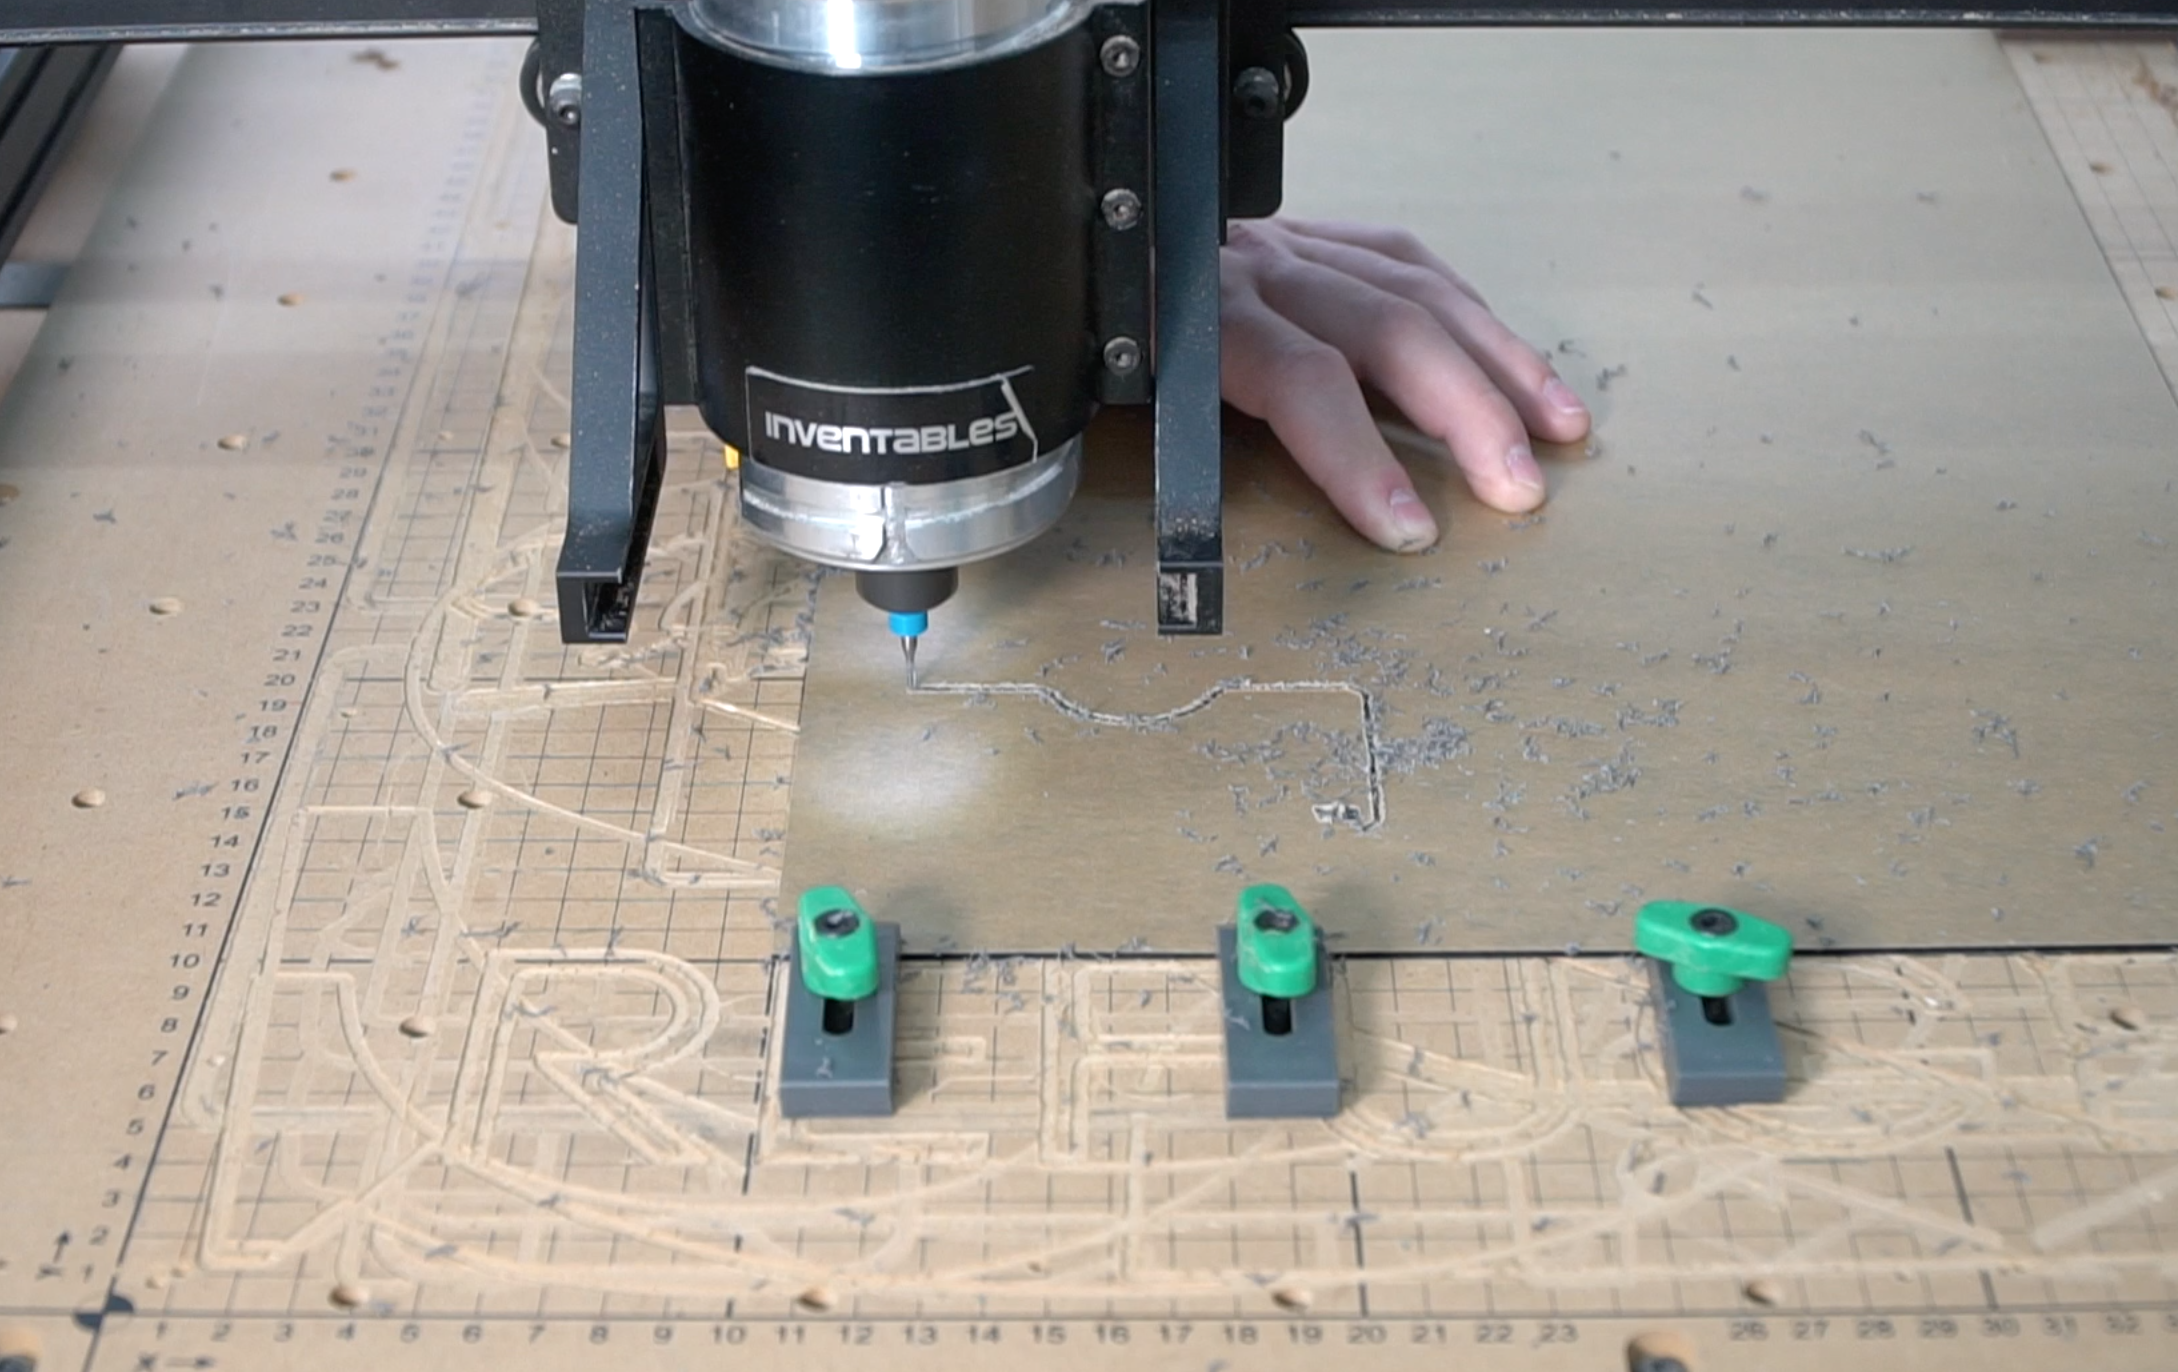
We designed our wallet on Adobe Illustrator and then could export it as a SVG file that Easel could use. Easel is the online software used to run the x-carve.
We are using some left over walnut in our shop. We haven’t done much with hardwoods in a long time so we are excited to use walnut for this project, I mean who doesn’t love walnut.
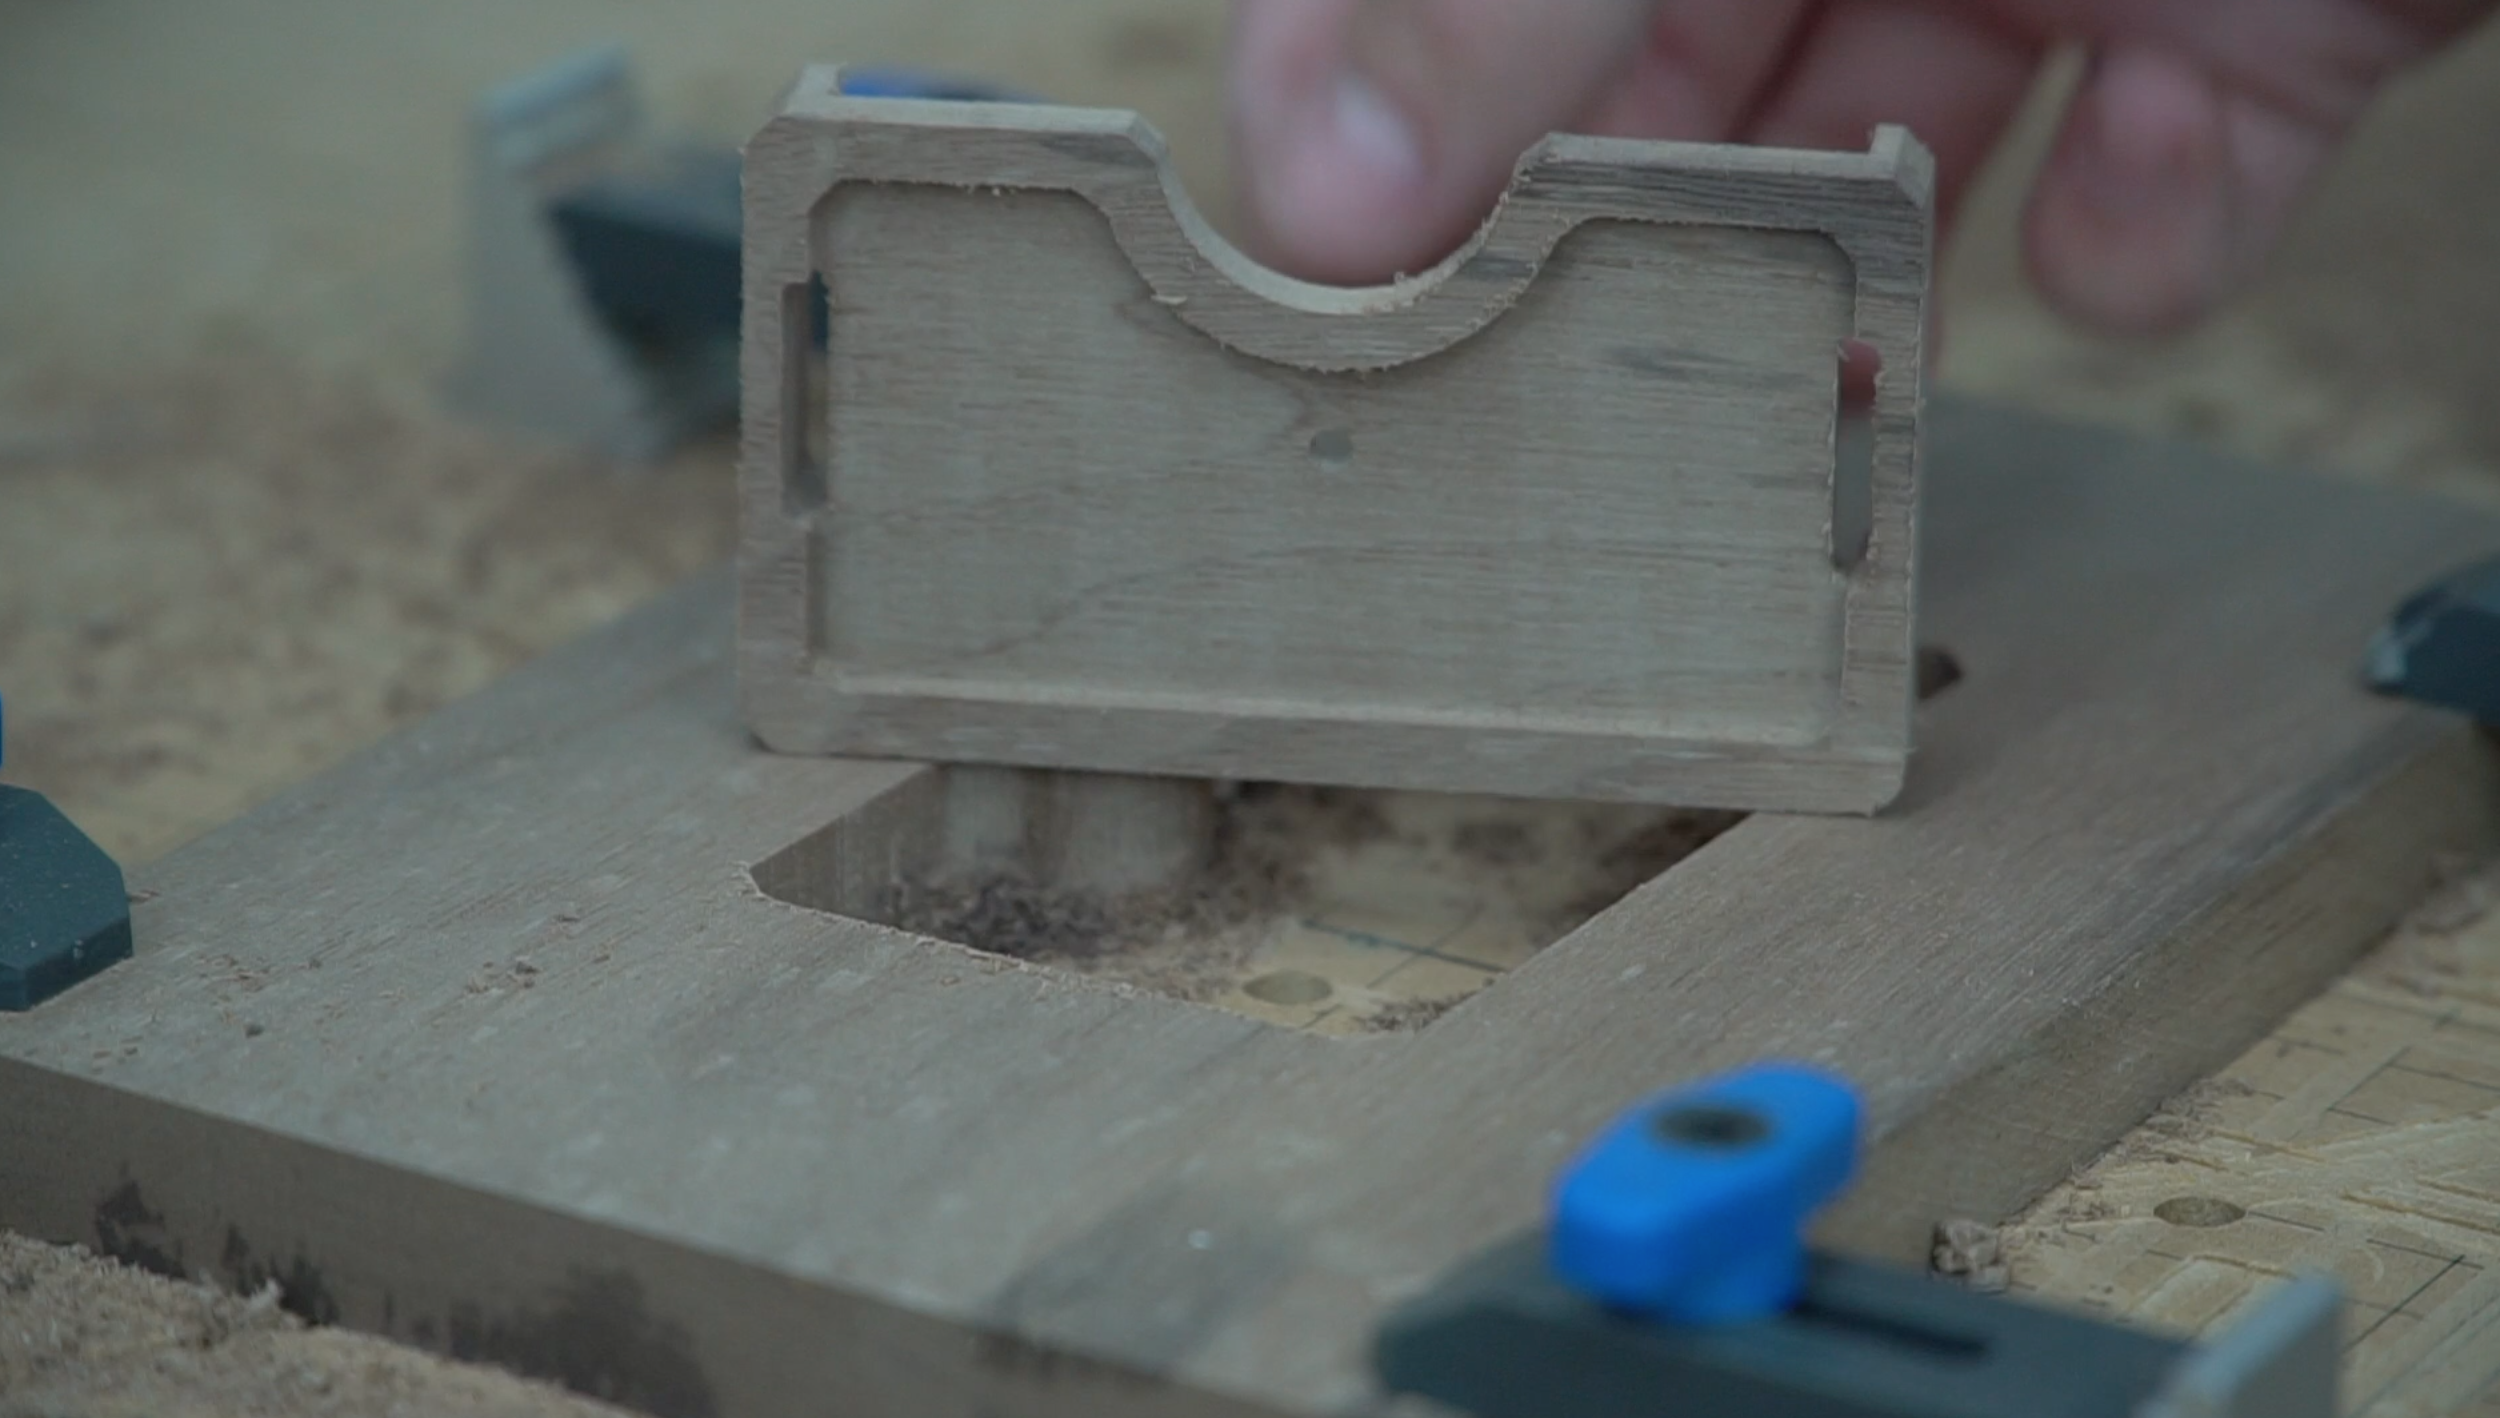
We have to first clamp our board down and square everything up. This wallet is a two step cut that involves flipping the piece over so its super important to line everything up correctly. We aligned the the file to be centered over the 0,0 point and also marked the center of the board we are cutting. We will always reference this center point and to make things even easier we added a small hole to be cut in the center so when we flip the board we just line the machine back up to the center.
Now that we have the wooden part cut out, we can get to play around with inserts. We love that this design can be modified by using different materials for both the body of the wallet and the insert on the front. We used the inlay generator on Easel to cut a piece to fit in the pocket on the front of the wallet. For the first wallet we choose to use black acrylic and engraved WB in the bottom right corner. Once that was cut out and everything got sanded it was time for assembly.


10 minutes
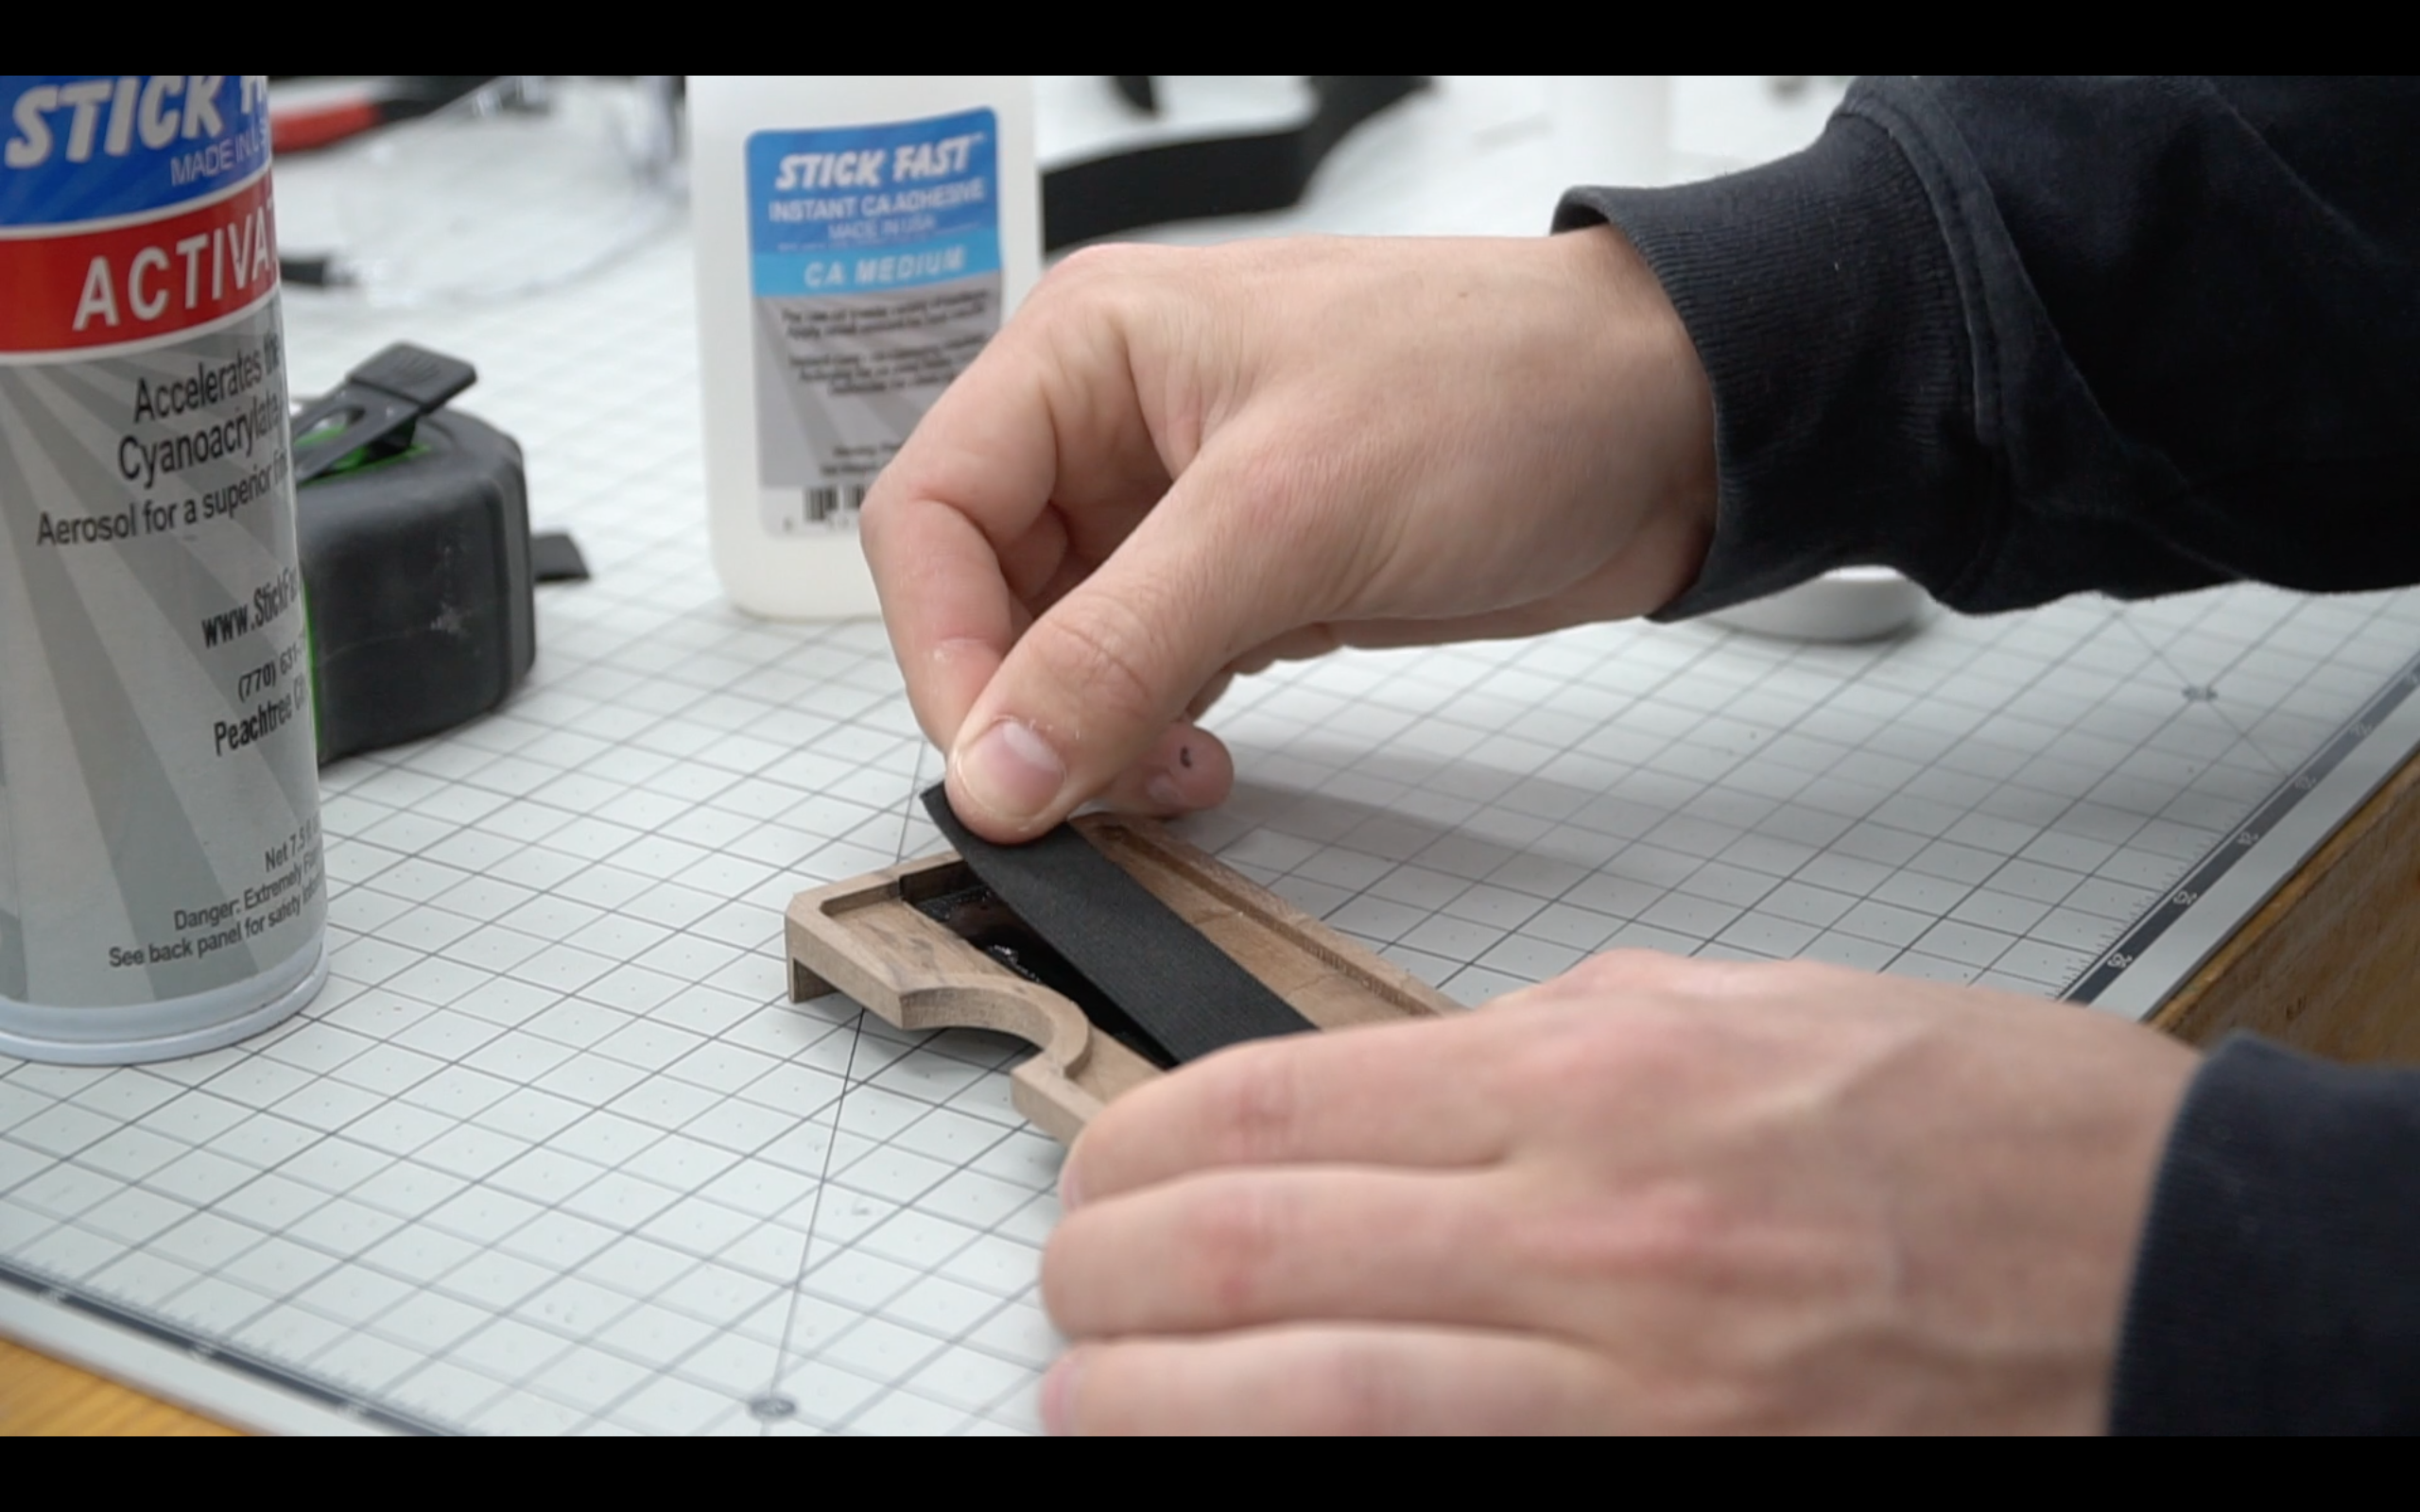
This wallet is going to be open, so we are going to use 3/4” elastic around the entire wallet to hold cards and cash in place. We considered sewing the elastic together, but there wasn’t a really good way to do so, so instead we super glued one end of the elastic to the wood, and then wrapped it around once, lightly burned the end of the elastic to keep it from fraying, and then super glued the other end of elastic on top. We used a “quick setting spray” to help the glue cure faster.
10 minutes
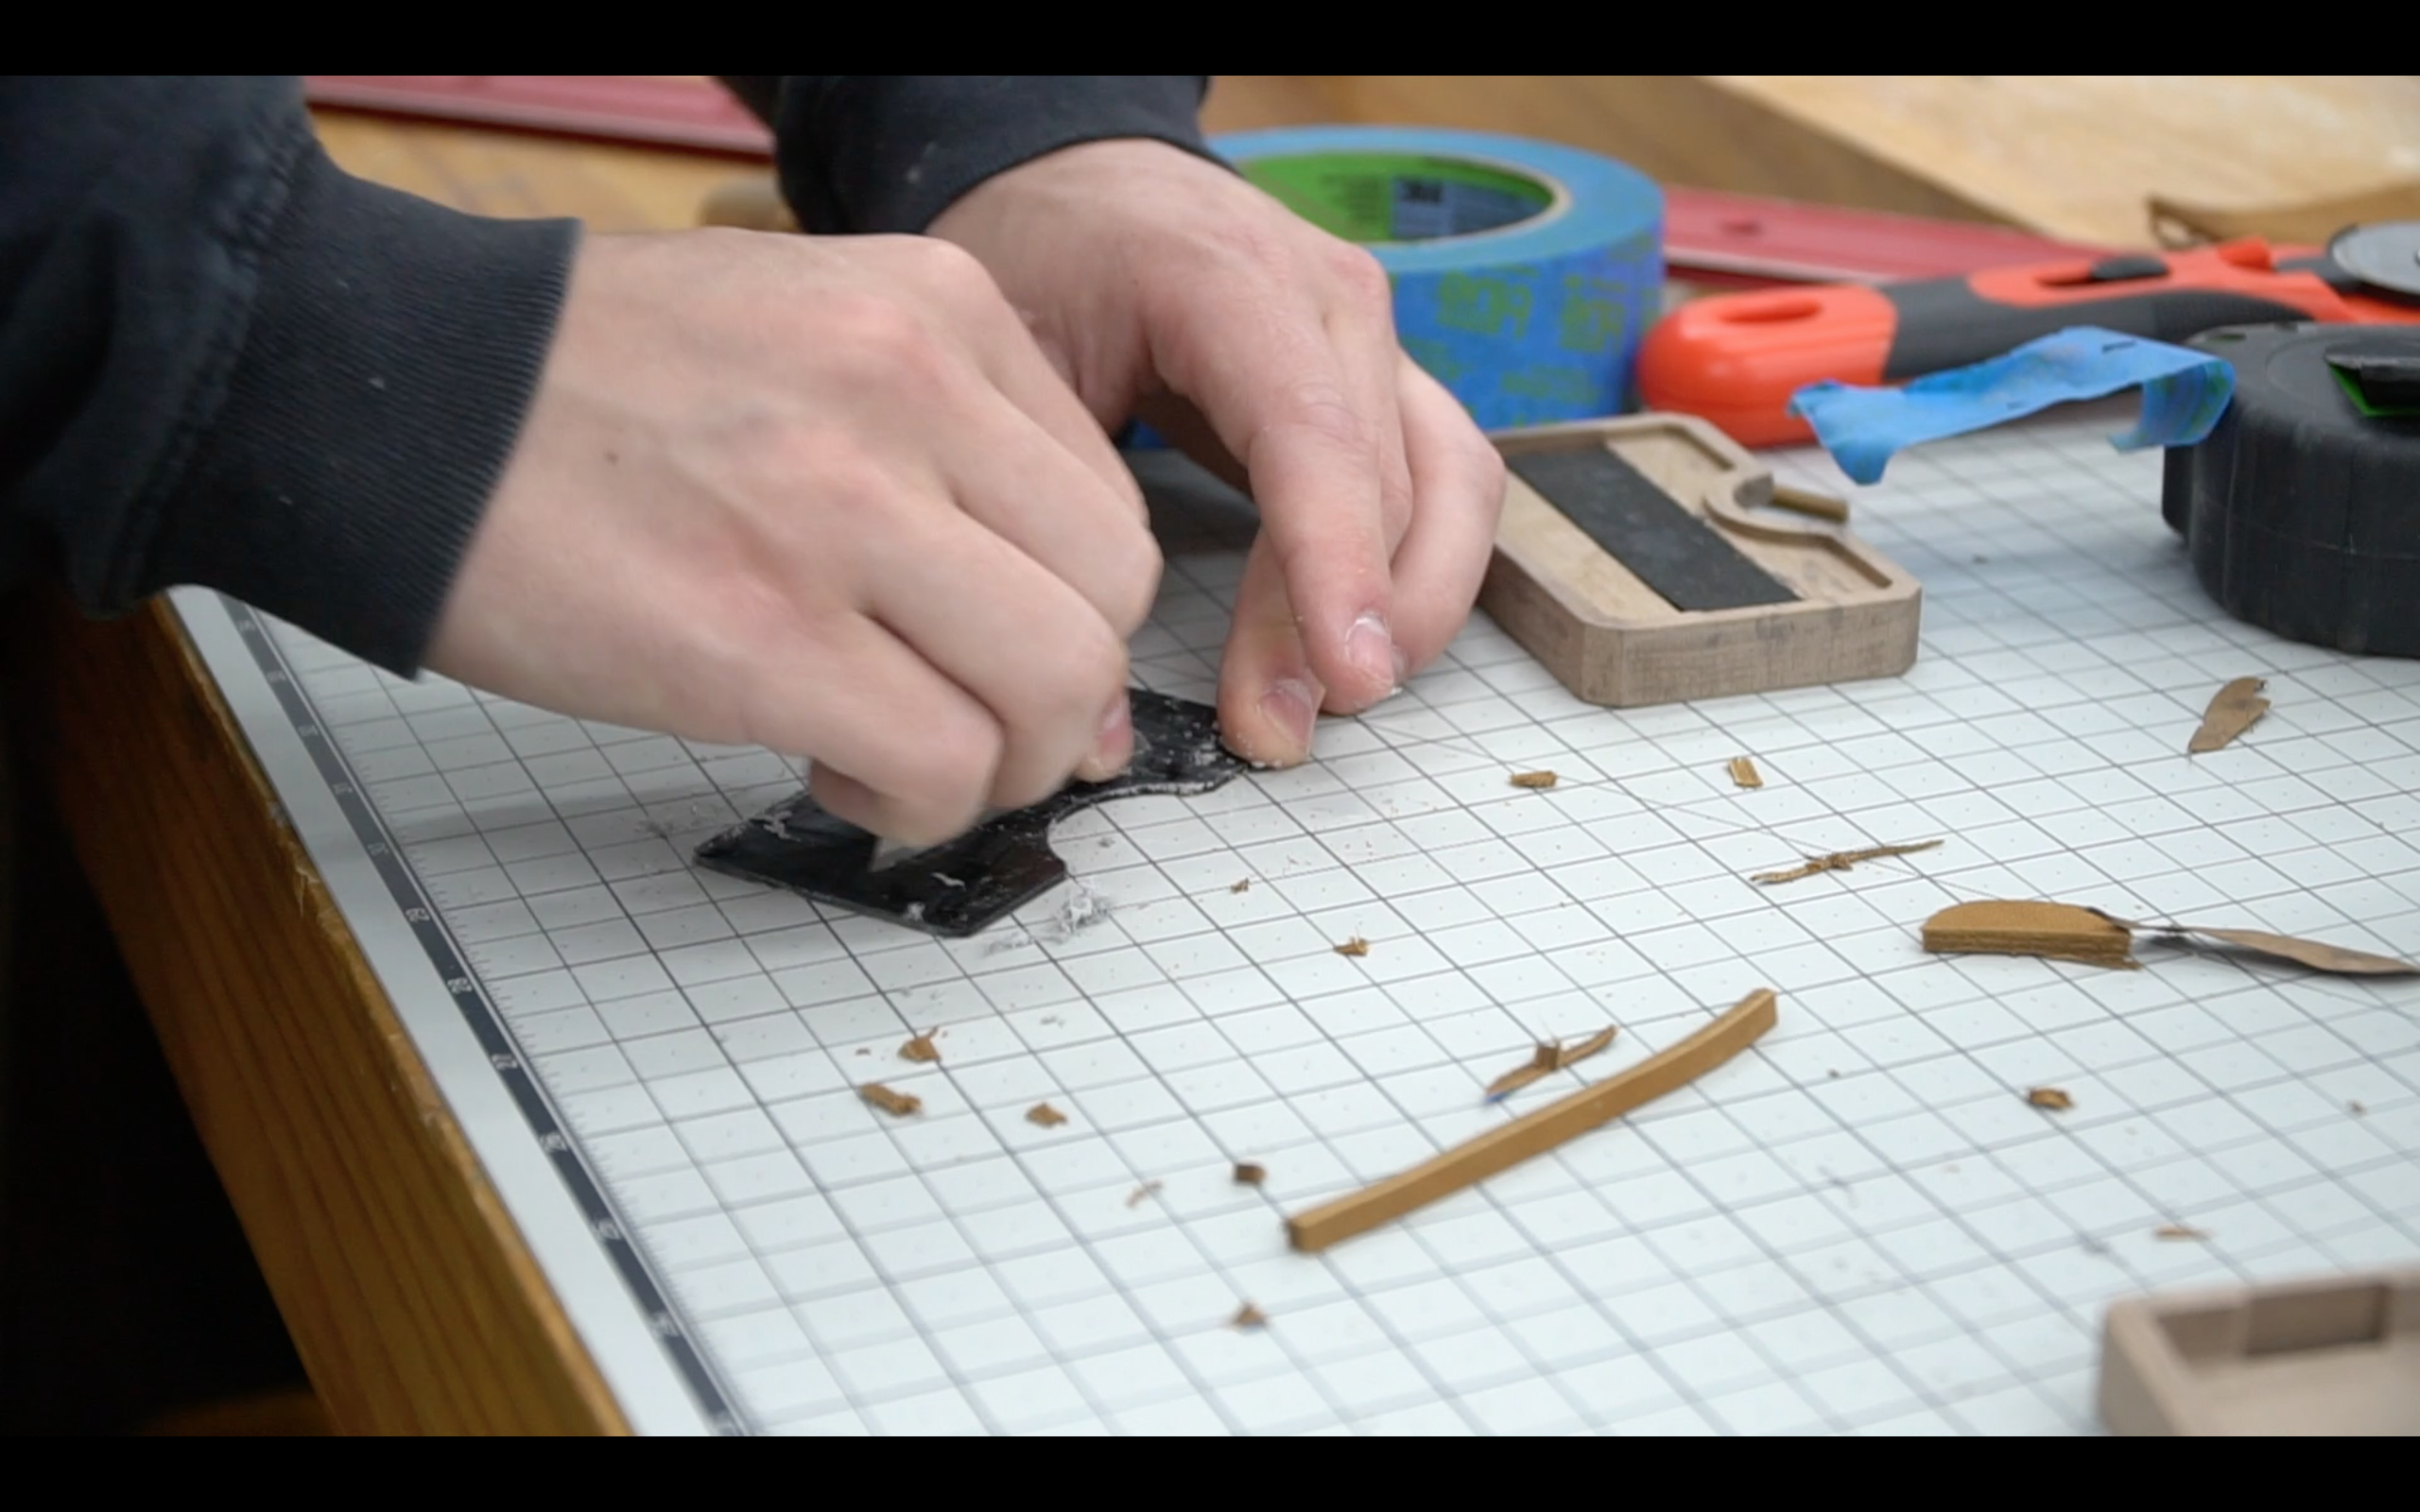
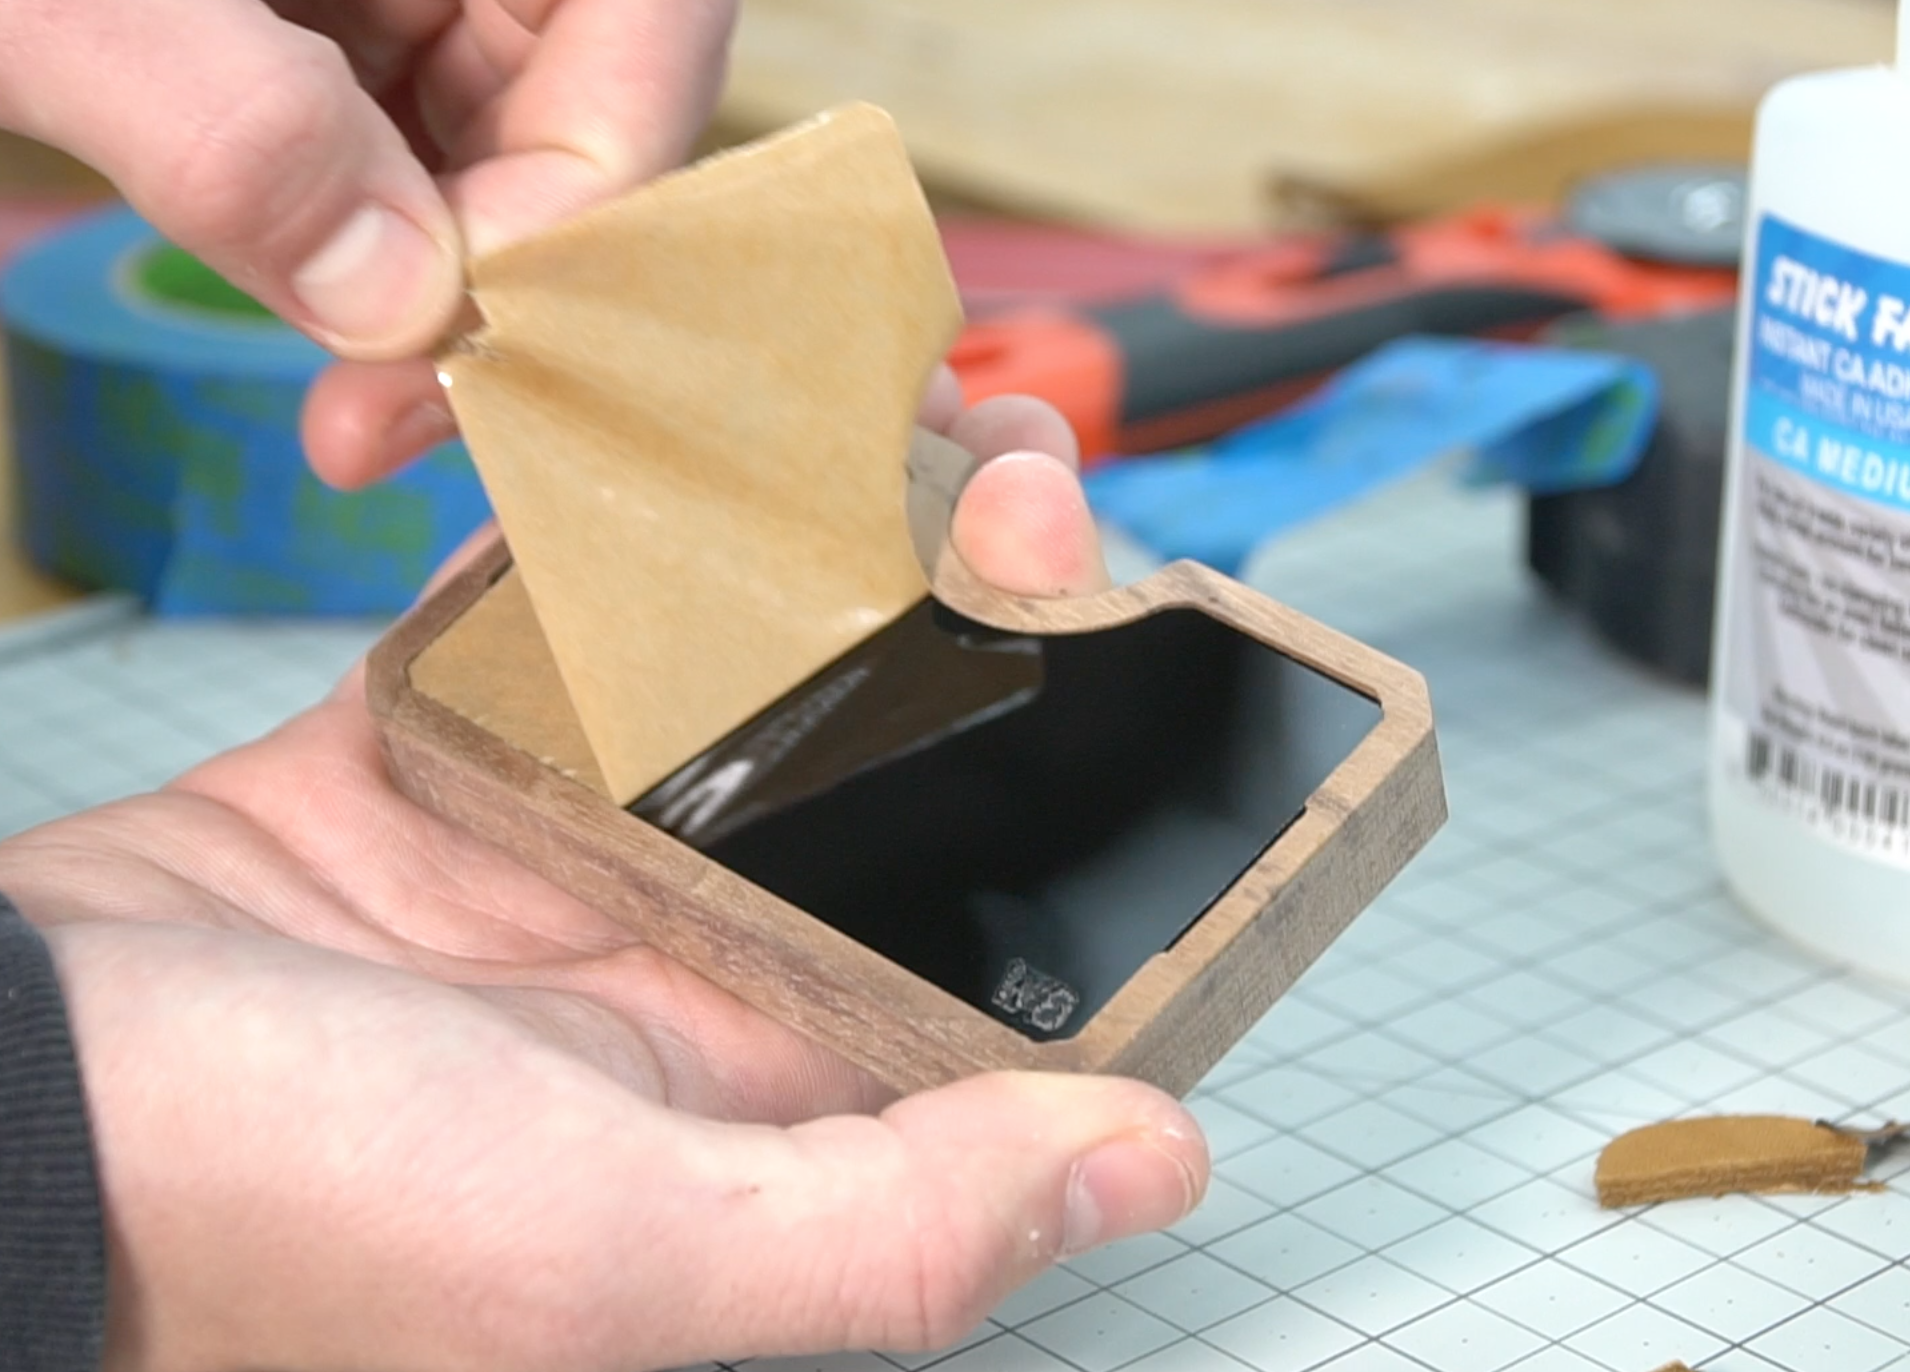
Now its time for the insert which while cover the elastic. We scuffed up one side of the acrylic to give the glue something to grab onto. We used CA glue to glue that in place.
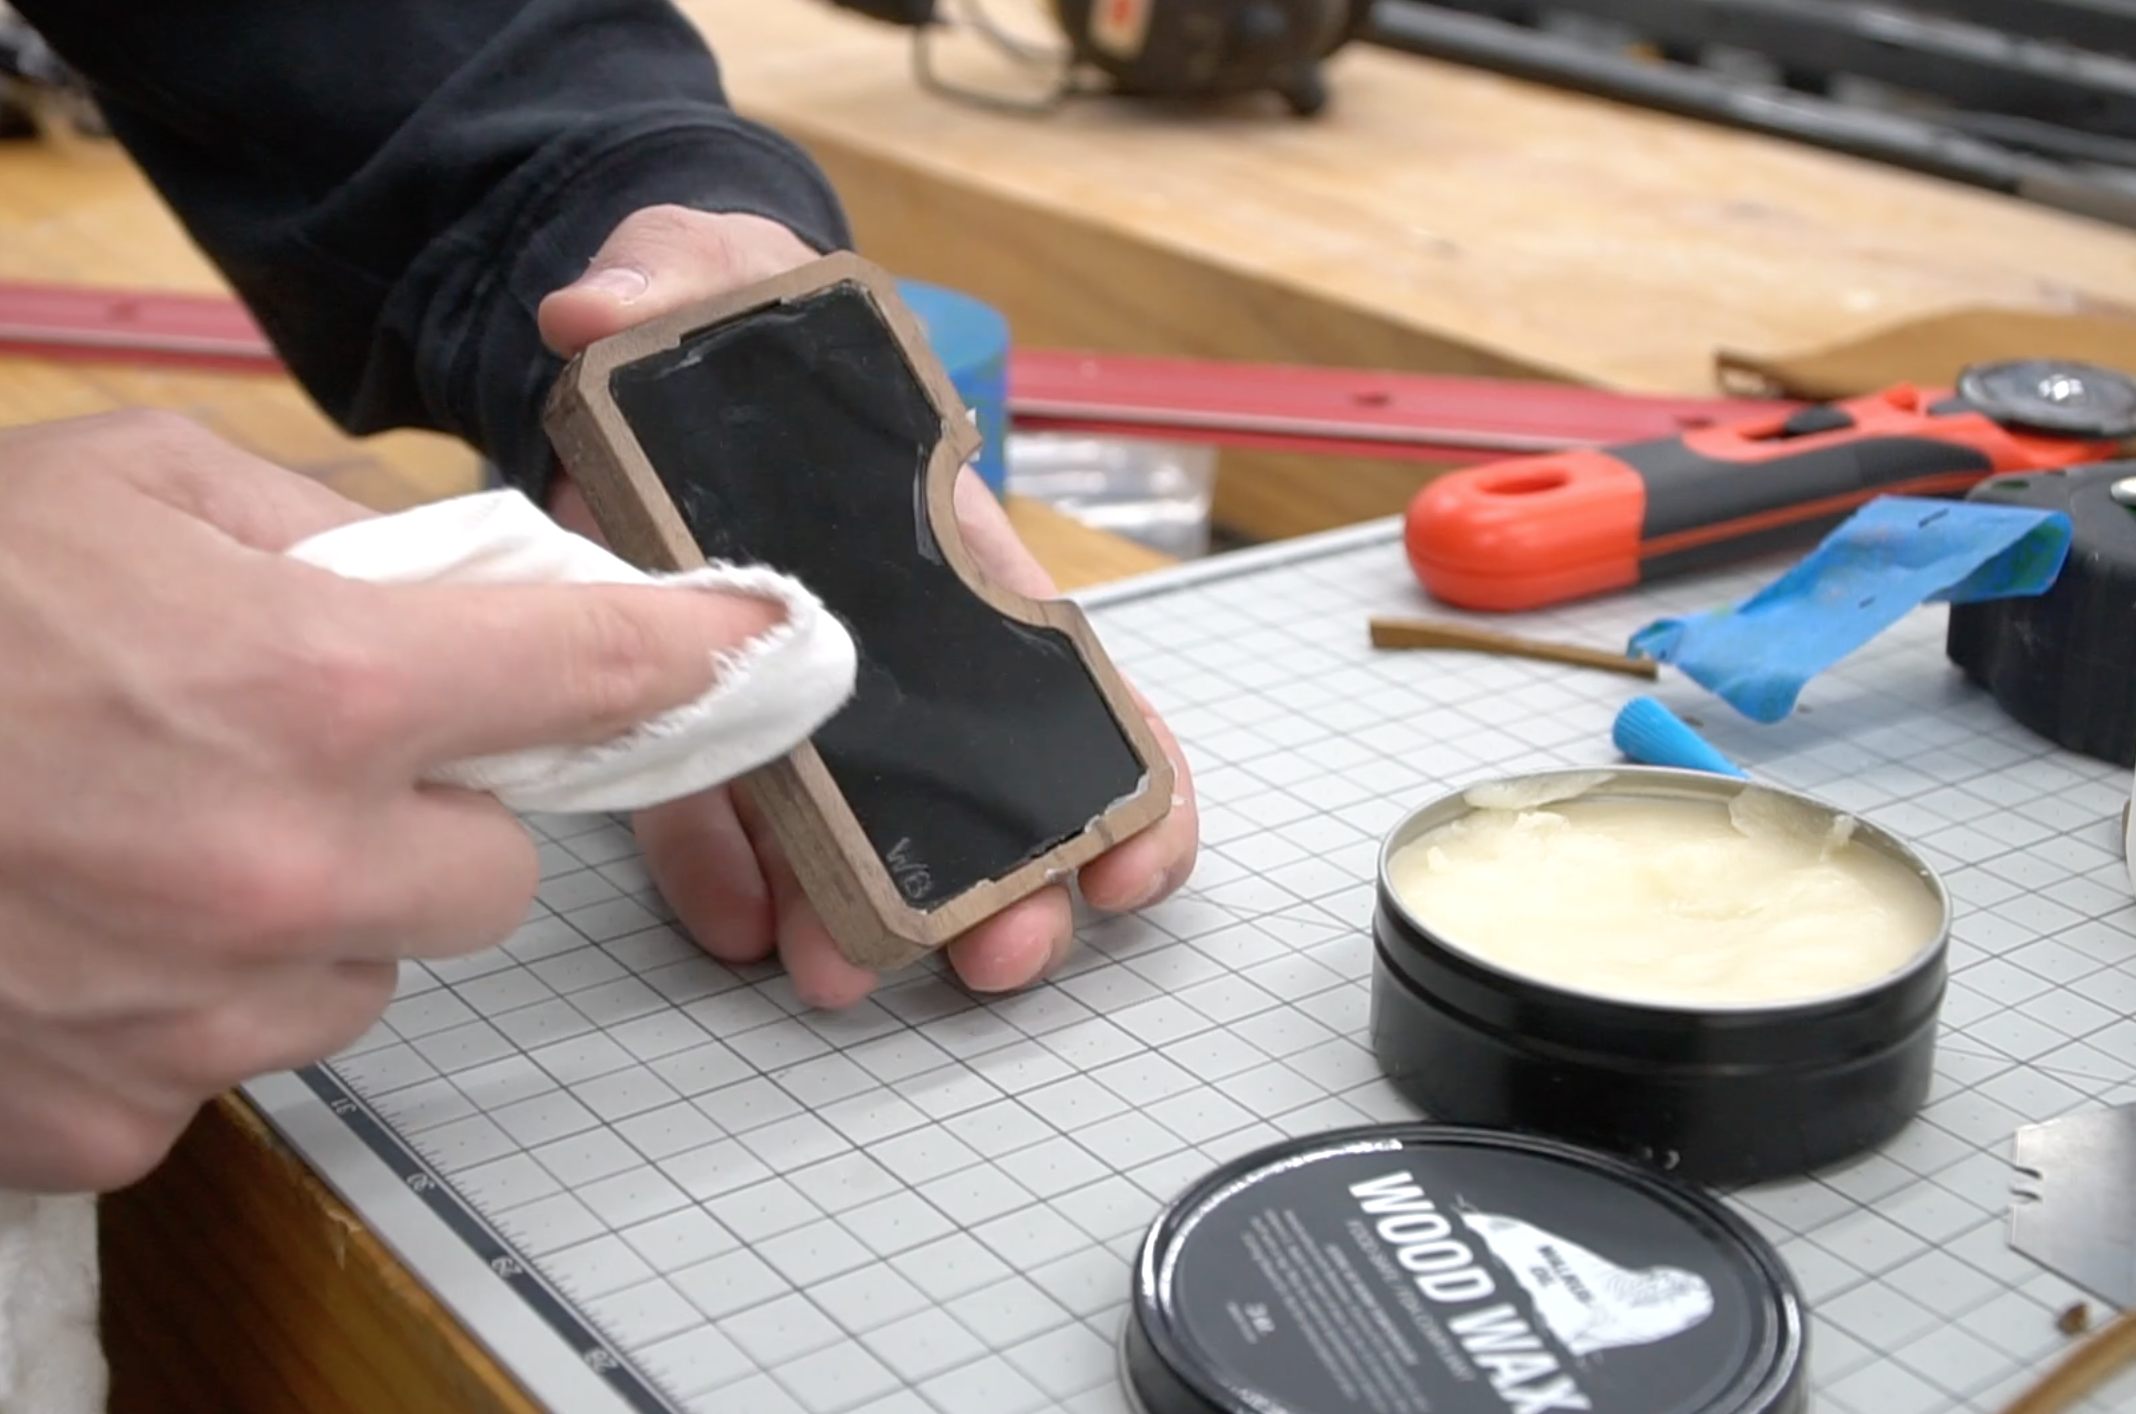
To finish it all off, we used a wood wax from walrus oil. This stuff is great when you want a soft wearable finish. It feels really good in your hands as well.
We love how this minimal wallet turned out. The cards are easily removable, but not to easy, and easy to place back in either to the back of the deck or the front. We also made a couple extra with leather and aluminum inserts. We are currently selling these on our website for the holidays, so go on over to the store and check ’em out!


C W
Anita Chang
Michael J. Buranich