
Garin Gardiner
Tigard, USA
My daughter needed to Maine a covered wagon for a fourth grade end of year pioneer wagon needed to be about shoebox size and could carry a load throughout an obstacle course while being pulled by the fourth grader. We set out to make the ultimate (miniature) covered wagon…see for your self :)
| Material | Description | Price | ||
|---|---|---|---|---|

|
End Mill Sample Pack, 1/8 in Shank |
Quantity: 5 (mix of 3 different types), Shank Diameter: 1/8 in, Cutting Diameter: 1/8 in |
||

|
Soft Maple - Hardwood Type (×6) |
Dimensions: 6 in × 12 in - don't use, Thickness: 1/2 in - don't use |
||
You can view the Fusion 360 mode from your browser using the link below as well as download the file for your own personal use.
Import design into Fusion 360 and you can open the design and make edits to the size of the wagon if you want to. There is one primary sketch (first feature) that controls the size and shape of the wagon. Making changes to that sketch will update the entire wagon.

30 minutes
We used pine for this project but I wish we would have used a little harder wood (that wasn’t wet). There are several pieces you will need to cut out with a chop saw and table saw before you start cutting on your X-Carve. Look at attached drawing for cut lengths.
Sides
Front & Back
Seat
Foot Rest
Wheel stock
Axles
Bottom

If you have made any changes during step 1 you will need to update the toolpaths in Fusion 360 and generate gcode or use use the files I have attached if you haven’t made any changes. Below are the parts of the wagon that are machined.
Wheels – shape, spokes and hole
Sides – pockets on outside and groove on inside
Back – pocket with text

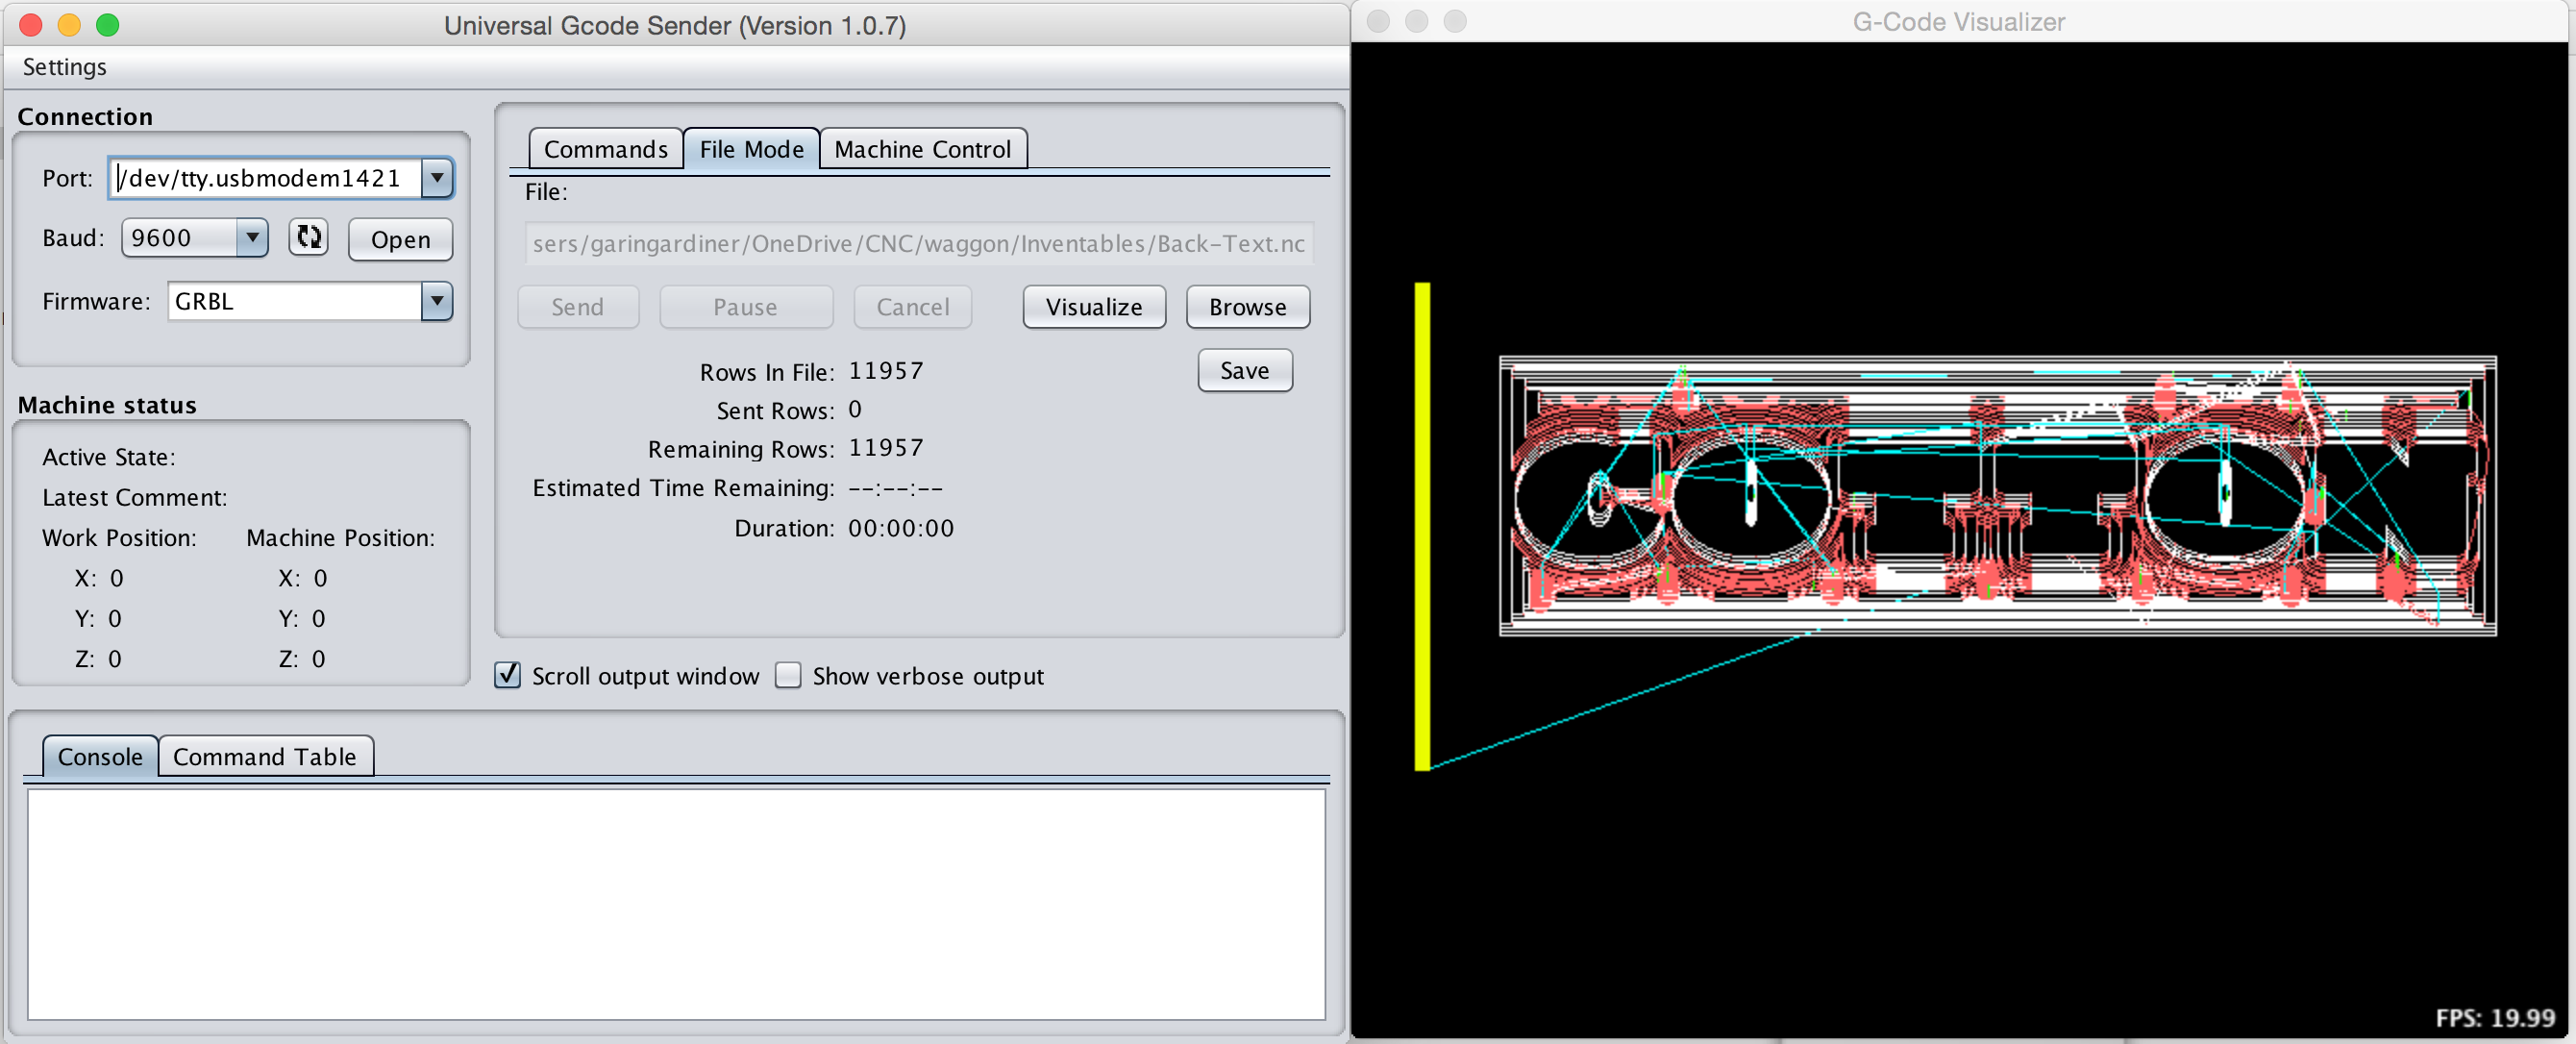
For the parts that need to be machine, open the attached g-code for each of the files in Universal Gcode Sender and send it to your Shapeoko 2/X-Carve machine. Make sure you position the bit in the correct position and that its zeroed out before you start machining.
This was the fun part where my daughter did most of the work. we glued the wagon together.
1 – Add glue to the slot on one the right sides and insert in the bottom
2 – Staple the right side and bottom together
3 – Add glue to the slot on the left side and snap it in place to the bottom
4 – Staple the left side to the bottom
5 – Add glue to the sides of the front and back and staple them in place as well
6 – Glue and staple the lower part of the seat in place
7 – Glue and staple the back of the seat in place
8 – Glue and staple the foot rest in place
9 – Add a little glue to the wheel hole and slide the dowel on one side
10 – Slip it through the wagon holes
11 – Add glue to the other wheel and slip it on the other side of the dowel
12 – Repeat for the other set of wheels
13 – Let dry
14 – Install wires to hold canopy – I used hanger wire and stapled the wire inside.
15 – Cut fabric to right size
16 – Glue or sew canopy to wire


Paul Bouchard
Gilbert Dennis