
Mexican Train Dominoes are a favorite tradition whenever my family gets together. I’ve created a set out of wood that can be a usable heirloom set for your family as well. And they make a great gift!
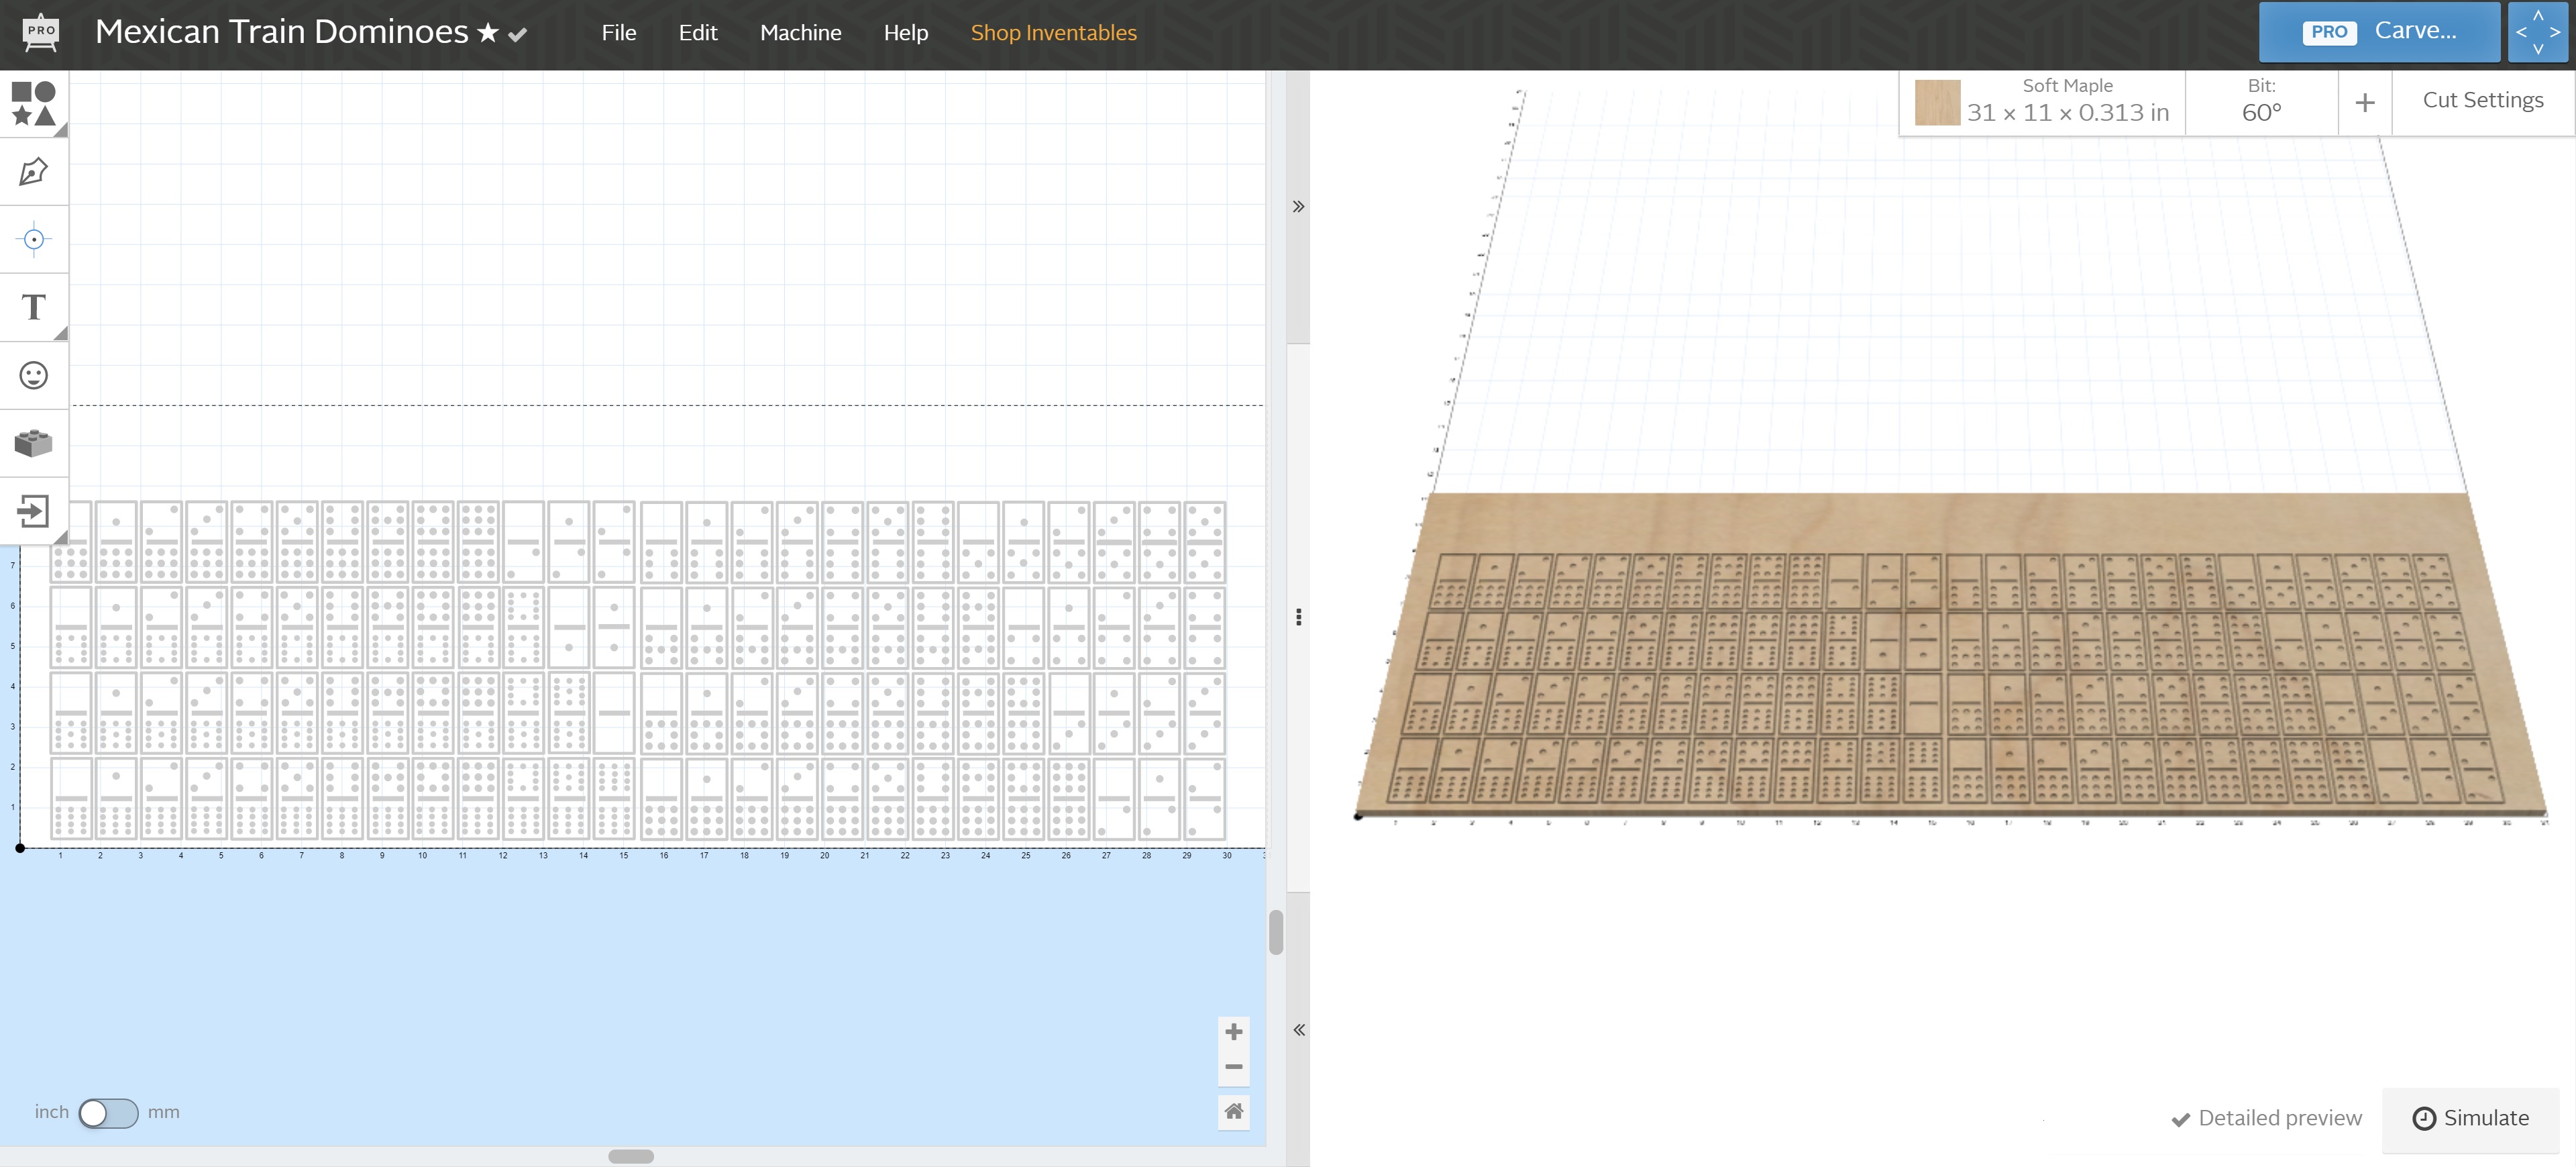
You’ll need a piece of wood about 31″ × 11″. I found that somewhere around 1/4-3/8" thickness works best, with right in the middle at 5/16" probably being my ideal.
A planer or a large bandsaw are really handy here in terms of finding the right size wood, otherwise you’ll have to look at gluing pieces together or finding just the right piece at your local woodworking store. Alternately, you can split up the Easel file to accommodate smaller pieces of wood.

140 minutes
This is where you set up your carve, then go work on something else or grab a bowl of cereal or something. Carve time on this comes in around 2 hours and 20 minutes.
You can either choose to fill the carved holes or paint them. I’ll tell you right now – filling is more work. I decided to give it a whirl so I could make a recommendation one way or the other, and I can now positively say that you will save a lot of time if you paint.
That said, if you prefer the filled look – and it does look great – epoxy is the way to go. Just mix a small batch at a time. It’s really hard to explain how much I used. I can tell you that it will only take a couple small batches to get the hang of how much you need. Fill the dots one number at a time. They will look like they filled quite nicely…and then they will spread. Don’t stress it.

Run the board through the planer or sand it gently.

Cut the dominoes out in strips. But not the way I did it. Cut them out in short columns so they are end to end, rather than long rows so they are still side by side. This will make the cutting apart process faster and safer.
Chop the individual pieces apart using a miter saw, band saw, or whatever saw you will be the most safe with. I was not a fan of the miter saw for this, as it tends to fling the pieces.

20 minutes
I put a very small round over on all four sides of mine, which you can see in the photos. My recommendation is actually NOT to do that, as it ended up making them a little tricky to stand on their sides. When I do this again I may elect to give them the slightest hint of a soft edge using my benchtop sander.
Finish with whatever you like. I used and recommend Walrus oil. Check out how it brought out the curl in that maple and the grain of the walnut. I also like that it is food safe, in case a kid decides to suck on a domino (kids are weird).


Mitch Faatz
Amanda Radford
Jan Schreiber