Matt Slaga
Jacksonville, USA
I needed a small shelf to put next to my bathroom vanity to hold my electric razor and beard trimmer. The X-Carve was the perfect place to start…
| Material | Description | Price | ||
|---|---|---|---|---|

|
Walnut |
6" × 12" × 1/2" Walnut |
||
1 minute
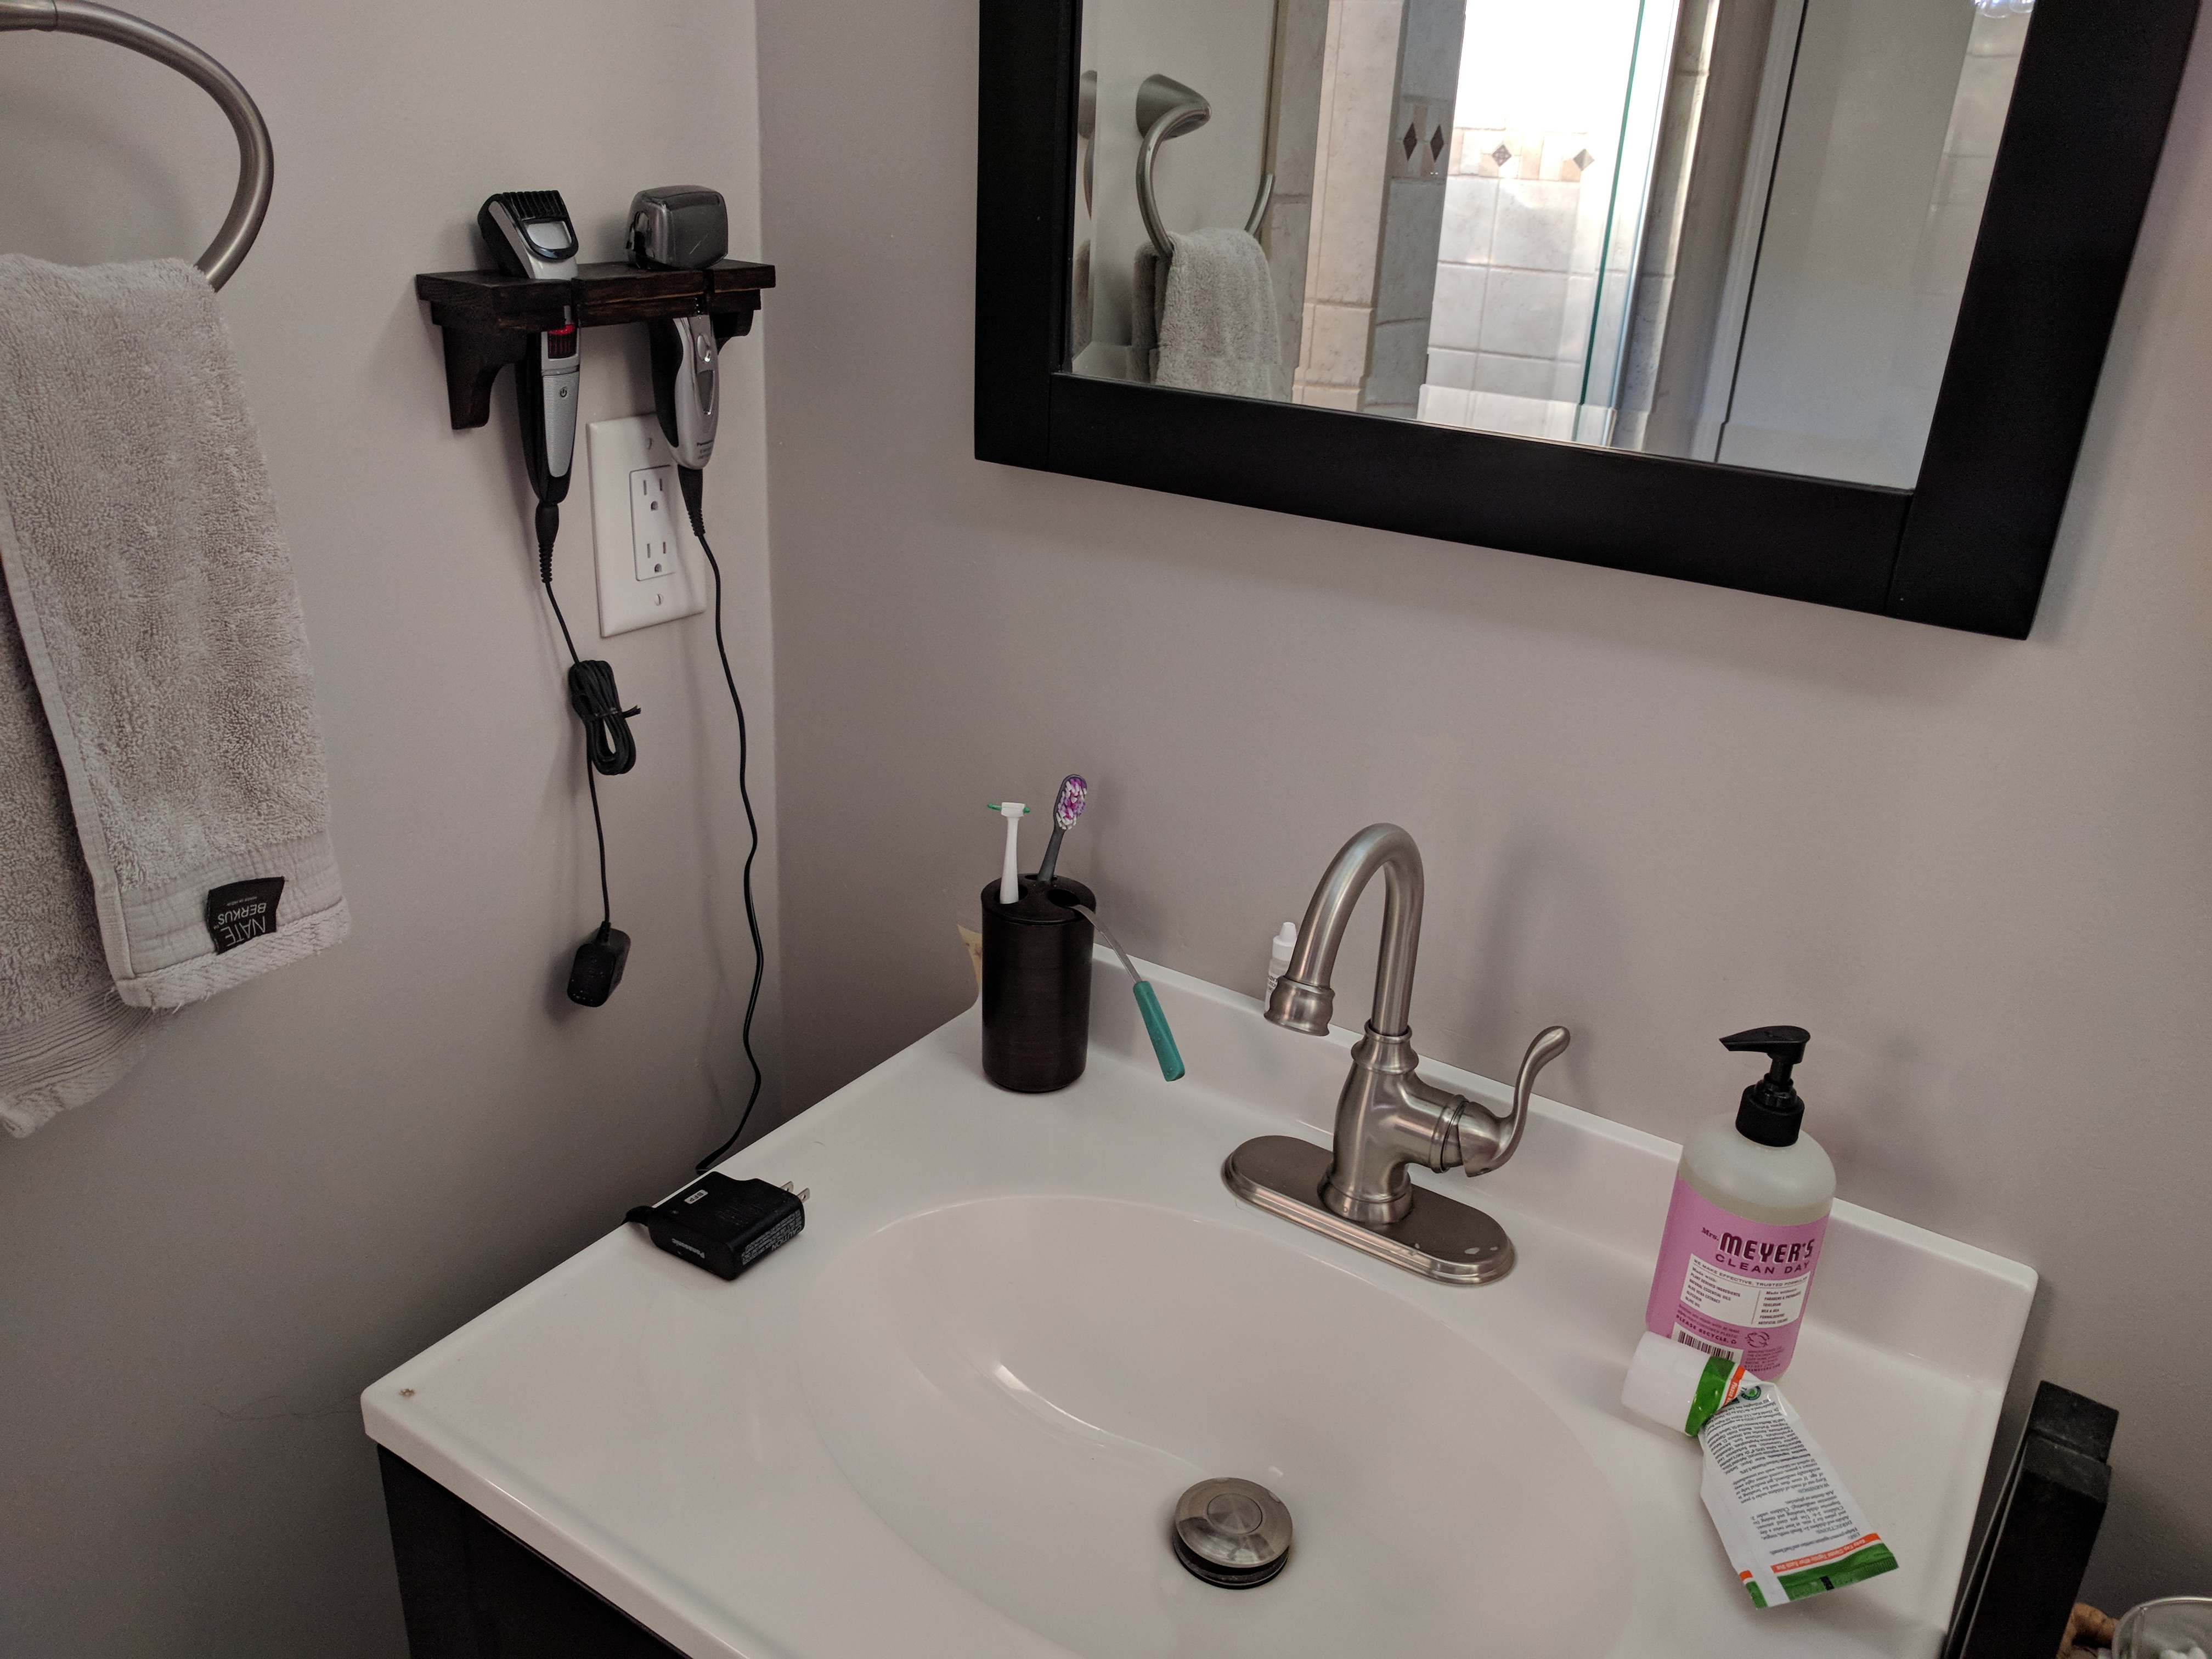
So, here is my sink before. My razor and beard trimmer were balanced on my small sink.
I wanted a shelf that I could easily mount near the wall outlet to keep the razors off my sink. I used Easel to come up with a stacked shelf with a wall mount keyhole and a slot for the power cords on the razors.

35 minutes
Open the project in Easel. You might want to test the dado cut on a spare piece of wood first to ensure it fits the wood width. I had to alter mine a bit to get it just right. You also might want to adjust the openings to fit your specific razor.
Carve out on a 6″×12″×.5″ piece of walnut or other hardwood.

20 minutes
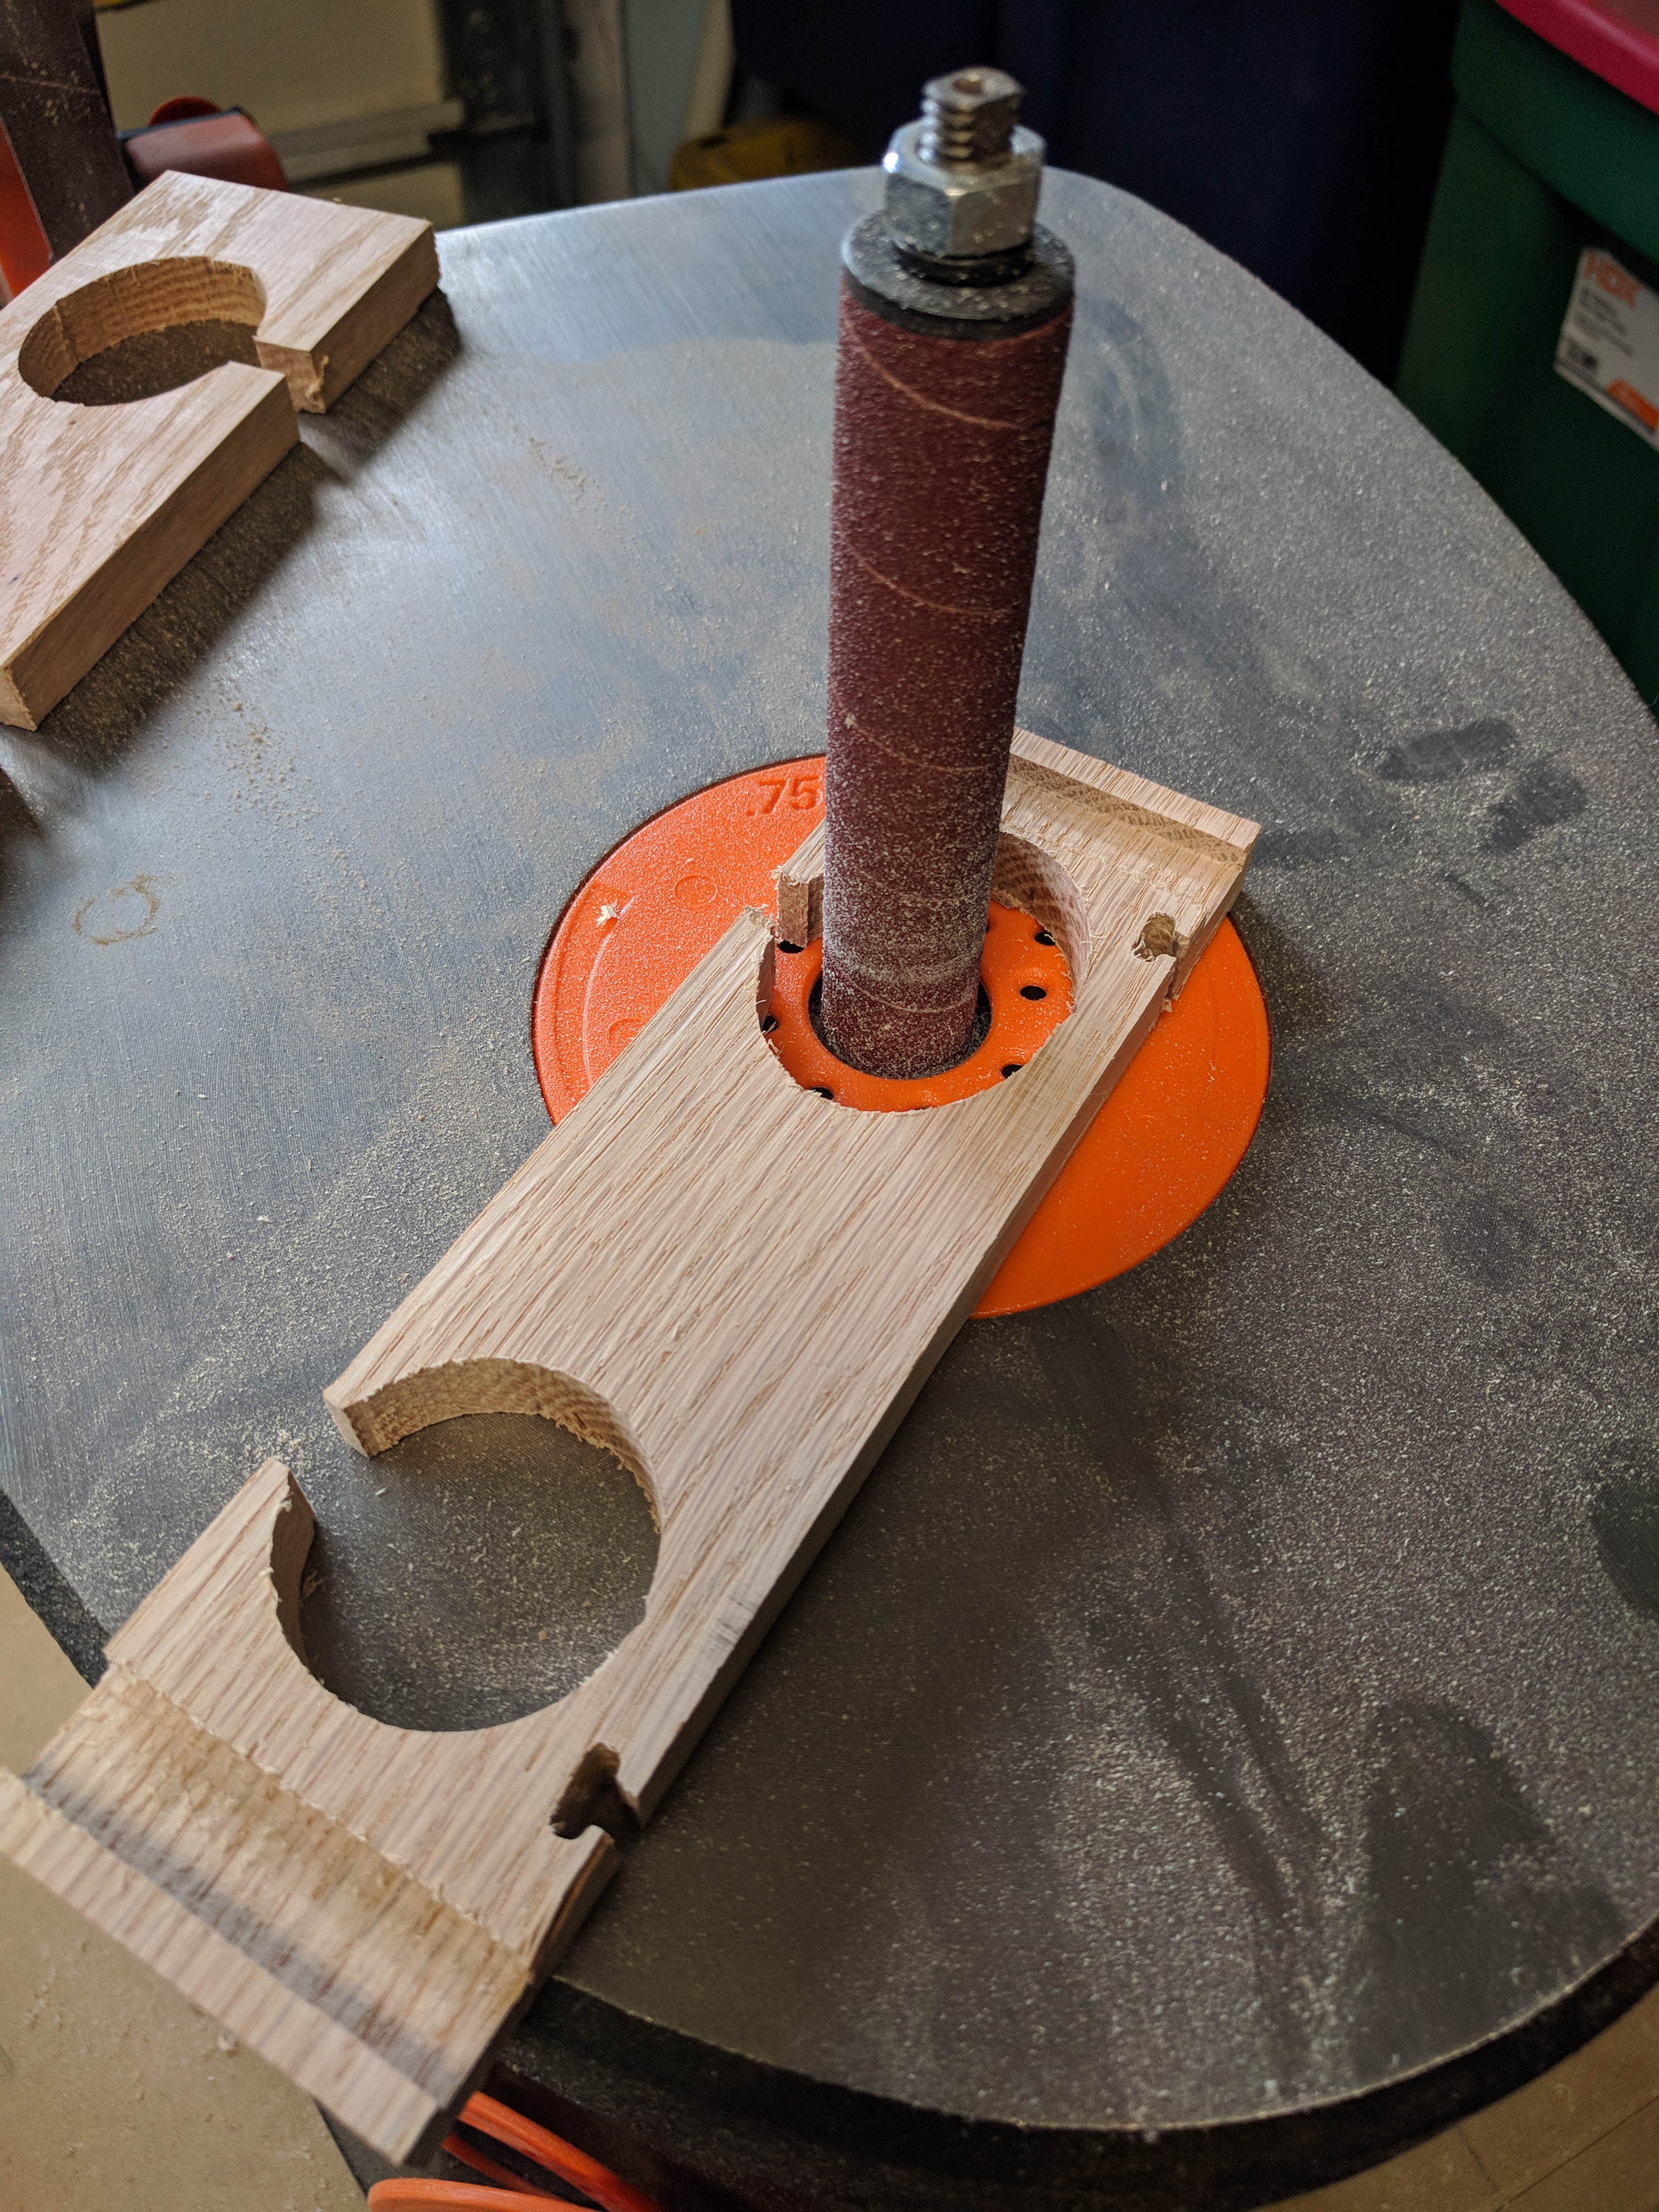
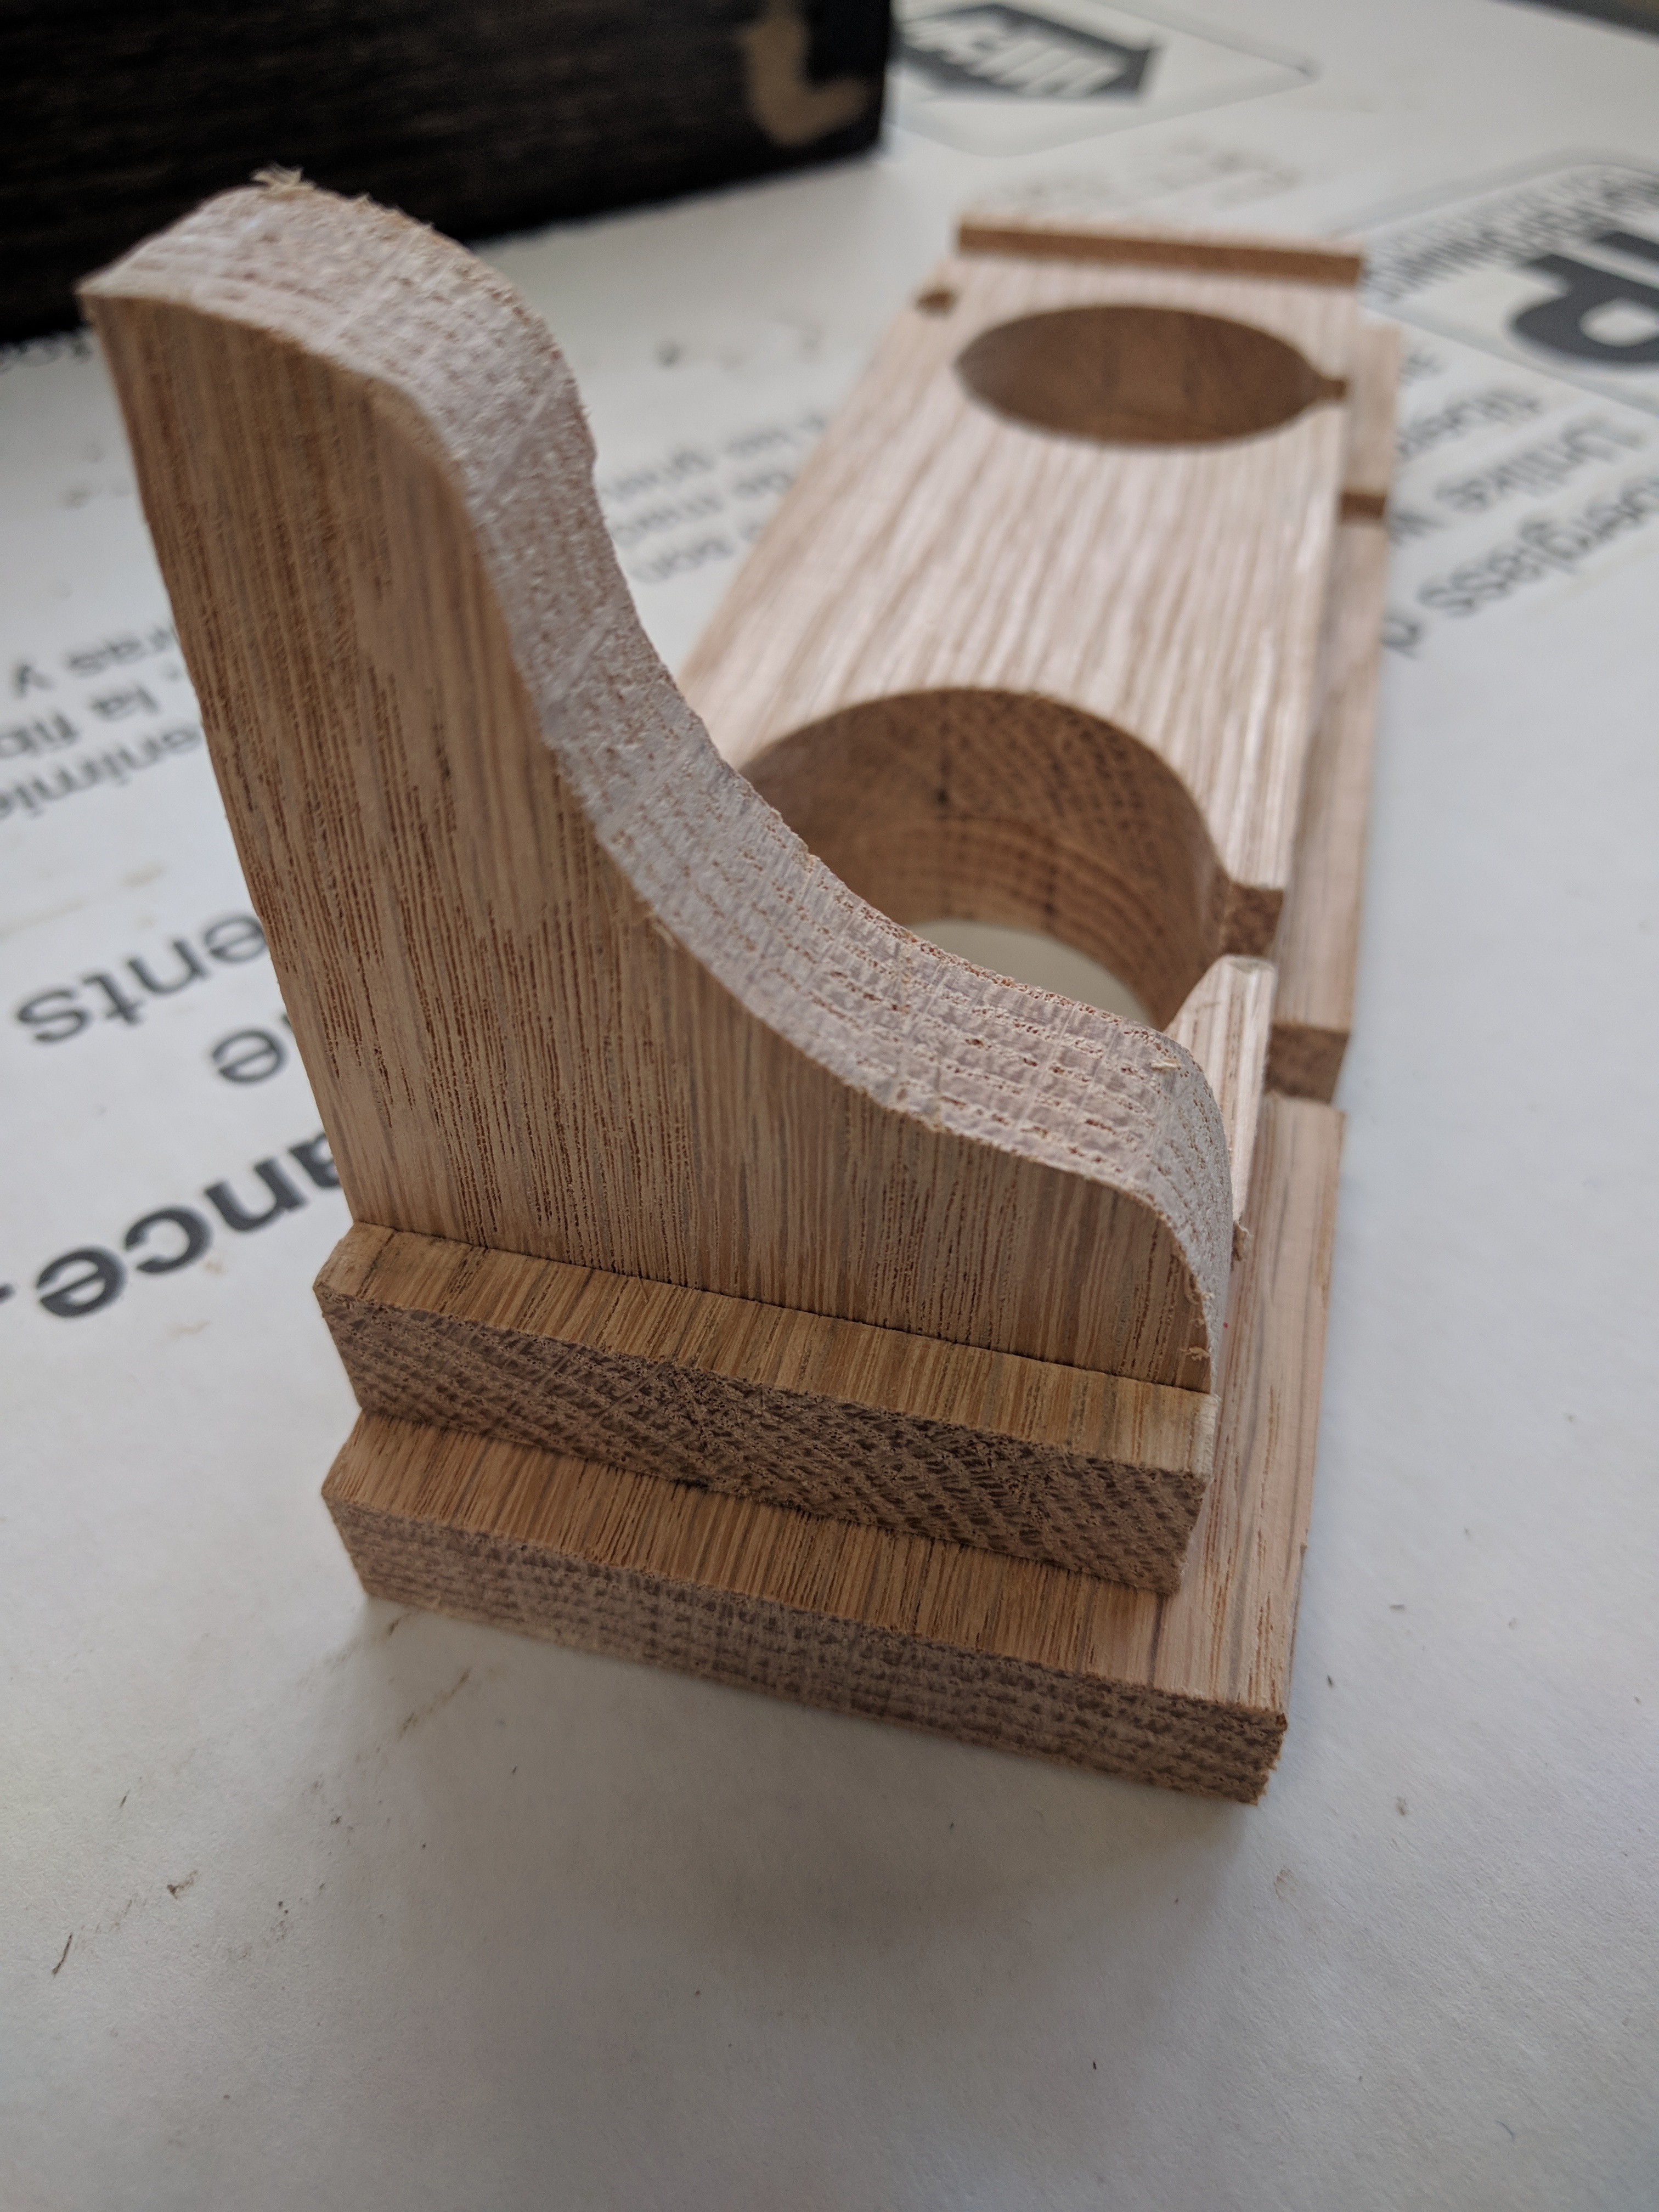
I used a 1" belt sander and a spindle sander to smooth out the pieces, then I followed up with detail sanding with a piece of sandpaper.

10 minutes
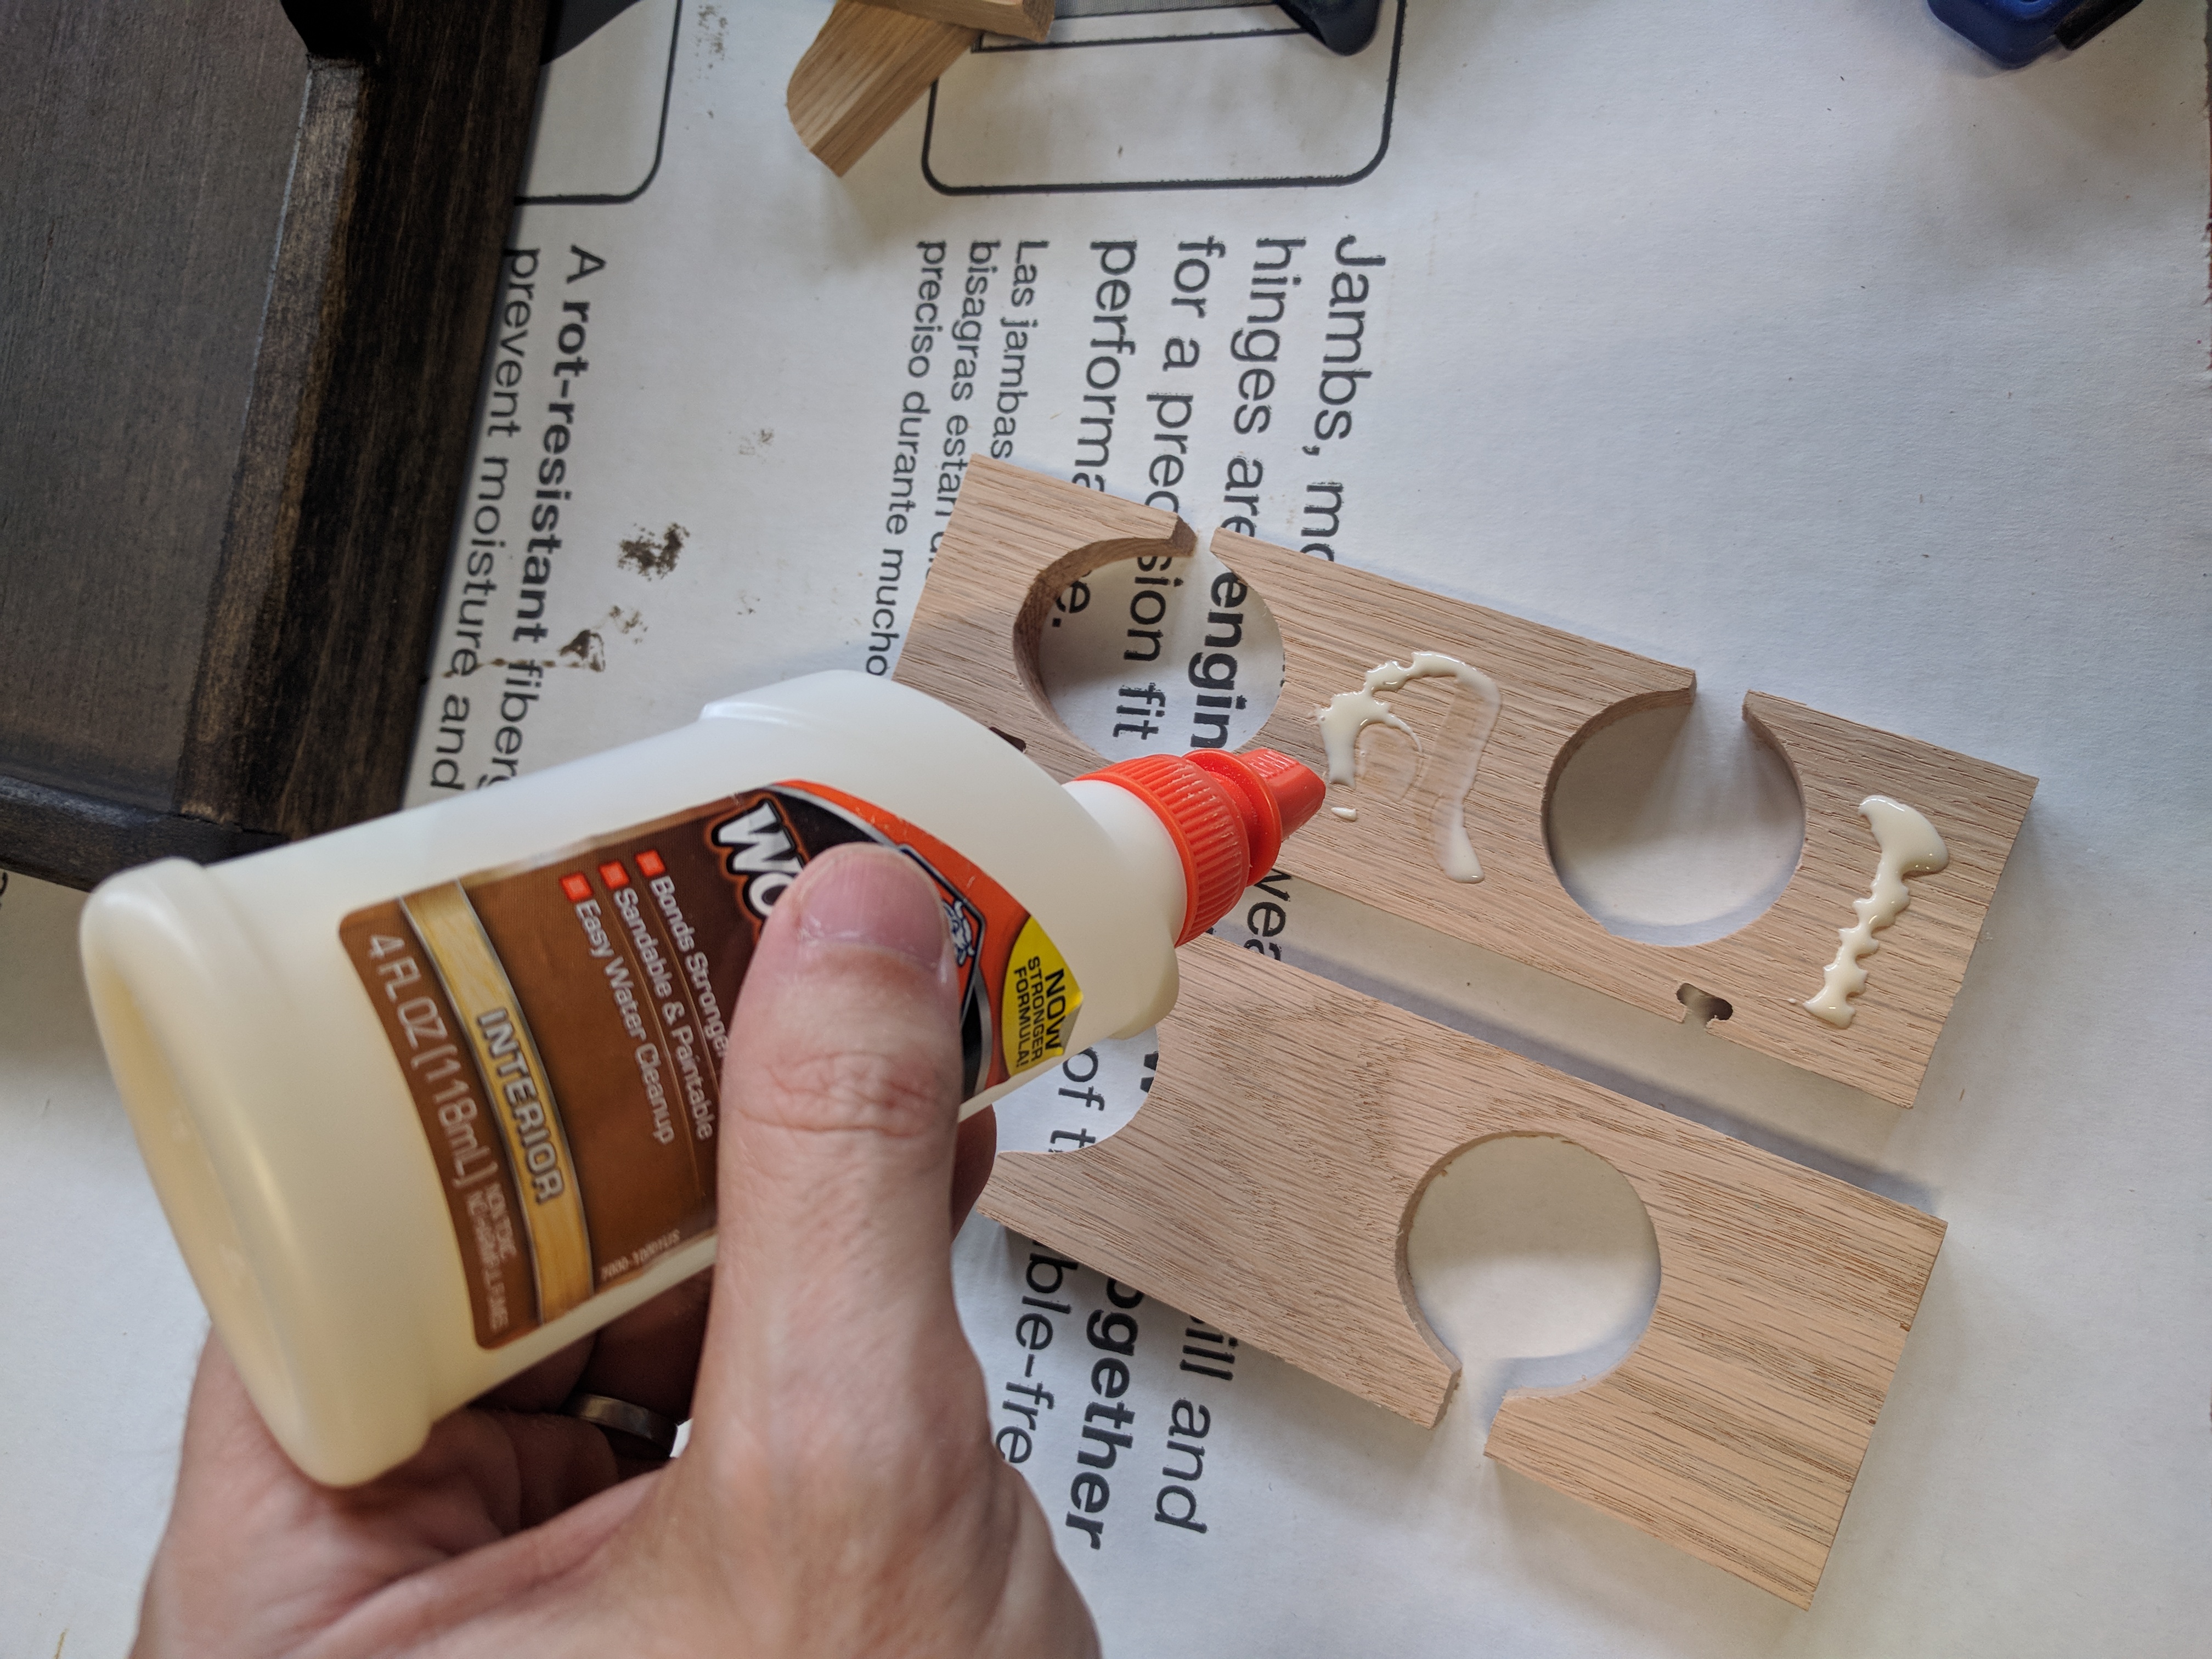
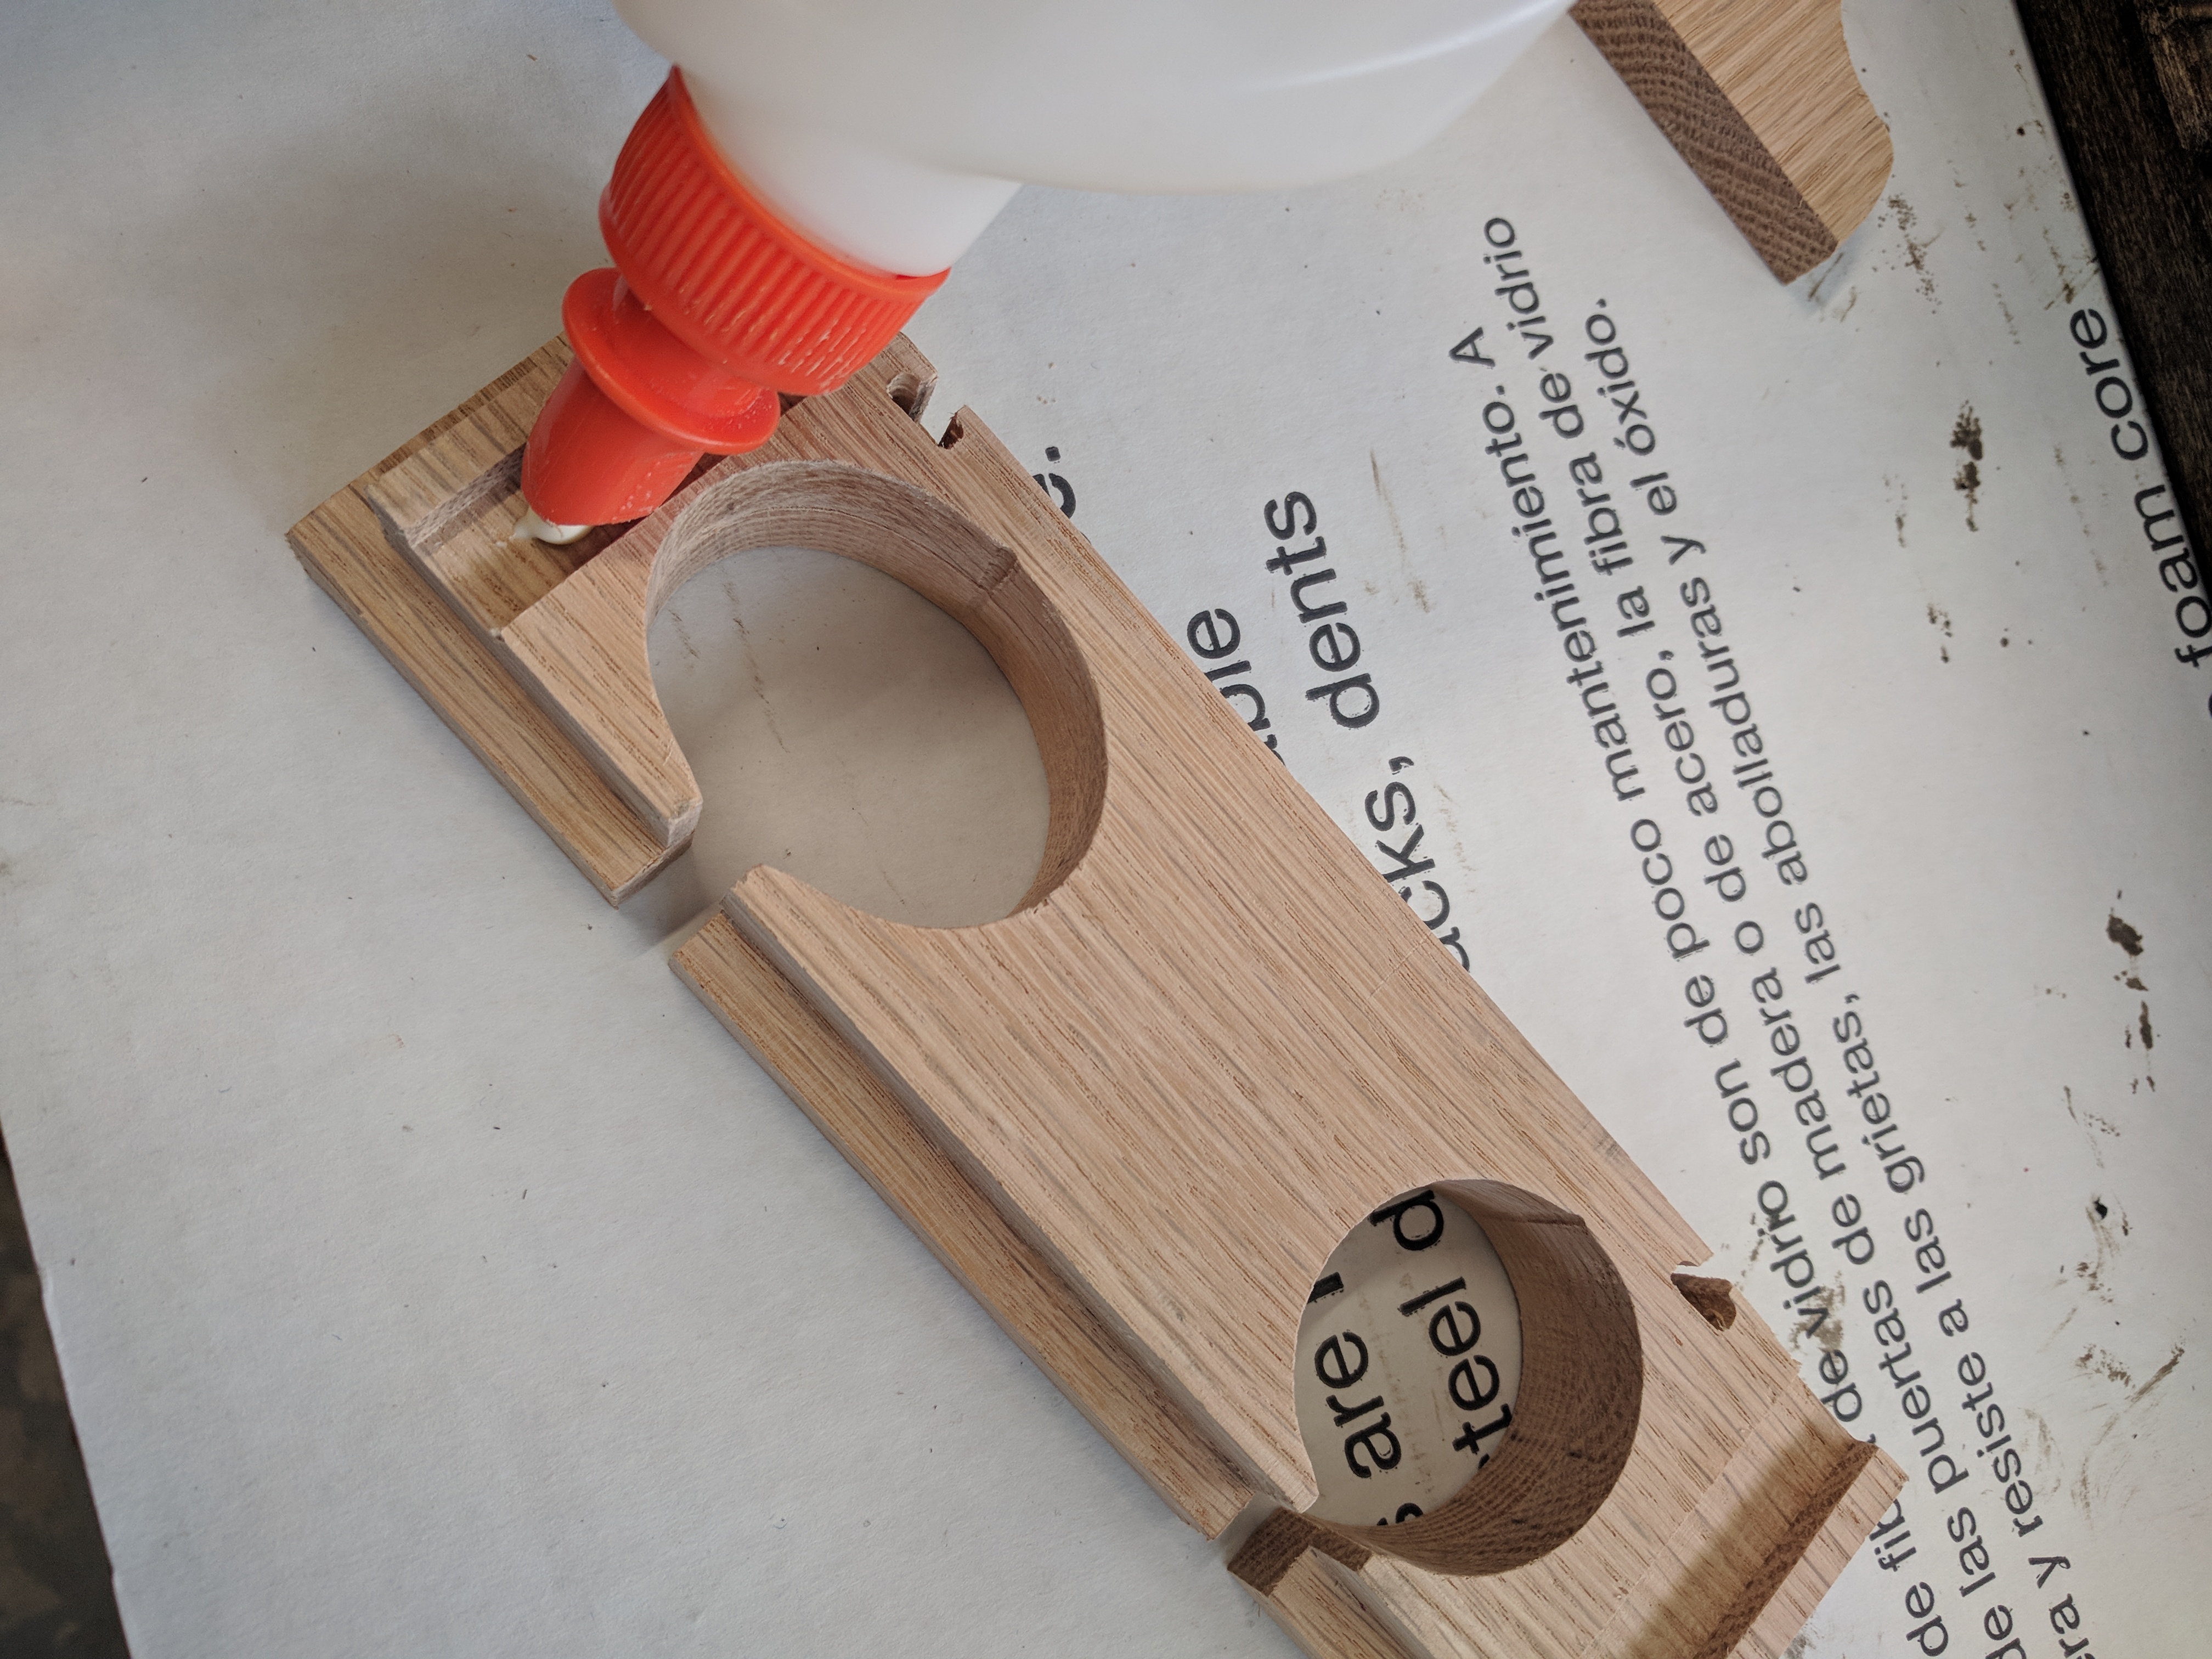
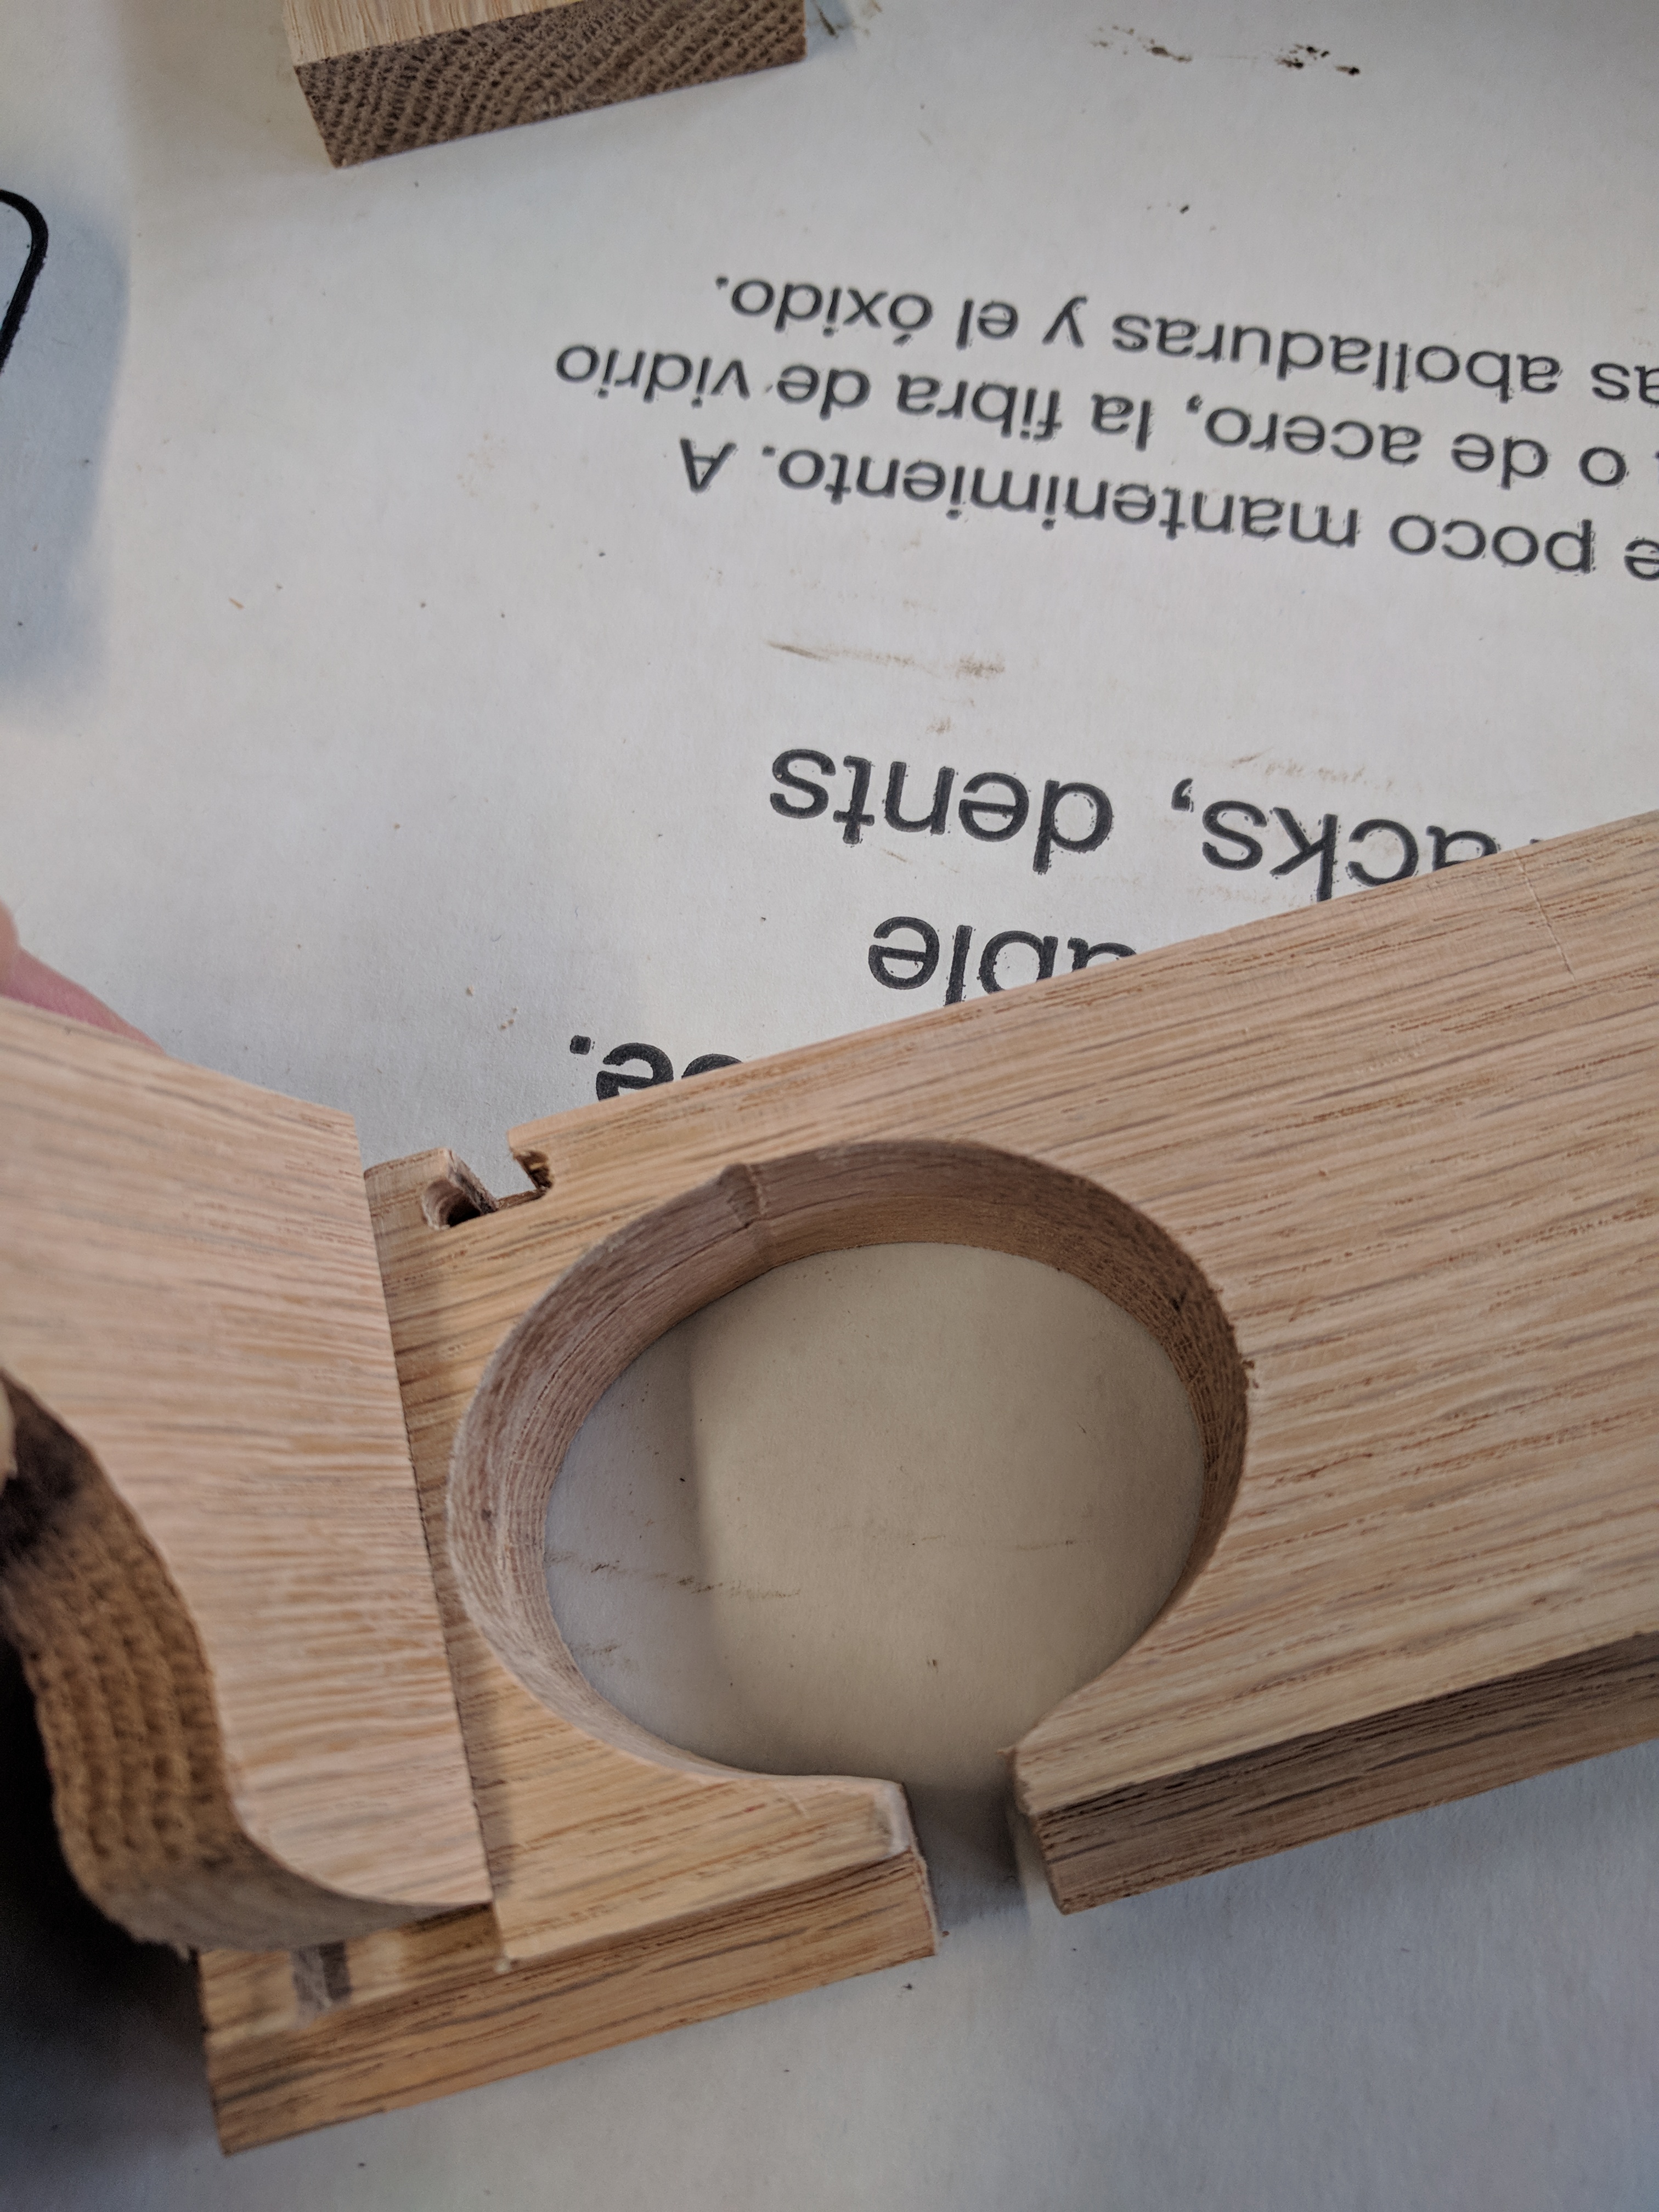
Line up the two pieces so the holes match up and the slot is open on the front. The larger piece is the top, the smaller piece with the dado cuts is the bottom. Dado cuts should be facing down.
Apply some glue to the top of the smaller piece, smear even with a cloth or brush. Then sandwich the two pieces together and clamp them together to dry.


5 minutes
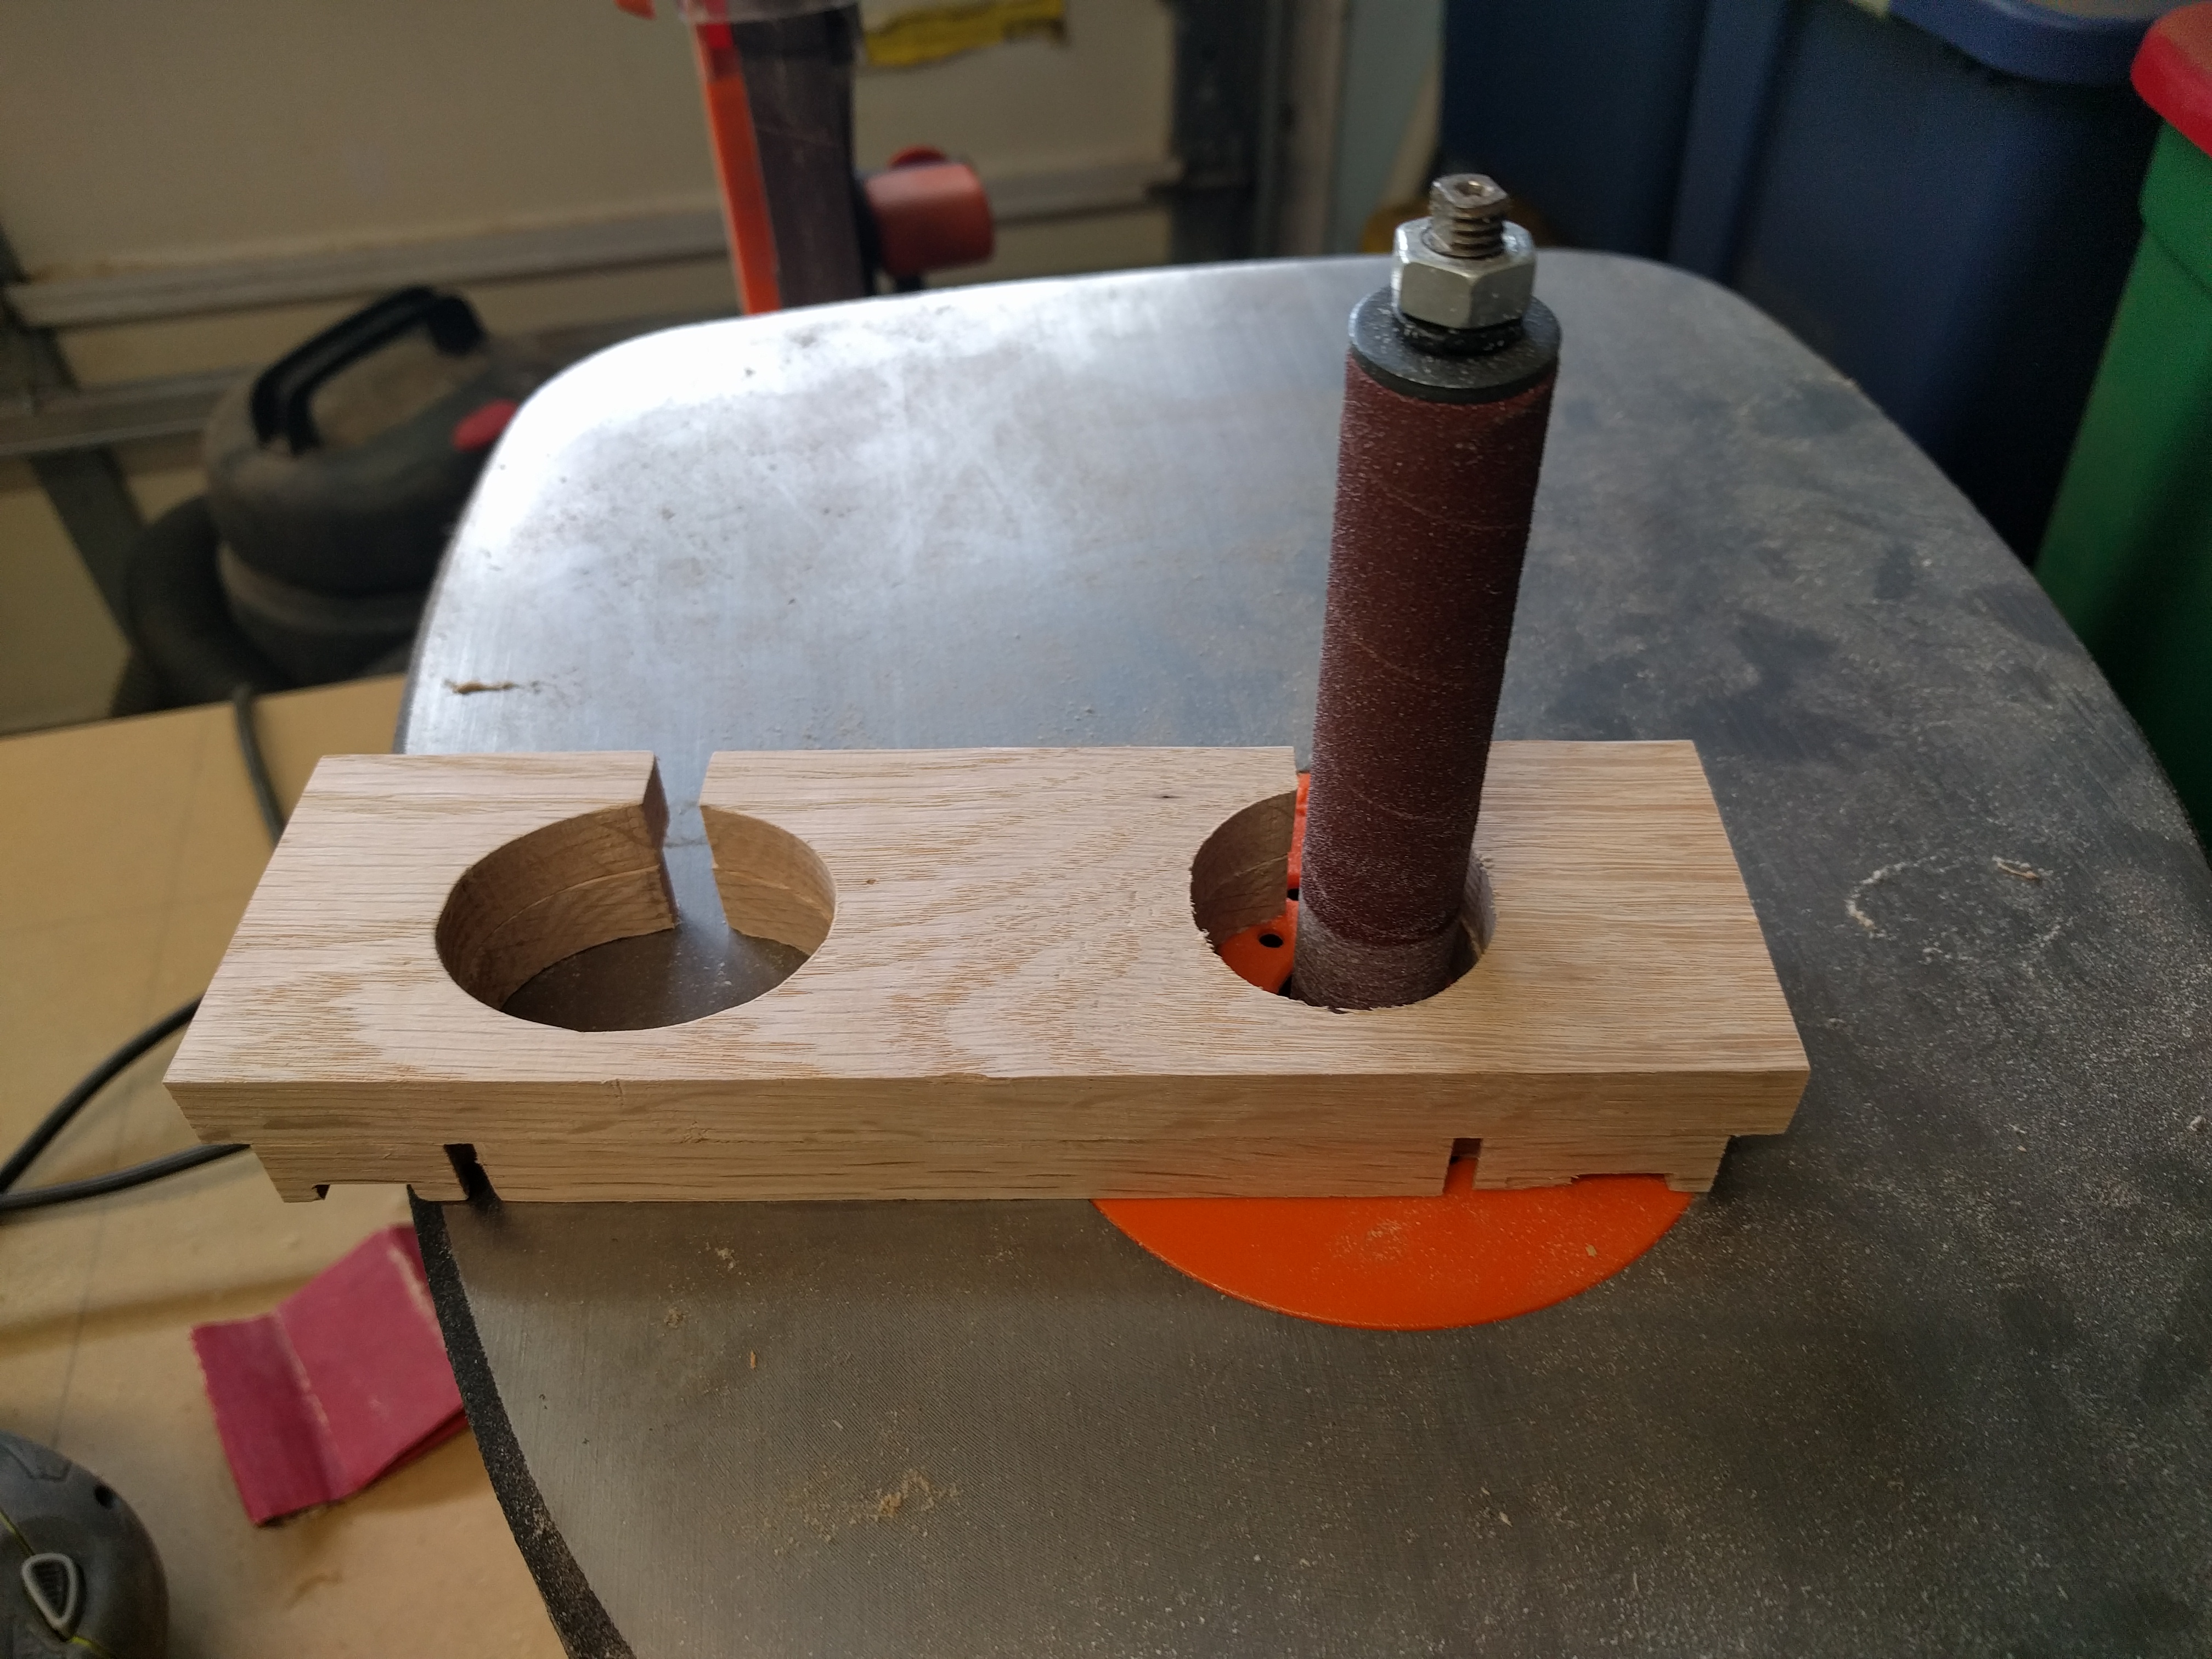
Since my gluing job was not 100% accurate, I went back to the sander to ensure the razor holes were completely even and to sand away any excess dried glue.
10 minutes
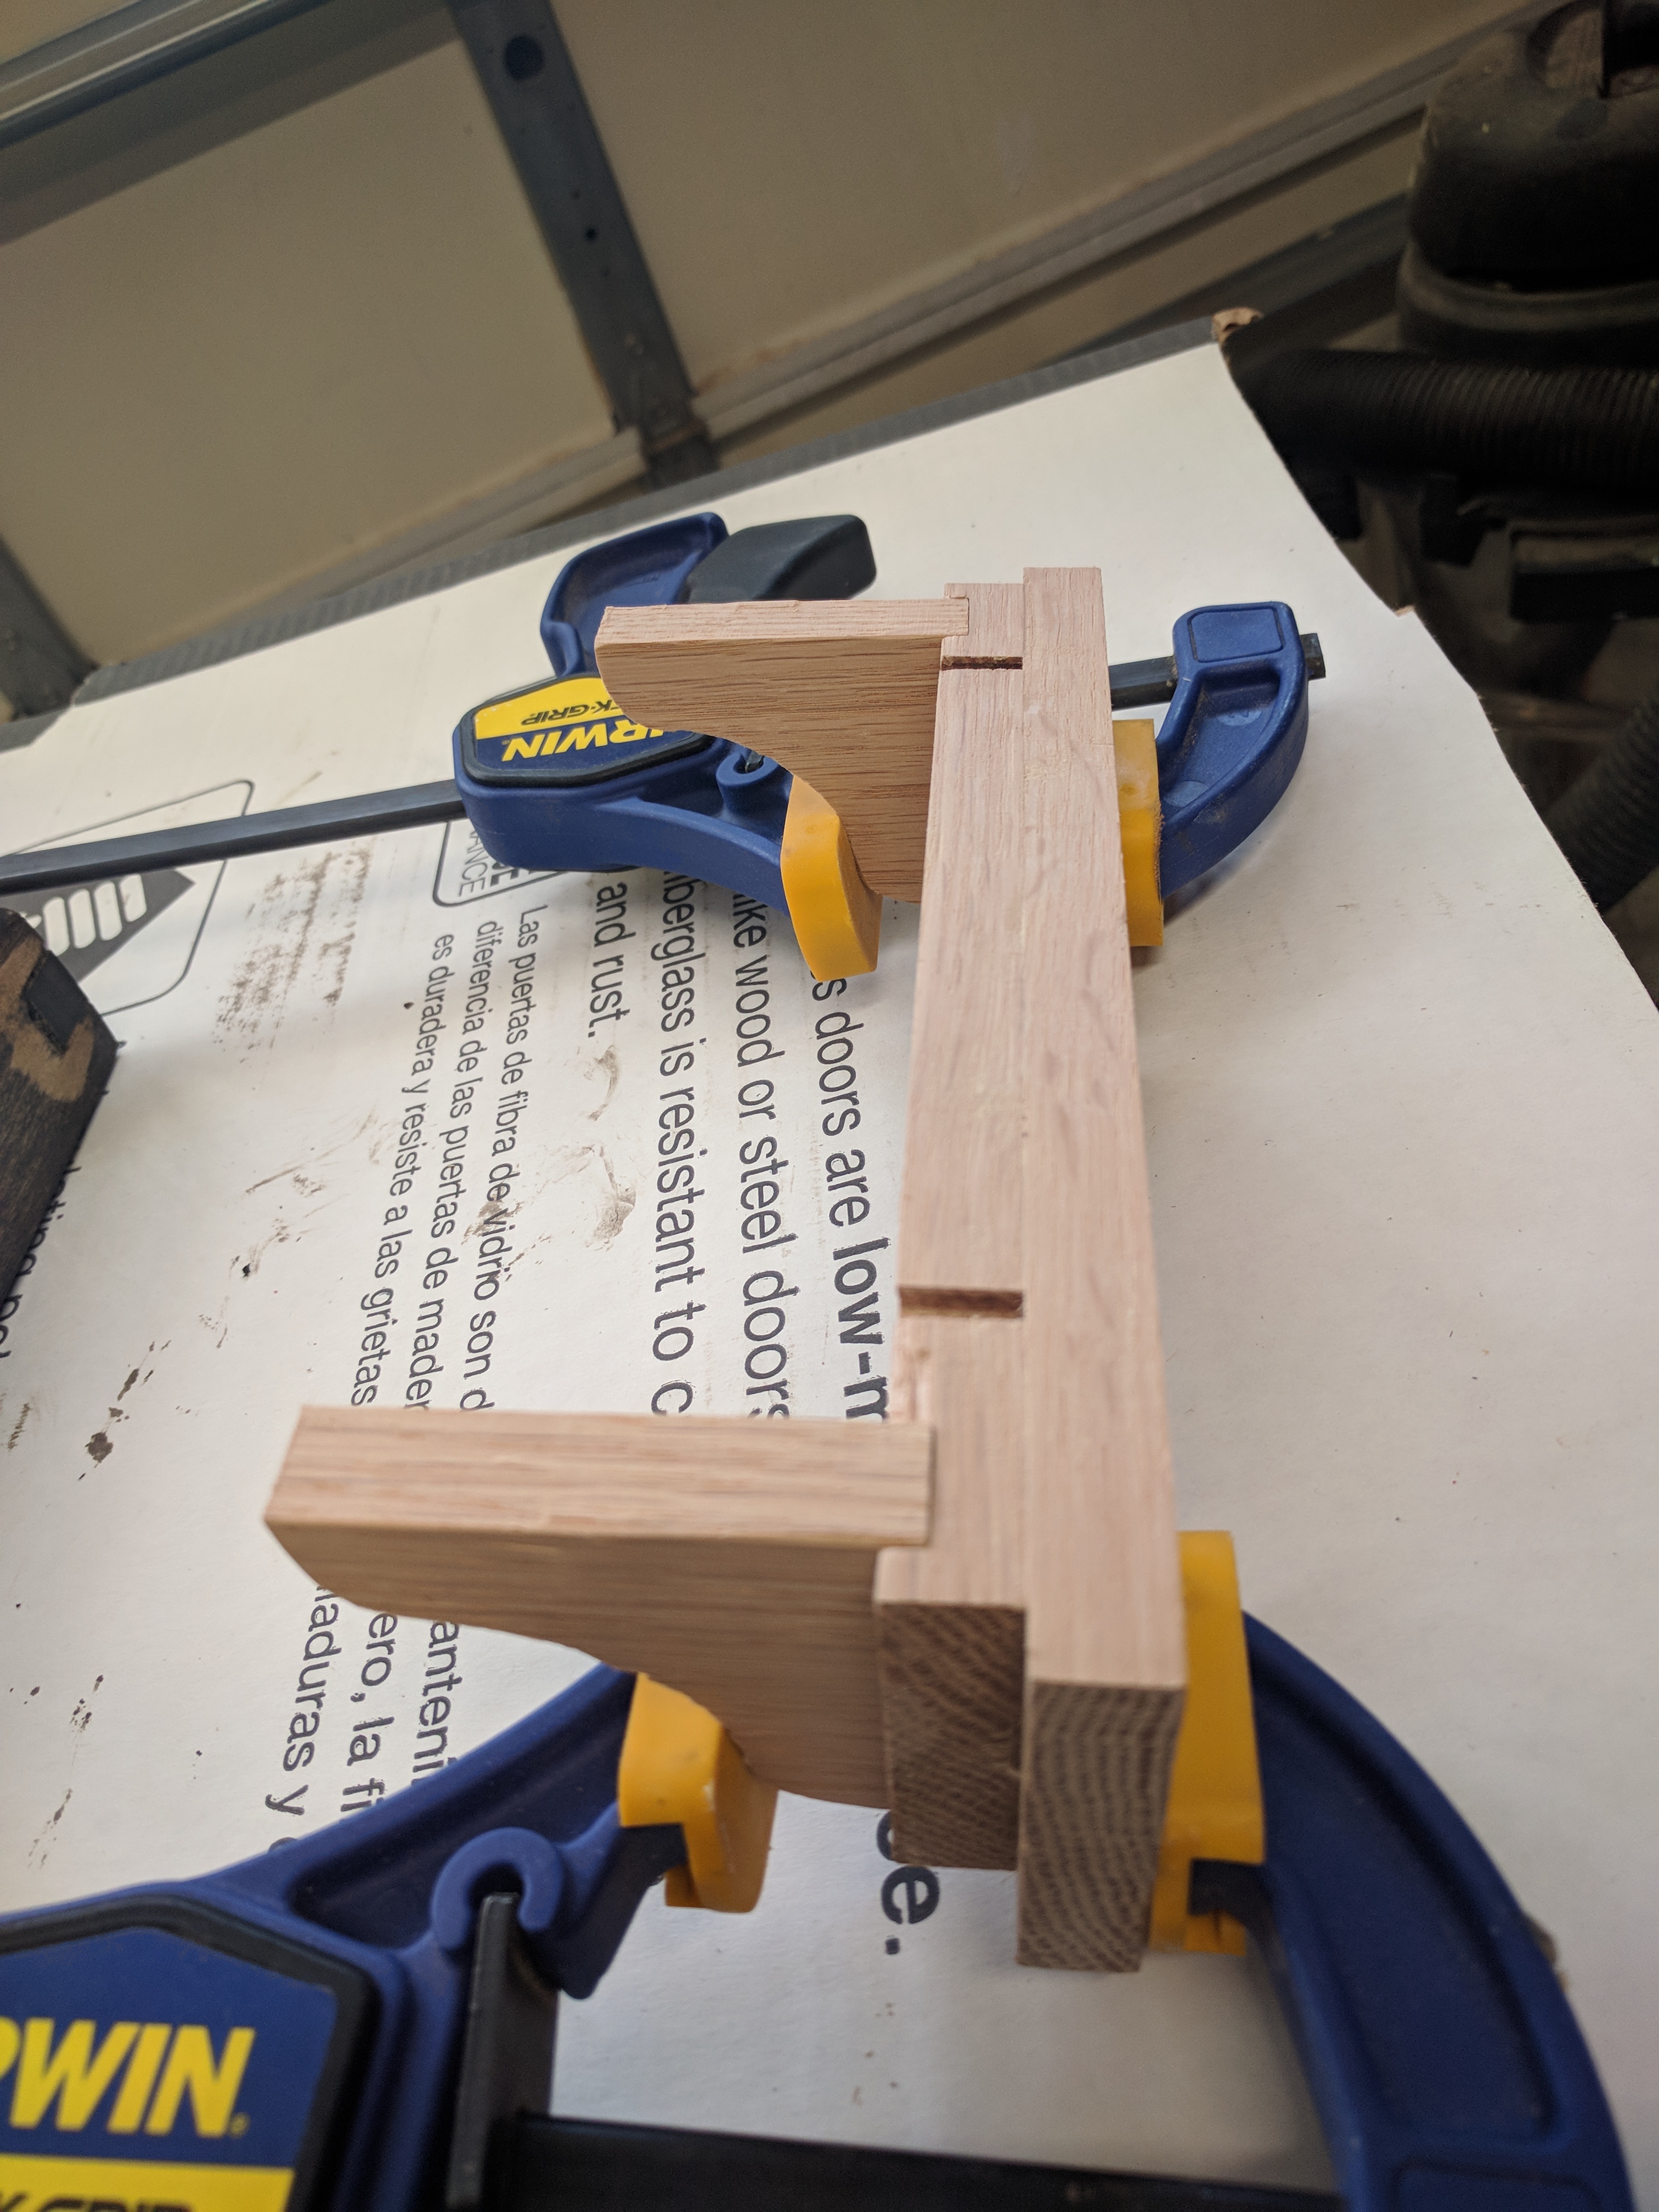
Next step was to glue and clamp the shelf stands to the bottom of the board and wait for it to dry.

20 minutes
I started using Jacobean, but it wasn’t dark enough. I then applied espresso stain afterwards. Not perfect, but will do the job. After it completely dried, I applied a few coats of sealer.

5 minutes
The keyhole slots are spaced 5" apart. I measured, drilled and used drywall inserts and screws to mount the shelf.


1 minute
Add your razors and show off you project to all your friends… Or not, and enjoy it all by yourself each morning.