This great box could be scaled up or down, and is a breeze to make.
With the total carve time just under one hour!
Basically a box in the shape of an extruded lozenge.
It makes use of the ability to create bendable sections of material by cutting many parallel ‘kerfs’.
| Material | Description | Price | ||
|---|---|---|---|---|

|
Carbide Tip Straight 2 Flute - 1/8 in Cutting x 1/8 in Shank |
Quantity: 1, Shank Diameter: 1/8 in, Cutting Diameter: 1/8 in |
$5.99 |
|
| Add to Cart |
$5.99 |
|||
59 minutes
Carve the parts.
You need one of part 1 – the rectangular piece,
and two of part 2 – the lozenge shape.
You’ll need to adjust the cutting depth to match your material of course.
I used 6mm ply, but it actually measured 5.7mm thick, and the Easel file worked for that.
What you need is for the grooves to be deep enough to make part 1 flexible enough, when wet, to wrap right around, but not so deep that it falls apart!
The outline cut depth I used left a little material to prevent the part flying out of the machine. This is just cut with a craft knife afterwards to remove the parts.
10 minutes
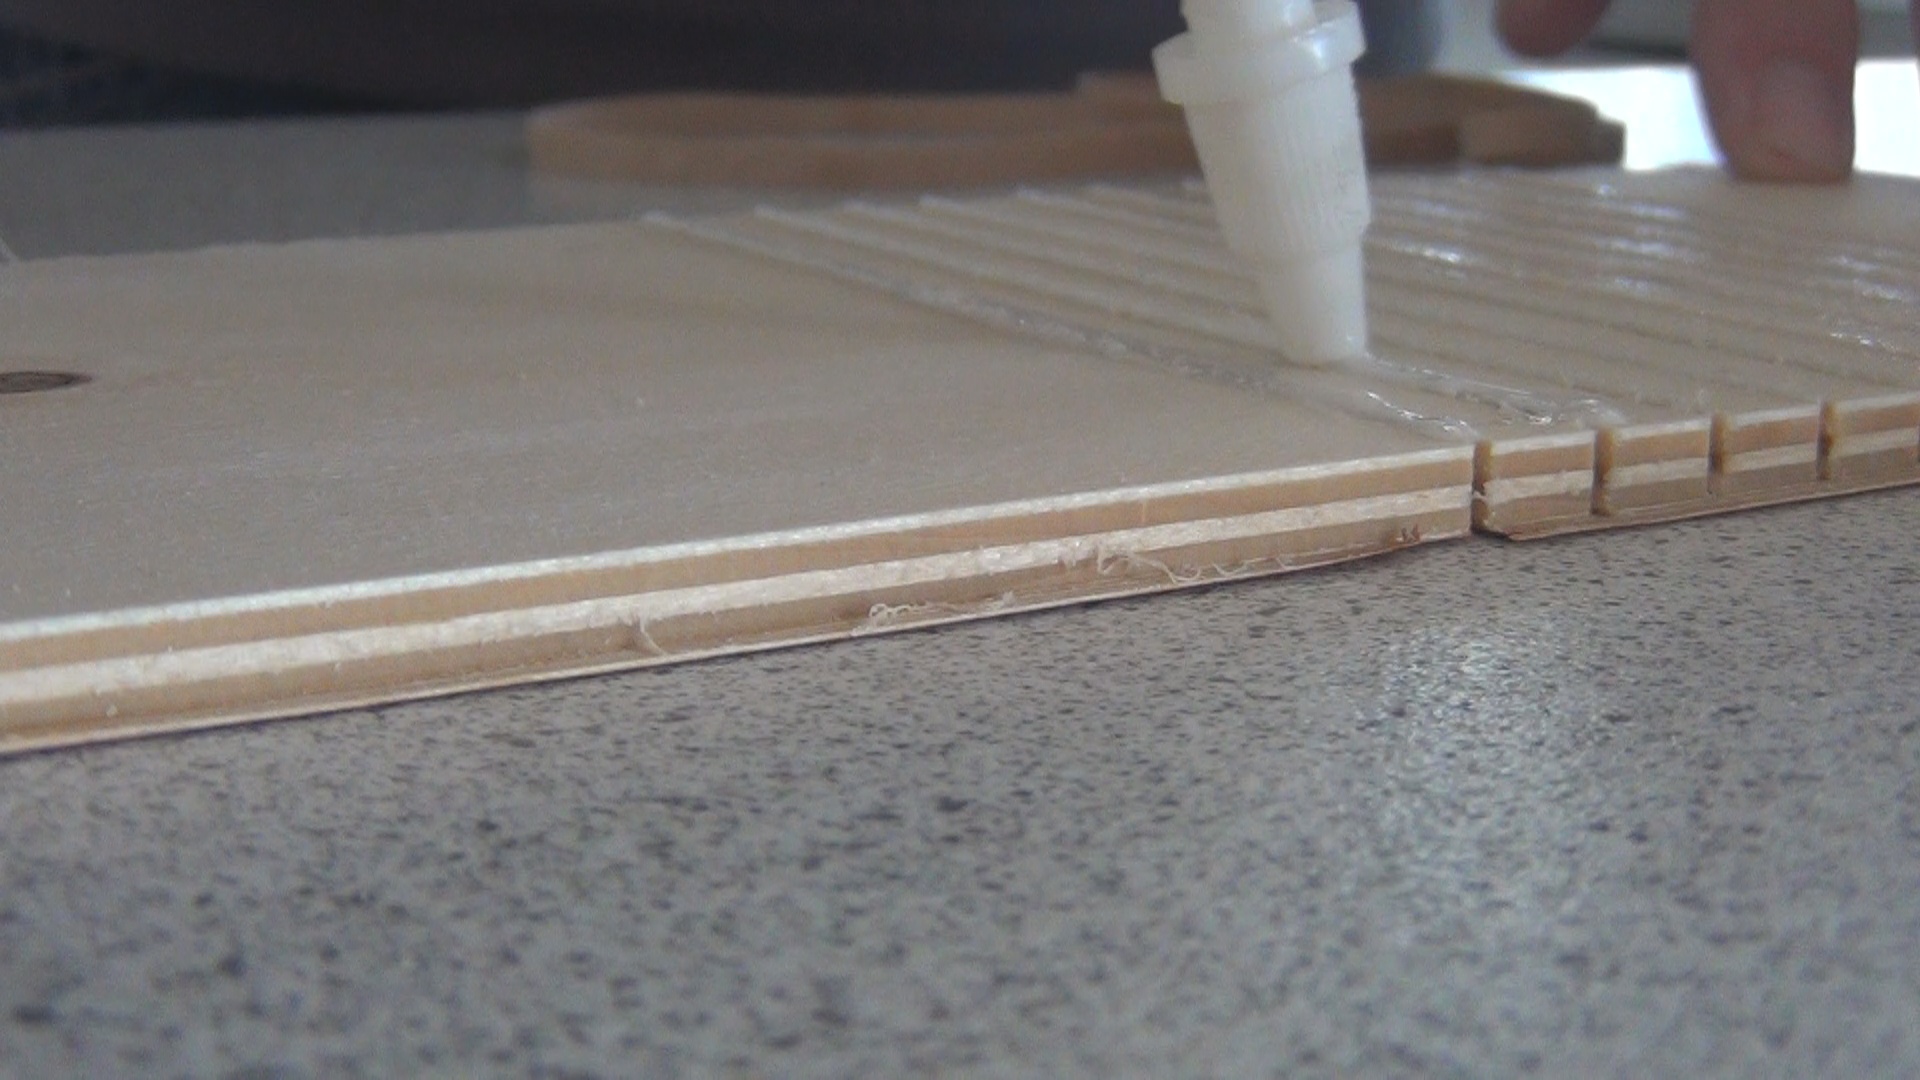
Wet part 1, and carefully flex it round into a tube.
Once it will make a tube, lay it flat and apply glue to the grooves and the joining edges.
Now form the tube, and hold in place with rubber bands and clamps while it cures.


10 minutes
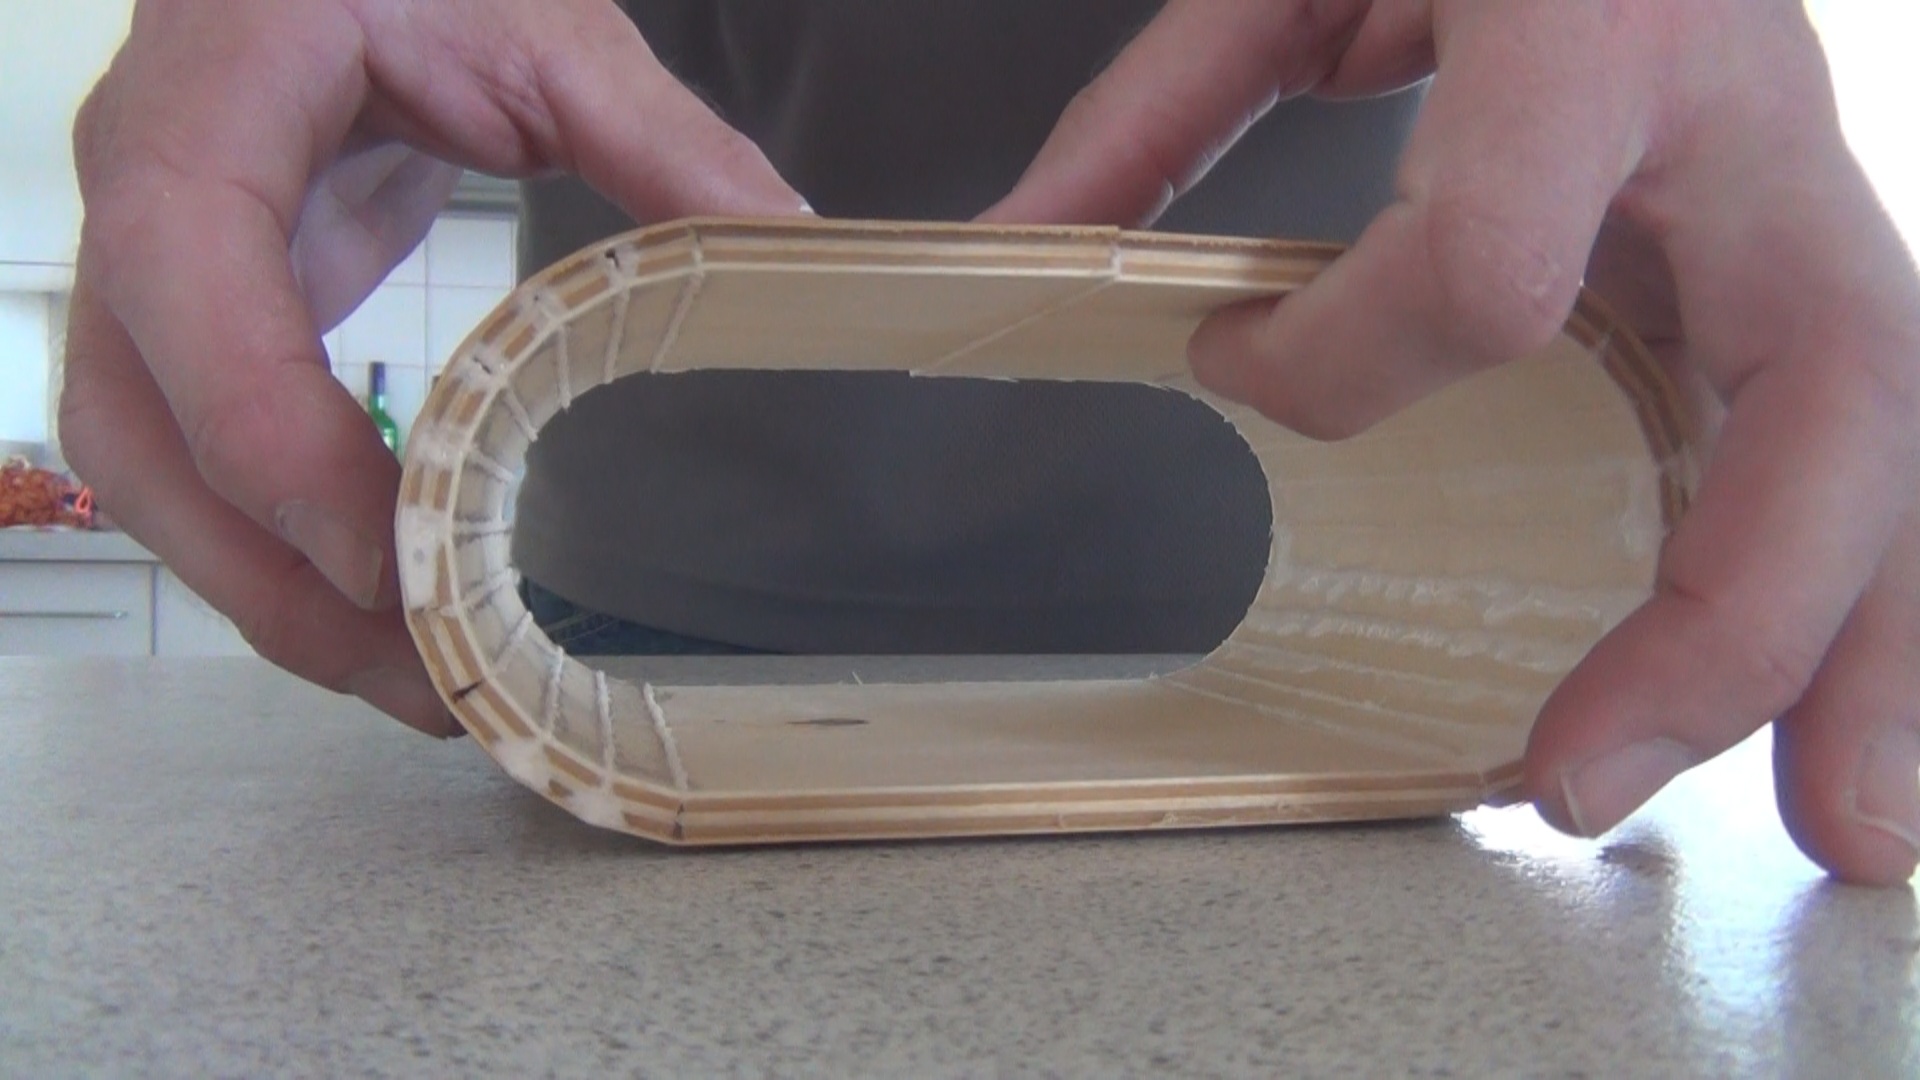
Once the tube is cured, fit the ends.
I had to file the ends a little to get a good fit, and perhaps if I had glued the tube up at the same time as gluing in the ends it may have been better.


10 minutes
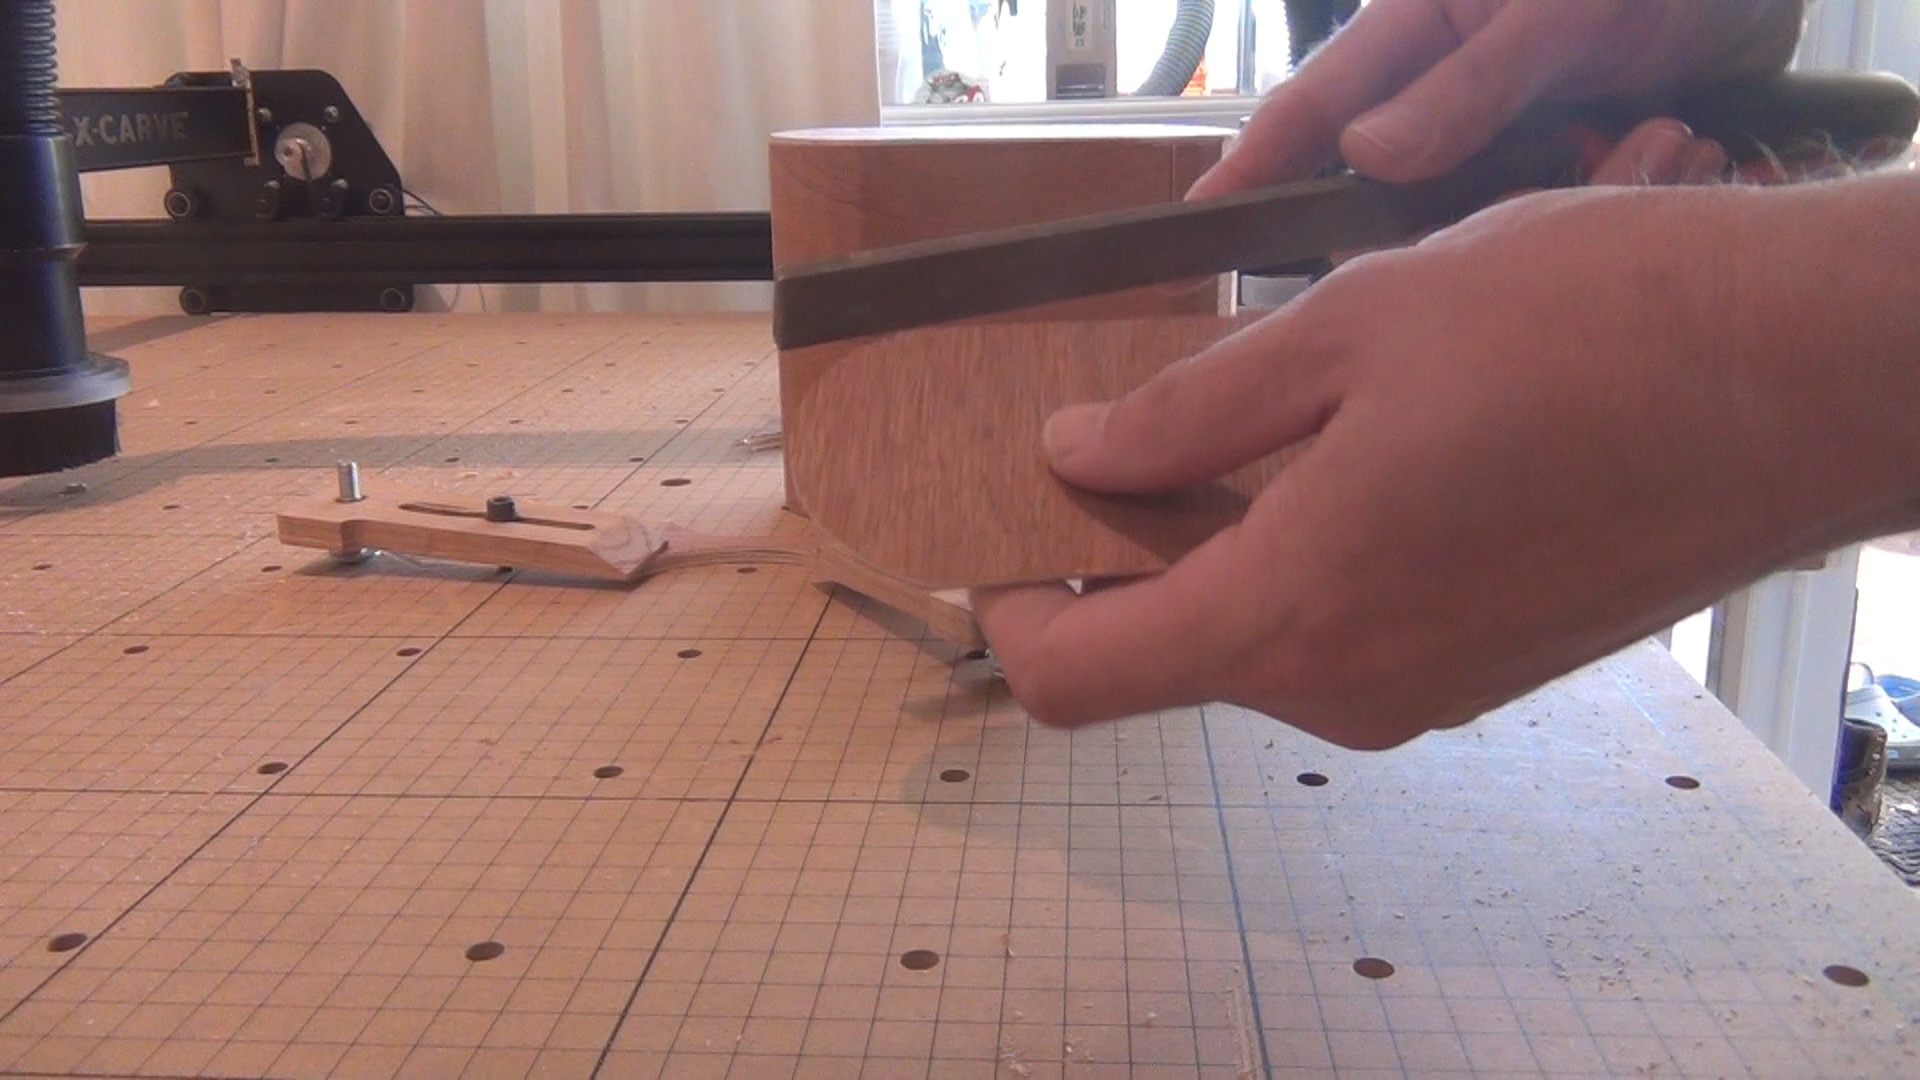
You now have a totally sealed box – not much good like that!
So, scribe a line around it to define a top and bottom, and then saw it in half.
Sand the sawn edges smooth.


10 minutes
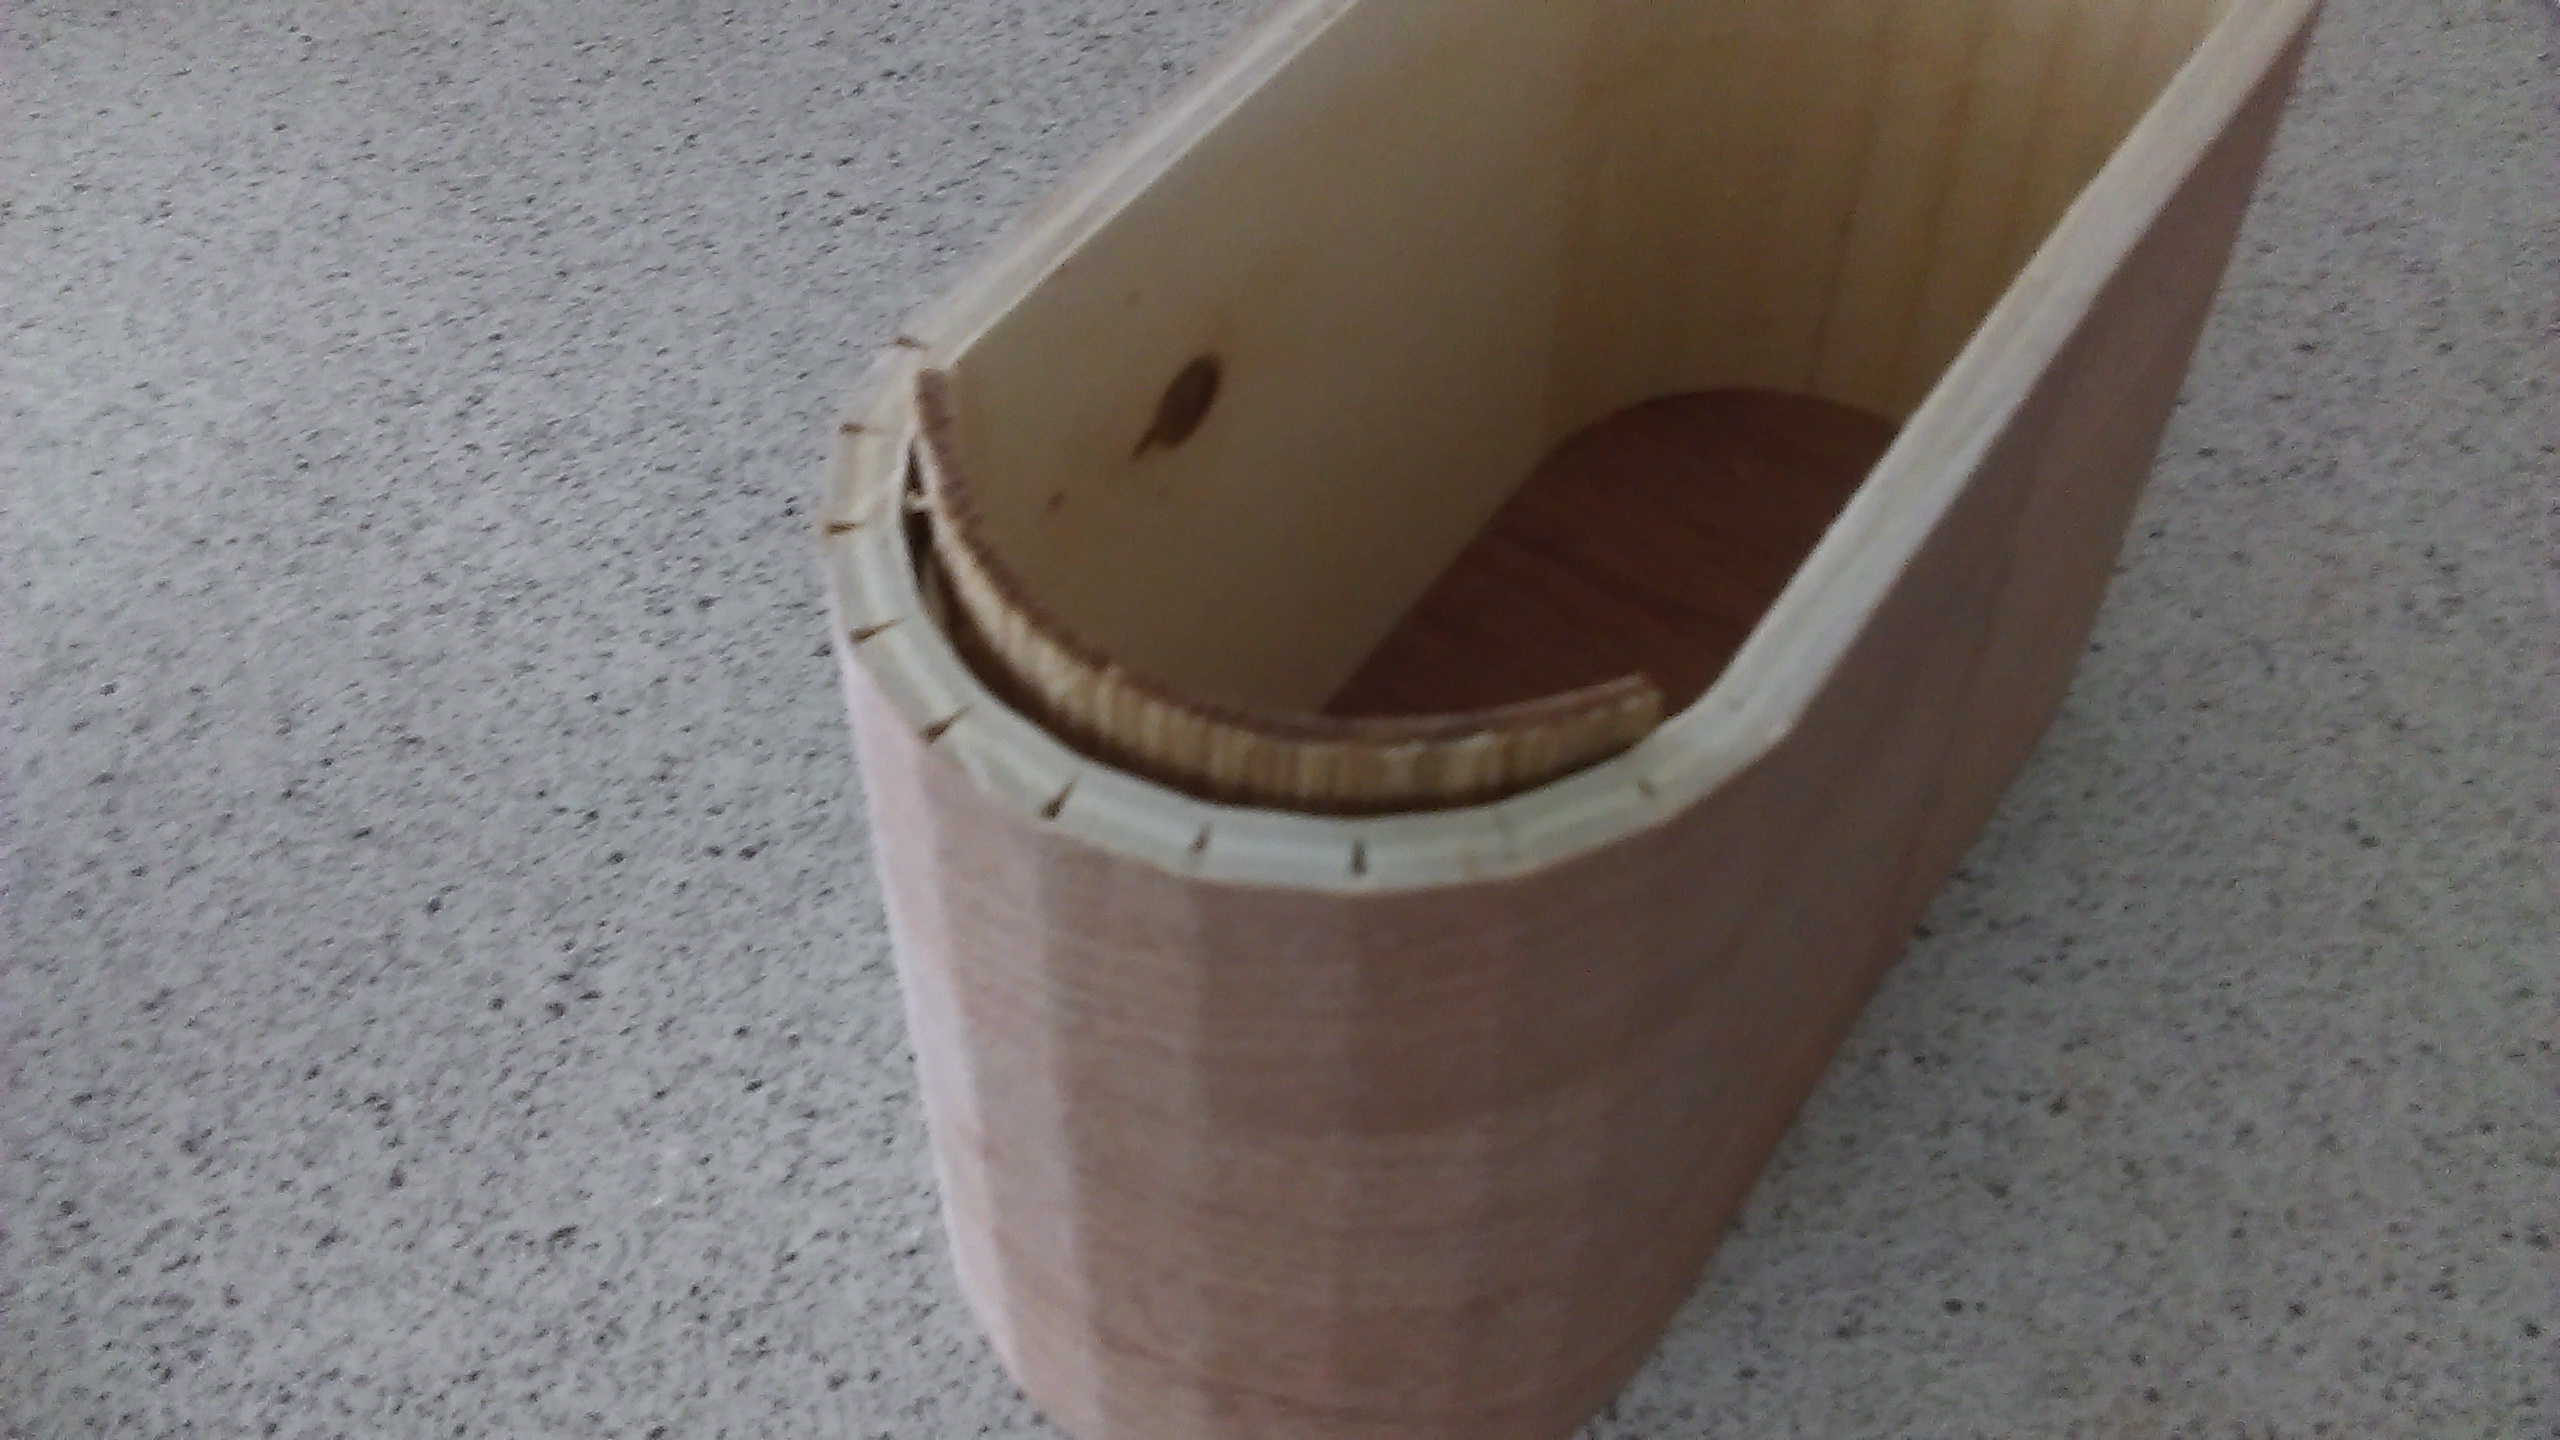
To keep the top and bottom together when the box is closed, I’ve glued in a hardwood lip.
Soaking the thin hardwood strips in boiling water allows them to be formed around a slightly tighter radius than the box requires. Tape them in place and allow to cool.
Once released, the bent strips will open a little, but they should easily be pliable enough to glue into place in the top of the box’s bottom half. Leave about ¼" (6mm) extending out, for the box lid to fit onto.
Clamp and leave to cure.


10 minutes
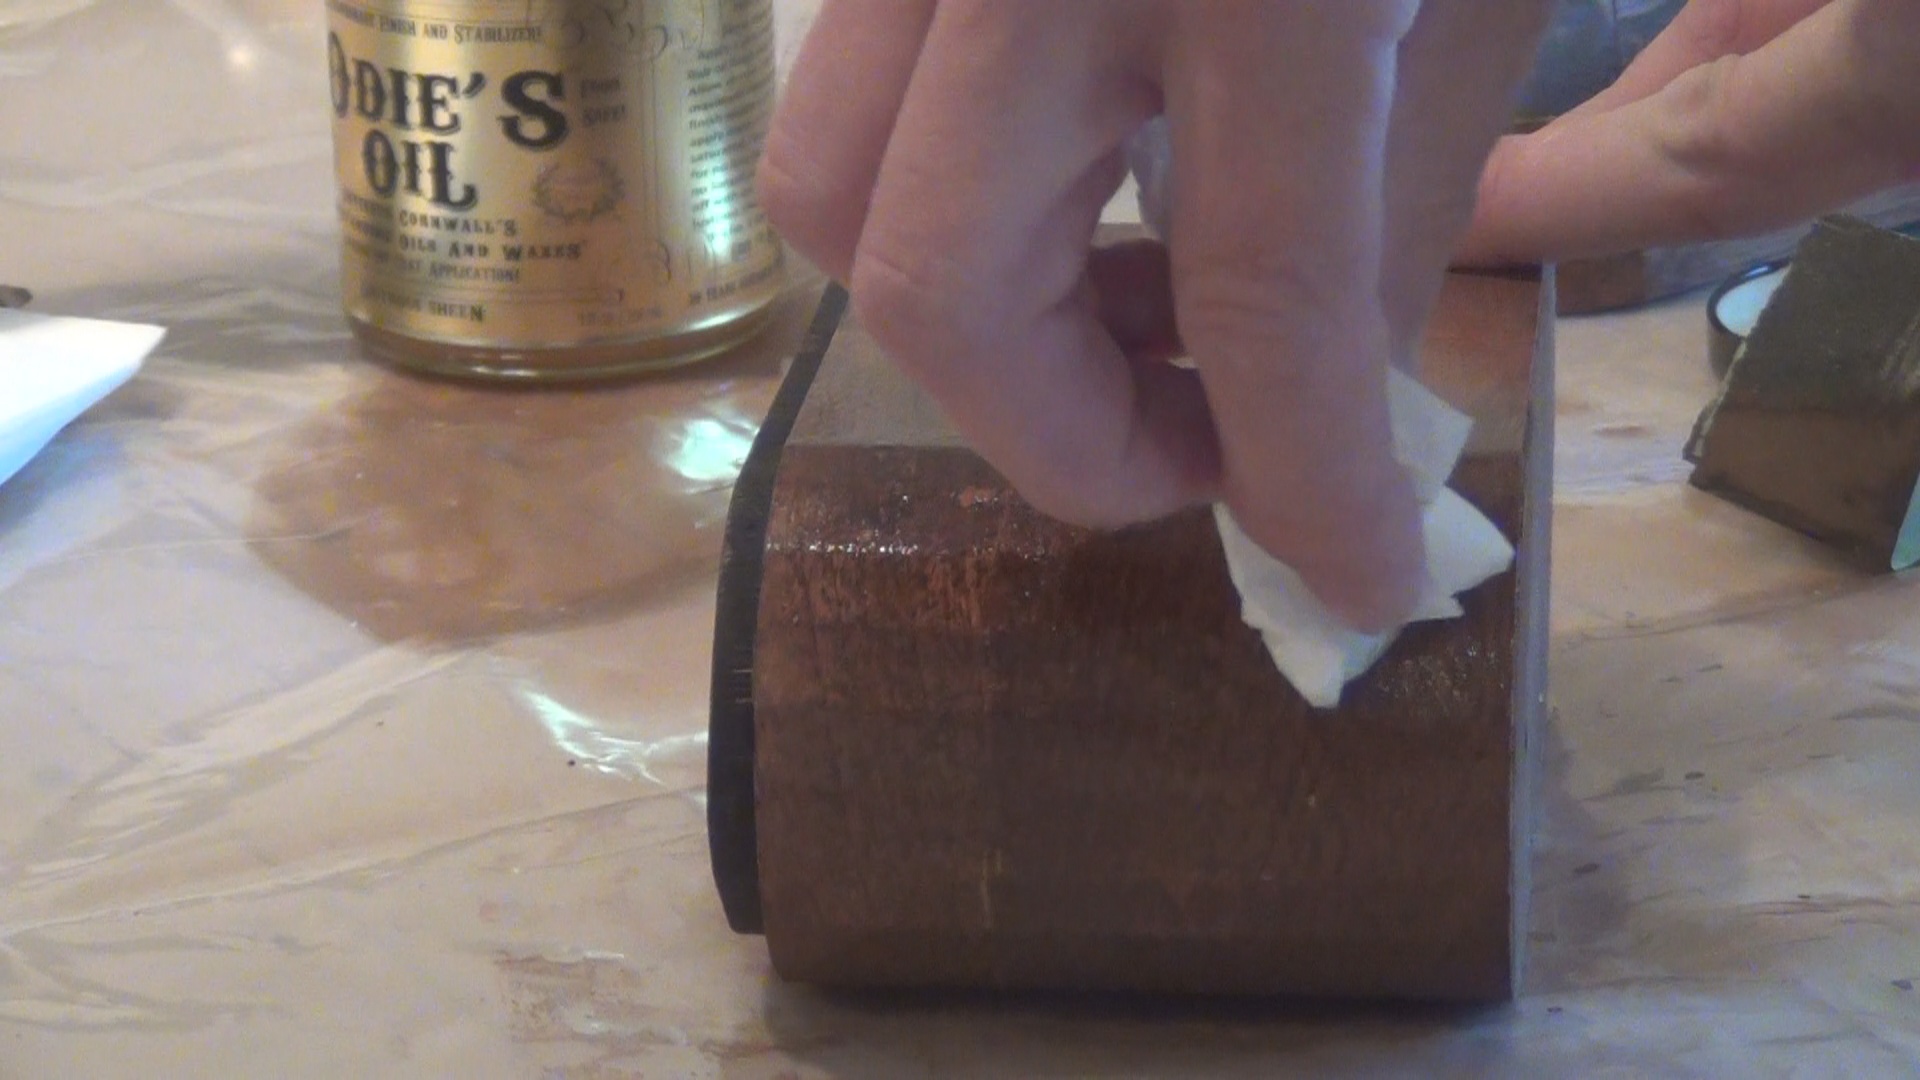
Apply your chosen finish.
I used some stain and an oil based finish, and painted the joining lip with acrylic paint.