
Movable vacuum lines for your CnC! These are great because they’ll flex out of the way in the event of a collision with your cutting material, and they also make bit changes much easier than a standard dust skirt.
30 minutes
A lot of the components for this build are going to be re-purposed home improvement materials. Specifically PVC fittings and a small shop vac. The big orange or blue stores both carry many of the following components in ready supply.
Mini Shop Vacuum. This one at Amazon had great reviews and has worked excellently so far
Loc Line. One kit will work, but you need two threaded bases. I went with the 3/4" I.D. stuff. If you order 2 kits you can modify custom nozzles (shown later)
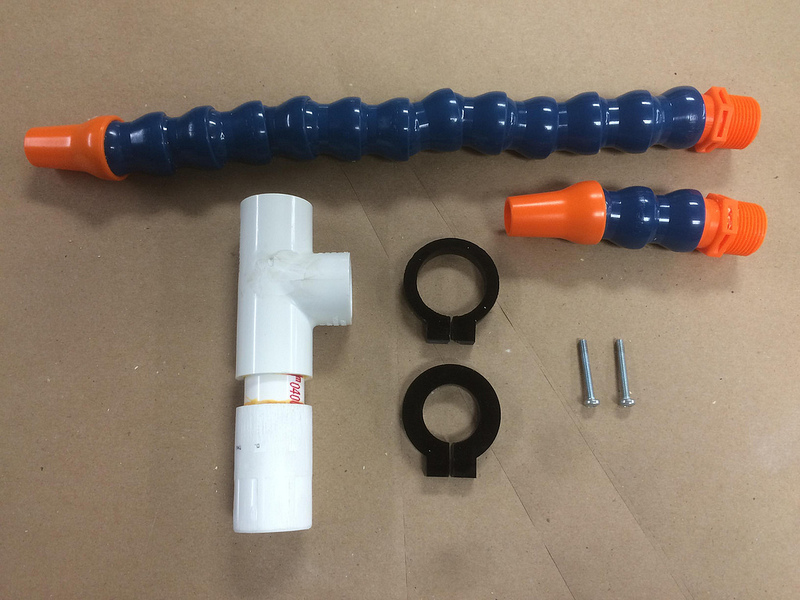
3/4 in. PVC pipe – approx 4’
3/4 in. PVC threaded coupler.
3/4 in. PVC T-coupler – make sure it has one threaded end
1 in. PVC pipe – approx 24" (length will vary depending on your specific table set-up)
1 in. PVC 90 degree elbow
PVC Cement

45 minutes
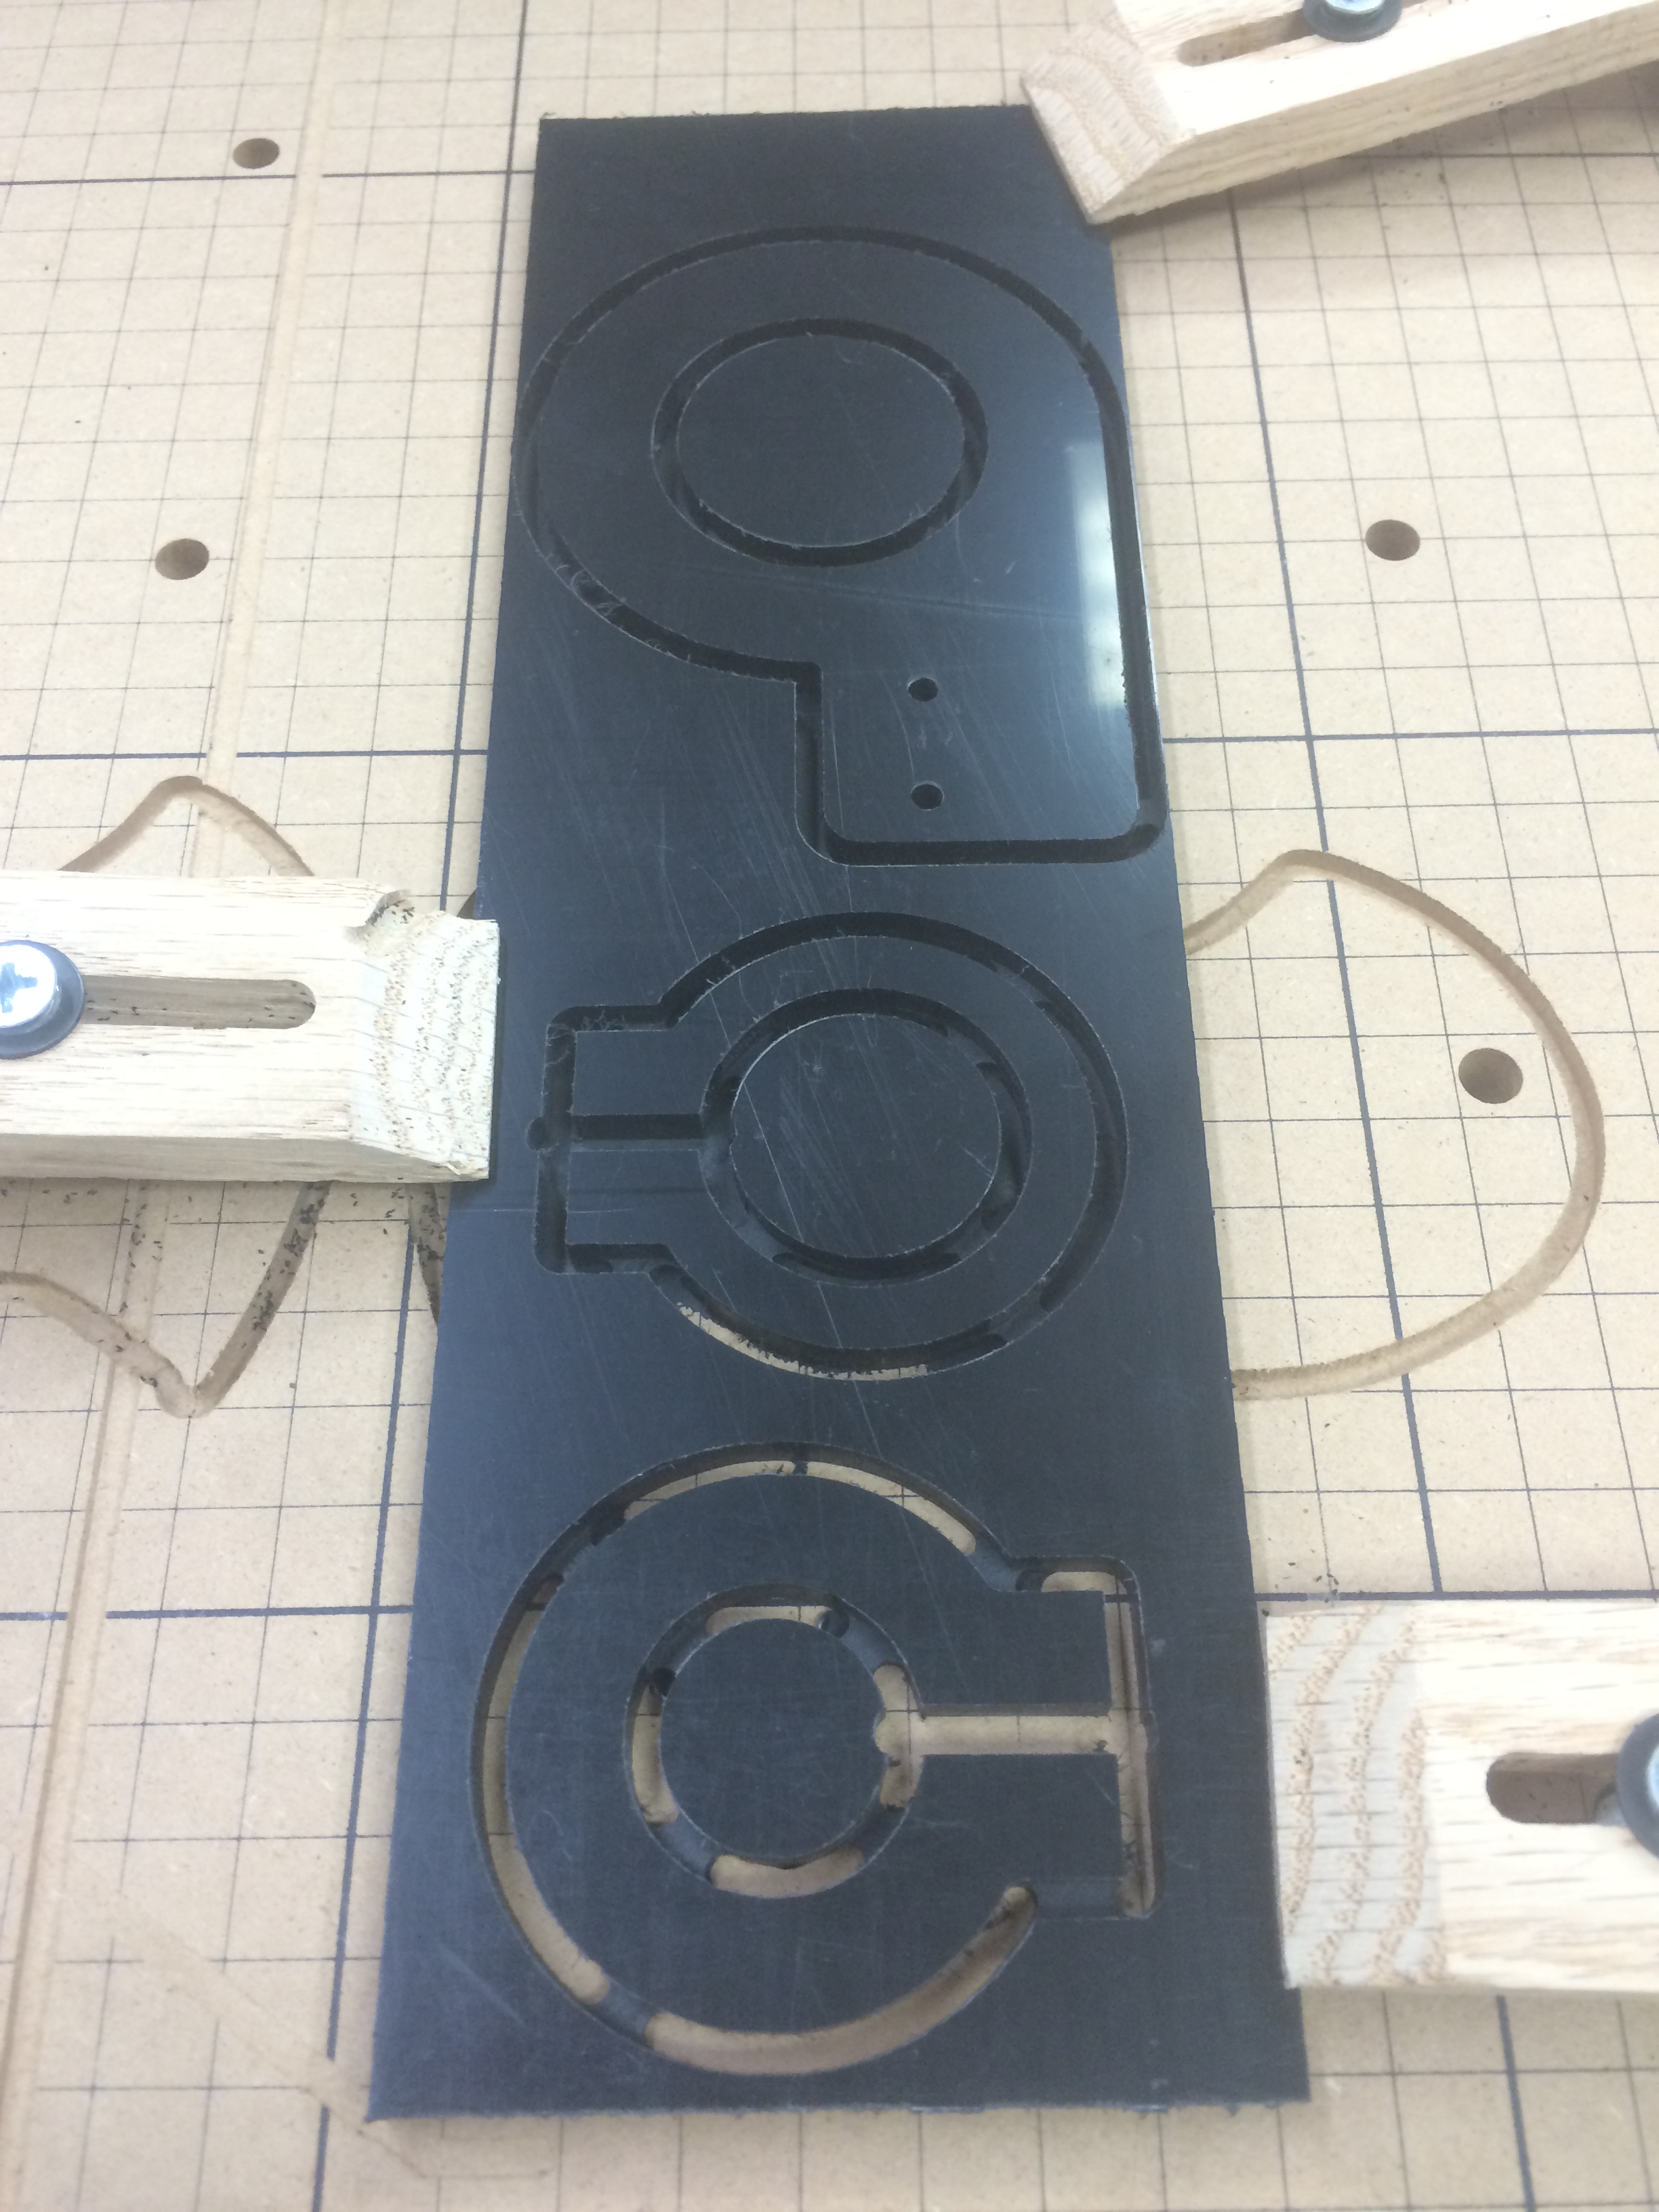
For the pieces here I used ABS sheet I had sitting around, but the Delrin listed in the materials section will be much easier to machine. There are three parts to trim: the upper and lower PVC clamps and the hose guide.
Each of these will need to be trimmed off their tabs and sanded slightly. Each of the two PVC clamps also need to be cross-drilled for one M5 mounting screw across the horizontal axis of the square base after trimming is complete.

30 minutes
This PVC piece will connect the Loc Line to the vacuum hose.
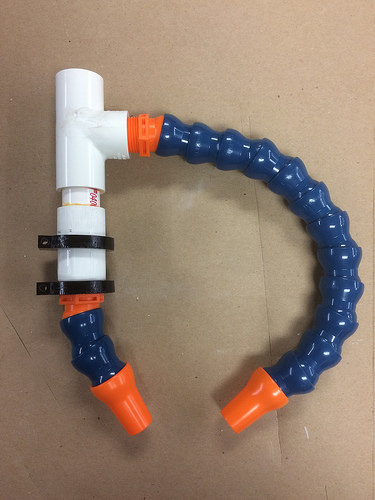
The 3/4" pieces should be glued together in the configuration shown in the first photo. One threaded end pointed down, one pointed out to the side, and a bare coupler pointed upright. If your lower threaded connector has any sort of raised shapes (this one had a sort of hex wrench pattern) this will need to be sanded flush. Cement the T and straight couplers together and let them set.
When assembling the Loc Line, one section will be much longer than the other. The longer end will thread into the side of the PVC T-joint and the shorter piece slots into the bottom of the straight connector. Before attaching the lower connector, slip on the delrin mount with the smaller diameter hole. (photo 2)
The finished assembly should look like the third photo, and it’s now ready to mount to the spindle holder.


5 minutes
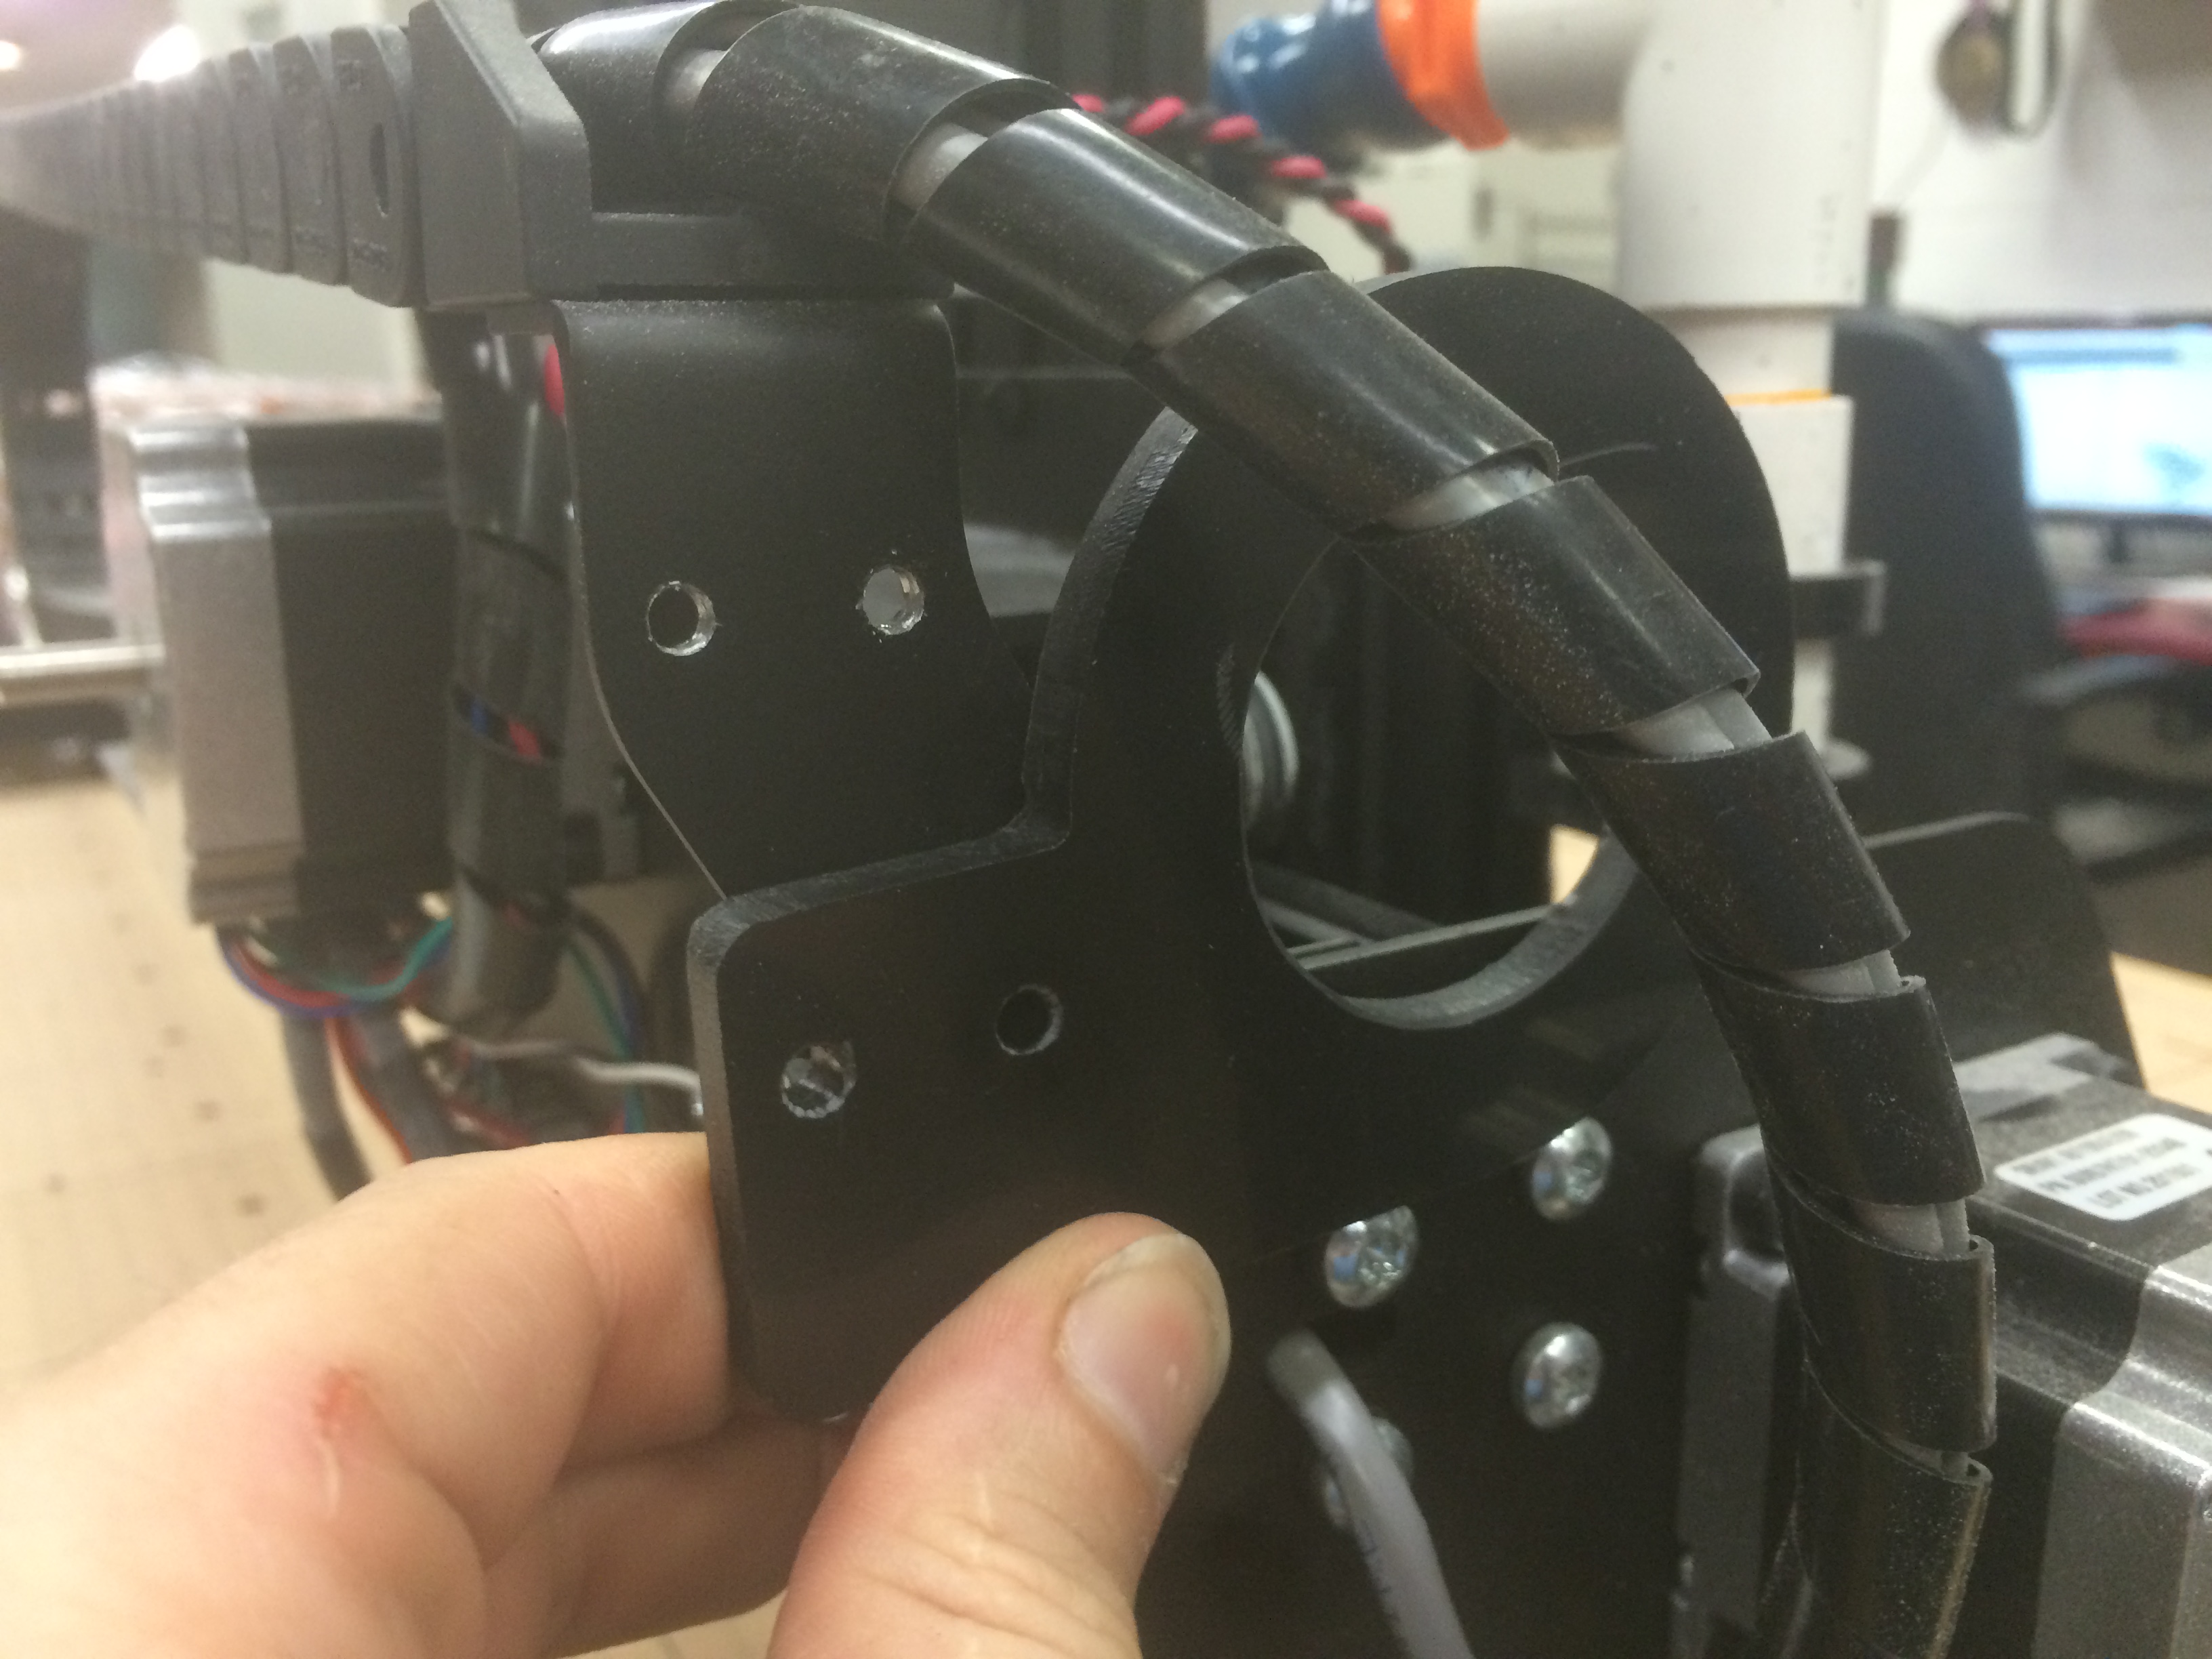
This part is optional but I’ve found it keeps the long hose out of the way when trimming parts that use a lot of the machine’s cutting area. This part necessitates having an X-Carve with a drag chain kit and the associated mounts.
Two holes need to be drilled into the drag chain mount. These will correspond with the two holes in the hose guide. Use a pair of machine screws and lock nuts to mount the guide before running your vacuum hose.
The third photo below shows the hose guide keeping the vacuum line away from the work surface during full X-axis movement.


10 minutes
The shop vac outlined in step 1 has an intake opening that corresponds in size to 1" PVC pipe.
Depending on where your shop vac is mounted this step may vary quite a bit. For my set-up, the shop vac has a 2’ hard line running up from a 90 degree fitting that feeds into the vacuum itself. This PVC extension allows you to use the entire length of vacuum hose for machine travel.

5 minutes
Mount the PVC upper section to the top and middle threaded locations on the spindle mount using two threaded M5 screws.
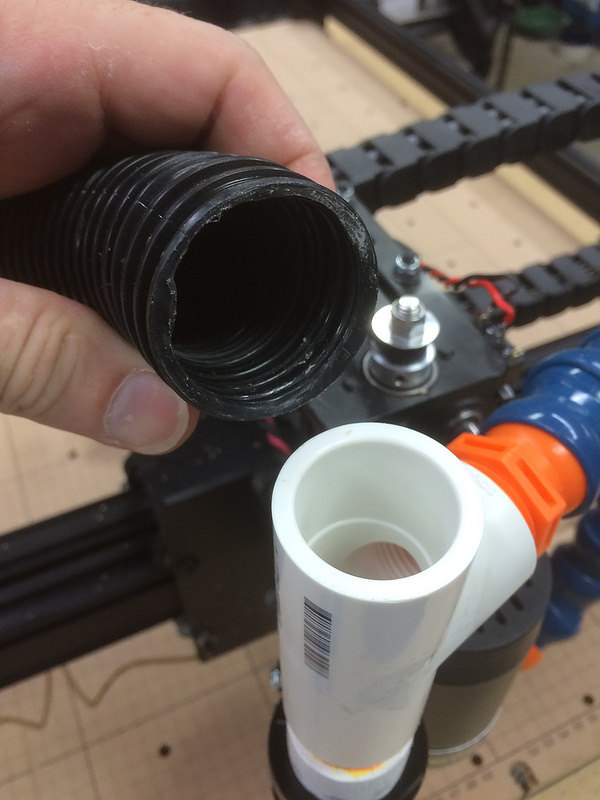
To get the vacuum line to attach to the PVC, the hard plastic ends provided with the shop vac were pried out and the flex hose was slipped over the PVC. No hose clamps are needed if you go with the same shop vac outlined in step 1 – the fit over the PVC is quite sturdy. Make sure to run the hose through the hose guide on the drag chain mount before making these connections.

10 minutes
If you purchased two sets of Loc Line, you’ll have four nozzles to play with. I’ve found that having a couple different shapes to swap out helps with dust collection.
I’ve trimmed two nozzles at an angle on a disc sander and cut a slot in one to better fit around the spindle bit. This helps when trimming thinner stock or materials that create a lot of fine dust.


Bob Hewson
Juraj Mihalik
Jason Moore
matt