
Colored LED lights with a remote control strobe, fade, and dance through a carved abstract Christmas tree. This is a three-part box with the lights installed inside. Fun in the light and the dark!
2 minutes
Seriously, this thing looks so much better than it does in the video. LED lights look funny when changing colors in a digital video. But this gives you an idea of what we’re going for here.
30 minutes
There are three pieces to this project – the tree carved front piece, the middle “box” pieces, and a plywood backing piece. Carve out all the pieces now. Keep in mind – for each piece, you need to adjust for the actual thickness of your material, and the bit you are using. I used a 1/16" bit for the tree carving to get good detail. I used a 1/4" bit for the box, though, to just cut it out quick. Choose the right feed rate and depth, etc, for your machine.
Tree carved front: http://easel.inventables.com/projects/VLFmGvufgehdTLvZZppEnQ
Box middle: http://easel.inventables.com/projects/-pzFQFkEjoh_Dc5b-FM8KA
Plywood backing: http://easel.inventables.com/projects/INOgU1eLc2laDcKio5eIQA
Clean it up with sandpaper as necessary.
Glue up the box middle section with the plywood backing. This step is first, because you have to paint and install lights before you put the front tree section on. Try to get even clamping pressure as possible. You don’t want any gaps in the glue joints, because light will leak through.

5 minutes
Now that the back and middle are glued, you want to sand the edges so they match exactly. I use a belt sander for this for speed. You can use whatever you have that works.

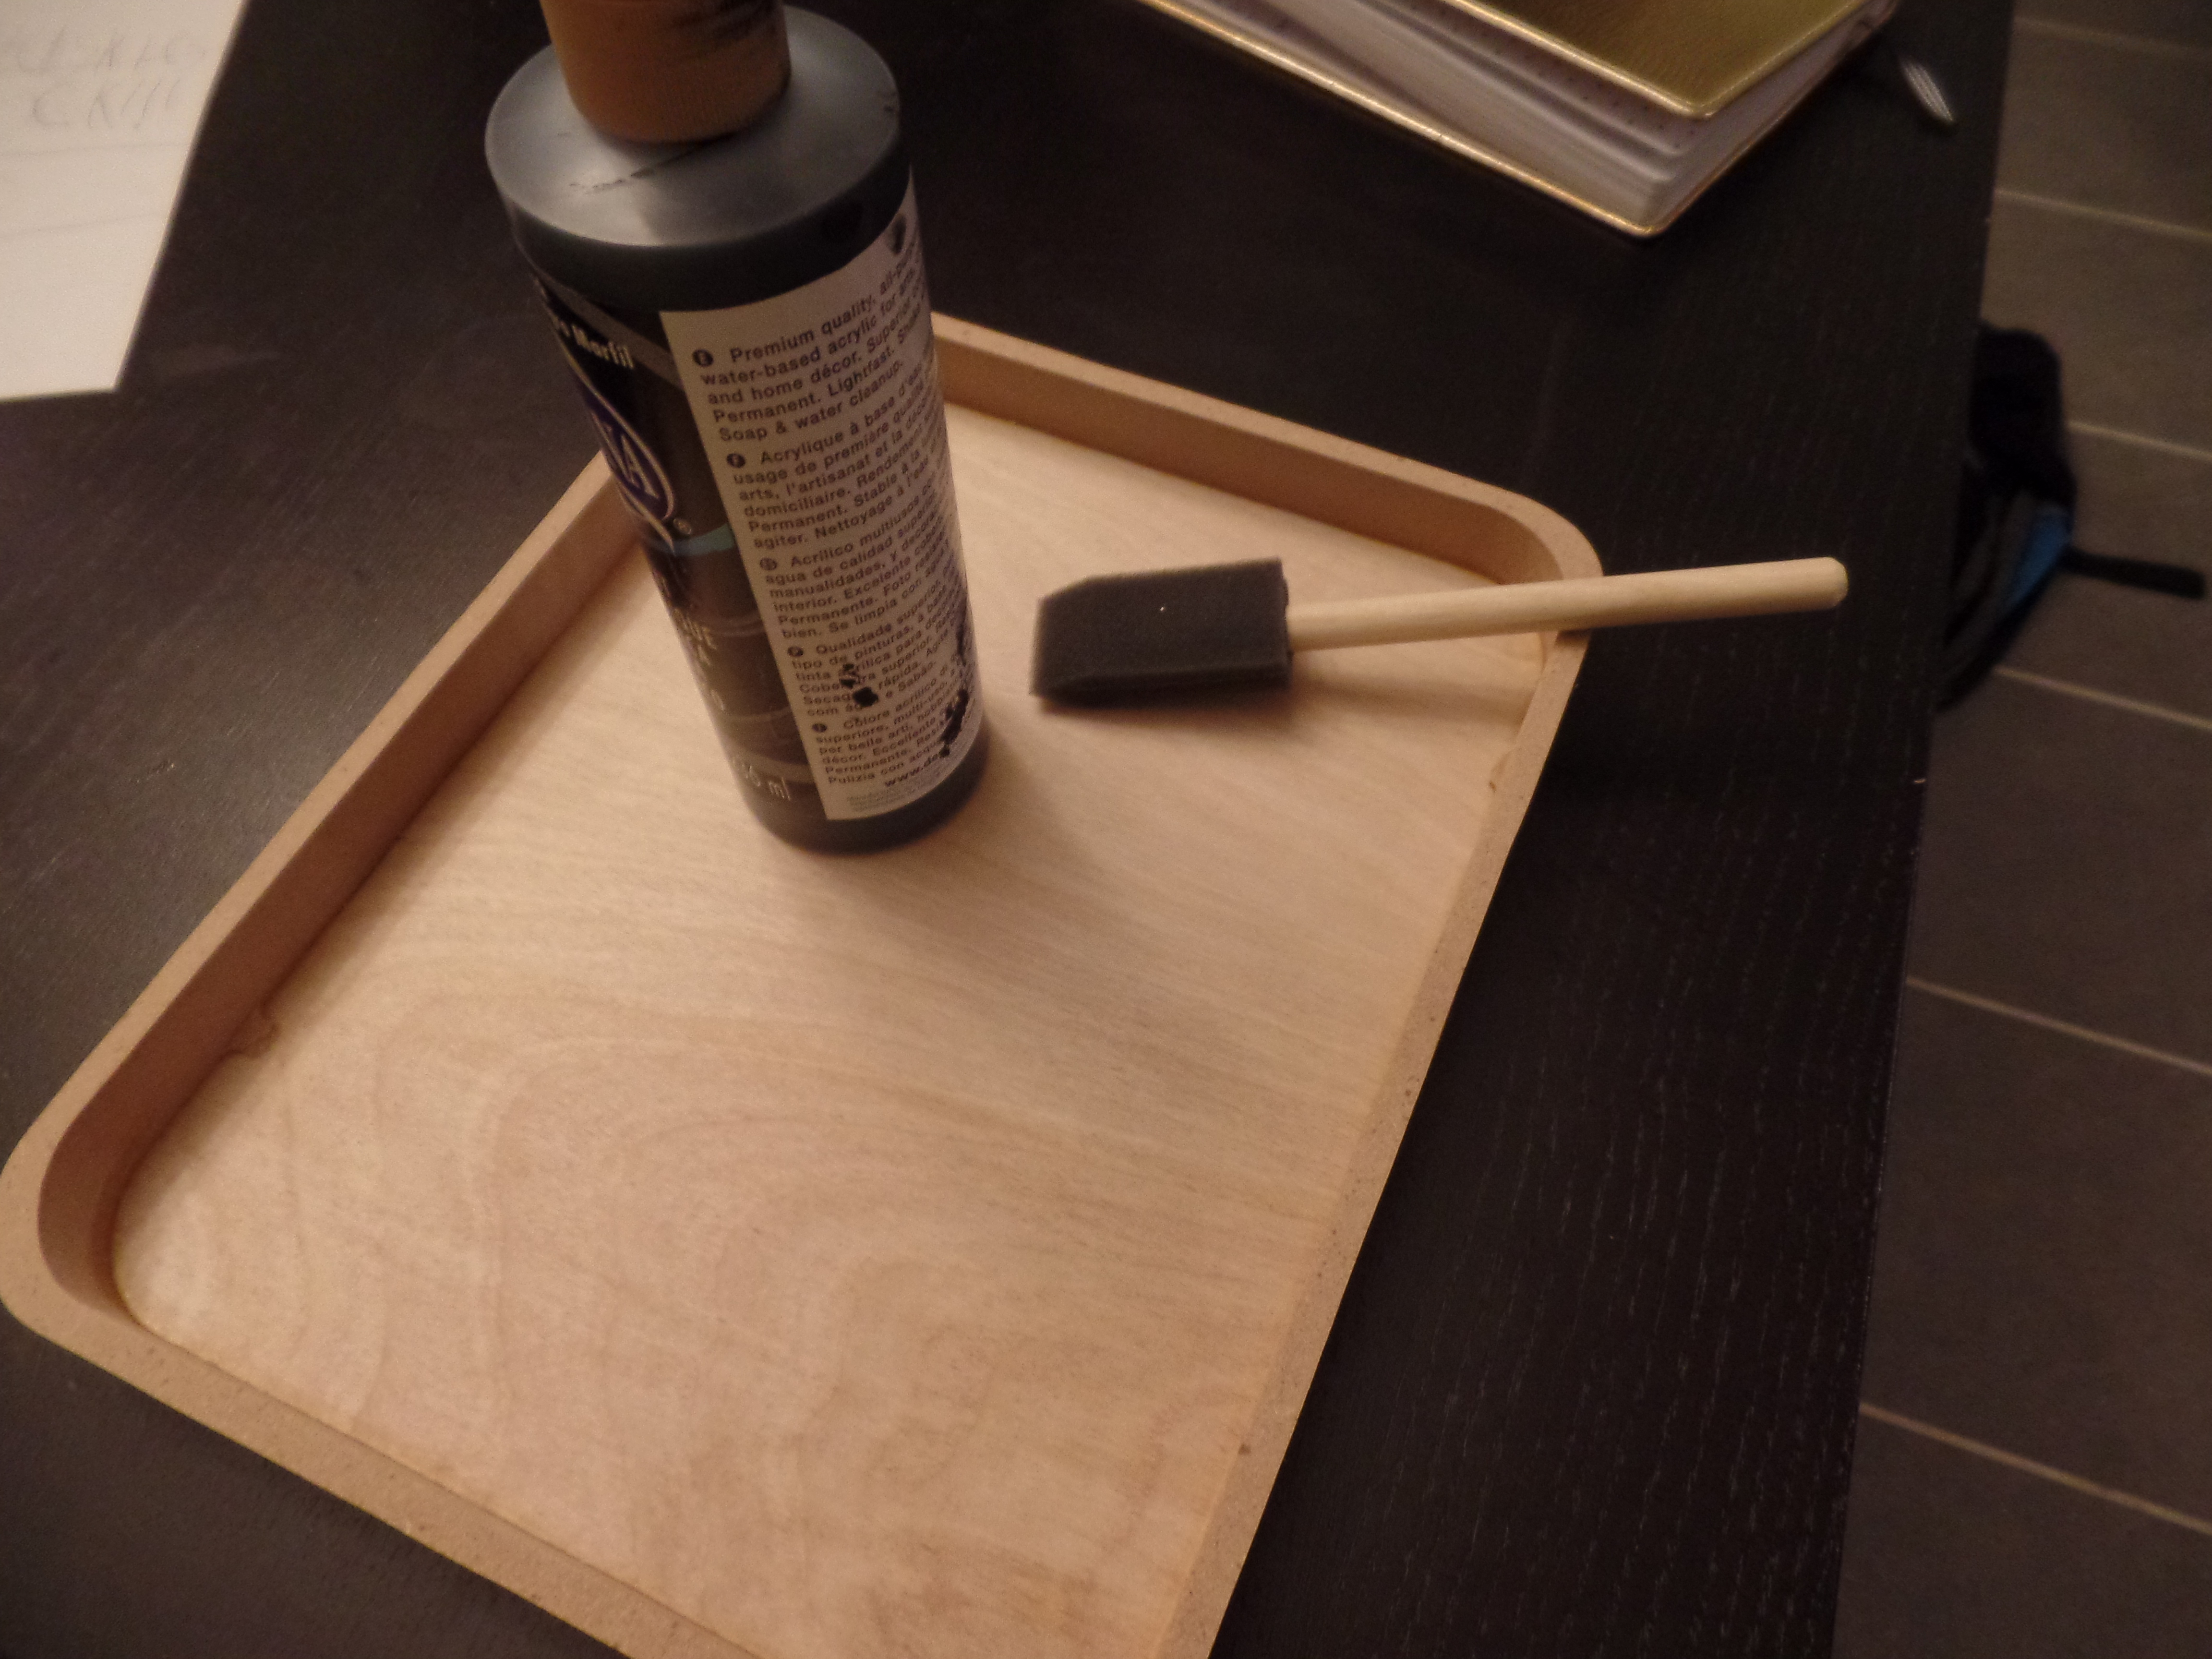
Now, paint the outside of your glued up box back, and the front of your tree carved front (and edges) black. The black paint on the outside lets the LED lights really pop, especially in a dark room. I use a simple acrylic craft paint. You can use spray paint, or really anything.

Time to get your lighting in place. I cut a slot in the box back section for the cord to go through. For this, I just set the depth gauge on my miter saw and zipped it through. You can use anything to cut a hole there, even just a drill to make a slot wide enough for the cord to pass through. See the picture for placement of the slot on my project.
Then, cut your colored, remote control LED light strip to length, peel off the backing, and install it all around the inside edge of the box. Make your cord lead right out of the slot you cut. I reinforced the corners and anywhere that looked like it needed it with some medium viscosity CA (super) glue. You want as much light in here as you can.


With the lights installed, I glued on the front, sanded around the outside again to make that all even, and then re-painted the outside where the sanding ruined the paint (just a touch-up here). Then that’s it! Plug it in and play around with the settings of your LEDs to find what you like. Plain white solid lights for a more formal look, flashing through all the colors for a more fun, Christmas party atmosphere.


Keyanna Pulido