
Joseph Johnson
New Orleans, USA
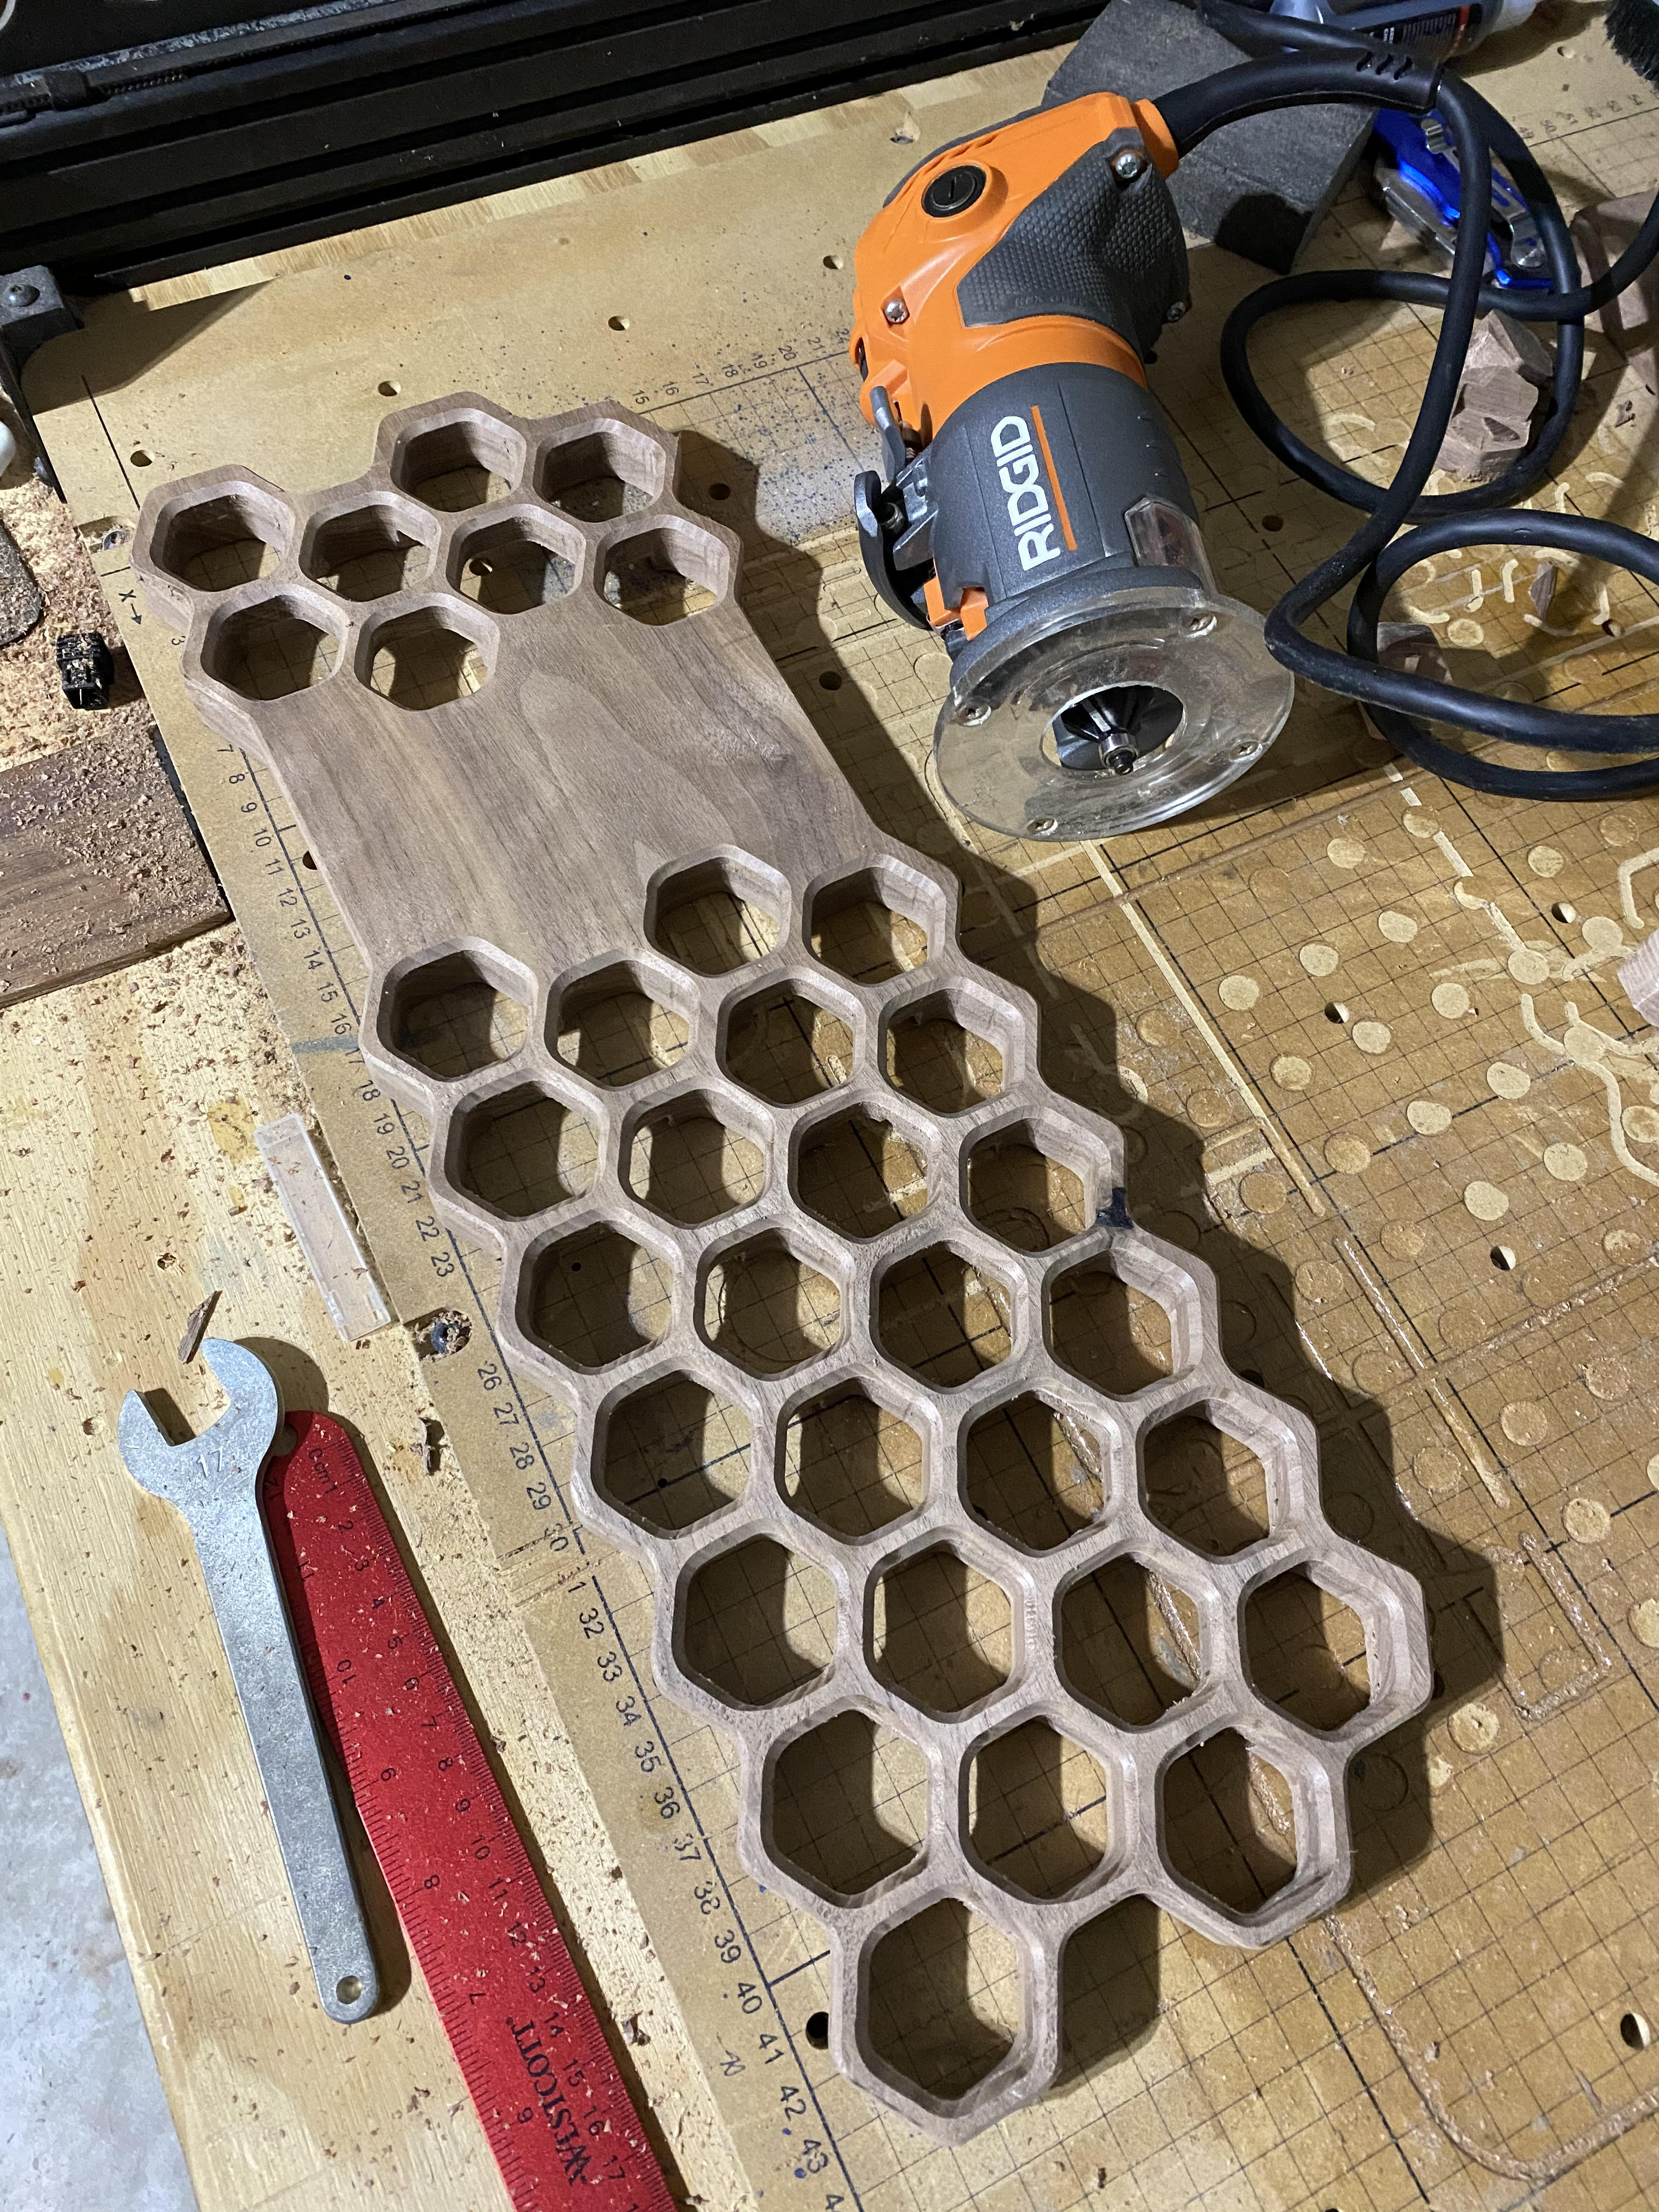
This is a large customizable trivet with holes large enough to hold eggs. Features voids on the underside to support heat dissipation between the container and the surface. It was designed in Illustrator and modified in Easel. It combines two popular kitchen items into one decorative tool!
| Material | Description | Price | ||
|---|---|---|---|---|

|
Easel Bit Set |
|||

|
Walnut |
|||
1 minute
I used Walnut because it is what I already had. You can use any type of wood you envision.
If you choose lumber that is less than 7 inches wide, you may need to resize the design. This will still look nice, but you may lose the egg holding feature that it was designed for, also consider a smaller bit if you go significantly smaller. I used a 1/8" spiral upcut bit.
1 minute
I used double side CNC tape because the clamps interfere with my dust shoe. Secure yours however you see fit, just make sure it is flat to the wasteboard so you don’t get an uneven cut.
180 minutes
The original design was made in Adobe Illustrator. I have included the SVG and the AI should you want to edit them.
In Easel, I added the depth carving to allow for airflow below the trivet. It is not in the Illustrator files. Change this depth to whatever you’re comfortable with, I chose approximately half for time and to make the trivet a little lighter. It turned out to be a good decision.
At first, I used a 1/8" straight flute bit, It broke. I changed to a 1/8" spiral upcut bit at the suggested setting for walnut and the remainder of the project was smooth.
Set the cutouts to carve on the inside path and the outline to carve on the inside path.
For the cutouts, I went with just two tabs, this was a mistake in the long-grain areas, the pieces started to break off. I remedied this by added a third tab to each of the remaining pieces. If you start with the additional tab, you will avoid this issue.
Set Zero/Home and start carving.


10 minutes
To give the trivet a more appealing look and to clean up the remaining tab marks, I went with a 45-degree bevel with my palm router. I went slightly deeper on the inside. This worked like a charm. A round over bit would do a nice job as well.
Then I sanded the whole thing to 220 grit. This is also the point I took the trivet to my laser and added the monogram. This could have been done on the X-Carve with a V-bit if I turned the piece over, but I wanted to play with my toys.
30 minutes
It is wood. There are a thousand potential finishes. ;-)
I sealed mine in CA glue and sanded forever. Then, using Yorkshire grit, I polished out all of the micro scratches.

1 minute
If you have a laser, consider using the SVG file to cut some self-adhesive cork to put on the bottom.
If you like this, please consider following me on Instagram @joe.sailor.blue
https://www.instagram.com/joe.sailor.blue/
Thanks! I’m excited to see other versions of this.

