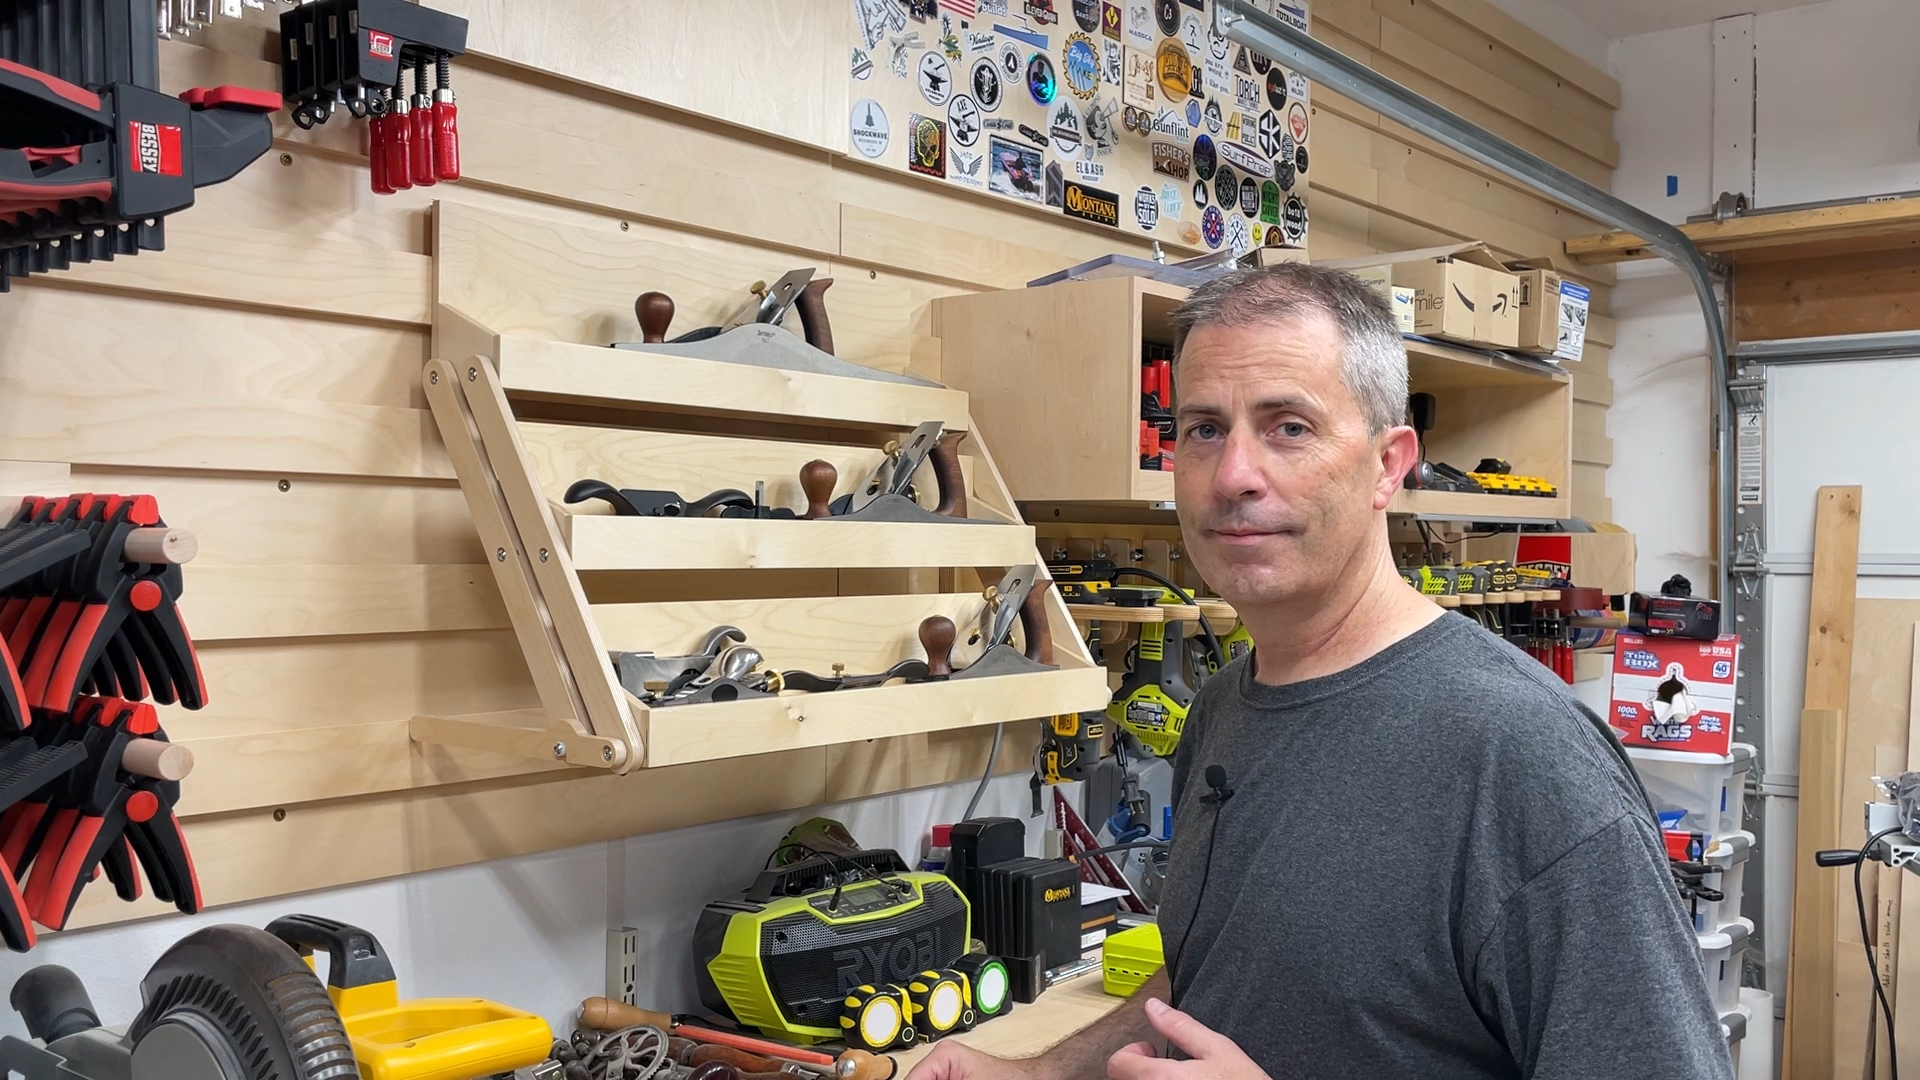
Steve Moseley
Waukee, USA
I have wanted to make a hand plane holder for some time. I was able to work with Taylor Tools and get some of their awesome hand planes to make this a reality. They were nice enough to send me these planes to use in this project and in some upcoming projects as well. You can make one for yourself.
1 minute
I have wanted to make a hand plane holder for some time. I was able to work with Taylor Tools and get some of their awesome hand planes to make this a reality. They were nice enough to send me these planes to use in this project and in some upcoming projects as well.
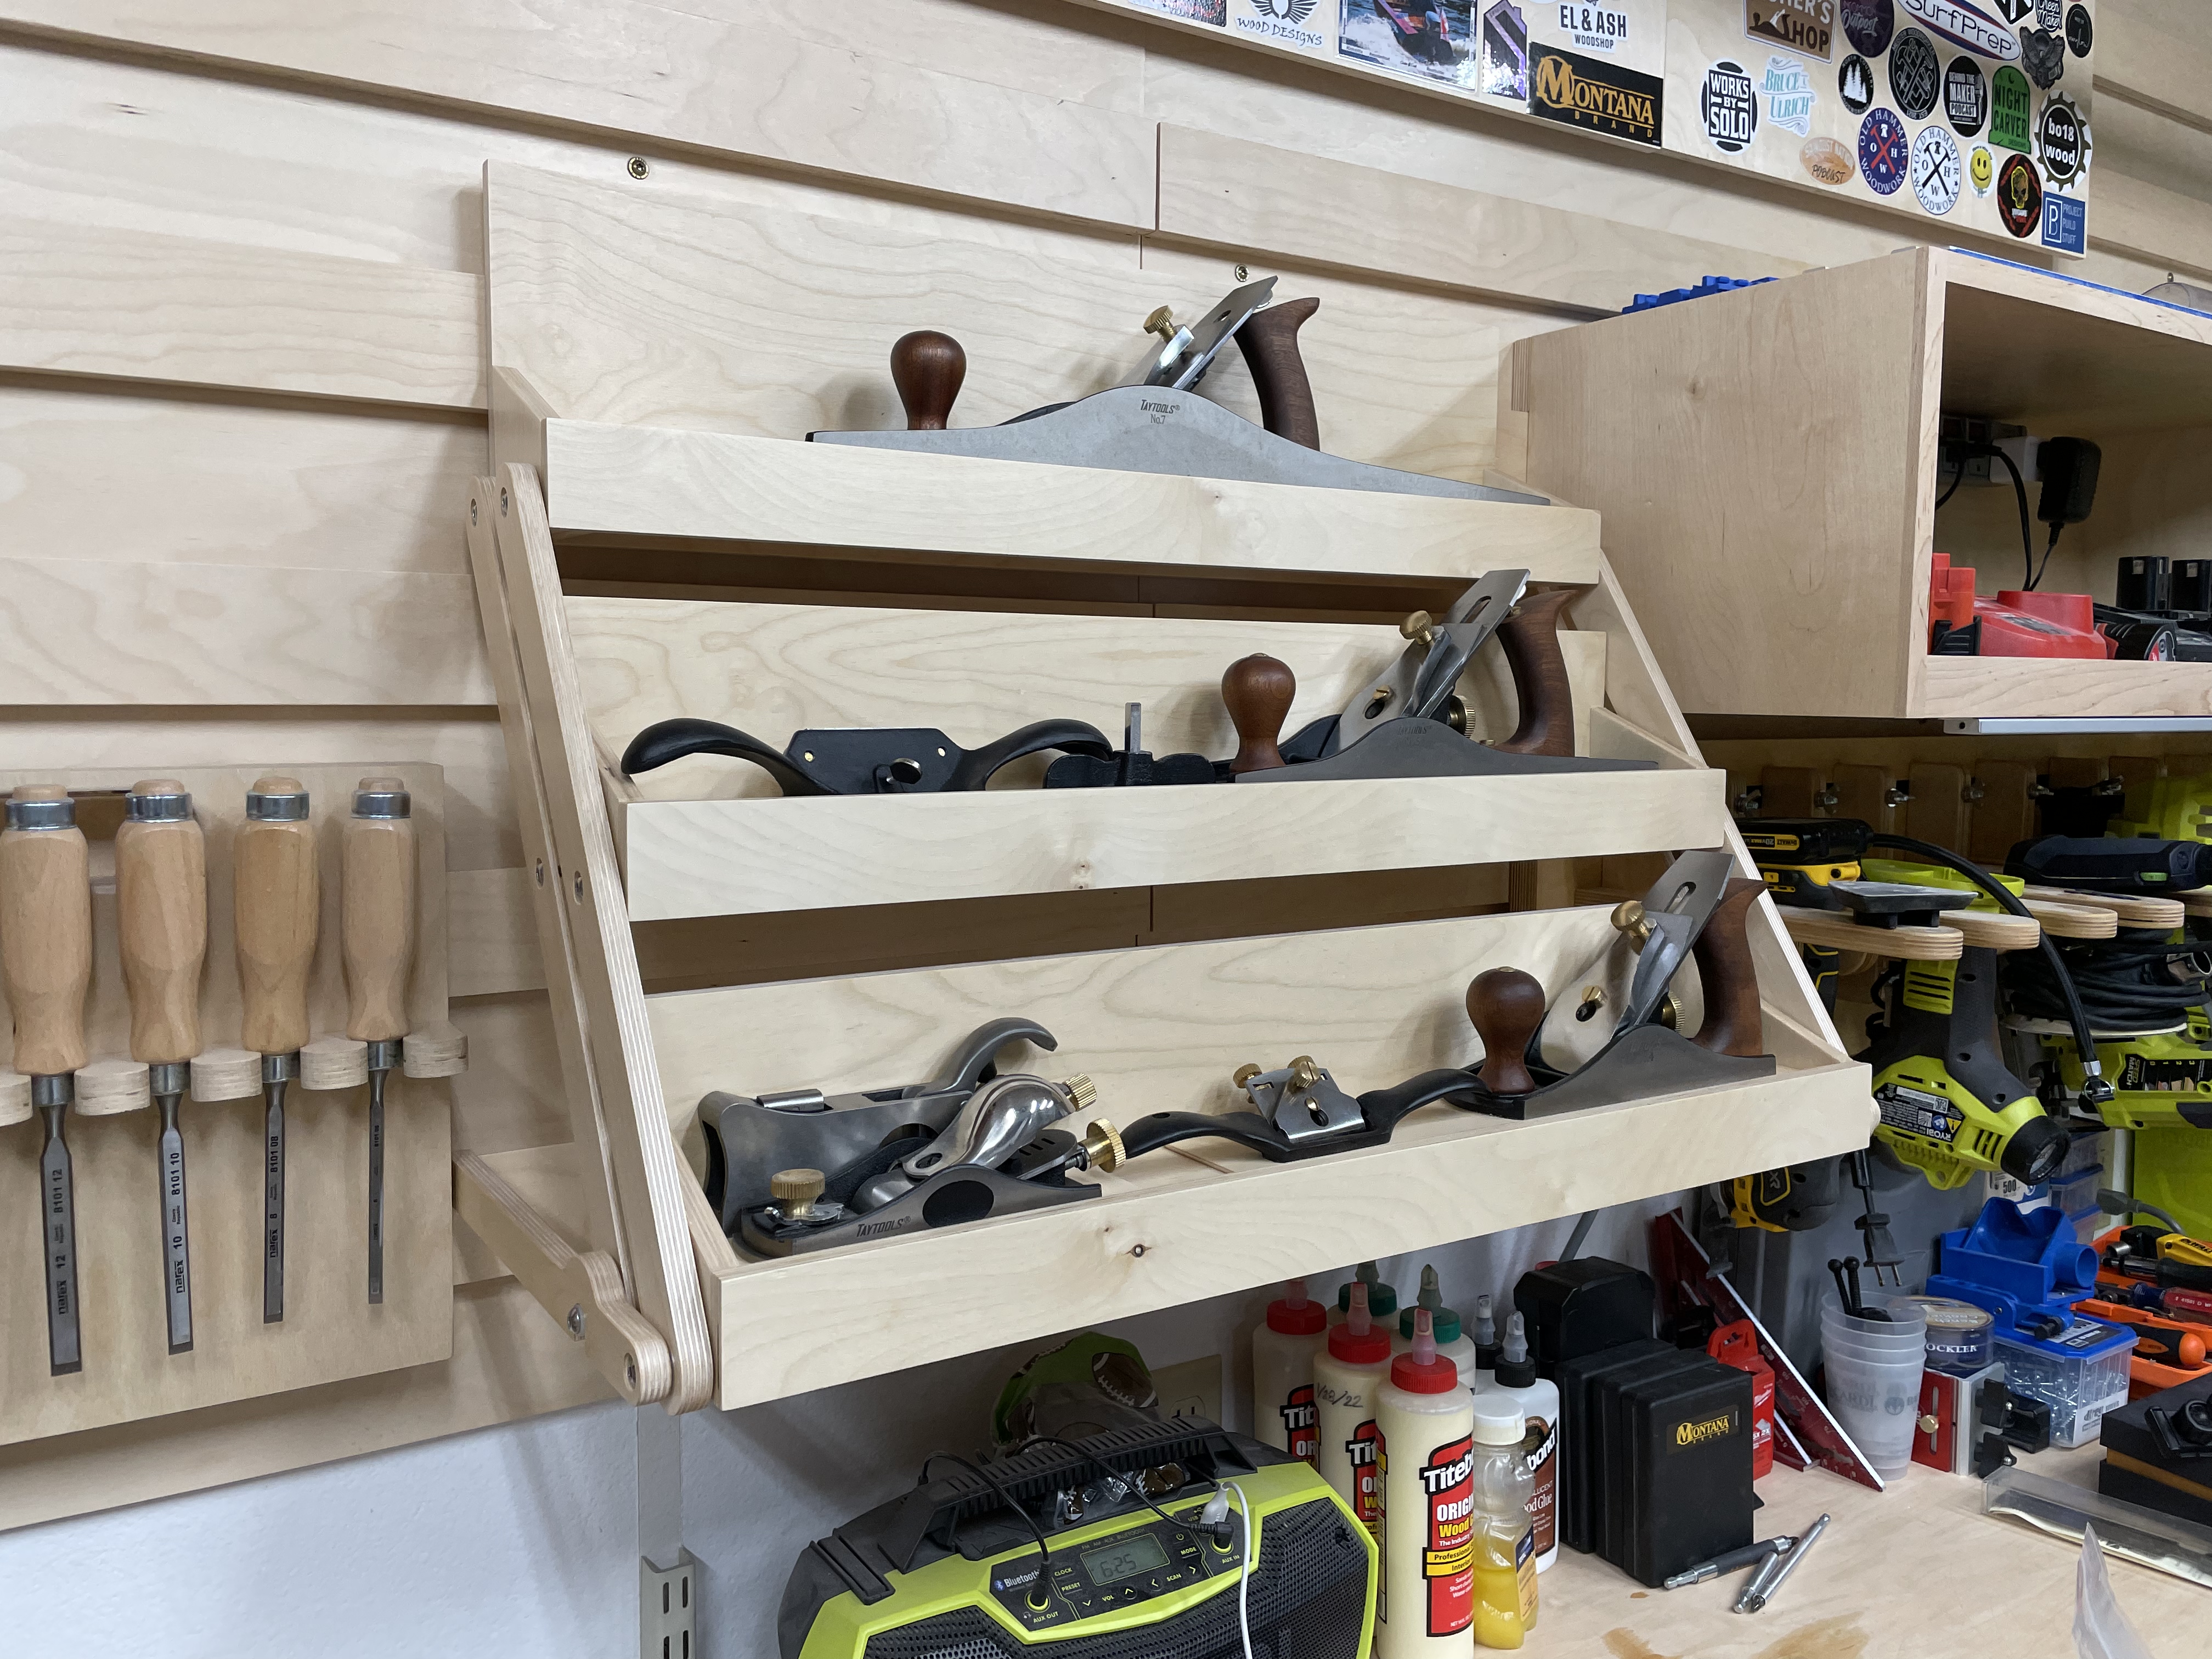
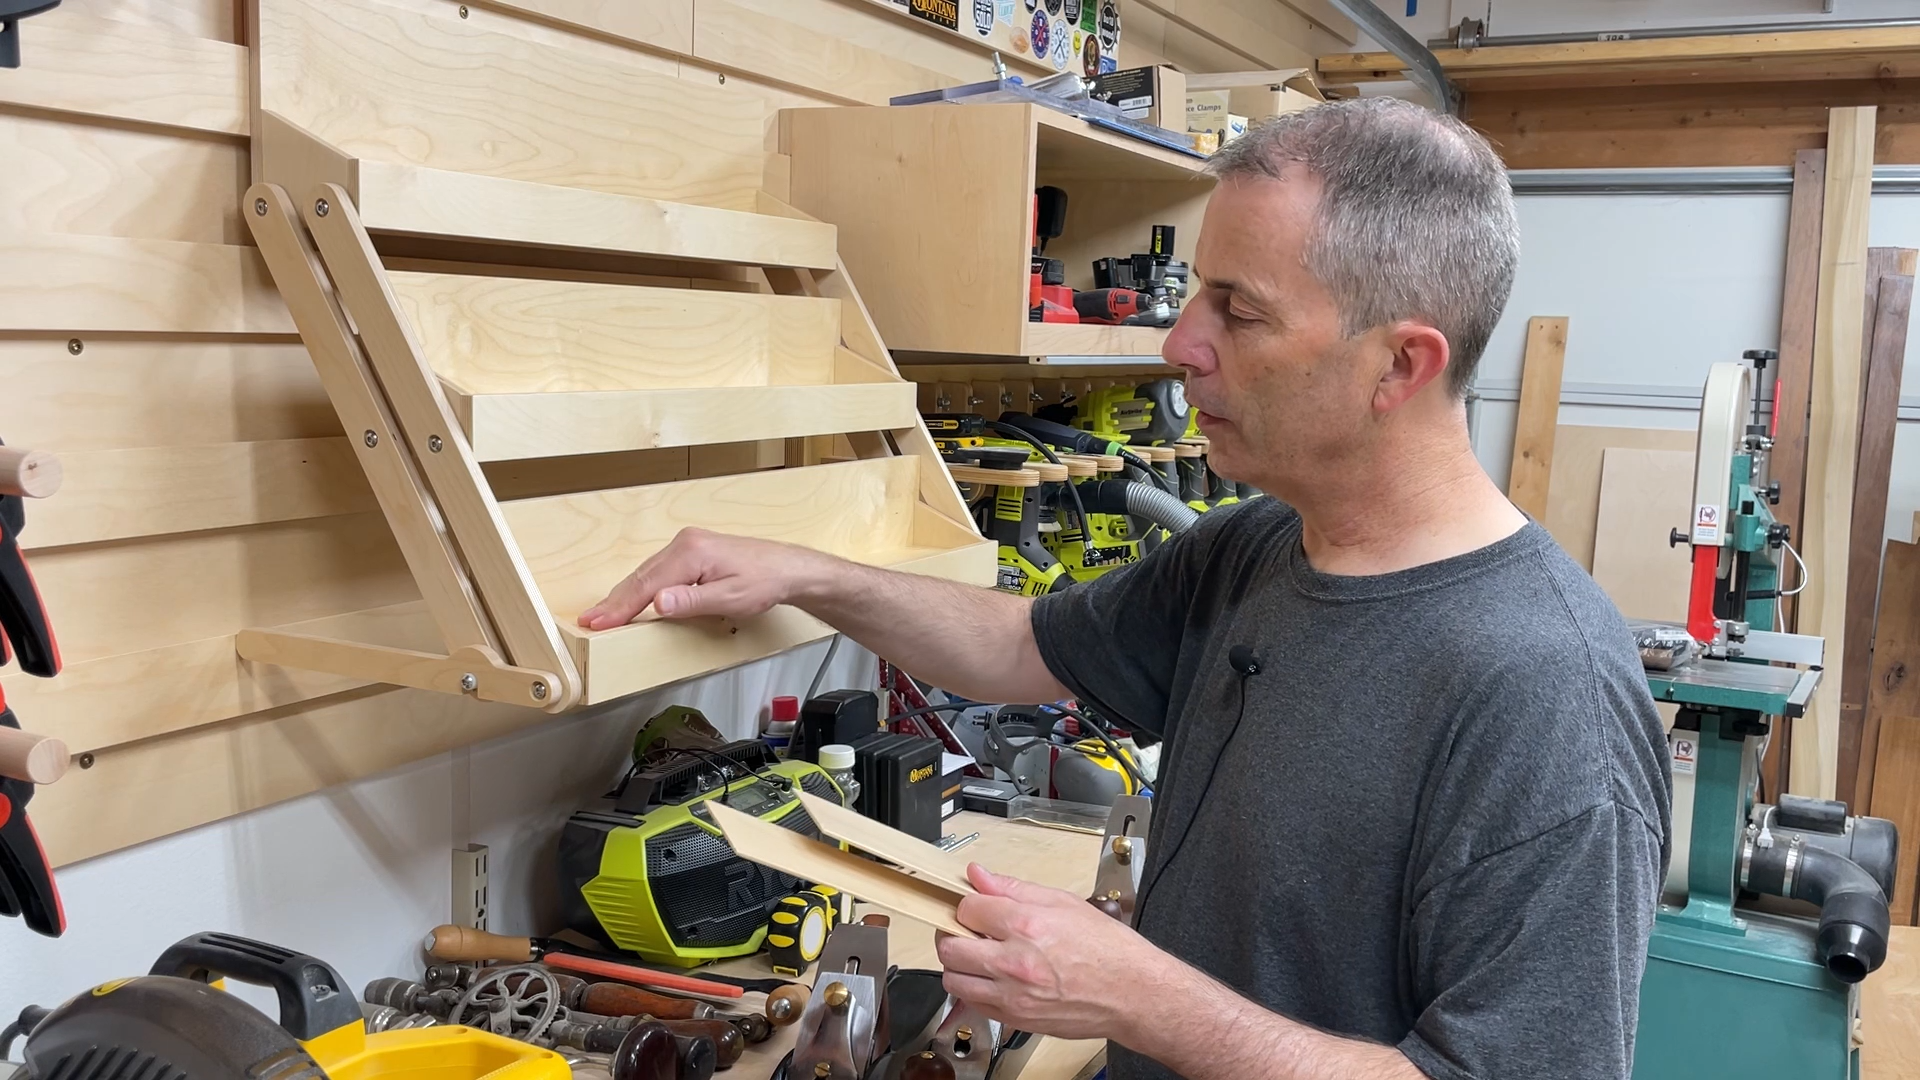
The idea behind this hand plane holder is that the hand planes can rest against the wall when not being used, but the lower two shelves can be pulled out away from the wall so the hand planes are sitting on “stepped” shelves for easier access when using one of more of them for a project.
The parts for this project are cut out using the X-Carve CNC, but you can cut out similar parts by layout out the pieces and using other tools.


1 minute
Taylor Tools was nice enough to supply the hand planes you see in the video. My affiliate link to find the hand planes shown in this video: Link
SOFTWARE
Easel Pro Software by Inventables – Link
TOOLS
X-Carve 1000mm CNC Machine by Inventables – Link
Router Bit – 1/4" Downcut Bit – Link
Router Bit – 1/8" Fishtail Spiral Downcut Bit – Link
Various clamps
SurfPrep Electric Ray Random orbit sander – Link
Shop vac
Drill
Tape Measures (my favorite two):
Fastcap PMS-16 Auto Lock ProCarpenter Tape Measure – Link
or FastCap PSSR16 16 ft Standard Reverse Measuring Tape – Link
MATERIALS
1/2" Baltic Birch plywood (used for all shelf components)
3/4" Baltic Birch plywood (for my french cleats)
Various sand paper
1/4-20 × 2-1/2" Hex Socket Button Head Cap Screws Bolts (you need 12 for the project) – Link
1/4" flat washers (you need 26 for the project) – You can get these at your local hardware store or on Amazon – Link
1/4" nyloc nuts (you need 12 for the project) – You can get these at your local hardware store or on Amazon – Link
1/2" diameter nylon spacer – 1/2" long, 1/2" outer diameter diameter
Home Depot has a 2-pack and that is all you need – Link
General Finished Water Based Top Coat (Satin) – Link
Titebond Wood Glue – https://amzn.to/3NJiaDh
XFasten 1-Inch Double Sided Woodworking Tape – Link
This is what I used to hold the plywood down on the CNC
NOTE: As an Amazon Associate I earn from qualifying purchases.
Other affiliate links may be used on this page, but do not affect pricing of the items.
NOTE: If you plan on using any tool for a project please make sure you are familiar with the tool and all of the dangers associated with it. If you are not familiar with a tool then you should ask someone who is to show you the proper way to use it. A lot of communities have classes at local colleges on the proper use of tools and machinery. There are also local woodworking clubs that offer classes at very reasonable rates for beginners. I highly recommend using these resources for your safety and for the most efficient use of the tool.
SAFETY FIRST
Always wear eye and hearing protection. Always work safe with the proper safety equipment and guards on your tools.

120 minutes
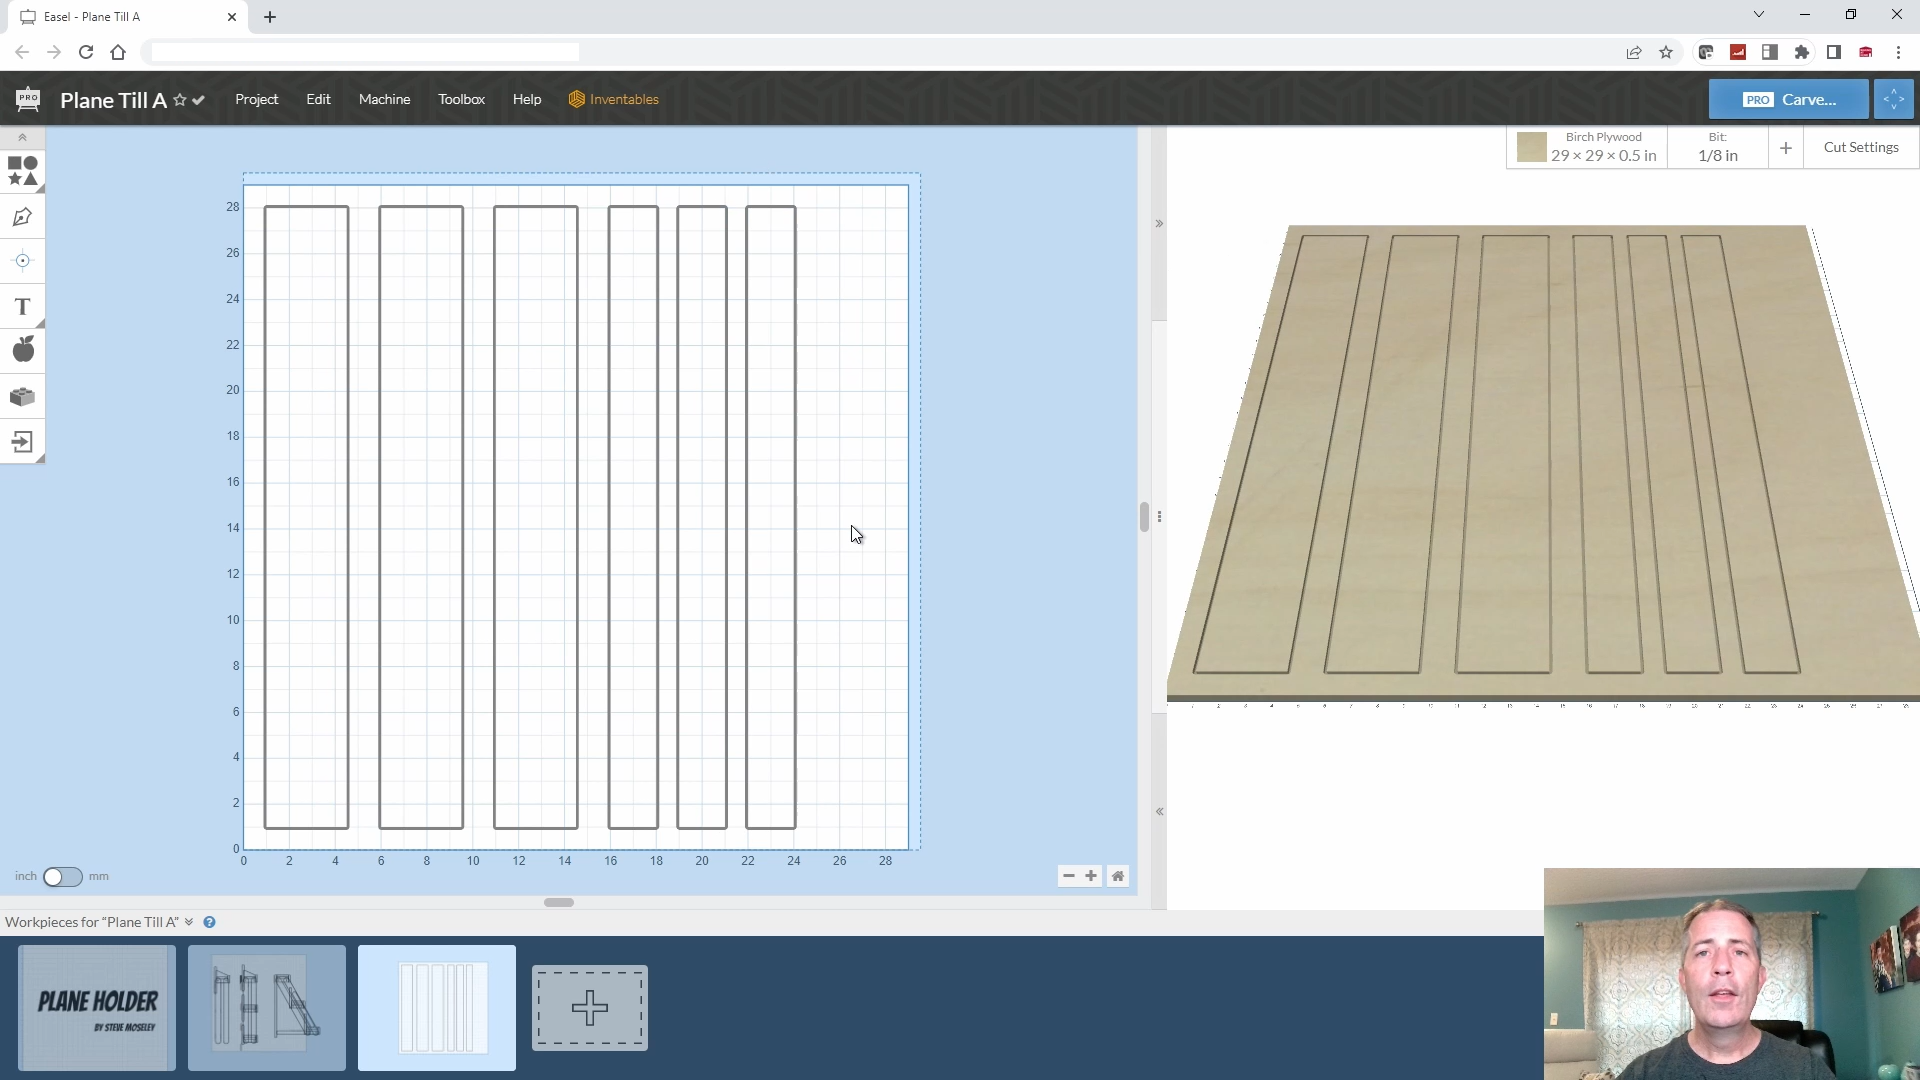
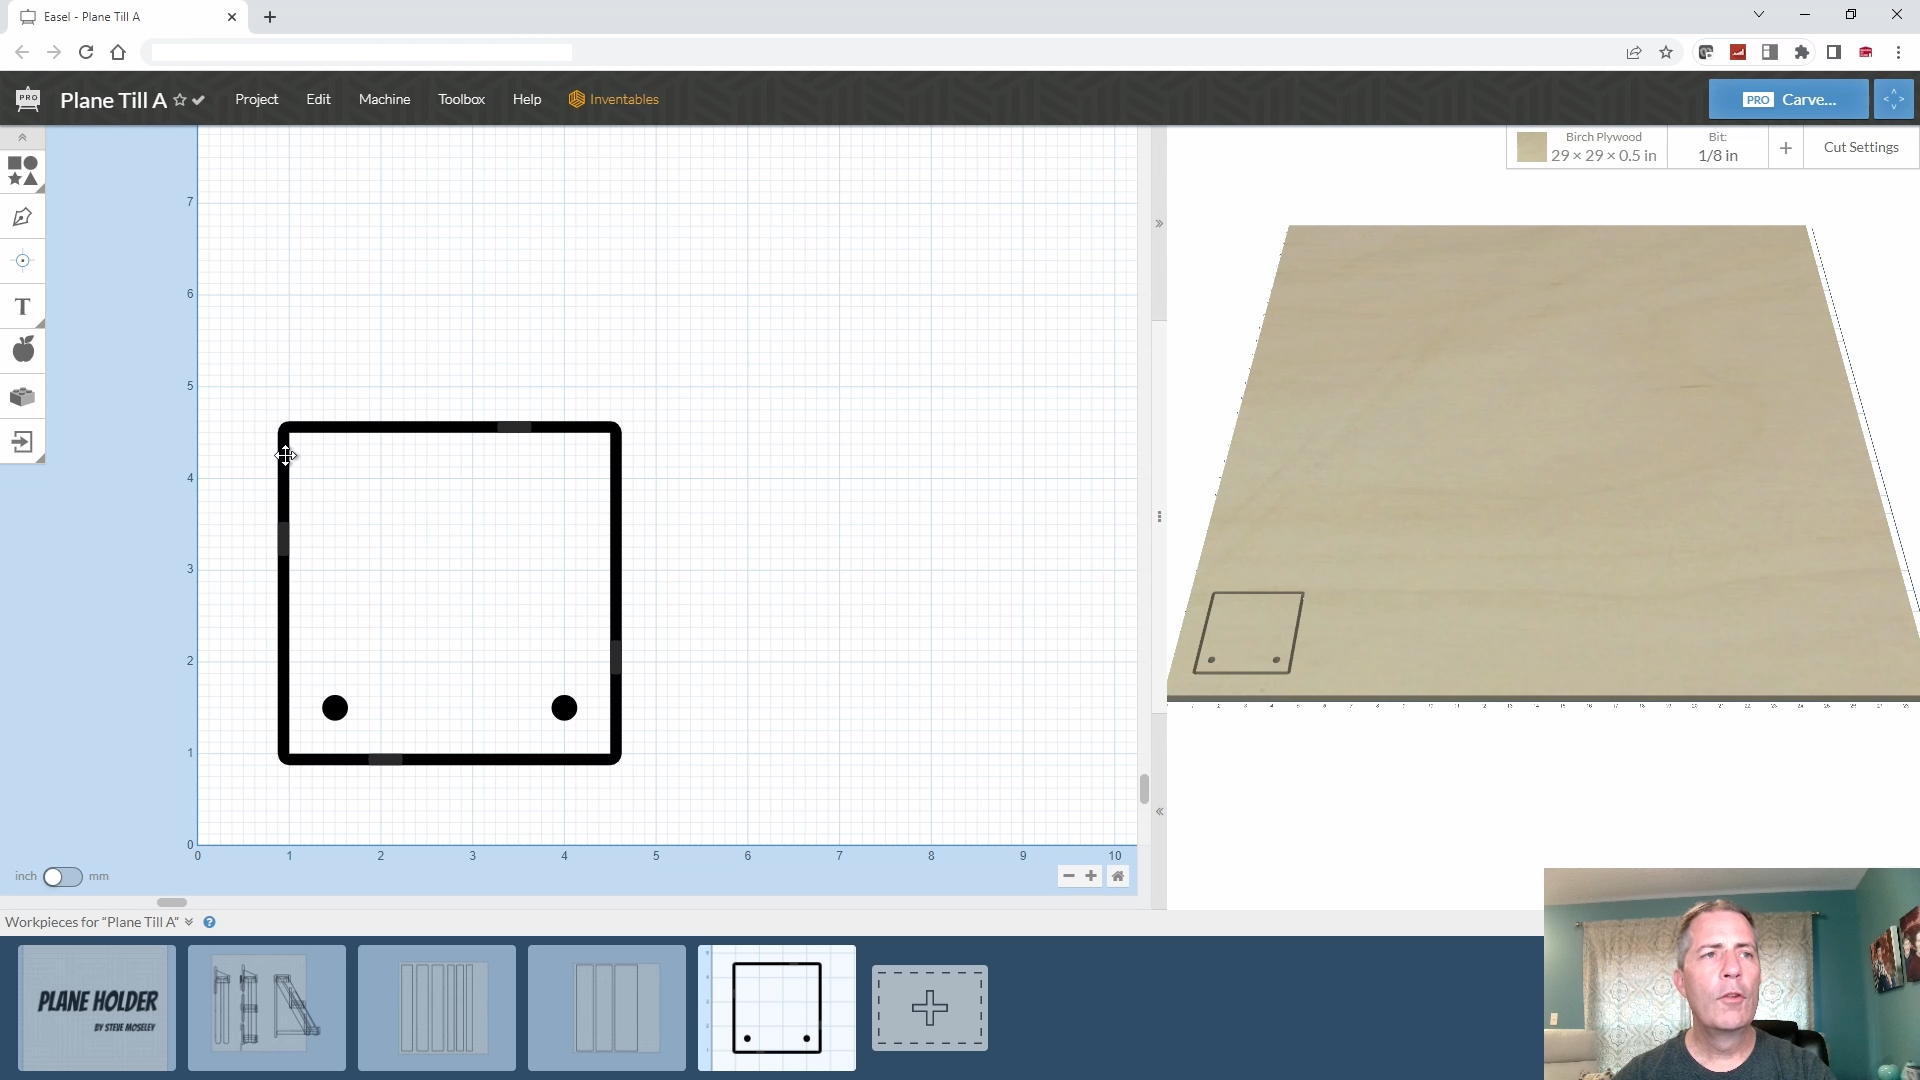
The parts of this hand plane holder are very easy to create in Easel Pro software from Inventables. You can follow along step by step in the Youtube video.
Create a Rough Sketch
I started out the design of by creating a side view of the hand plane holder in Easel Pro software by Inventables.
This always helps me visualize a design. It also helps me not miss designing one of the parts.
Designing Actual Pieces
Shelf bottoms
These are simple rectangles.
The dimensions are 3.5" Wide X 27" Long X 0.5" Thick.
You need 3 of these.
Shelf Fronts
These are simple rectangles.
The dimensions are 2" X 28" X 0.5".
You need 3 of these.
Shelf Backs
These are simple rectangles.
You need 2 cut at 5.5" Wide X 28" Long X 0.5" Thick.
You need 1 cut at 7.5" Wide X 28" Long X 0.5" Thick.
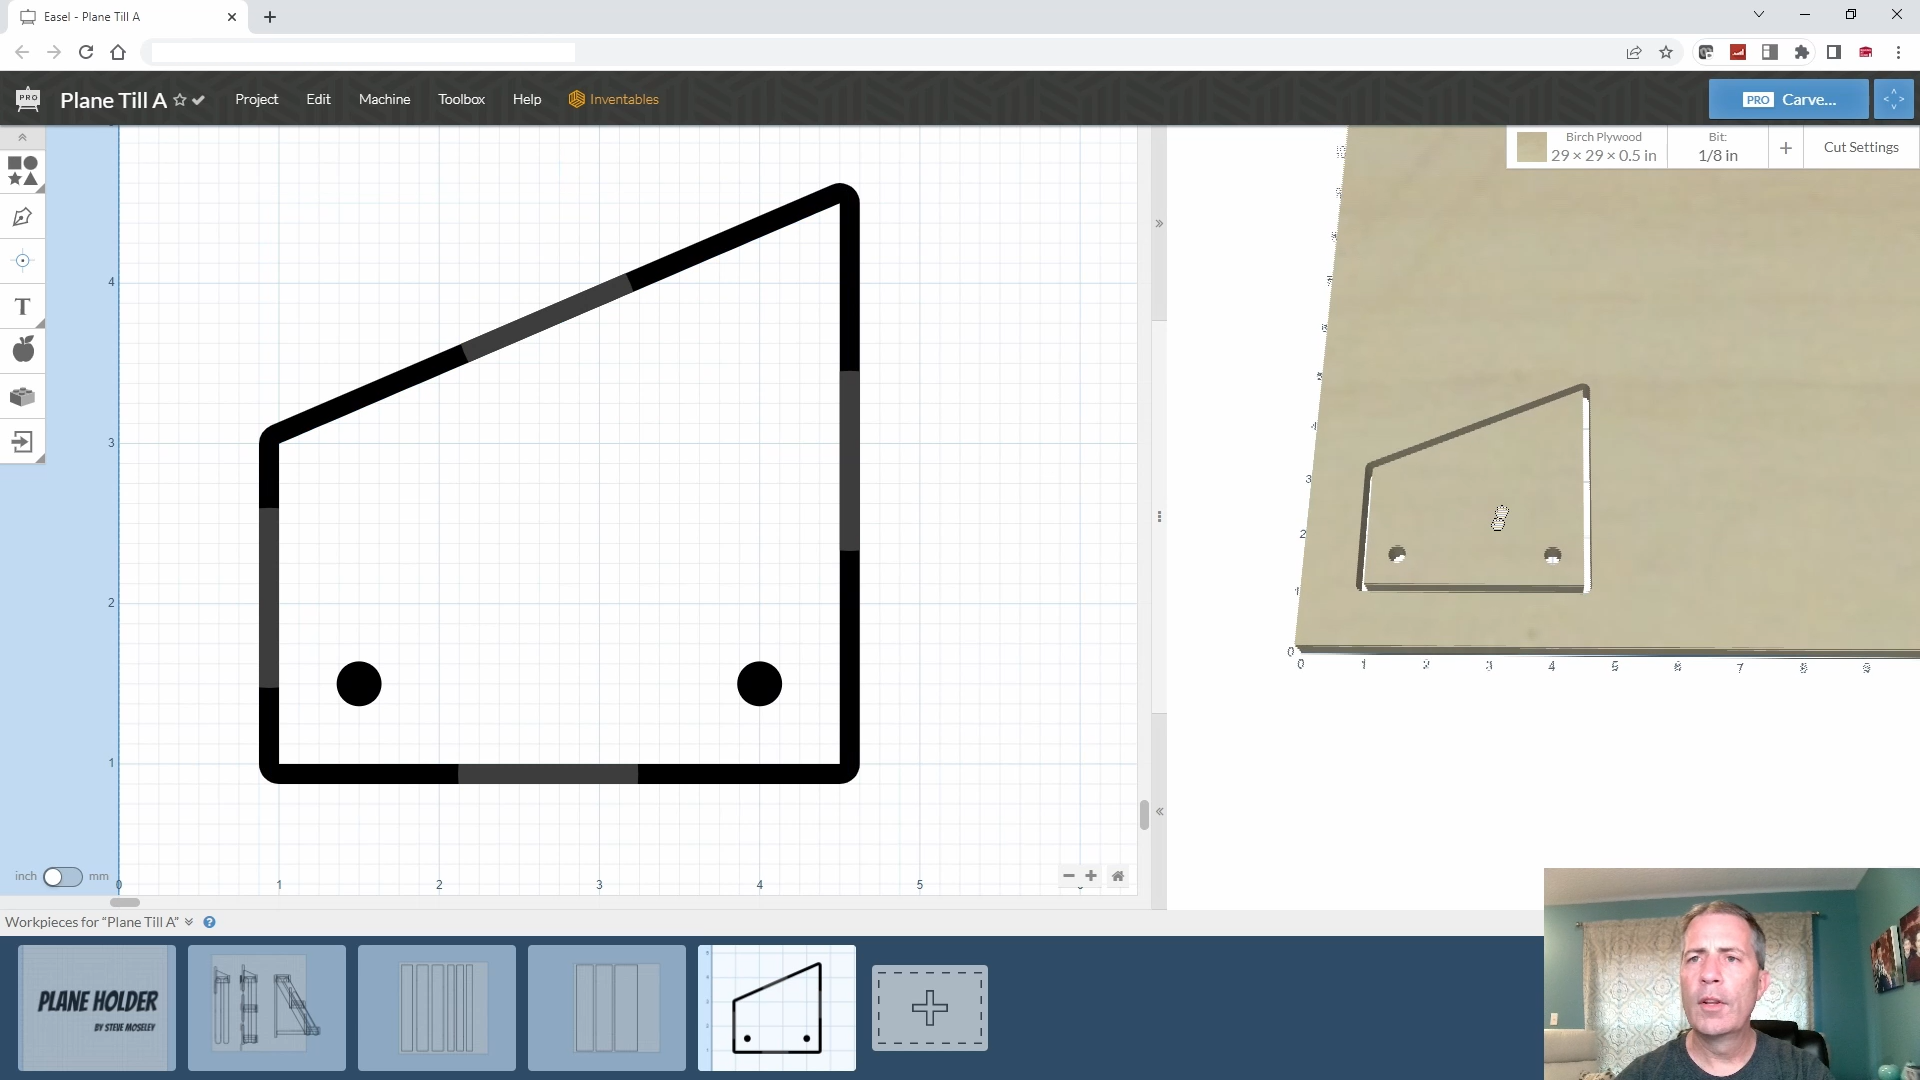
Shelf Sides
These are rectangles with the tops cut at an angle – 3.5" wide X 3.5" Tall x 0.5" thick
The back length on these is 3.5 inches.
The front length on these is 2 inches.
You need 6 of these.
You need two 1/4" diameter holes for the 1/4" bolts in each piece. The holes are 1/5" in from the sides and 1/2" up from the bottom.
Shelf Side Supports
These are simple rectangles.
The dimensions are 3.5" Wide X 1" Tall X 0.5" Thick
You need 3 of these.
You need two 1/4" diameter holes for the 1/4" bolts in each piece. The holes are 1/2" in from the sides and 1/2" up from the bottom. They match the holes from the Shelf Side pieces.
Shelf Hanging Arms
These are rounded rectangles with a 1/4" diameter hole at each end and in the middle. These are for the 1/4" bolts in each piece. The holes are 0.75" in from the sides and the ends. They match the holes from the Shelf Side pieces. One of the end holes and the middle hole should also include a counterbore of 0.625" diameter by 1/8" deep on one side of the piece. This will be the outside and will allow the bolt heads to recess into the side of the piece. The three hole locations should be spaced at 8" apart from center to center.
You need 6 cut at 1.5" Wide X 17" Long X 0.5" Thick.
You need 1 cut at 7.5" Wide X 28" Long X 0.5" Thick.
Shelf Support Arms
These are the two supports that allow the plane holder shelves to stay out away from the wall.
These start out as rounded rectangles that are 1" Wide X 12.5" Long X 0.5" Thick.
You need 2 of these pieces.
These have 1/4" diameter holes cut into them at 0.5" from one end. A notch is cut into the piece 2.5" from the hole to allow the arm to rest on a 1/2" diameter spacer on the rear bolt on the Shelf Hanging Arms.
That is as much as I am going to try to describe through a text description. It is easiest to watch the video to see how these pieces are designed.


180 minutes
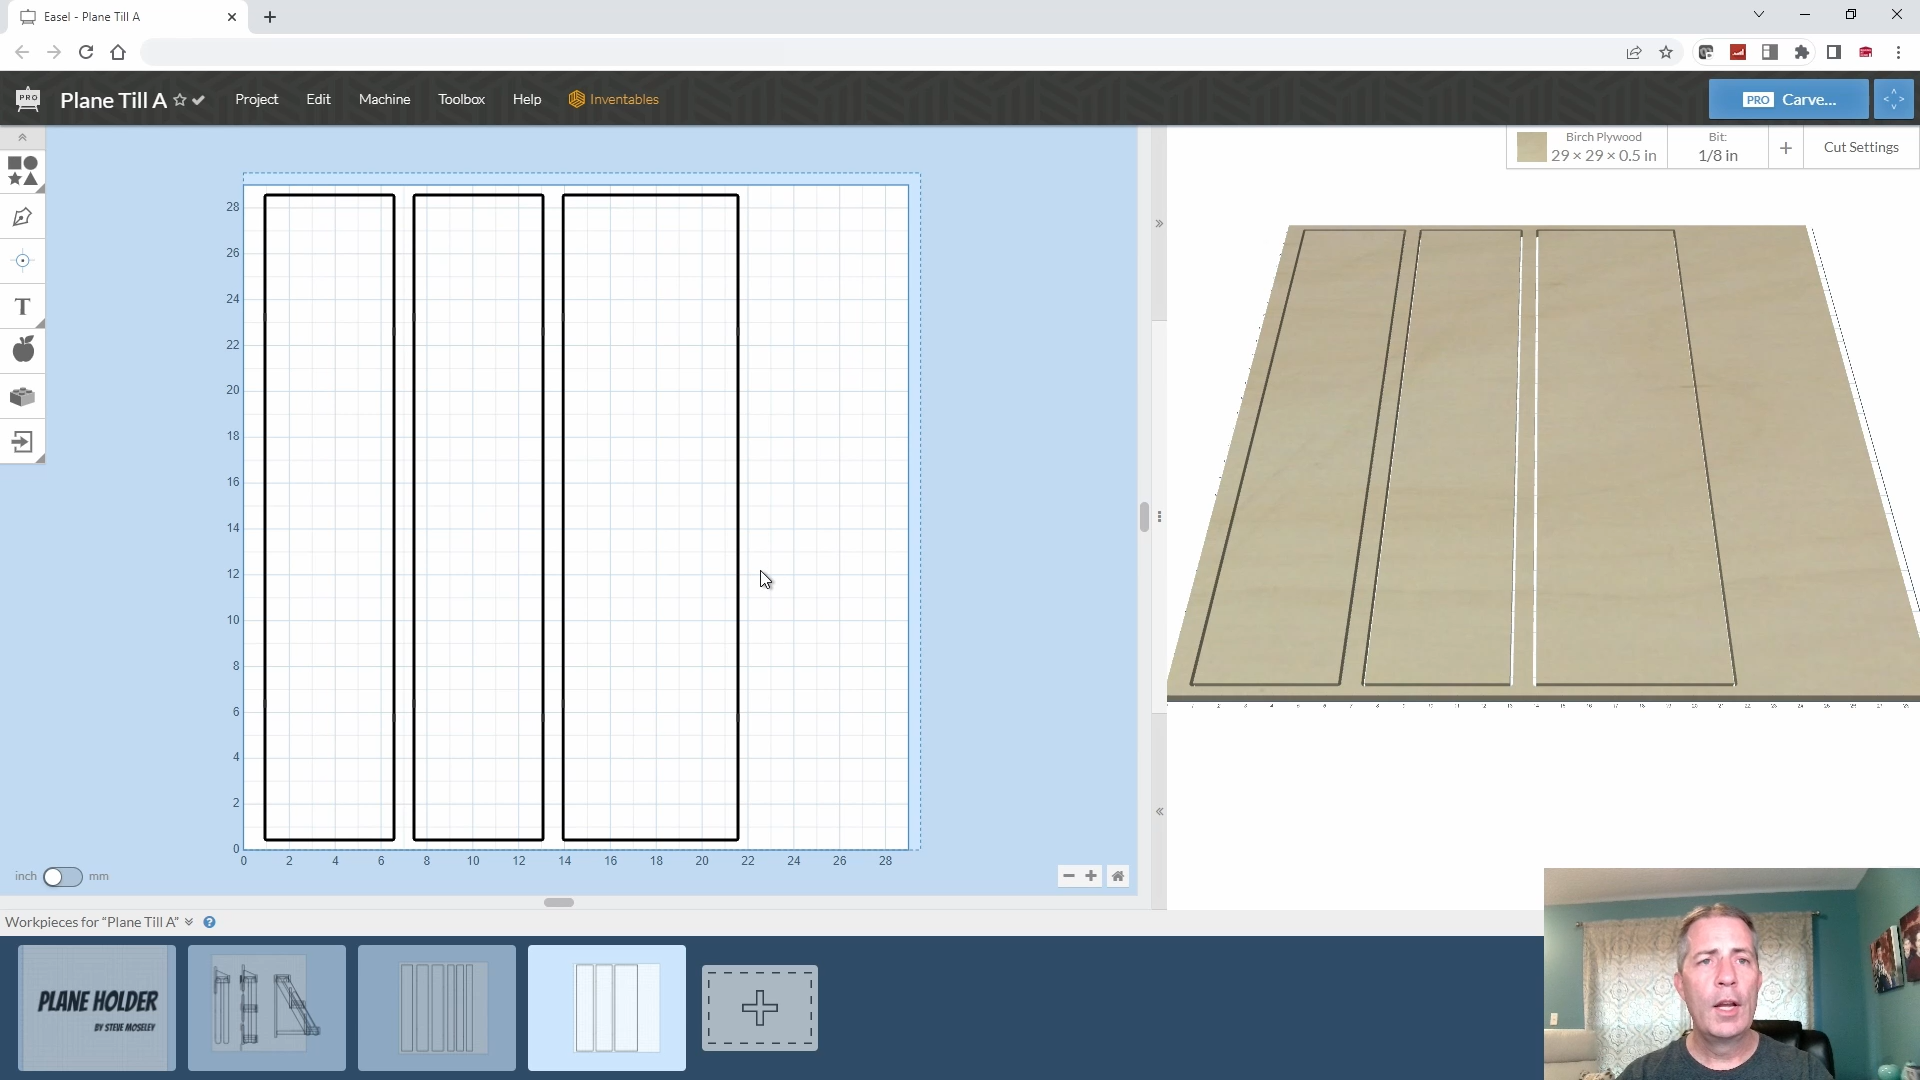
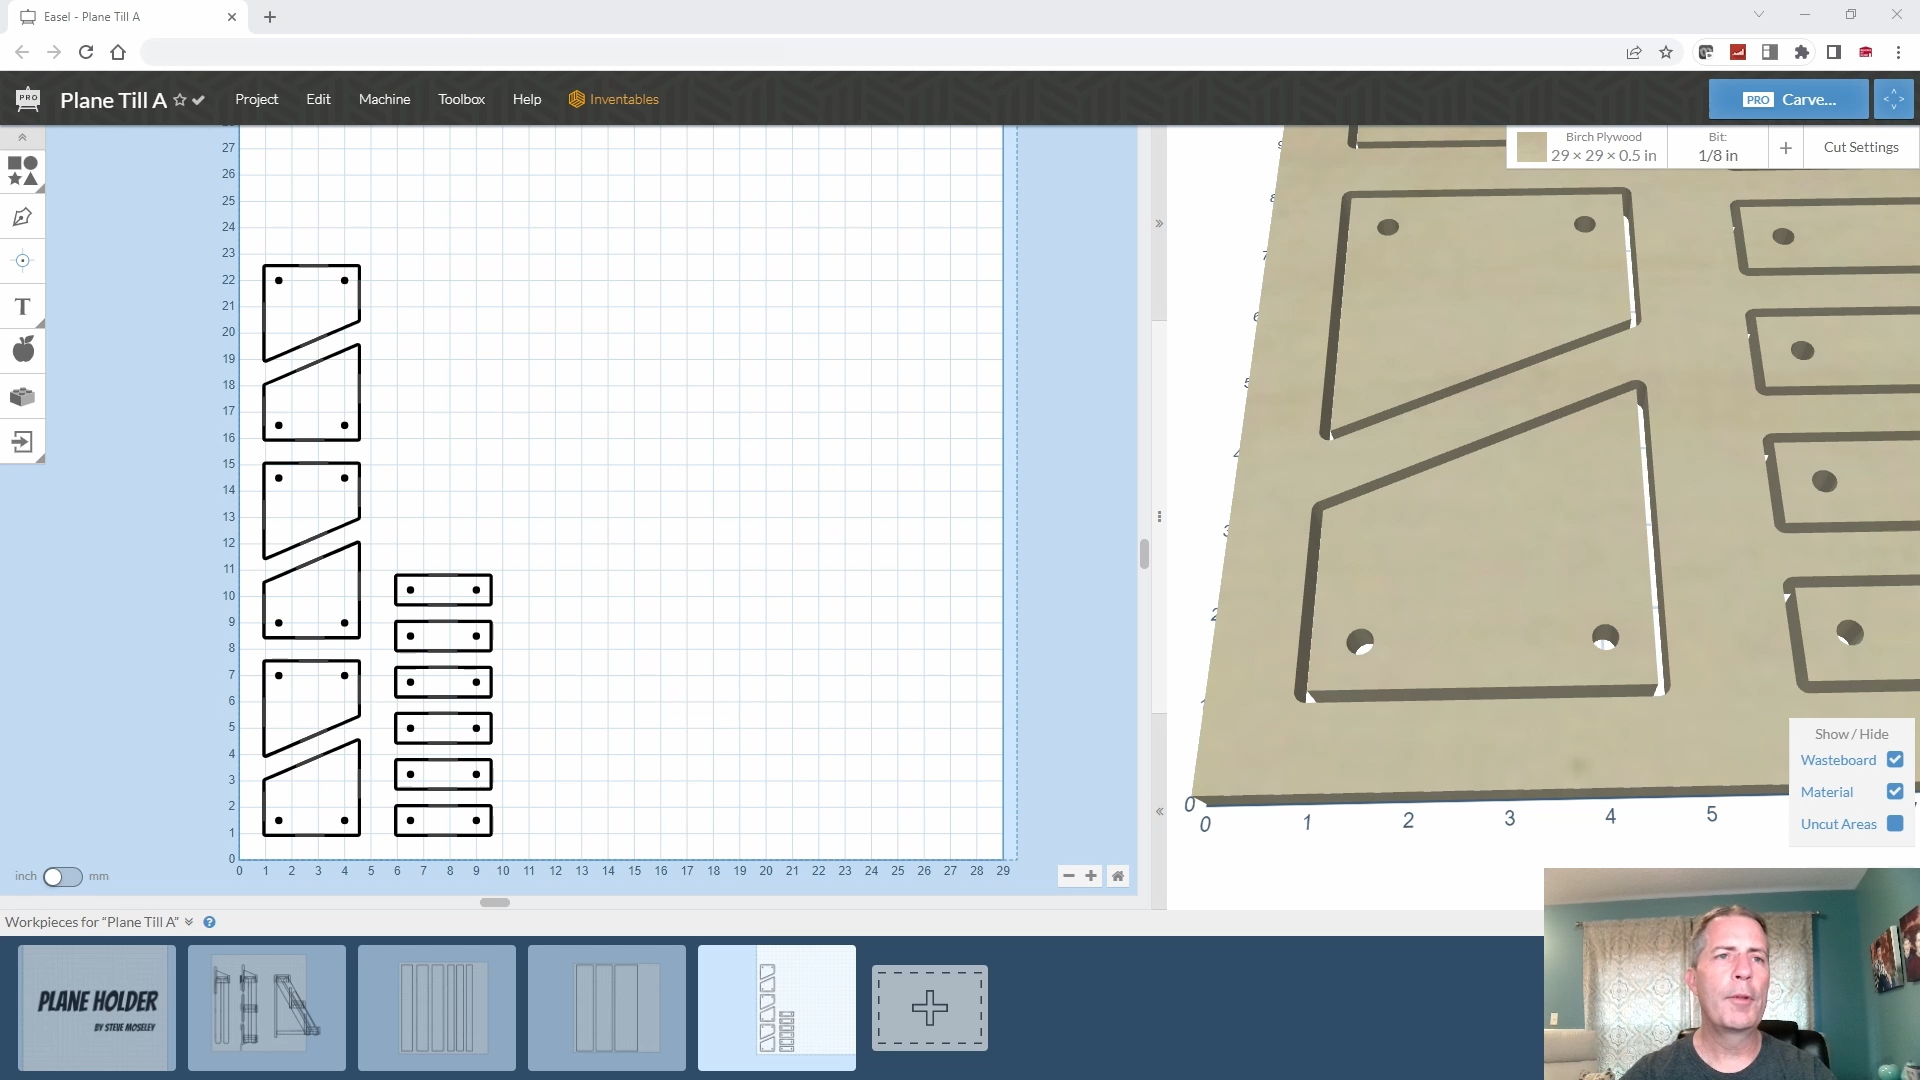
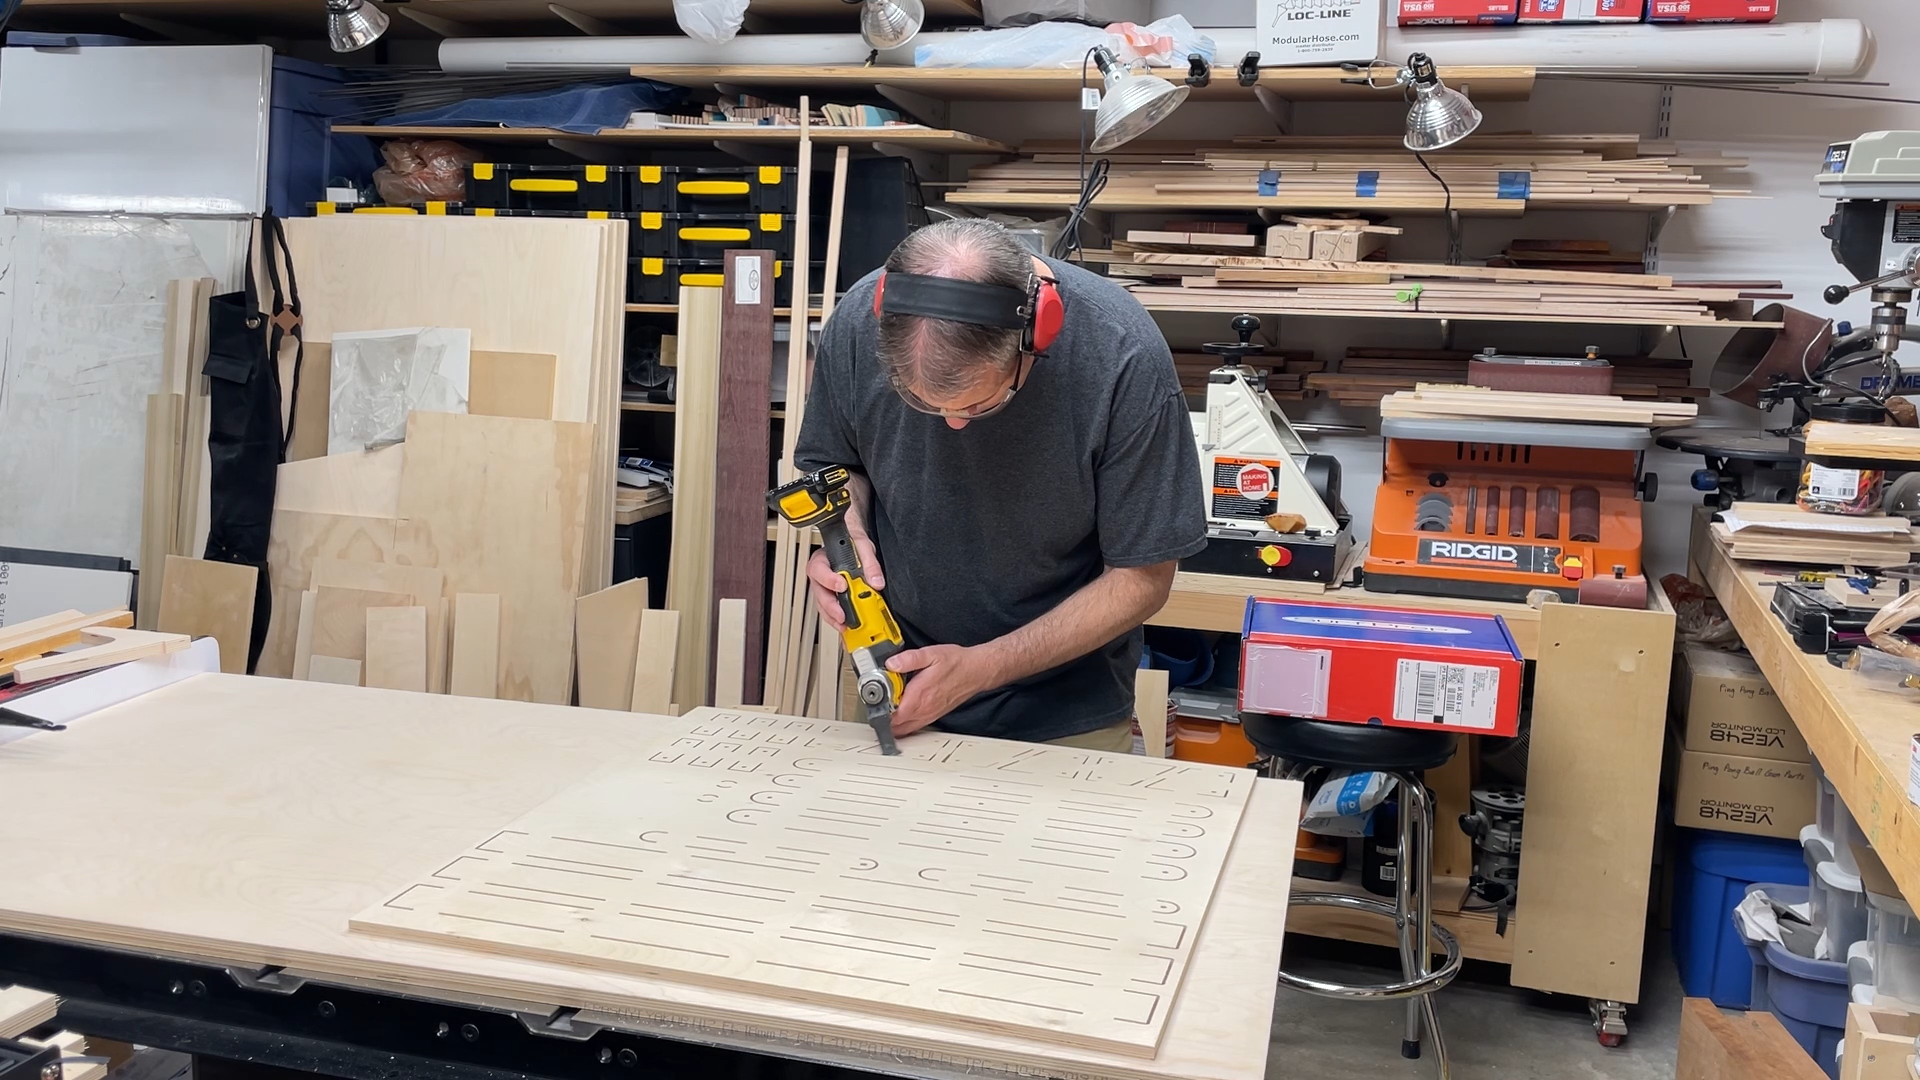
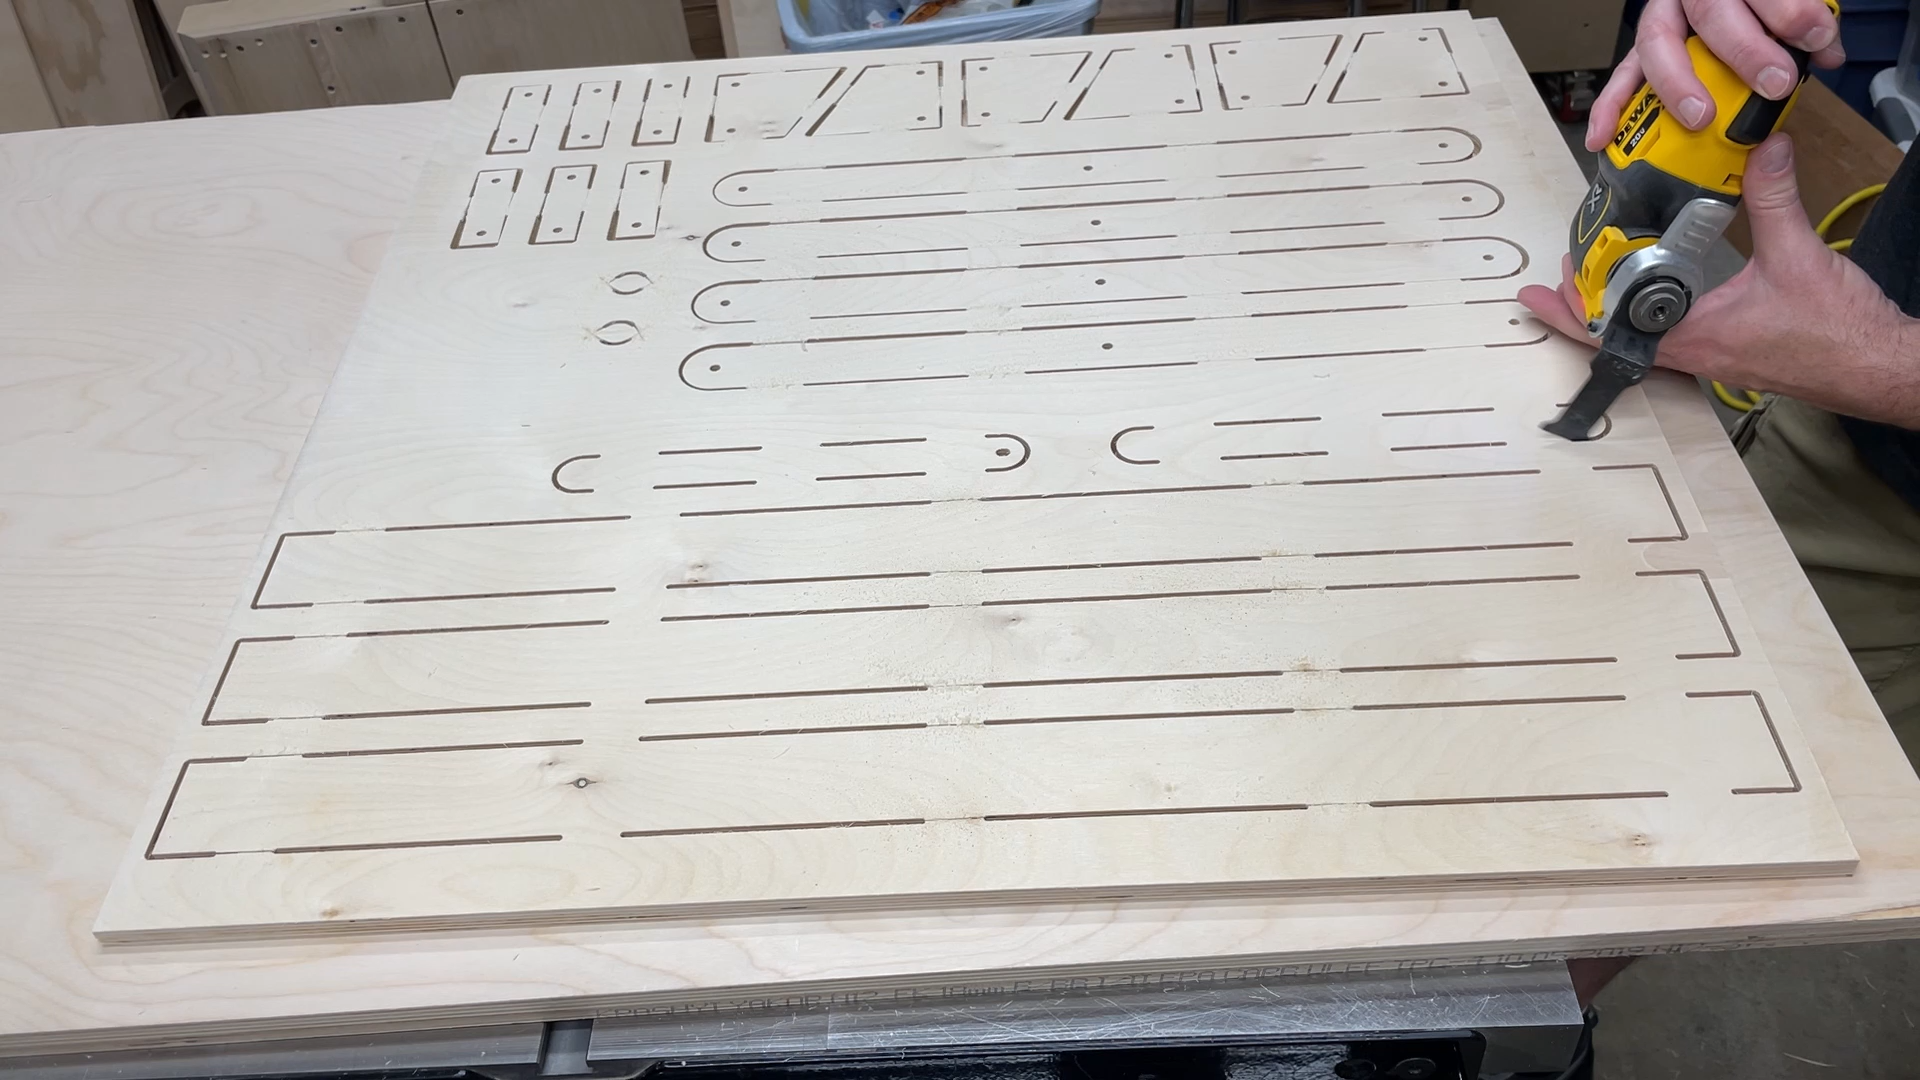
I used double-sided CNC woodworking tape to hold down the plywood on the CNC so I can cut these parts. I did use tabs on most of the parts to hold them in position since the parts are cut all the way through the thickness of the material.
Just make sure you place the tape where you will not be cutting as it will gum up router bit if you carve through it.
These cuts are very straight forward and are all made with 1/2" thick plywood..
The shelf fronts, backs, and bottoms are all cut using a 1/4" diameter spiral downcutting bit.
The other pieces are cut using a 1/8" diameter fishtail spiral downcut bit.
The Easel file you can download does use tabs to hold the pieces in place. These can be removed after cutting with a flush trim bit on a router.
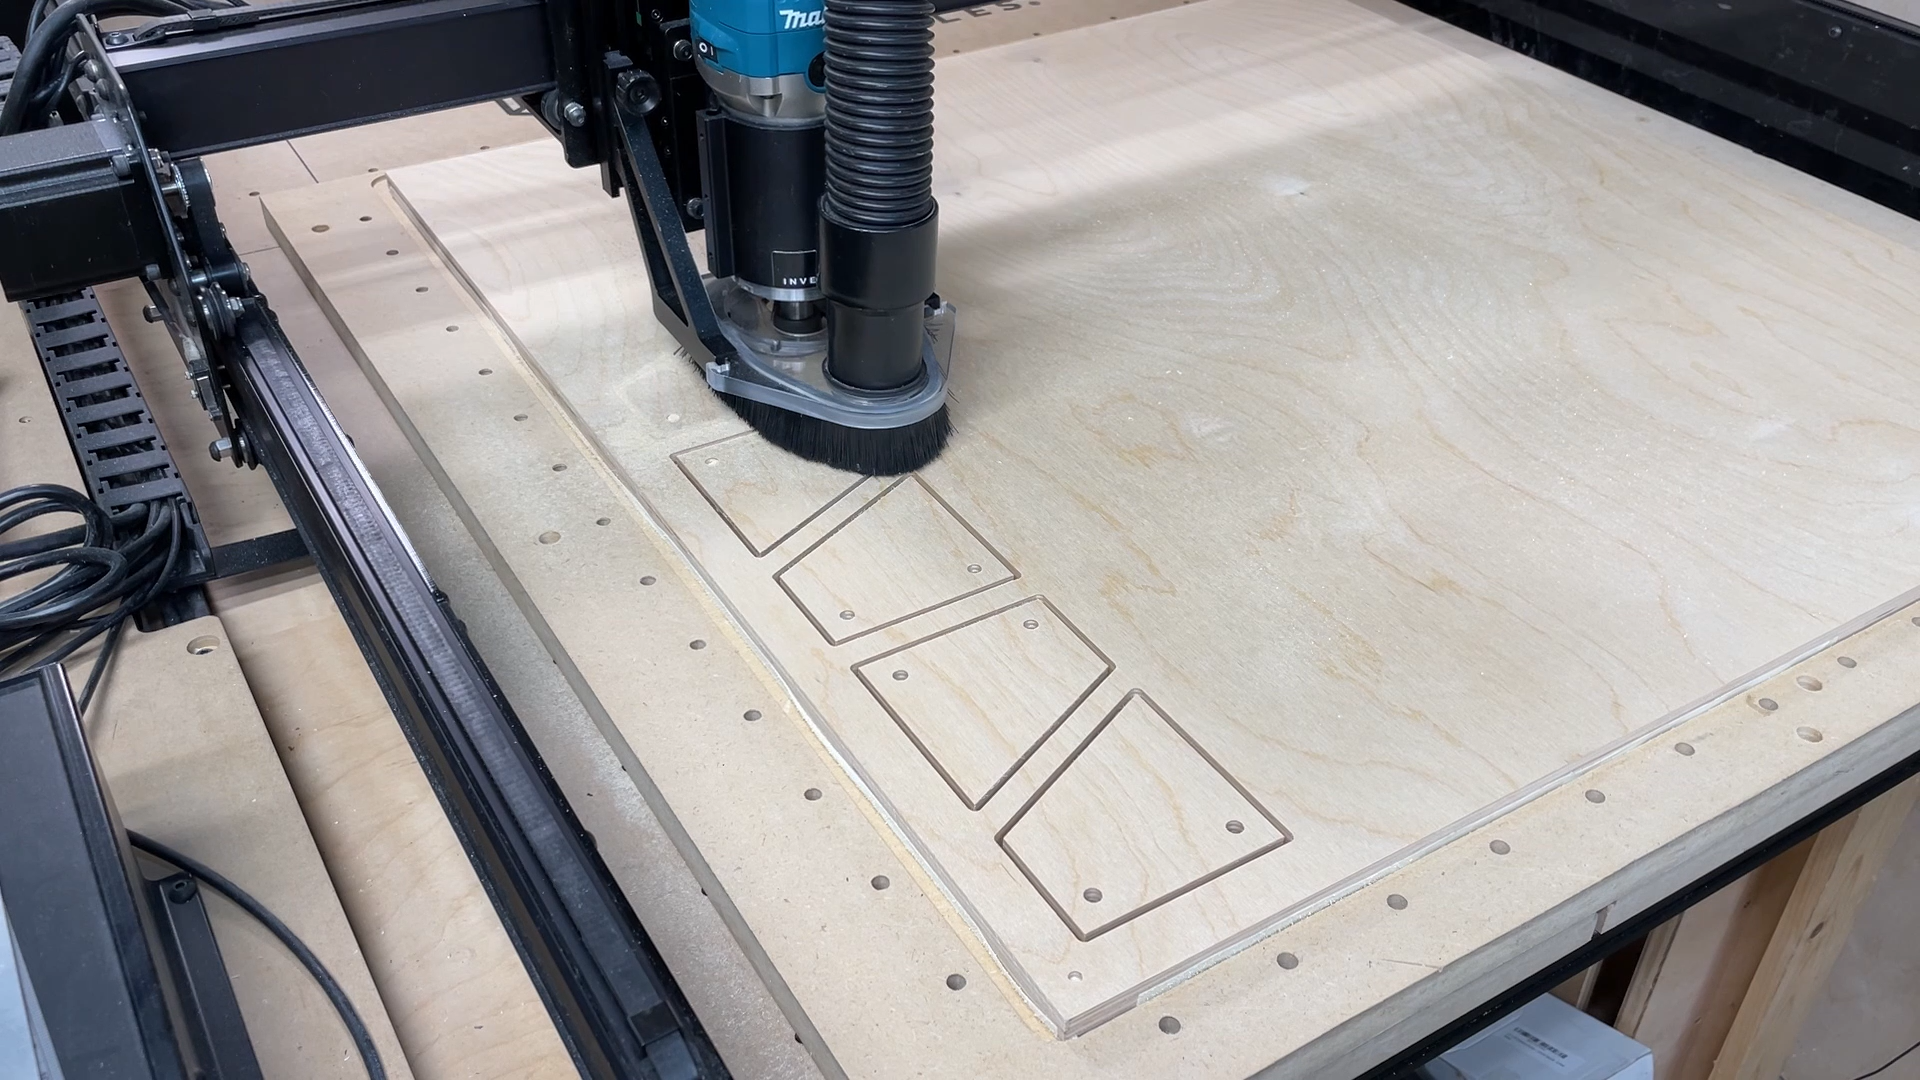

60 minutes
After cutting the shapes on the CNC and before I cut the tabs holding the pieces in place I used an oscillating tools to slice through all of the tabs. I then used a flush trim router bit with guide bearing to remove the remainder of the tabs.
After removing the tabs I then sanded all of the sides of the pieces up to 180 grit sandpaper.

60 minutes
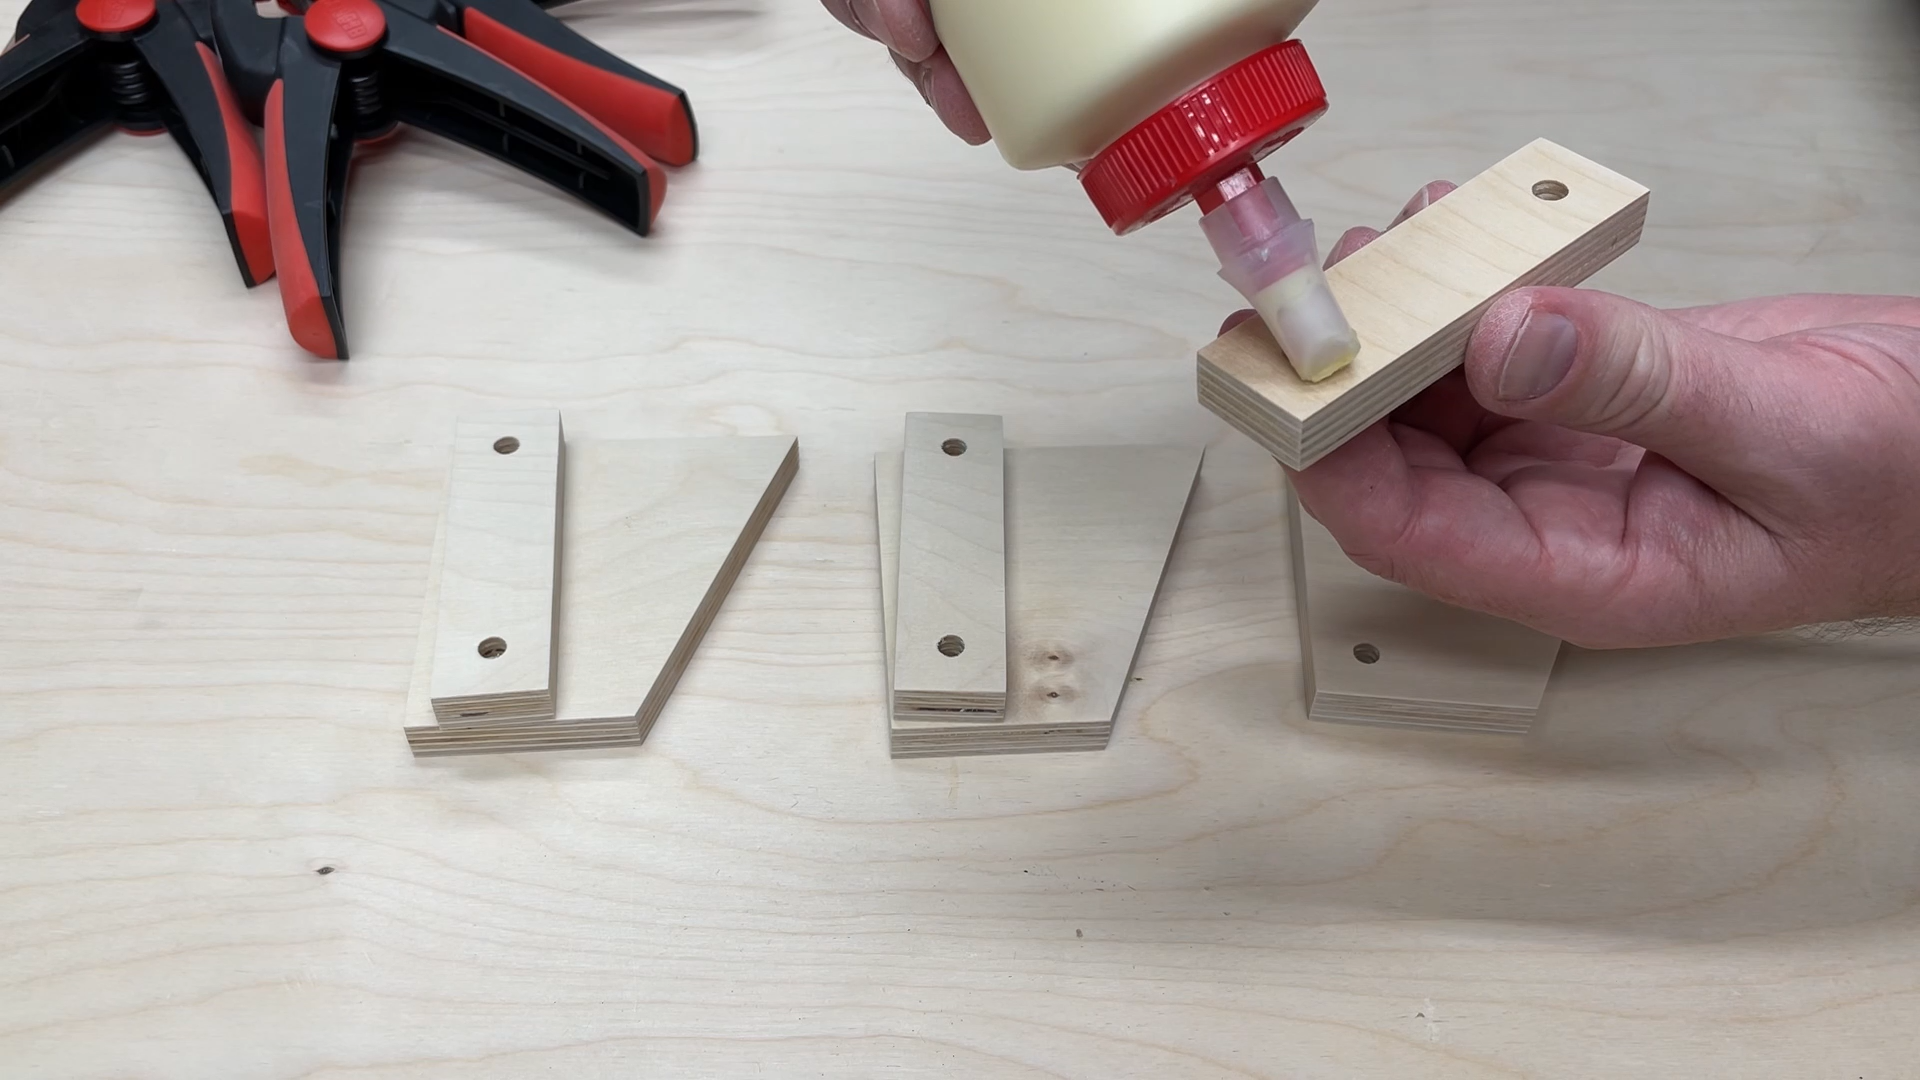
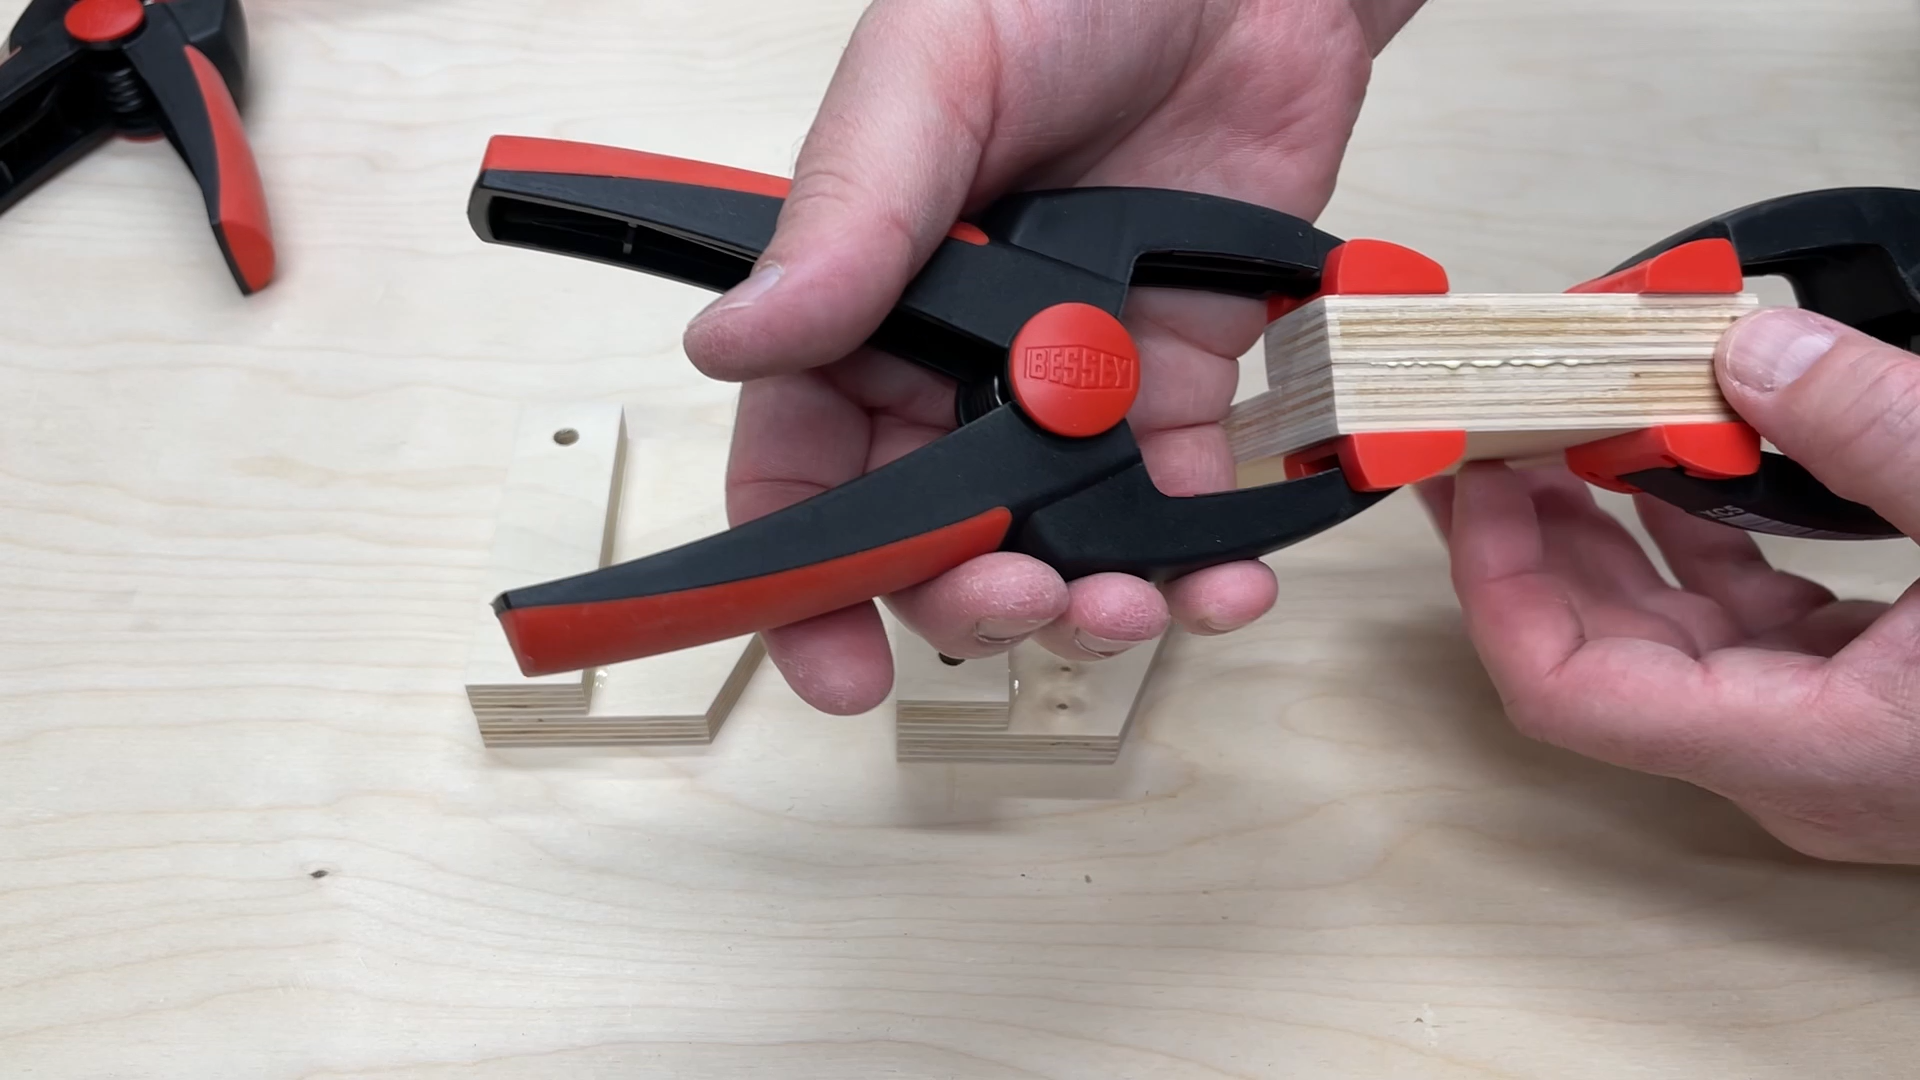
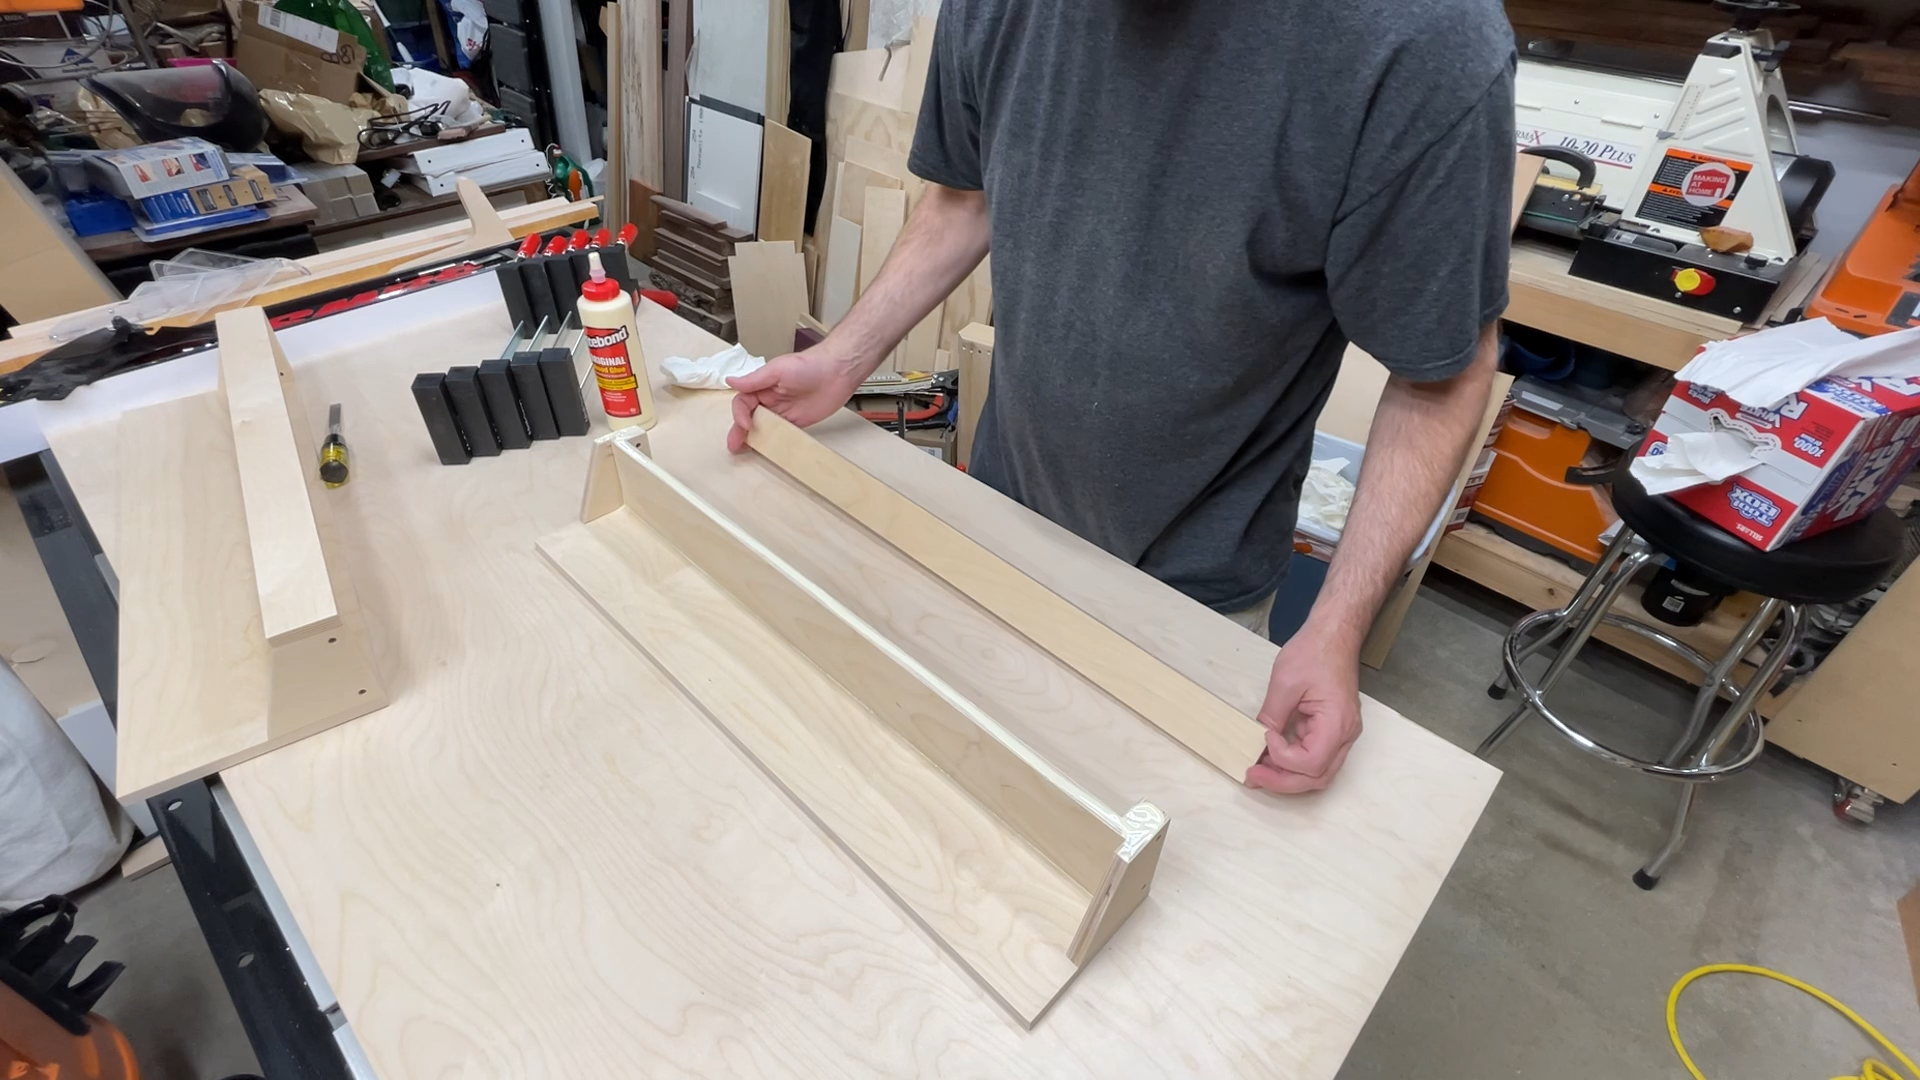
I started by gluing the side pieces together. These are the Shelf Sides and the Shelf Side Supports listed in the descriptions above. Make sure you glue these together in pairs so you have three in each diection.
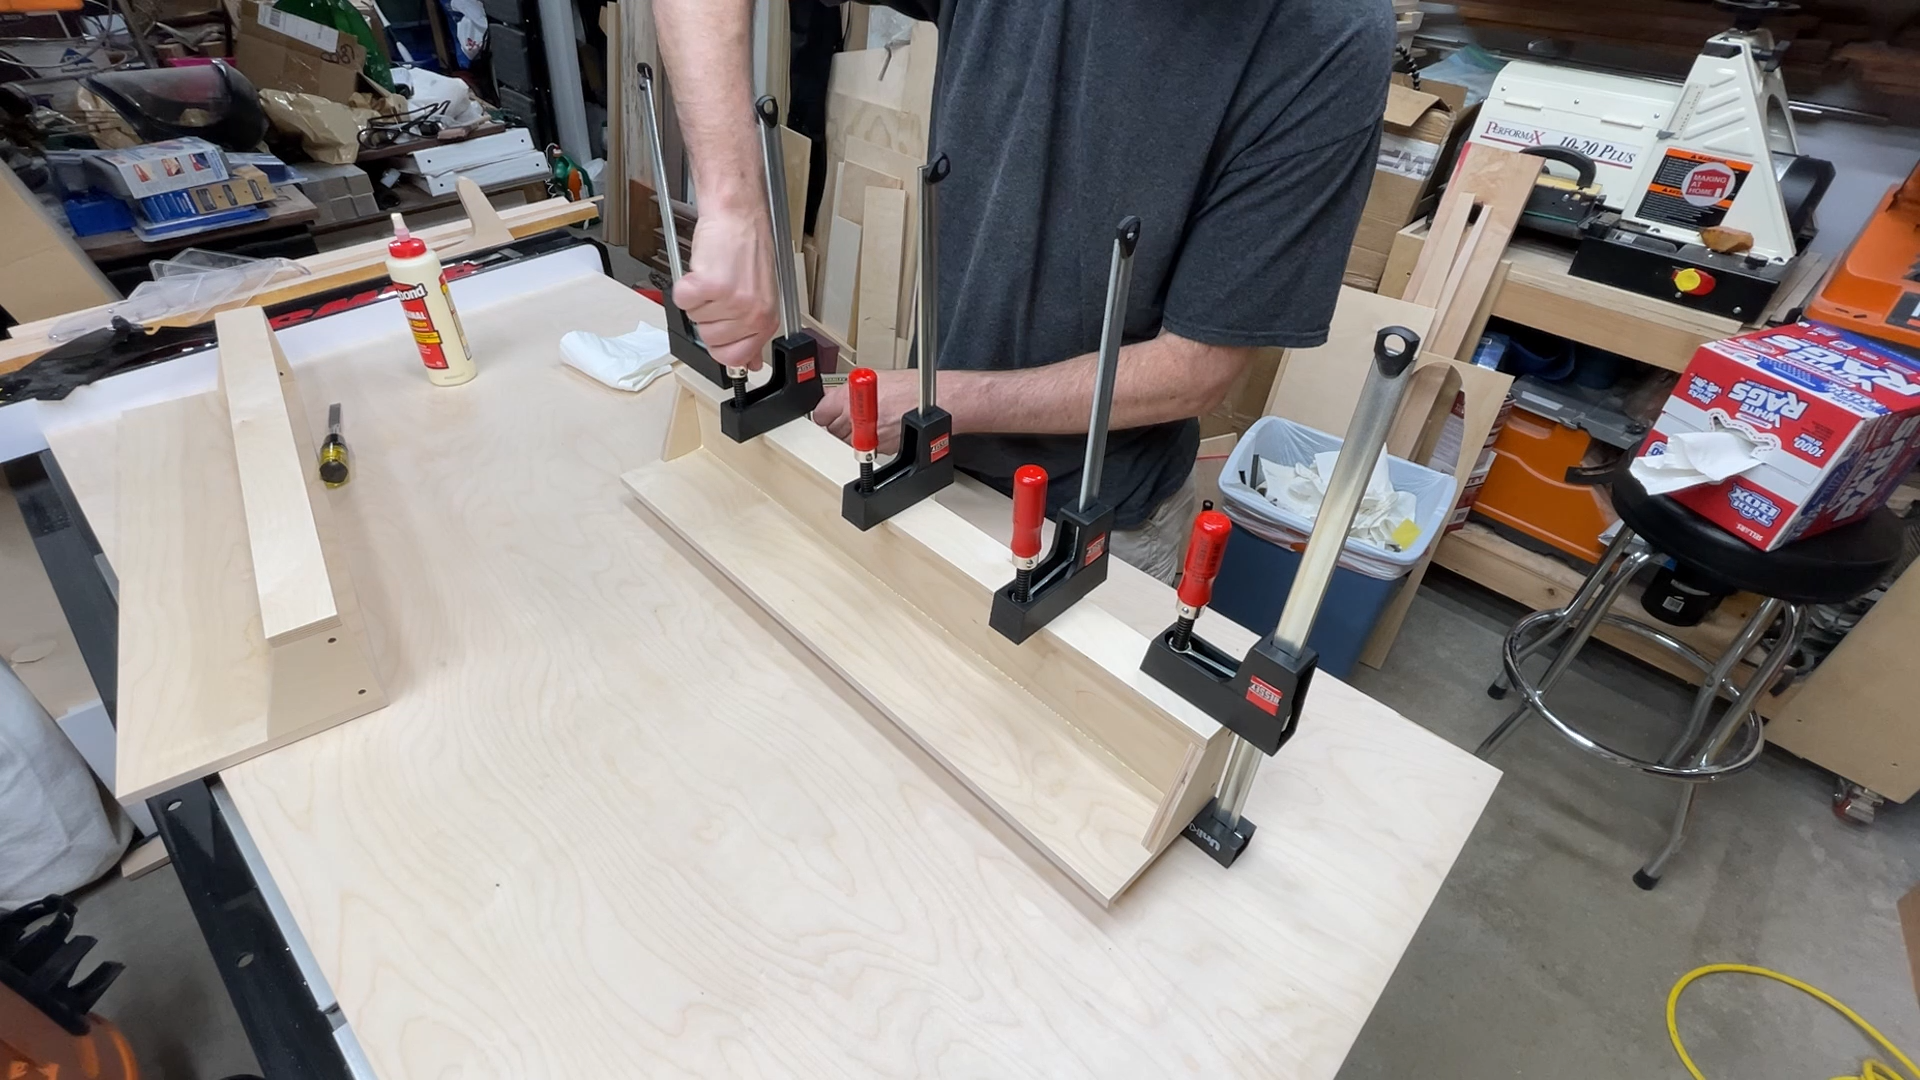
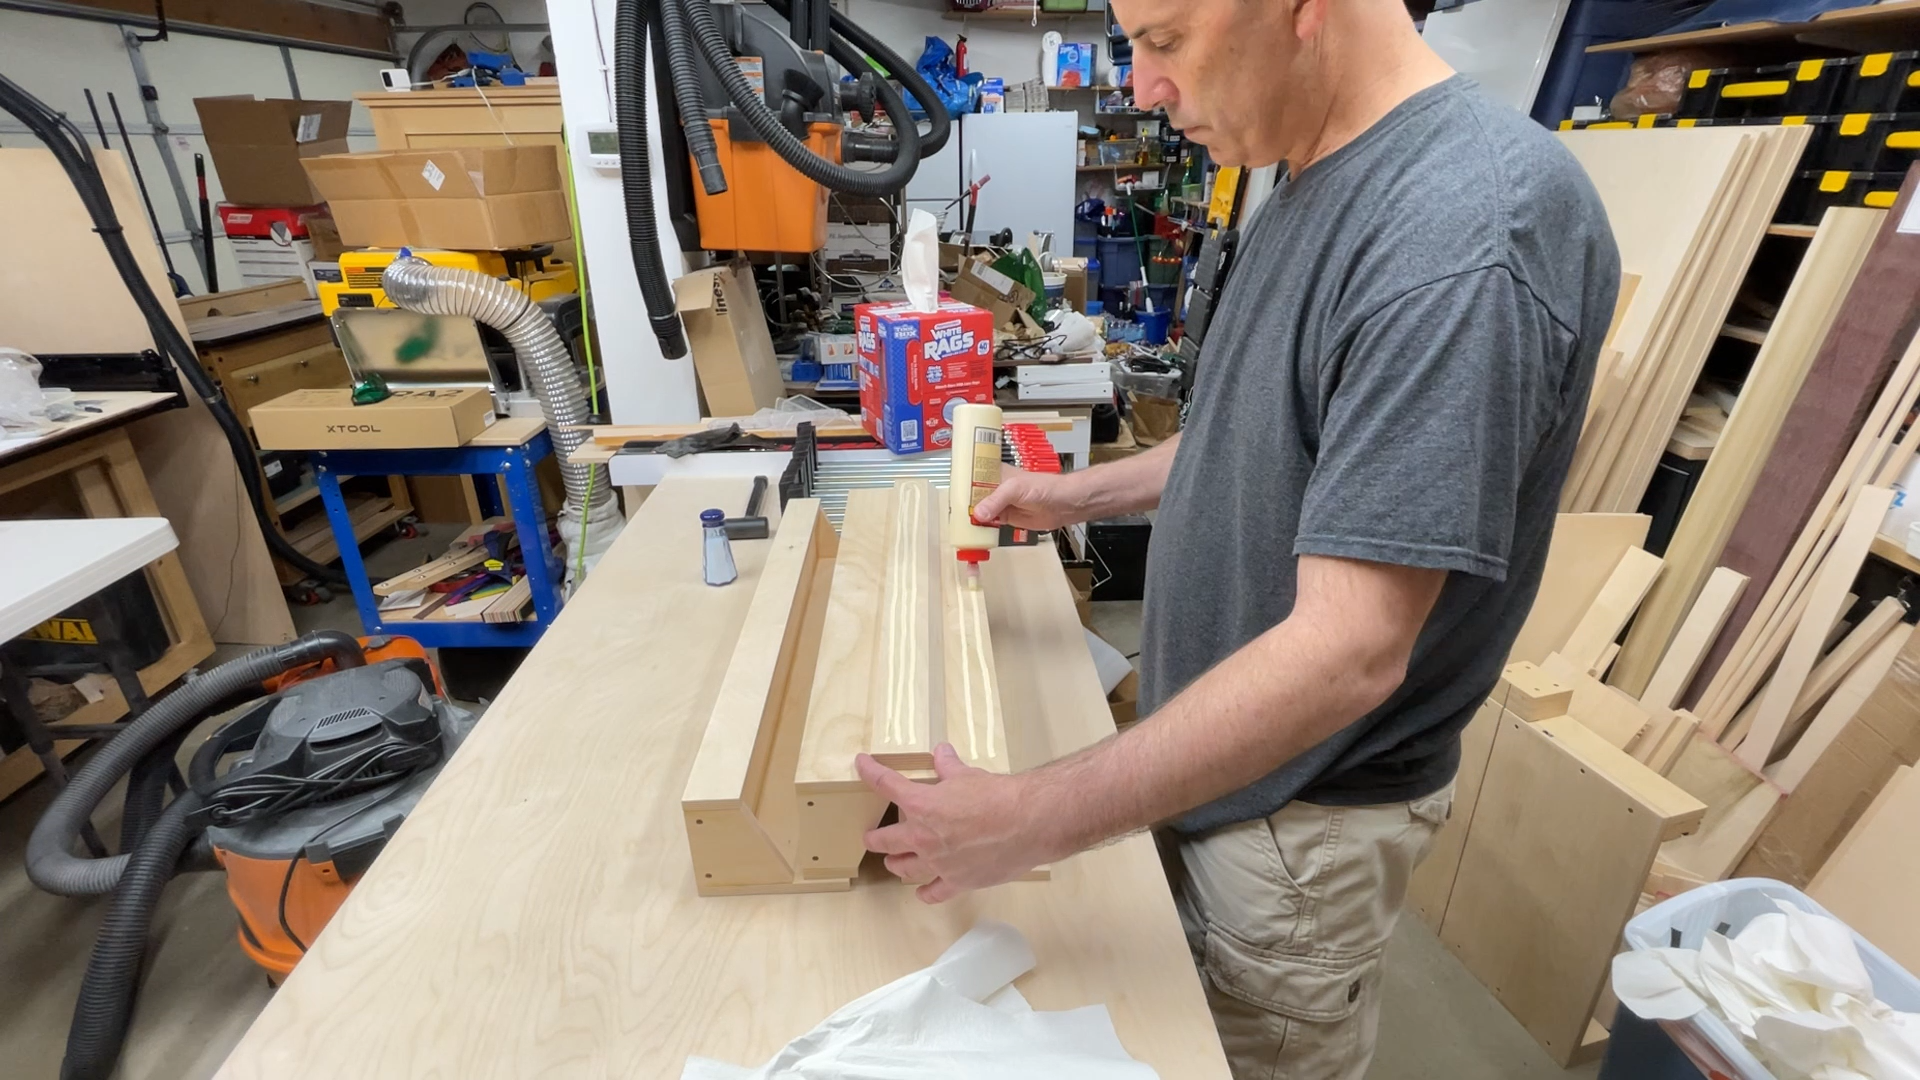
Next I glued the entire shelf assemblies together one at a time.
Lastly I glued the cleat on the top of the largest shelf back piece. Make sure you glue it on in the right direction. I have caught myself coming close to gluing them on upside down before.


30 minutes
I cut out some 1/8" thick spacer pieces a little narrower than the inside width of the shelf opening so I can place one of these pieces at the front and back ends of the planes so the planes are not resting directly on the plane blades.


120 minutes
I sanded all of the pieces to 180 grit and then added two coats of General Finishes water based topcoat High Performance satin finish with a light sanding between coats.
I like to use this finish on shop projects as it allows me to touch things up easily if needed.
I did add the finish to the spacer pieces mentioned in the previous step.
I used 1/4-20 bolts that are 2-1/2" long and have a hex socket button head. I like the way these look. You can certainly use regular 1/4-20 bolts with a hex head if that is what you have on hand.
You really only need the 2-1/2" long bolts for the lower shelf bolts. The bolts for the two upper shelves can be shorter, but if they are all 1-1/2" long then you just have a little extra thread on the underside of the shelves and you will never see the extra bolt length.

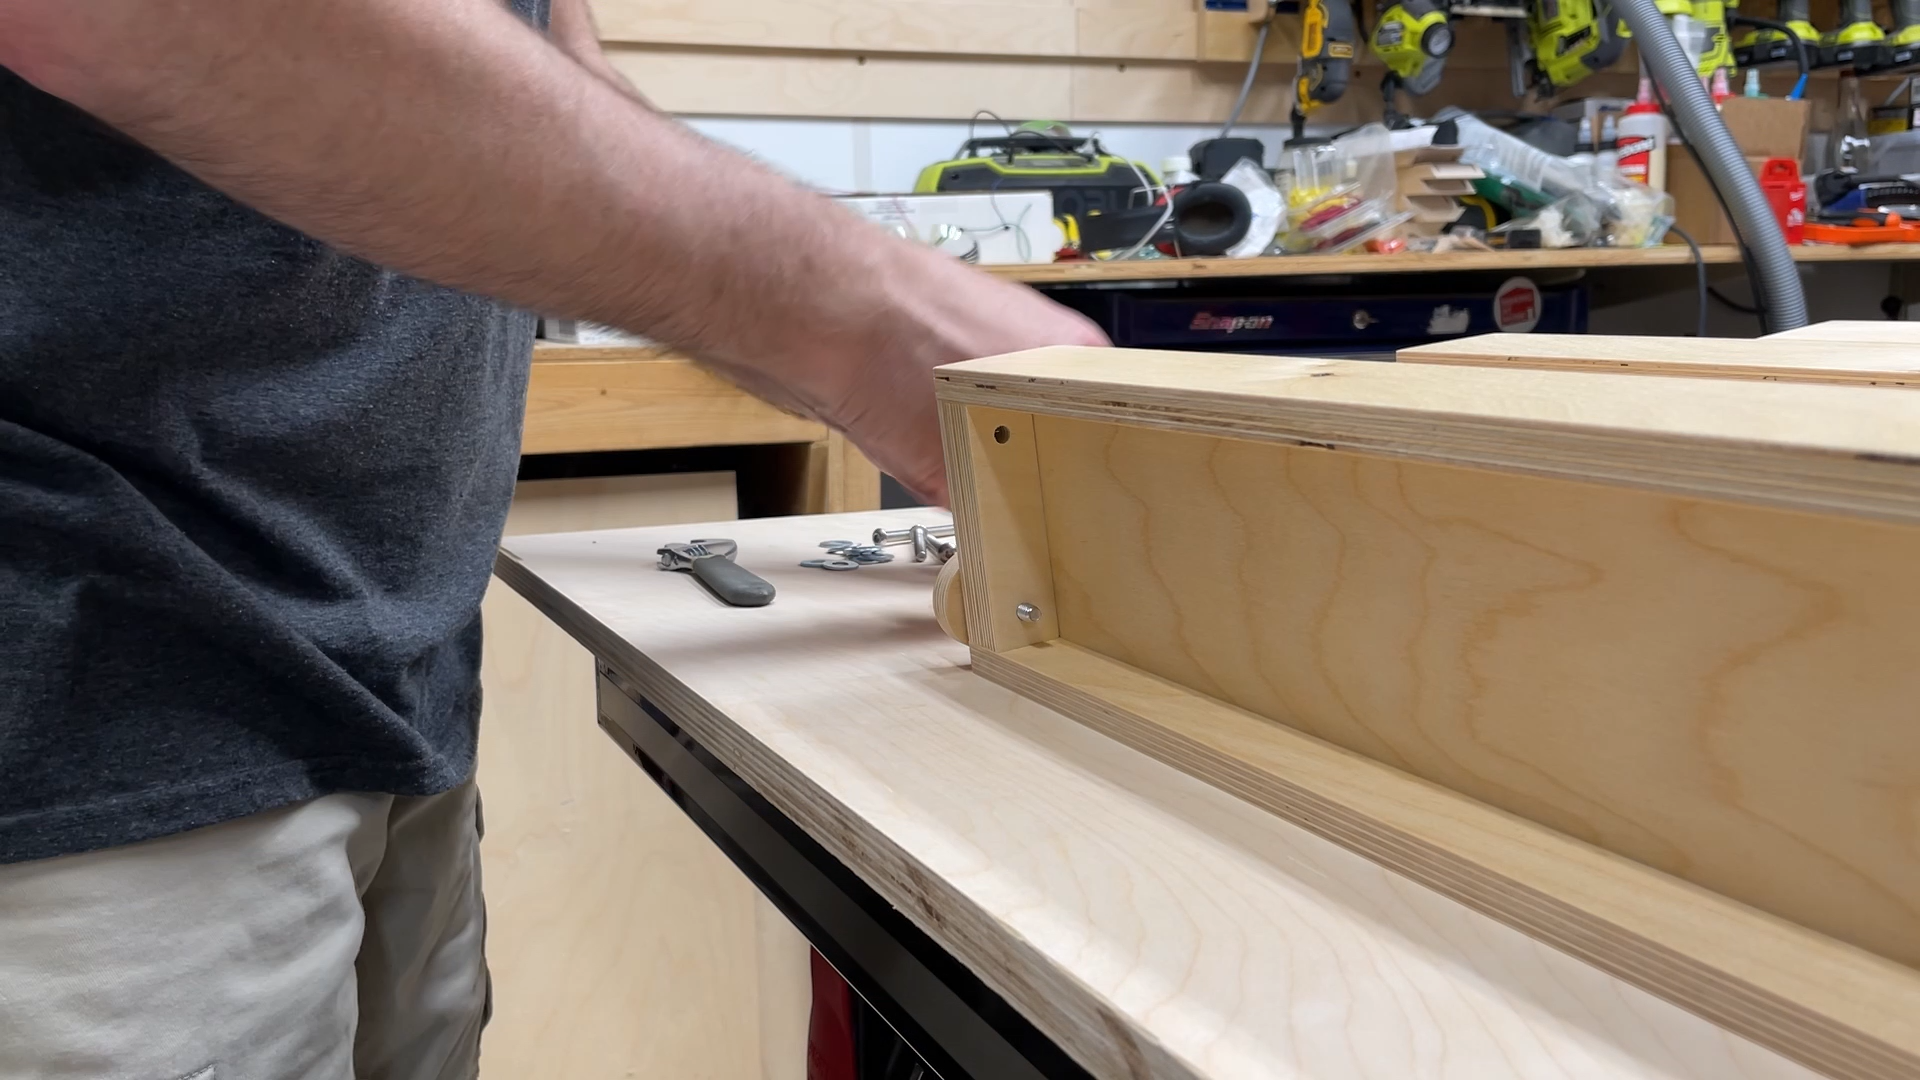


5 minutes
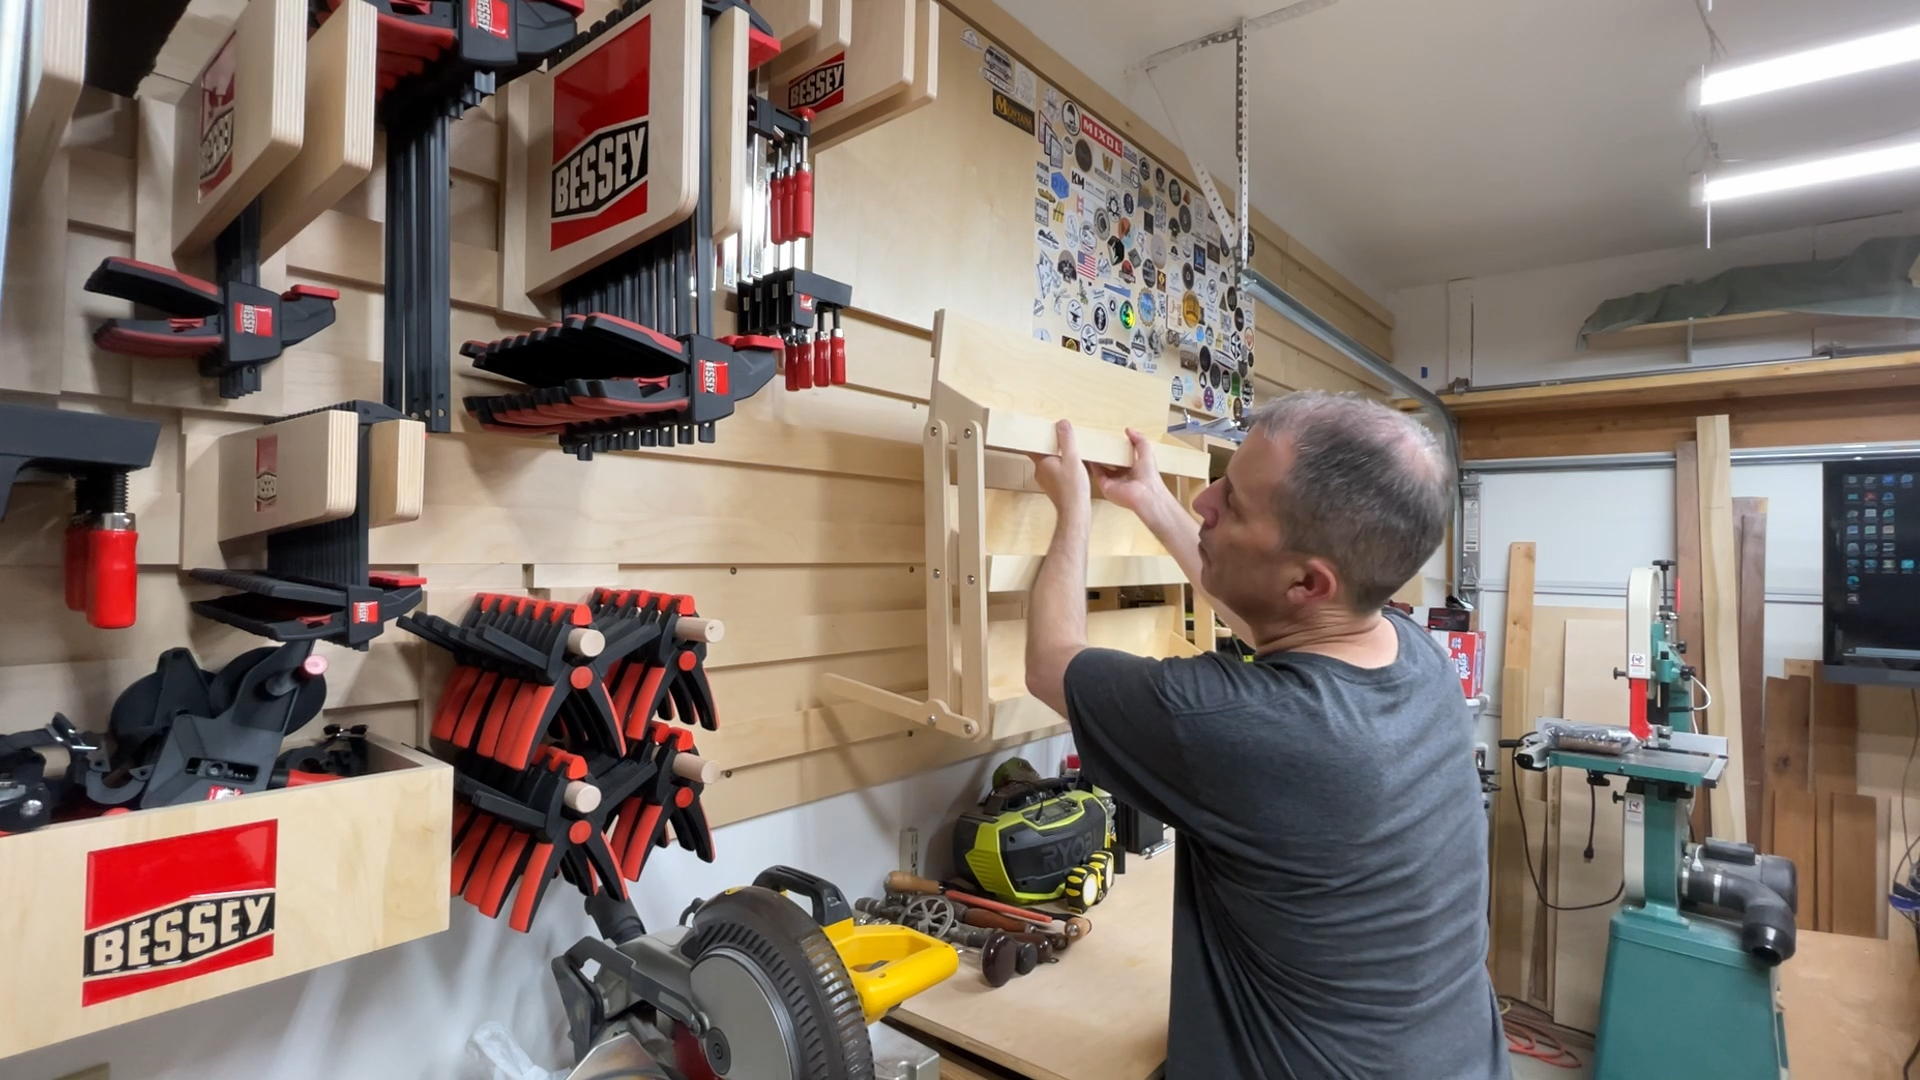
Once all of the parts are bolted together you should be able to hang the entire assembly on your cleat wall. If you don’t have a cleat wall you can screw it to the wall using the larger backer piece of the top shelf.

1 minute
I love how this hand plane holder turned out. I like how I can pull the bottom shelf out and the shelves reorient themselves into a step pattern. This makes it easier to take things off of the bottom two shelves. Then when you are done you can quickly put this back up against the wall and the work area below the shelves is fully accessible.
If you have any ideas on how to make this better then please let me know as I am always looking for suggestions on how to improve on my projects.
Download the Easel copy of this file now.
Please let me know if you build one of these as I would love to see it!