Email Support | Mon - Fri: 9am - 5pm Sun: 12pm - 4pm CT | Call Support: 312-775-7009

Which X-Carve is Right for You? Learn More.

Grinch Laptop Sticker

Elizabeth Tadie

Project by

Elizabeth Tadie

General Information

How to create your own vinyl laptop sticker from a drawing!

Like this project
Material Description Price
Black Adhesive Vinyl

Black Adhesive Vinyl

Dimensions: 12 in × 6 ft, Type: Adhesive vinyl roll, Color: Black, Material: Vinyl

Transfer Paper

Transfer Paper

Scraper Tool

$2.99

This project's Bill of Materials is not complete.

$2.99
from Inventables

File Description Unit Price

grinch_paths.studio

Final .studio file for the vinyl cutter

$0

Download Zip

$0
from Inventables

1

Draw your design by hand

Note on the materials listed: You can get many, many stickers out of the six foot roll of vinyl. Also, the transfer paper is reusable several times.

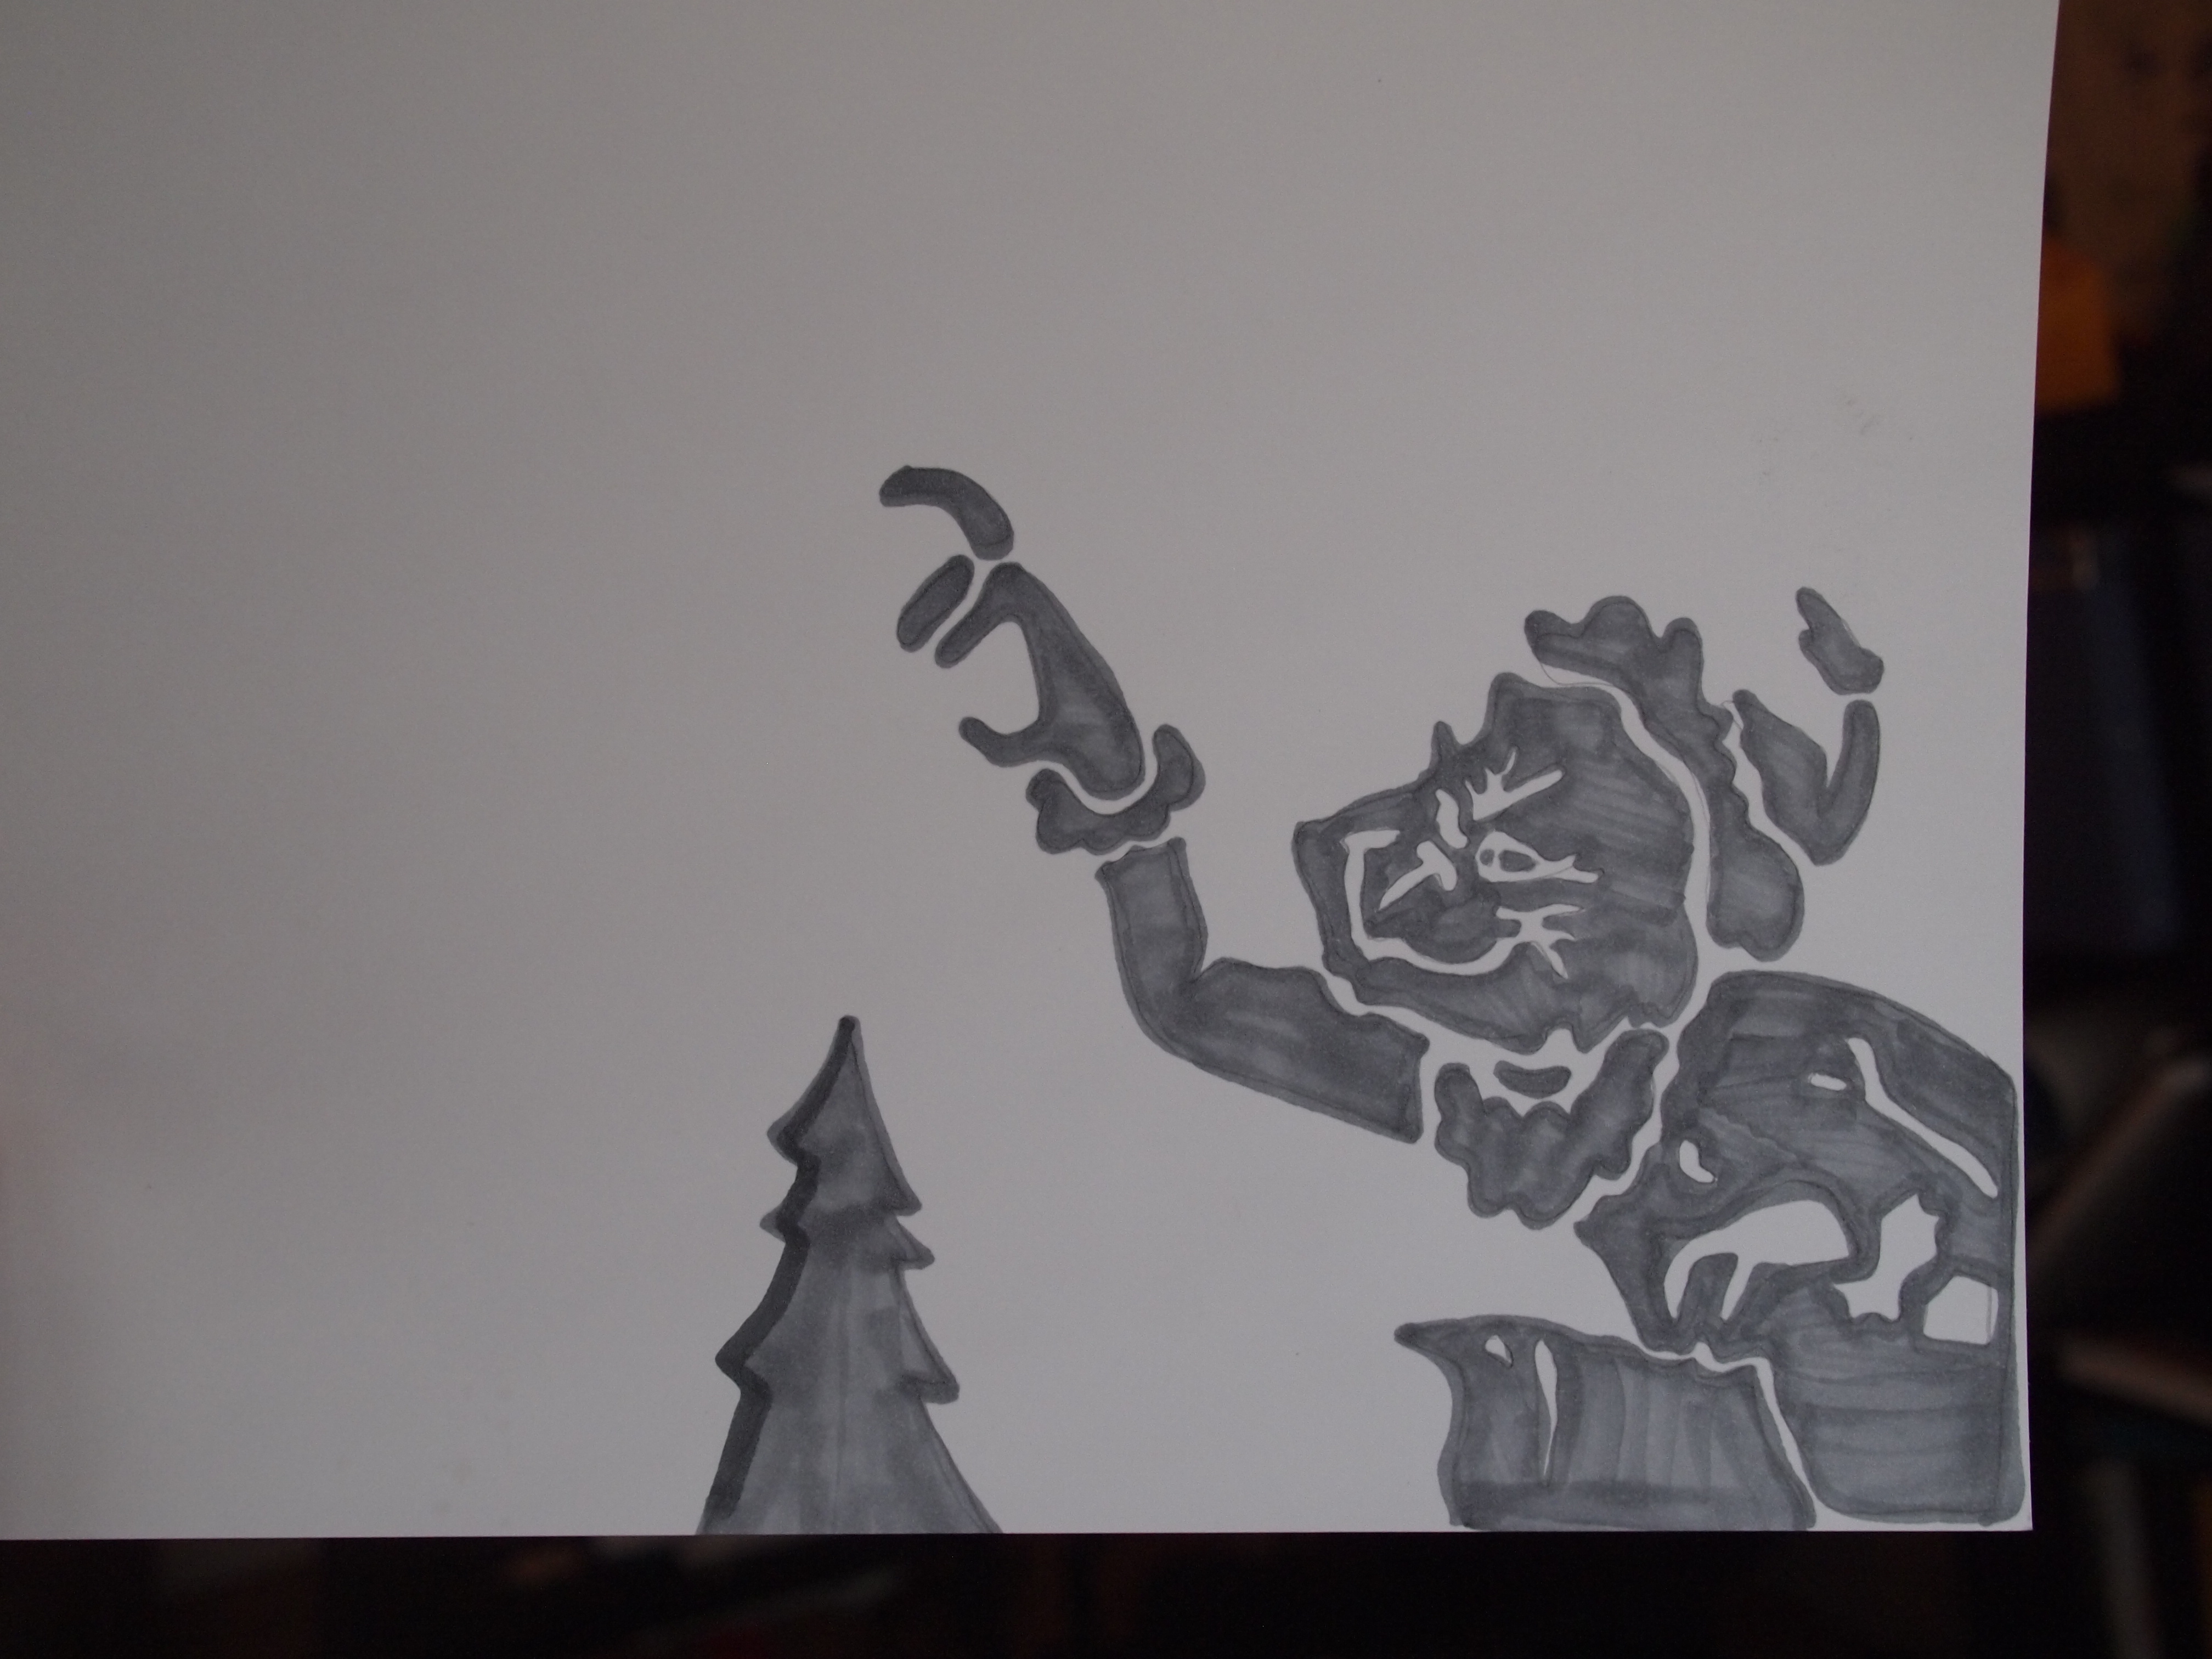
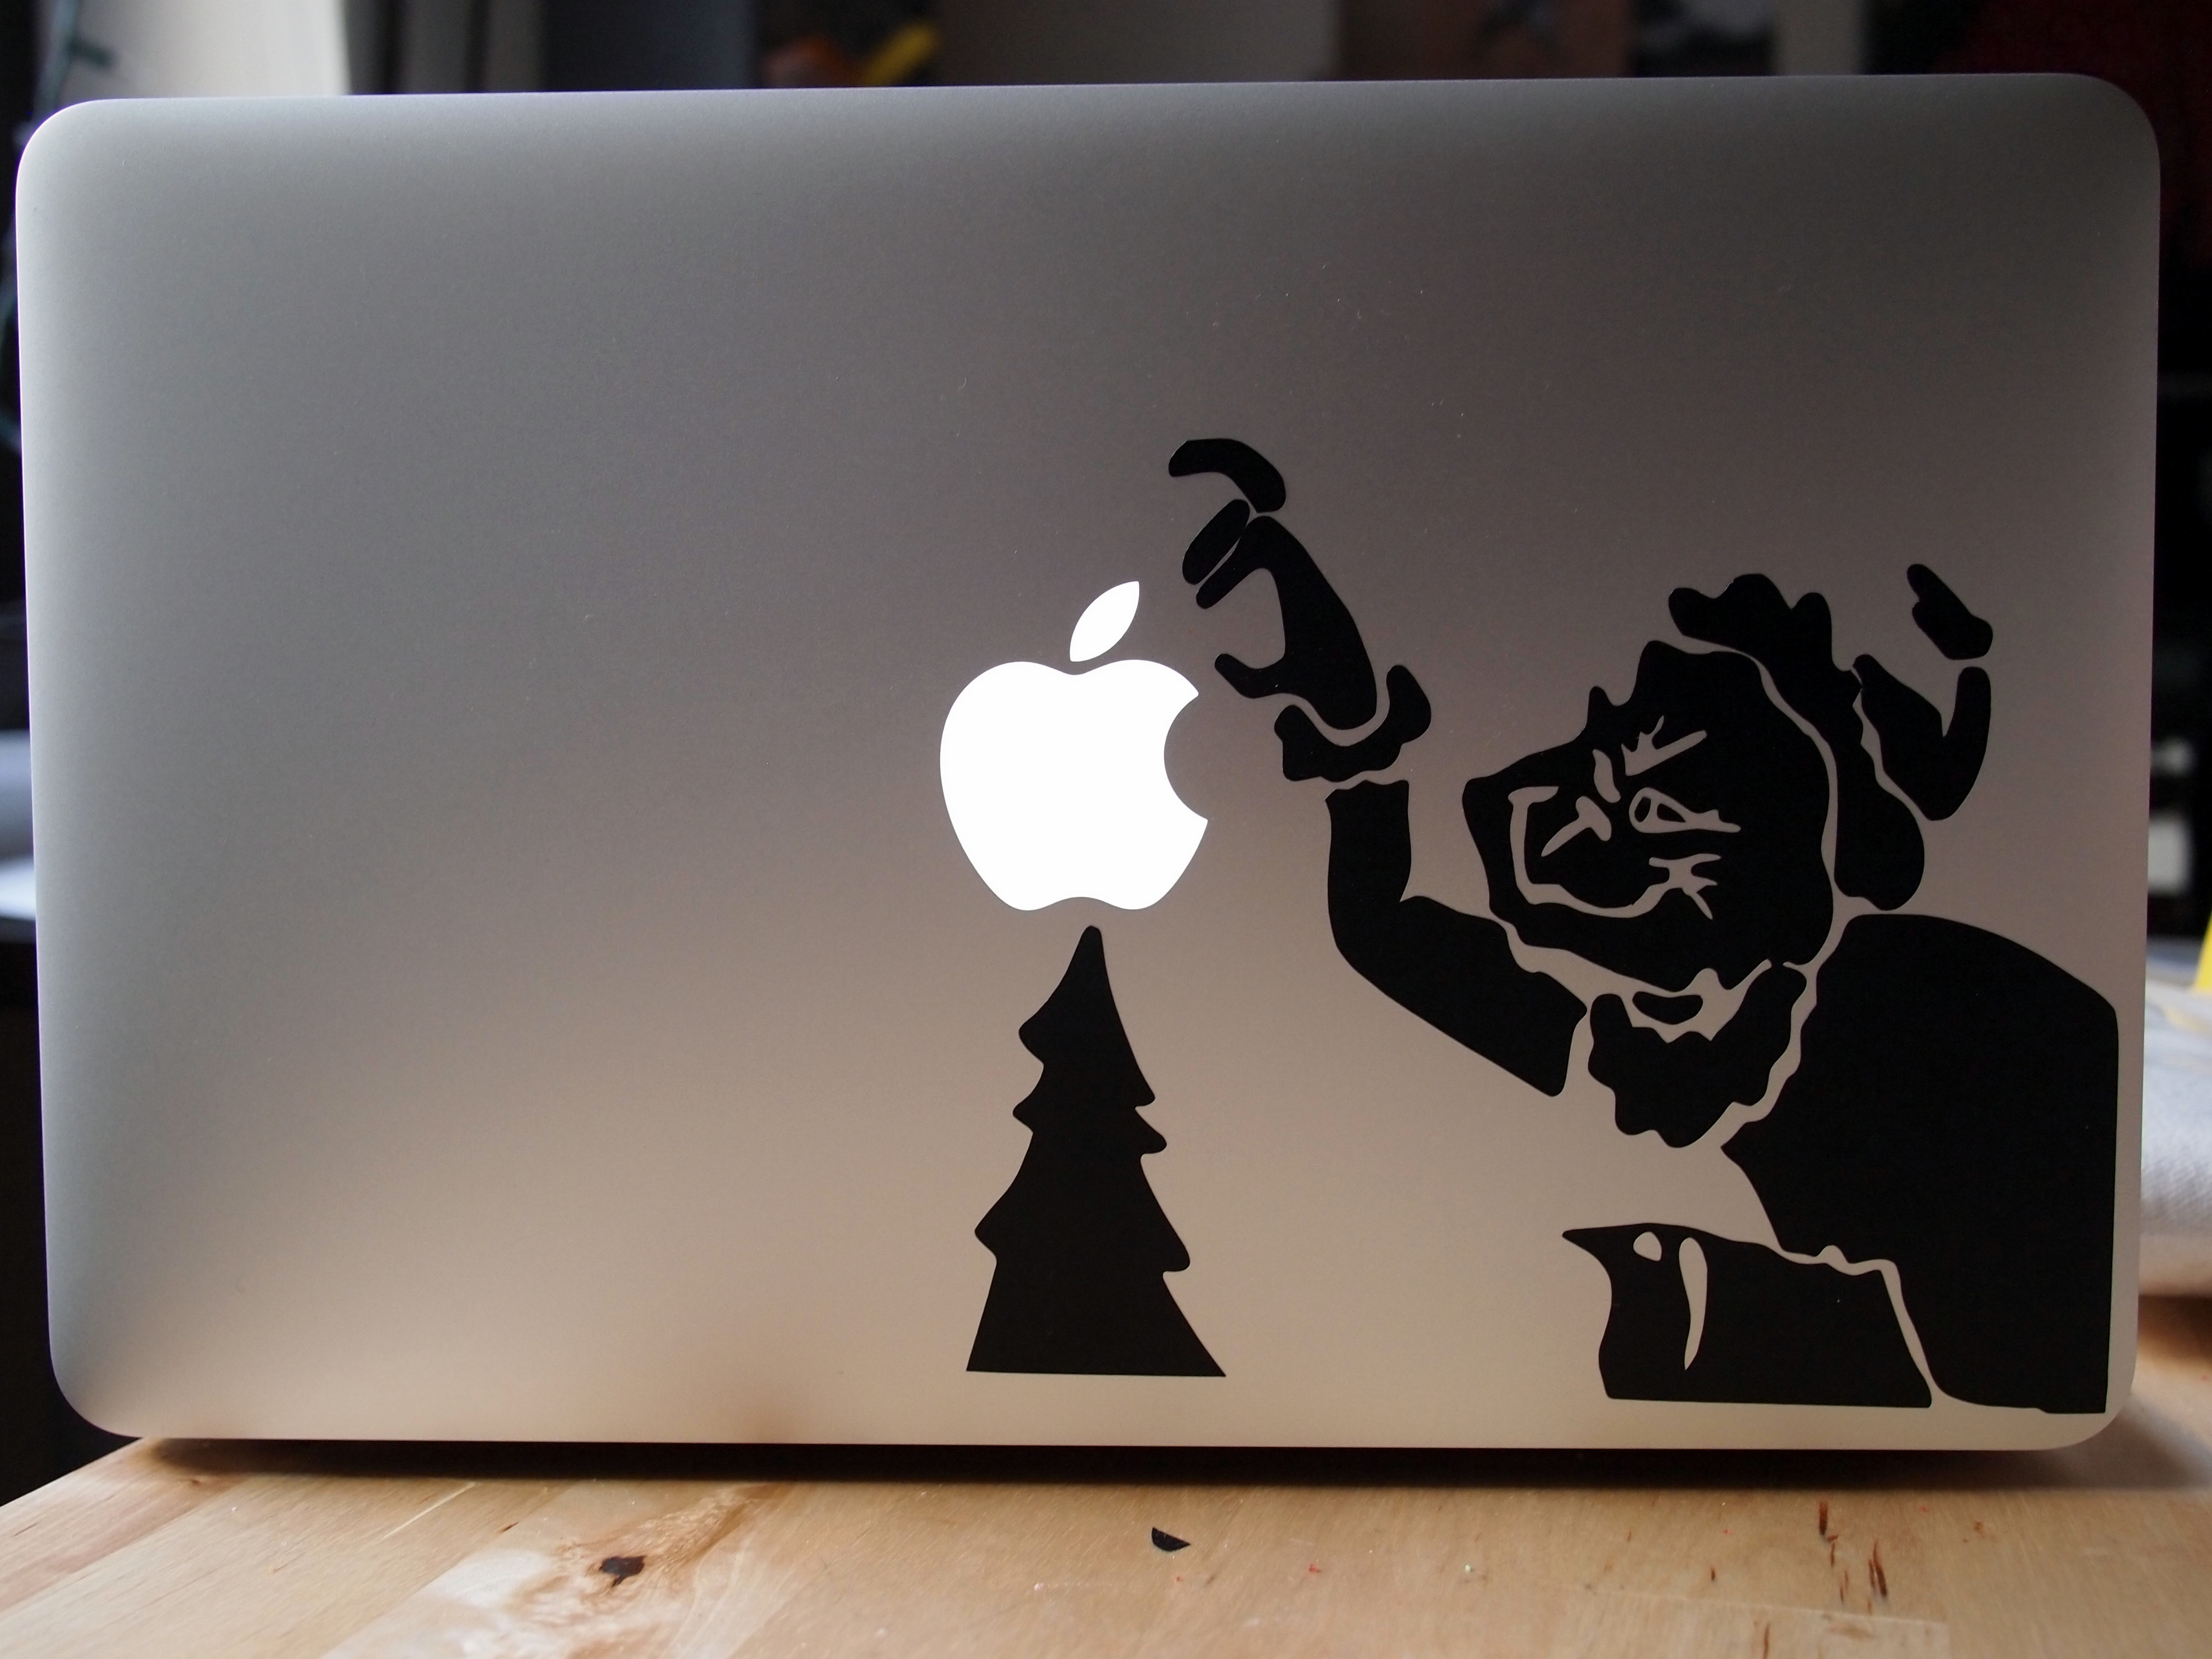
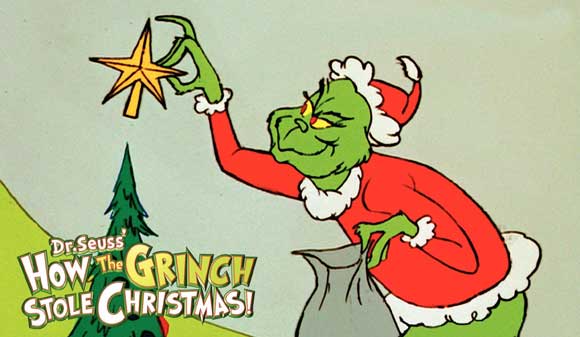
I wanted to make a laptop sticker for my new macbook that involved the apple, like this or this classic one . I used as inspiration the classic grinch stealing the star image.

It is a bit different to draw a design for vinyl cutting, since you have to pay close attention to what is positive and what is negative space. This was challenging at first especially inside his face, since you have to draw around his eyes and mouth, rather than drawing the features themselves.

Take a picture of your design trying to get the most even lighting possible. It isn’t super critical, but it will save you some work farther down the line.

2

Edit and threshold your image

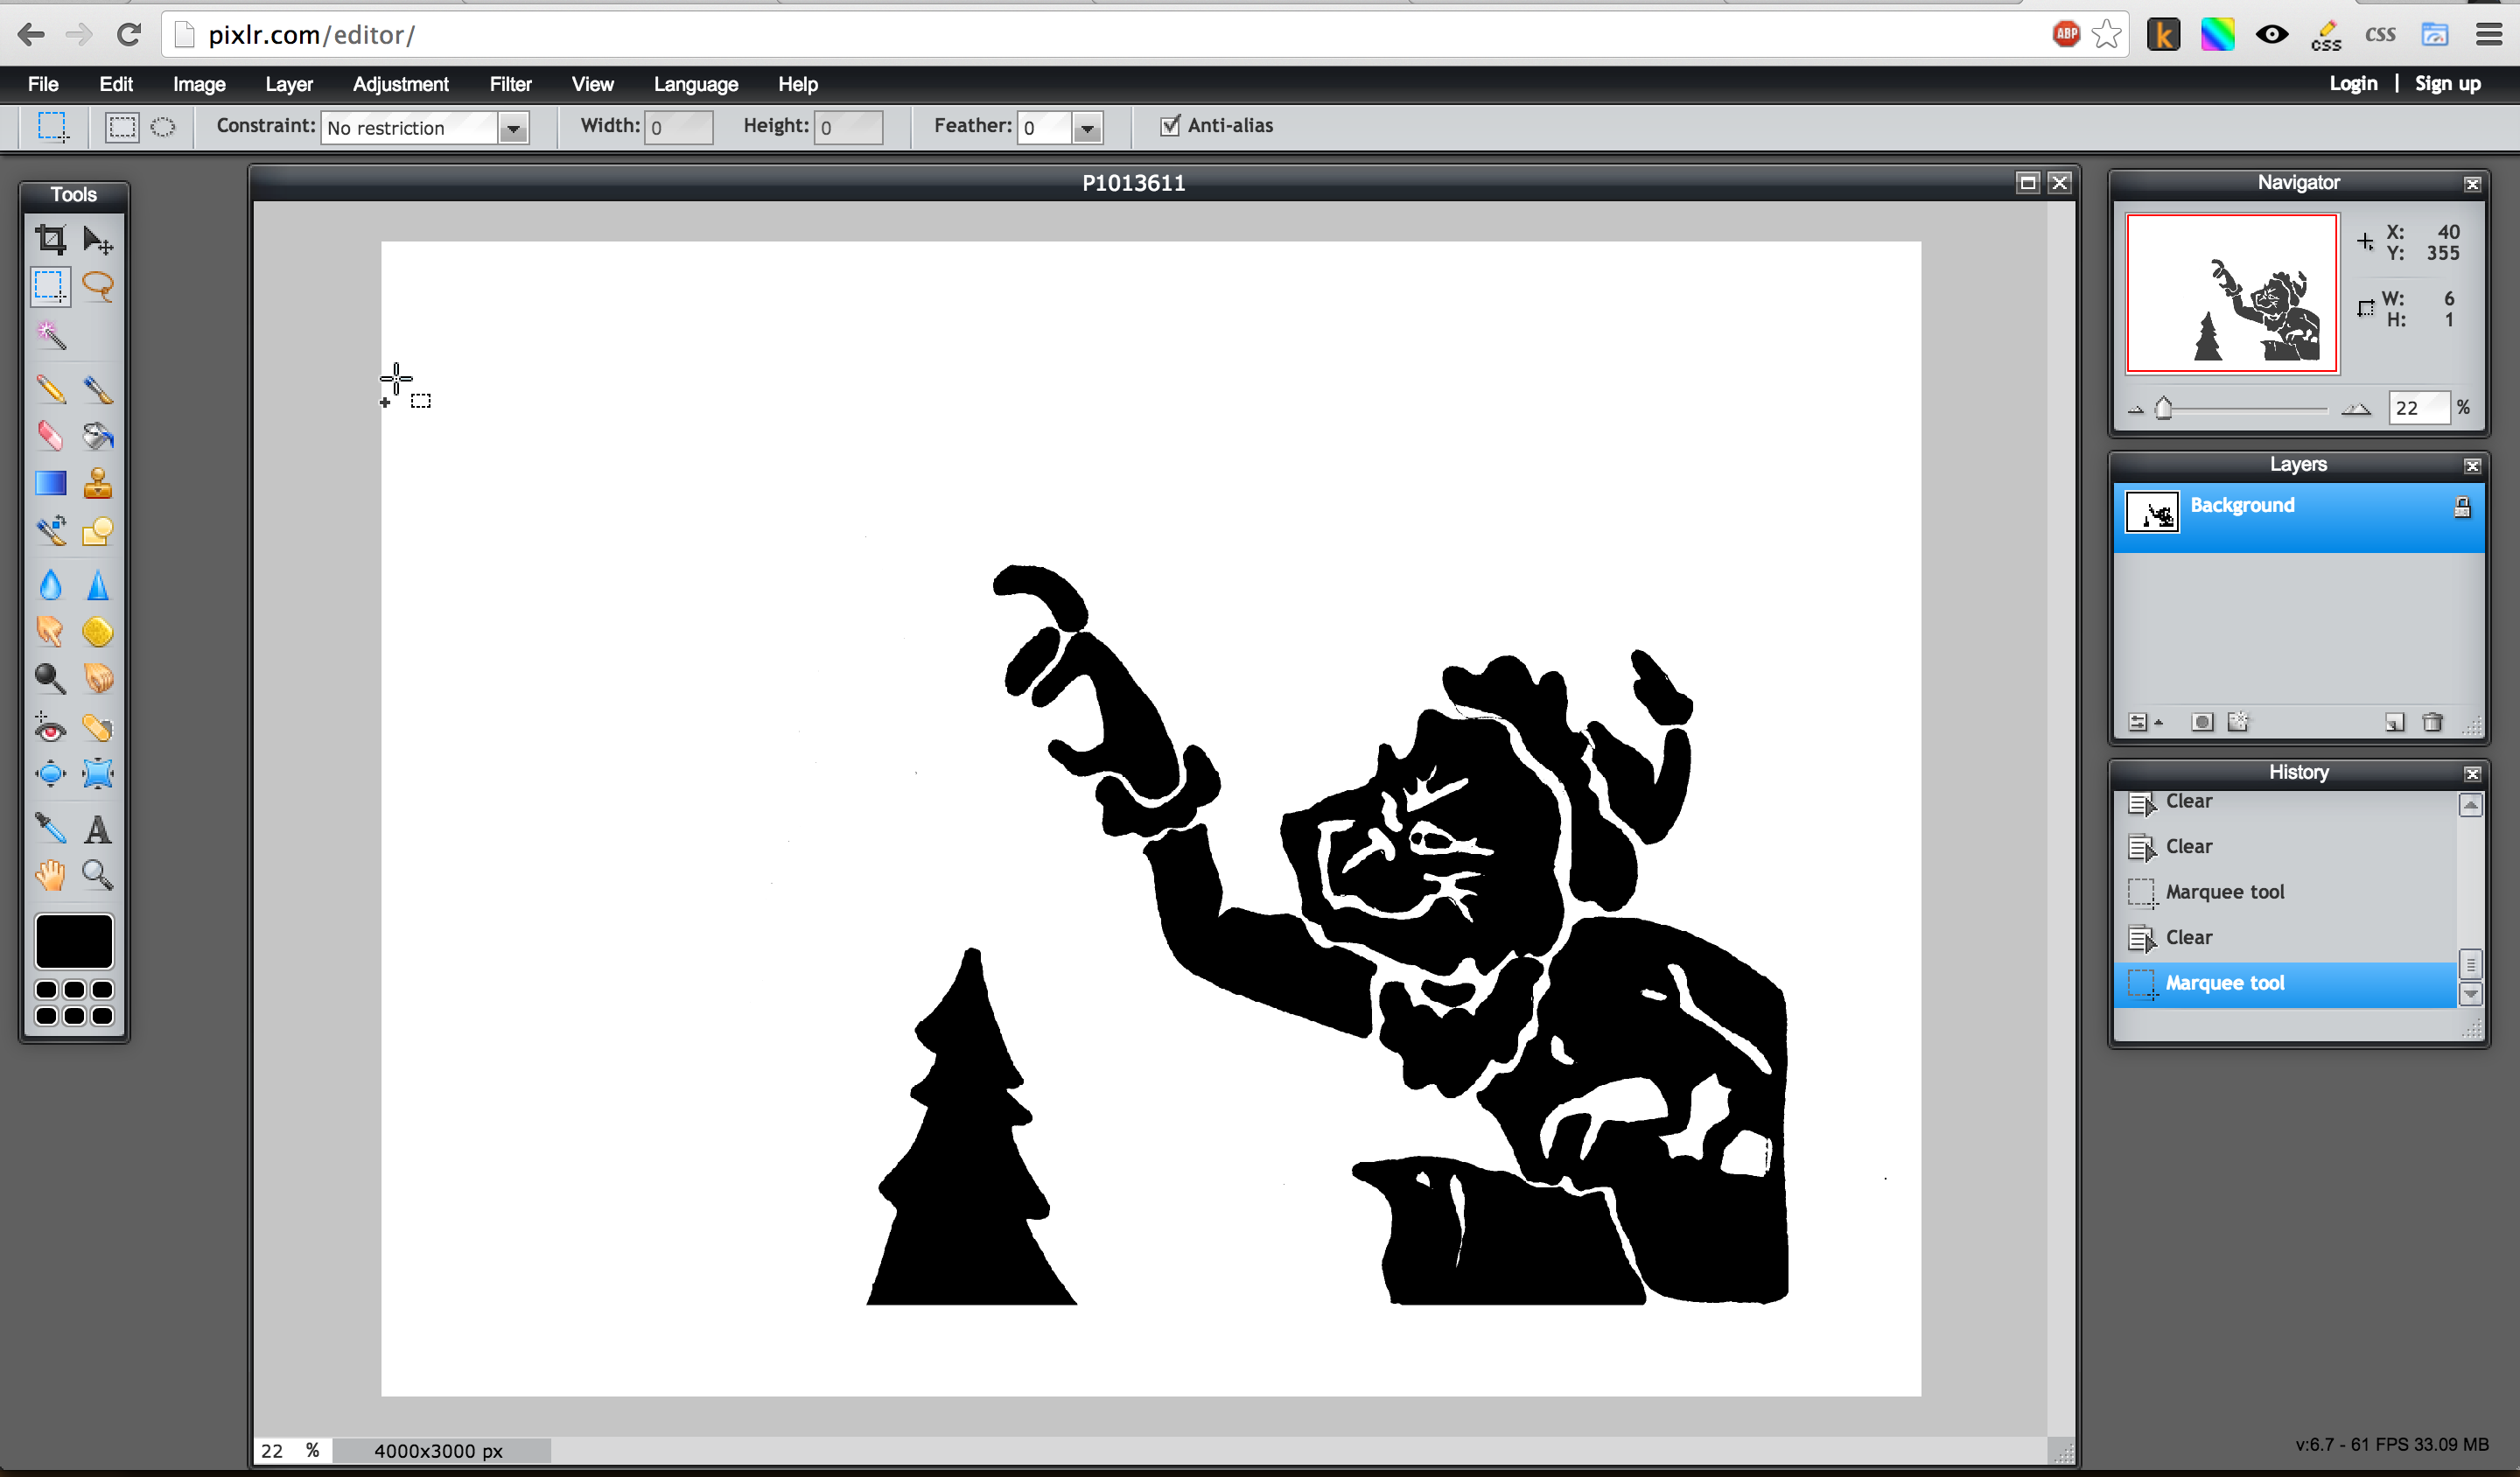
The image from your camera has to be thresholded (black/white, no gray) for the Silhouette software to trace it correctly. I use a free online image editor called Pixlr which is pretty close to photoshop, but free. Here are the steps I took to threshold the image:

  • Crop your image to remove any space around the paper or your design.
  • Fill in any holes or light areas that you want to be dark with the brush tool with black (since I used a light gray marker, the coverage wasn’t perfect)
  • Go to Adjustments → Threshold and move the slider until your design is all black. Don’t worry if some of the outer areas become black also.
  • Use the Laso selection tool to remove any areas that got turned black because of uneven lighting (see my images below, first thresholding then cleaned up).
  • Download your new image using File → Save

3

Trace the paths in Silhouette Studio

Silhouette Studio, the software that comes with the Cameo, has a pretty good ‘trace’ function so you don’t have to use a vector program like Inkscape or Illustrator! Here is how to use it:

  • In Silhouette Studio, go to File → Open and pick your thresholded image
  • Select the image and go to Object → Trace
  • In the right panel, hit Select Trace Area, and draw a box around the image
  • Under Apply Trace Method hit the first option, Trace
  • Delete the image object (new traced paths should have been created in red)

4

Cut it out

Hit the Send to Silhouette button (next to the printer icon), edit the settings for your material (vinyl) and adjust the blade to be the right height. Then just mount the vinyl on the sticky pad and send it through!

5

Transfer to your laptop

I use transfer paper to keep a complex sticker design together. It would be very hard to transfer all these little parts onto my laptop without messing it up. Transfer paper is very easy to use, and I was amazed how much it helped when I started using it.

  • Use a tweezer or similar to remove the parts of the vinyl that you don’t want to be transferred. That includes the entire background, and any of the parts that are negative space within the design (e.g. his mouth)
  • Peel the transfer paper from its backing. You will be using the thinner side with red lines. It is only slightly tacky to the touch, but don’t worry it works.
  • Lay the transfer paper directly on top of the vinyl design. The top (not sticky) of the vinyl should contact the bottom (slightly sticky) side of the transfer paper.
  • Pull the transfer paper up with the vinyl decal, separating it from the vinyl backing.
  • Now the vinyl is upside down on the transfer paper, sticky side exposed.
  • Apply the transfer paper and decal to your computer.
  • Pull up the transfer paper again, this time leaving the vinyl sticker attached to your computer.

Transfer paper is supposed to be less sticky than the vinyl itself, so that when you apply the vinyl to its final surface, it grabs harder to that than the transfer paper does to the vinyl. It is a clever way to keep designs with lots of little pieces/letters nice and square when you apply the sticker.