
Two Color HDPE is a great material for CNC use. By controlling the depth of the cut, you can control what color appears in each section of your project. This project will also demonstrate an easy way to add a third color, allowing you a wider range of colors for your finished project. Let’s go!
Two-Color HDPE is a great material for CNC work. It mills really well, and requires little to no cleanup. As soon as I saw the blue/white combo, I knew I wanted to try to make a interpretation of “The Great Wave off Kanagawa”. But to really do it justice, I needed to add a third color. There have been some great projects that mount HDPE on a layer of acrylic, allowing you to mill through the piece of HDPE to show the acrylic, but I wanted my third color to be on top of my piece.
Enter Krylon Fusion spray paint. It’s made specially for plastics, and I think it worked really well for this project. Since the top layer of HDPE is .05" thick, I was able to control my colors by milling to a depth of .025" for blue, and .1" for white, while any un-milled section would remain tan.

Obviously the complex artwork this is based off of is going to need to be altered for a this project. I was able to find some simplified versions of the image, and work from there.
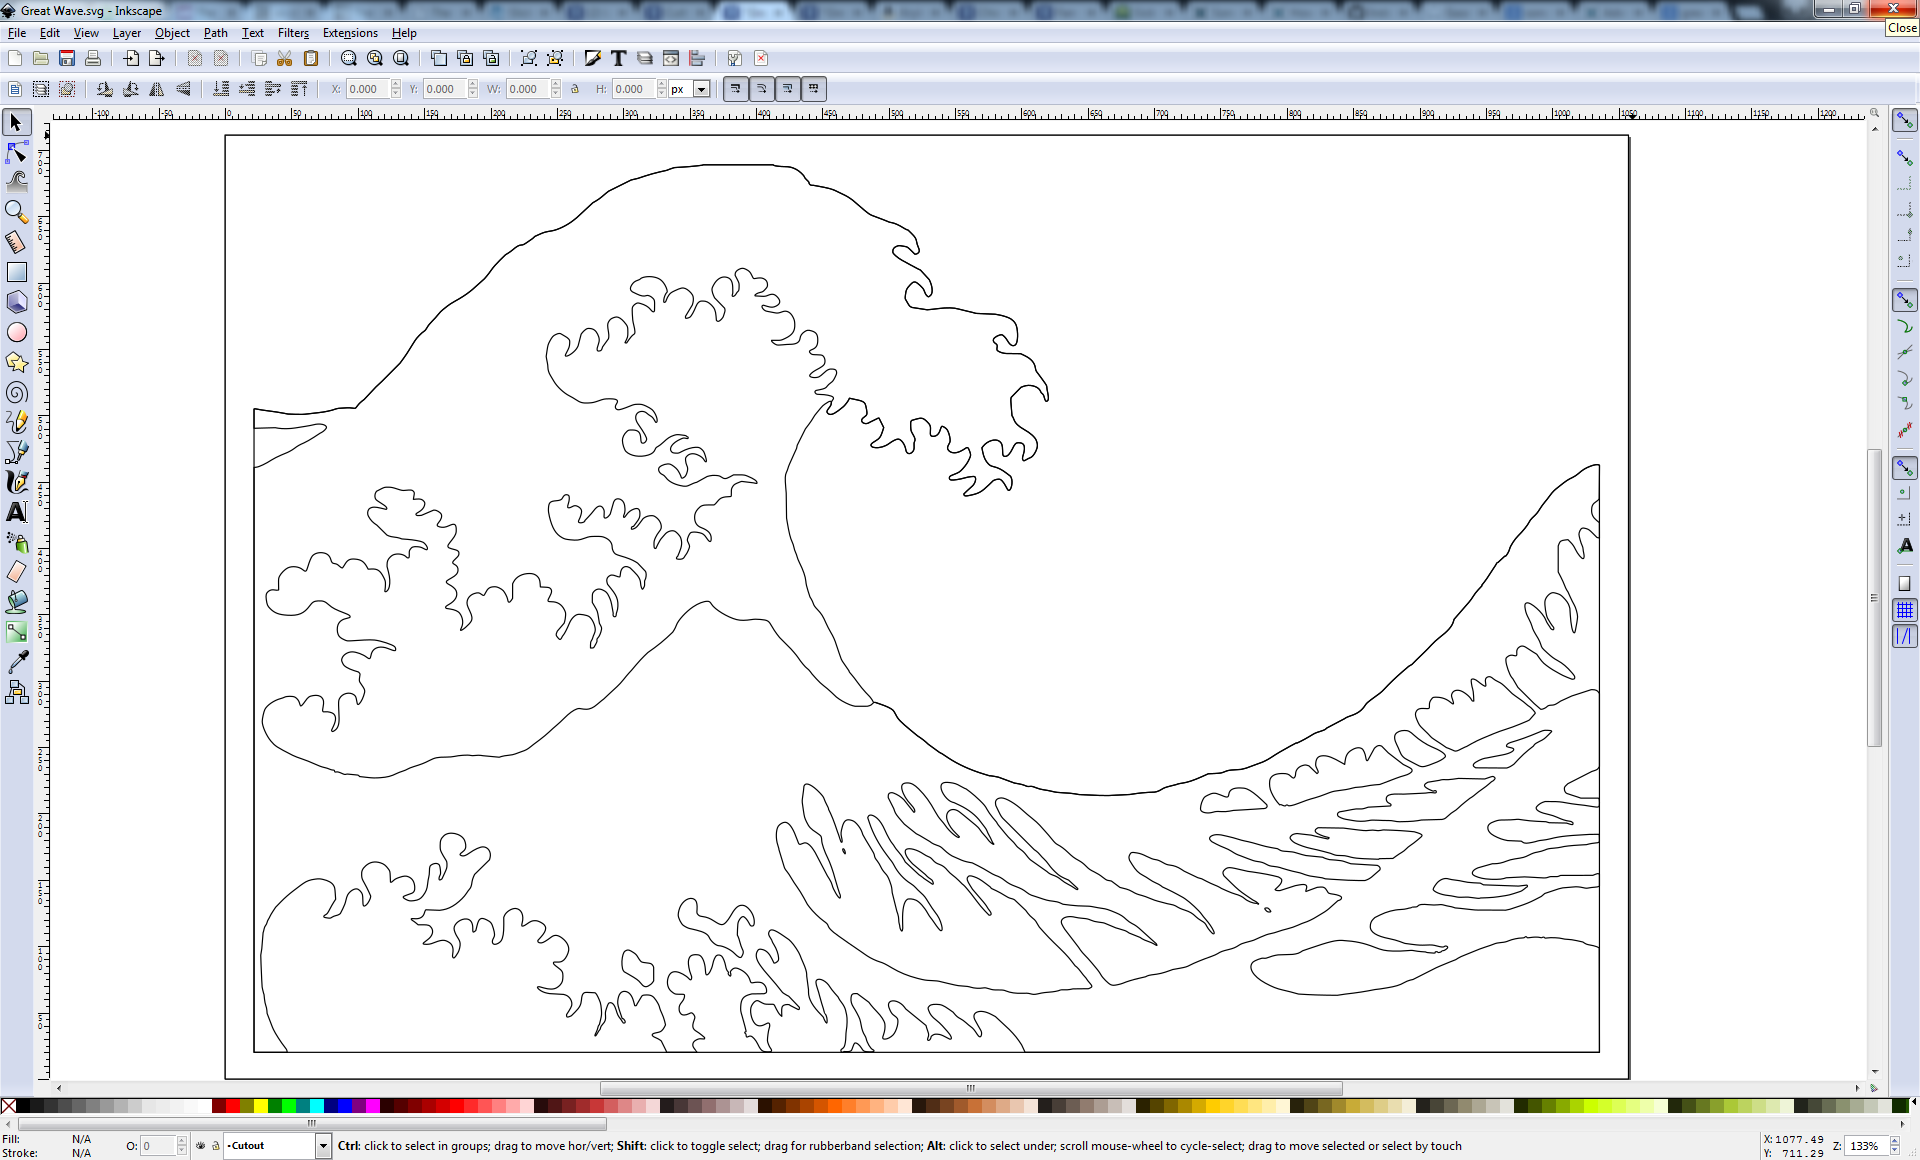
Once I had the image reduced to three colors, it was fairly simple to use a program like Inkscape to convert the image from a bitmap into a vectored svg file. From there you can import it into Easel and set your carving depths.
(Easel has a “trace bitmap” feature that’s currently in beta, which would make this step of the project even easier)

30 minutes
In order to get the third color I wanted for this project, I did some research about painting HDPE, and found out that there were two things I was going to need: a plastic-specific paint (e.g. Krylon Fusion), and fire.
It turns out that just using the spray paint wasn’t going to be enough. During my research I found a video about flame treating HDPE for painting. And honestly, I was a little sceptical at first, so I decided to do some testing.
I took a piece of scrap HDPE, got out my blowtorch and put it on the lowest setting, and briefly waved the flame over half of the plastic (you could probably do this over any open flame, as long as you’re careful). I then layed down a layer of Krylon and let it sit for about 20 minutes. I then took a piece of paper towel and scrubbed the HDPE fairly vigorously. And sure enough, I was able to pull up a little bit of the paint on the section that I hadn’t treated. So, I guess you can believe everything you read on the internet!
I flame treated my real piece of HDPE, put down two coats of Krylon, and then I did a clear coat, just because I had some on hand.
I then went to my X-Carve and put down a 12" pocket into some scrap I had on hand, just to make sure that the piece was going to be level. I probably didn’t need to go to that extreme, but I had the scrap on hand, and it only took a couple extra minutes.
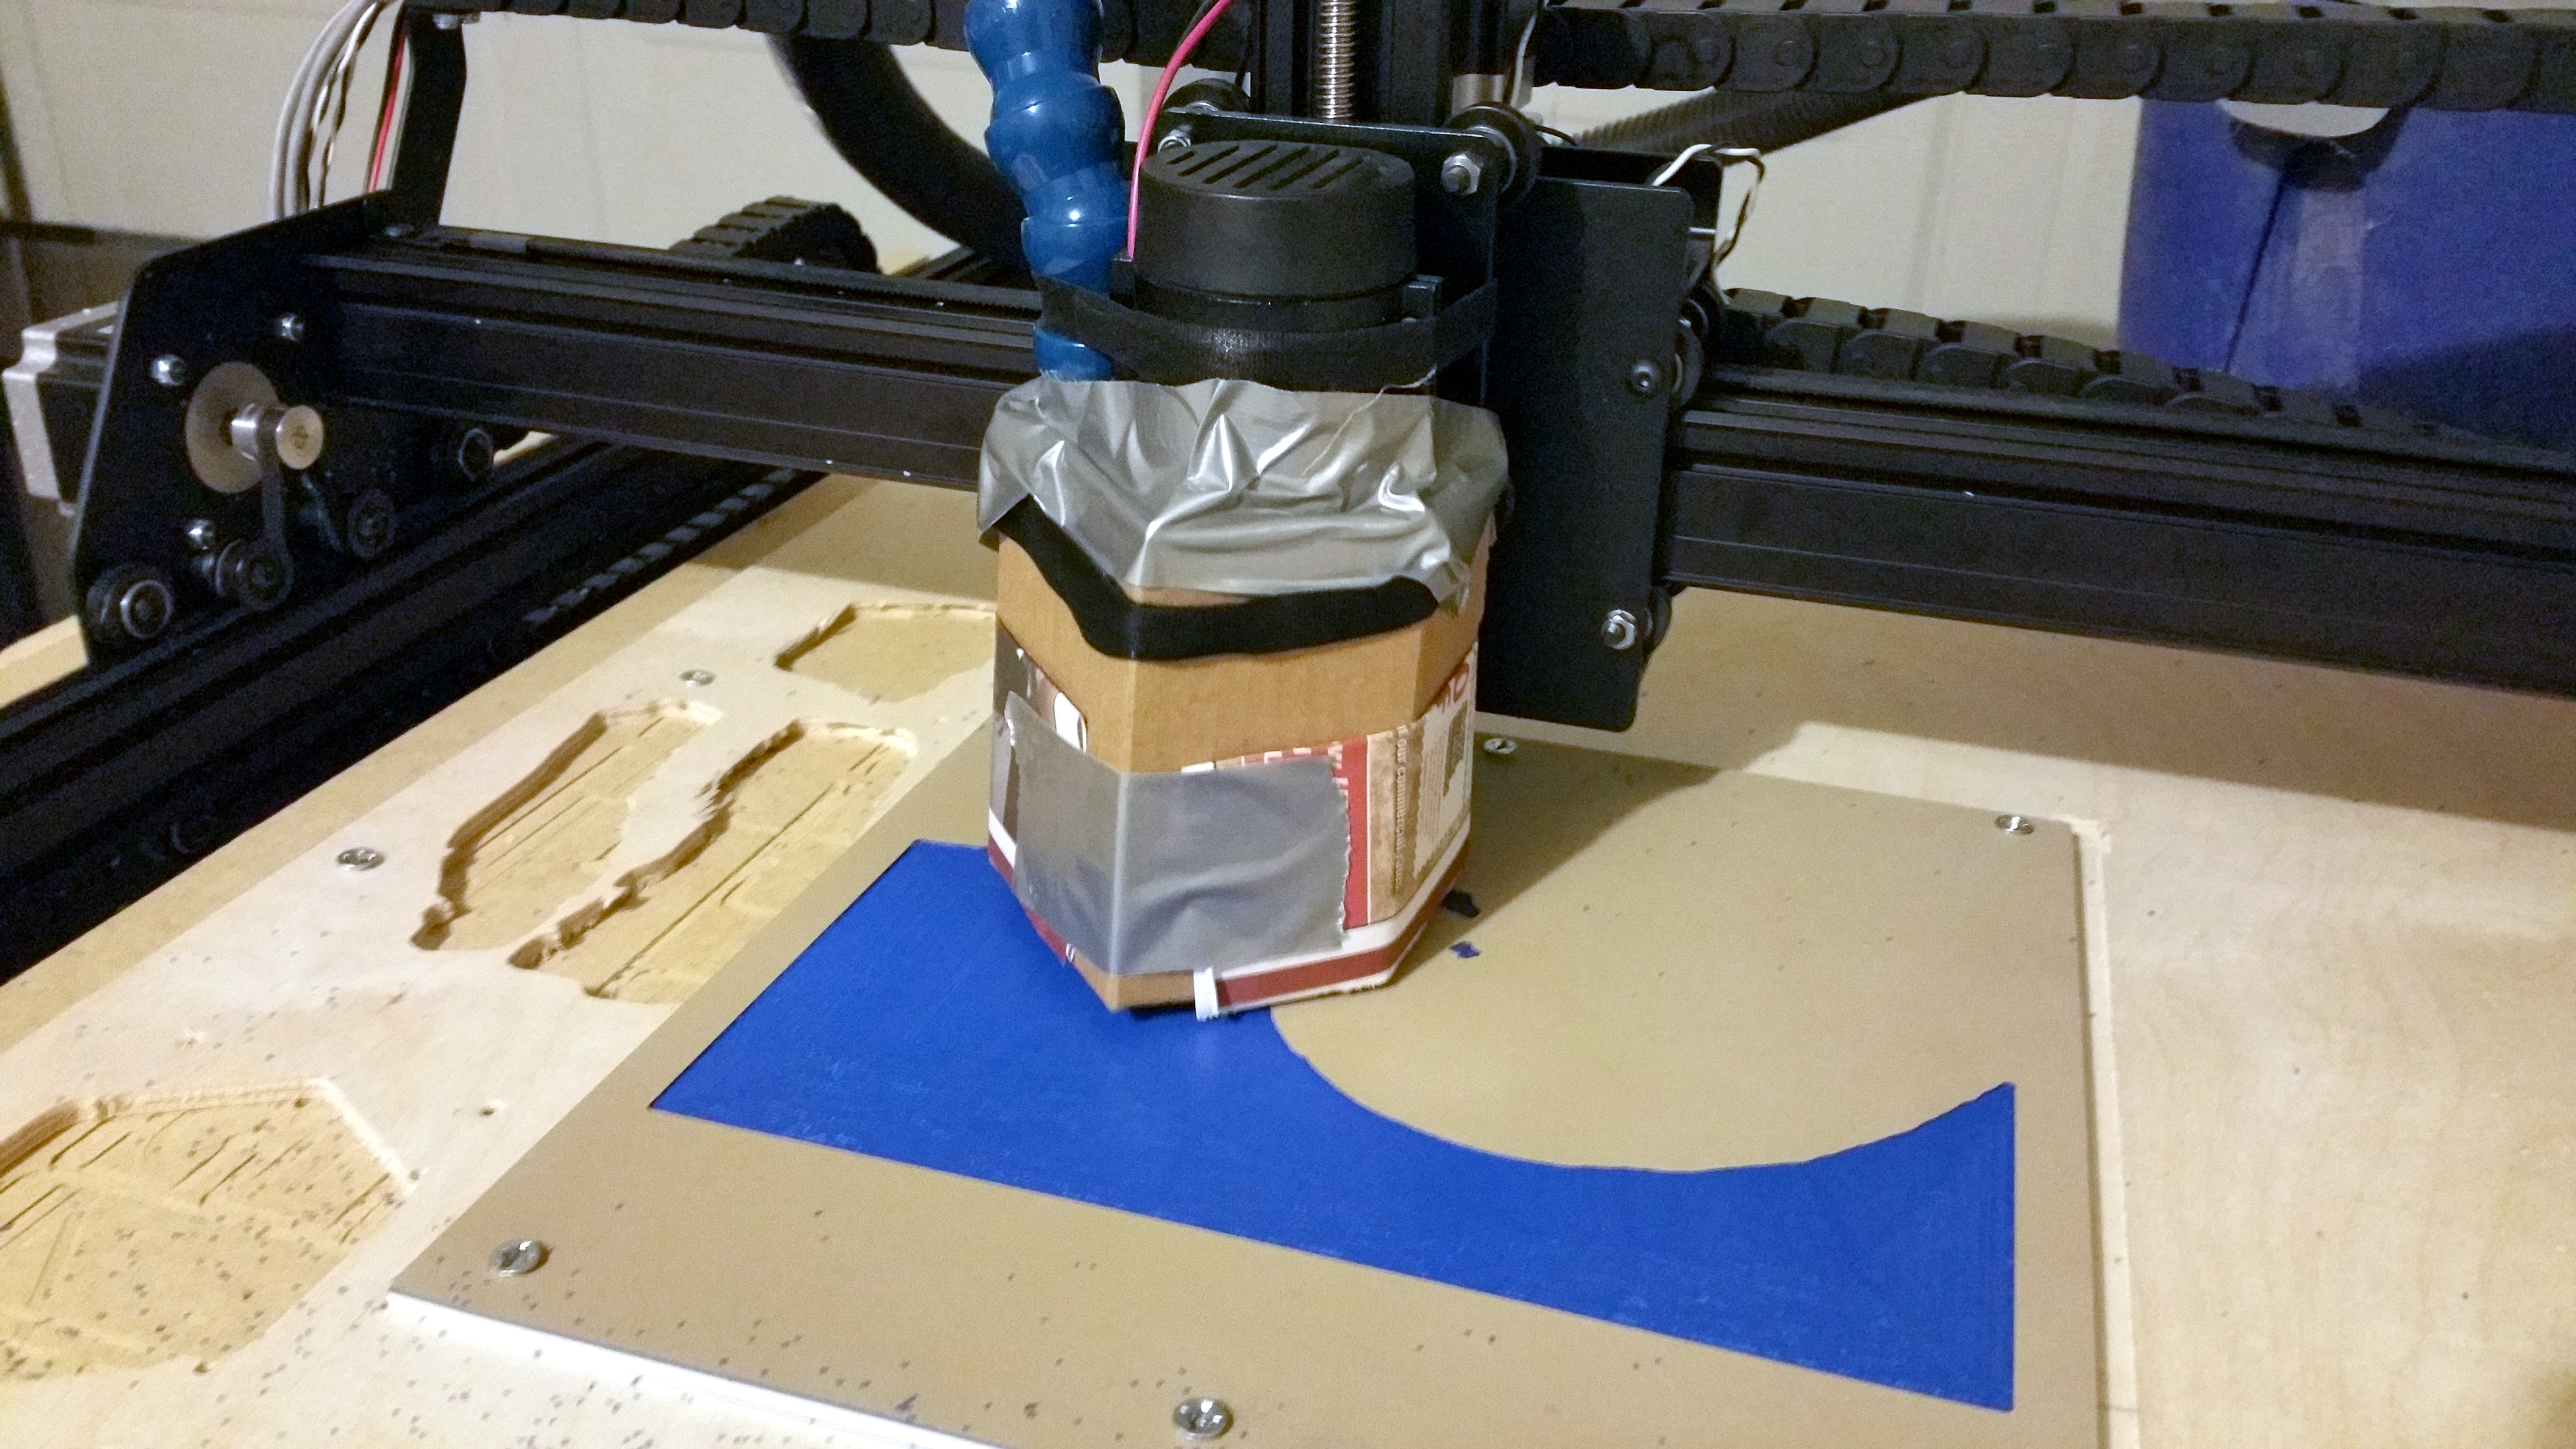
Once the pocket was finished, I secured the HDPE, and prepared a temporary dust shoe for my spindle, since HDPE kicks up a snowstorm when things really get moving.


Now that everything’s set up, you’re ready for the easy part! I used a straight two-flute 1/8" bit, and it gave me really clean results. Fire up the Easel project, move the bit to the bottom left corner of the project, and let it rip! Make sure you have some sort of dust/chip collection ready, because once it starts doing the deeper cuts to get into the white HDPE, it’s going to be a little bit like being inside a snow globe :)
I put together a temporary shield around my spindle and LocLine vacuum hose using some carboard and newspaper, and it worked very well, but this project has inspired me to move up to a real dust shoe-type dust collection system.
Once it’s done carving, there really isn’t much else to do! Cut the tabs to release your piece, and knock off the chips! There might be one or two places where you have a stray curl of HDPE remaining, but these are easy to pick off, or use a utility knife to scrape away.
And there you have it! Hope you enjoyed this project, now get out there and make something of your own!


Jene Johnson
Eric Dobroveanu
Peter James