
The Blowfish Coin Bank may help you save money and ‘scale’ back on your spending. The tail is removal for dispensing coins.
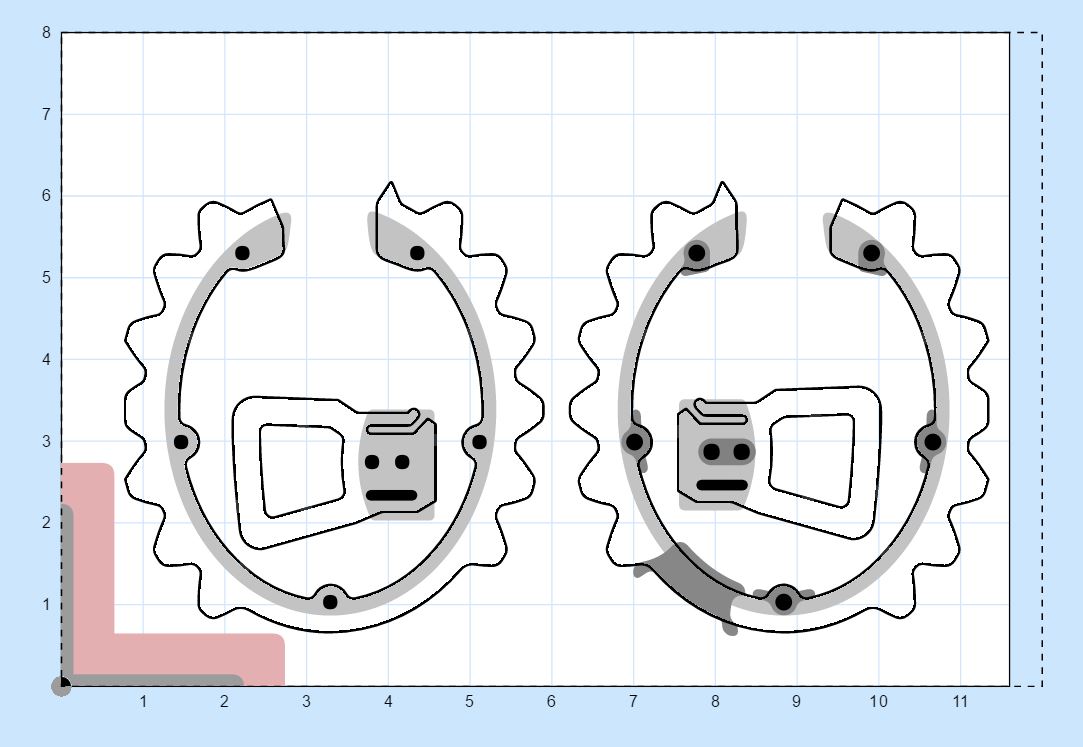
We will be cutting out the Frame and Panels on the Carvey, which will then be assembled by hand using a screw driver and adhesive.

Let’s start by cutting out the Frame. Choose one of the Easel links below depending on the material you will be using (the difference is the hole size cut out for the screws). Use a flat 1/8" bit for this step.
Note: You can use different materials to cut the Frame from, but you may need to tweak the Easel file for best results.
Next we will cut out the Left and Right Panels. There are a lot of links below but don’t panic! We have different options to choose from depending on the material you will be using.
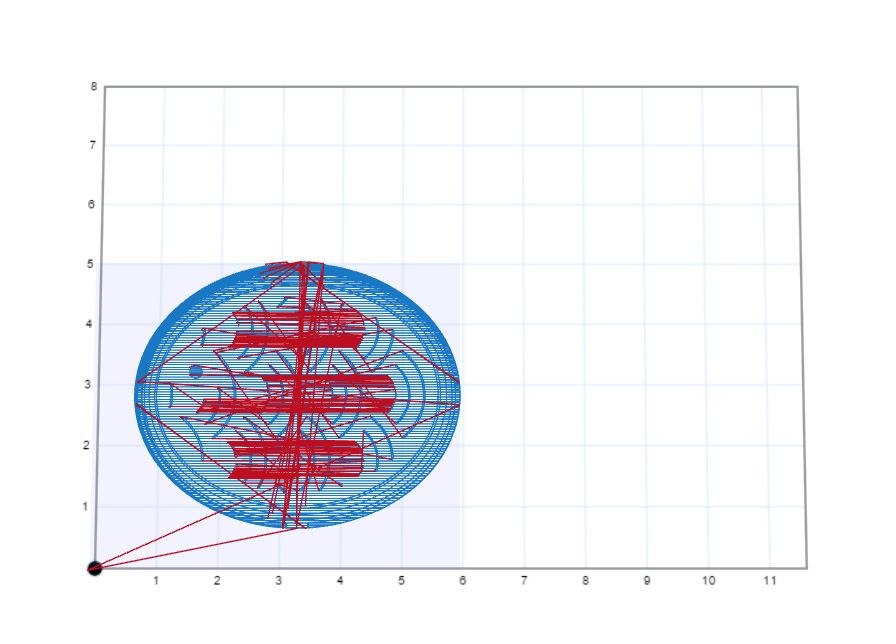
Instructions for cutting the panels:
1. Install flat 1/8" bit and secure the material
2. Load the Left Rough Cut file and carve. DO NOT REMOVE THE MATERIAL YET
3. Switch to a flat 1/16" bit
4. With the material still in place, load the Left Finishing Cut file and carve. You may remove the material once it’s done carving.
5. Repeat above steps for the Right Panel.
Easel links – Choose GROUP1 or GROUP2 depending on your material.
Group1 (For 1/2" thick MDF and HDPE)
1. Left Rough Cut
2. Left Finishing Cut
3. Right Rough Cut
4. Right Finishing Cut
Group2 (For 3/8" thick Colored MDF from Inventables)
1. Left Rough Cut
2. Left Finishing Cut
3. Right Rough Cut
4. Right Finishing Cut
Note: These files are optimized for softer materials like MDF and HDPE, so please stick to materials with similar hardness if you want to try something different.
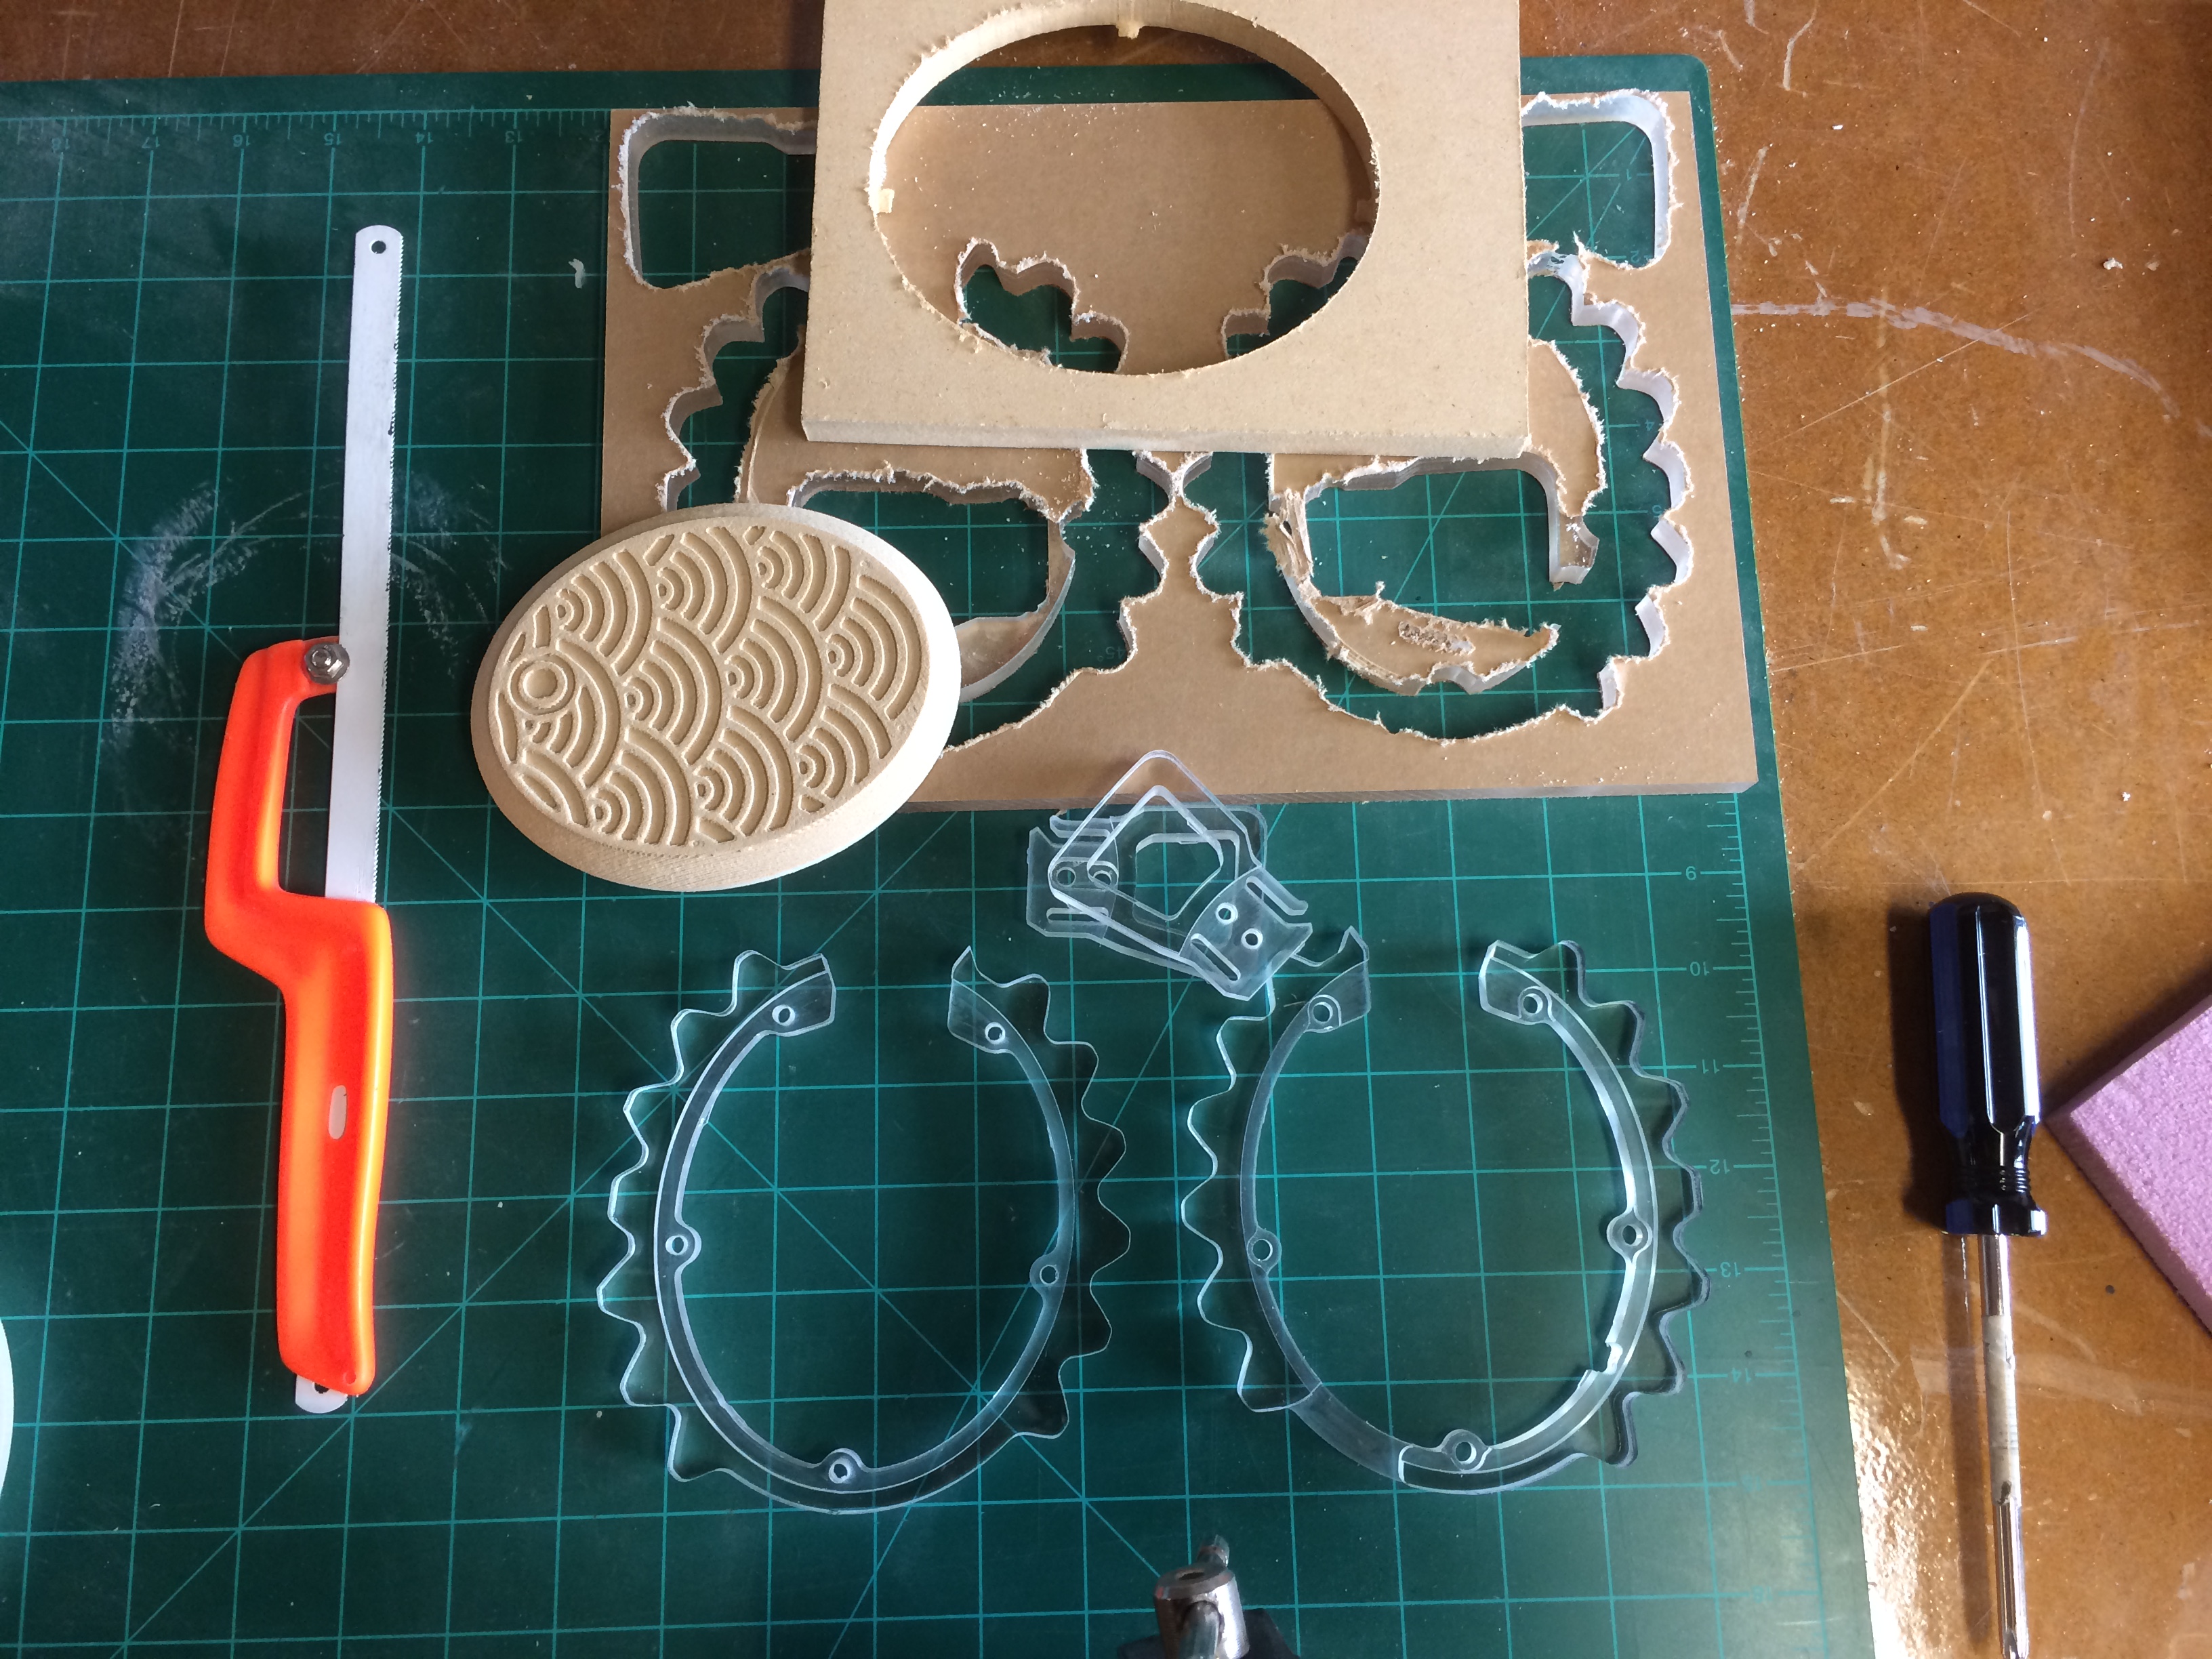
Remove the parts from the material. You may also want to sand down some of the parts before assembly.
You should end up with:
Frame(Body) x 2
Frame(Tail) x 2
Panel x 2 (only one is pictured)
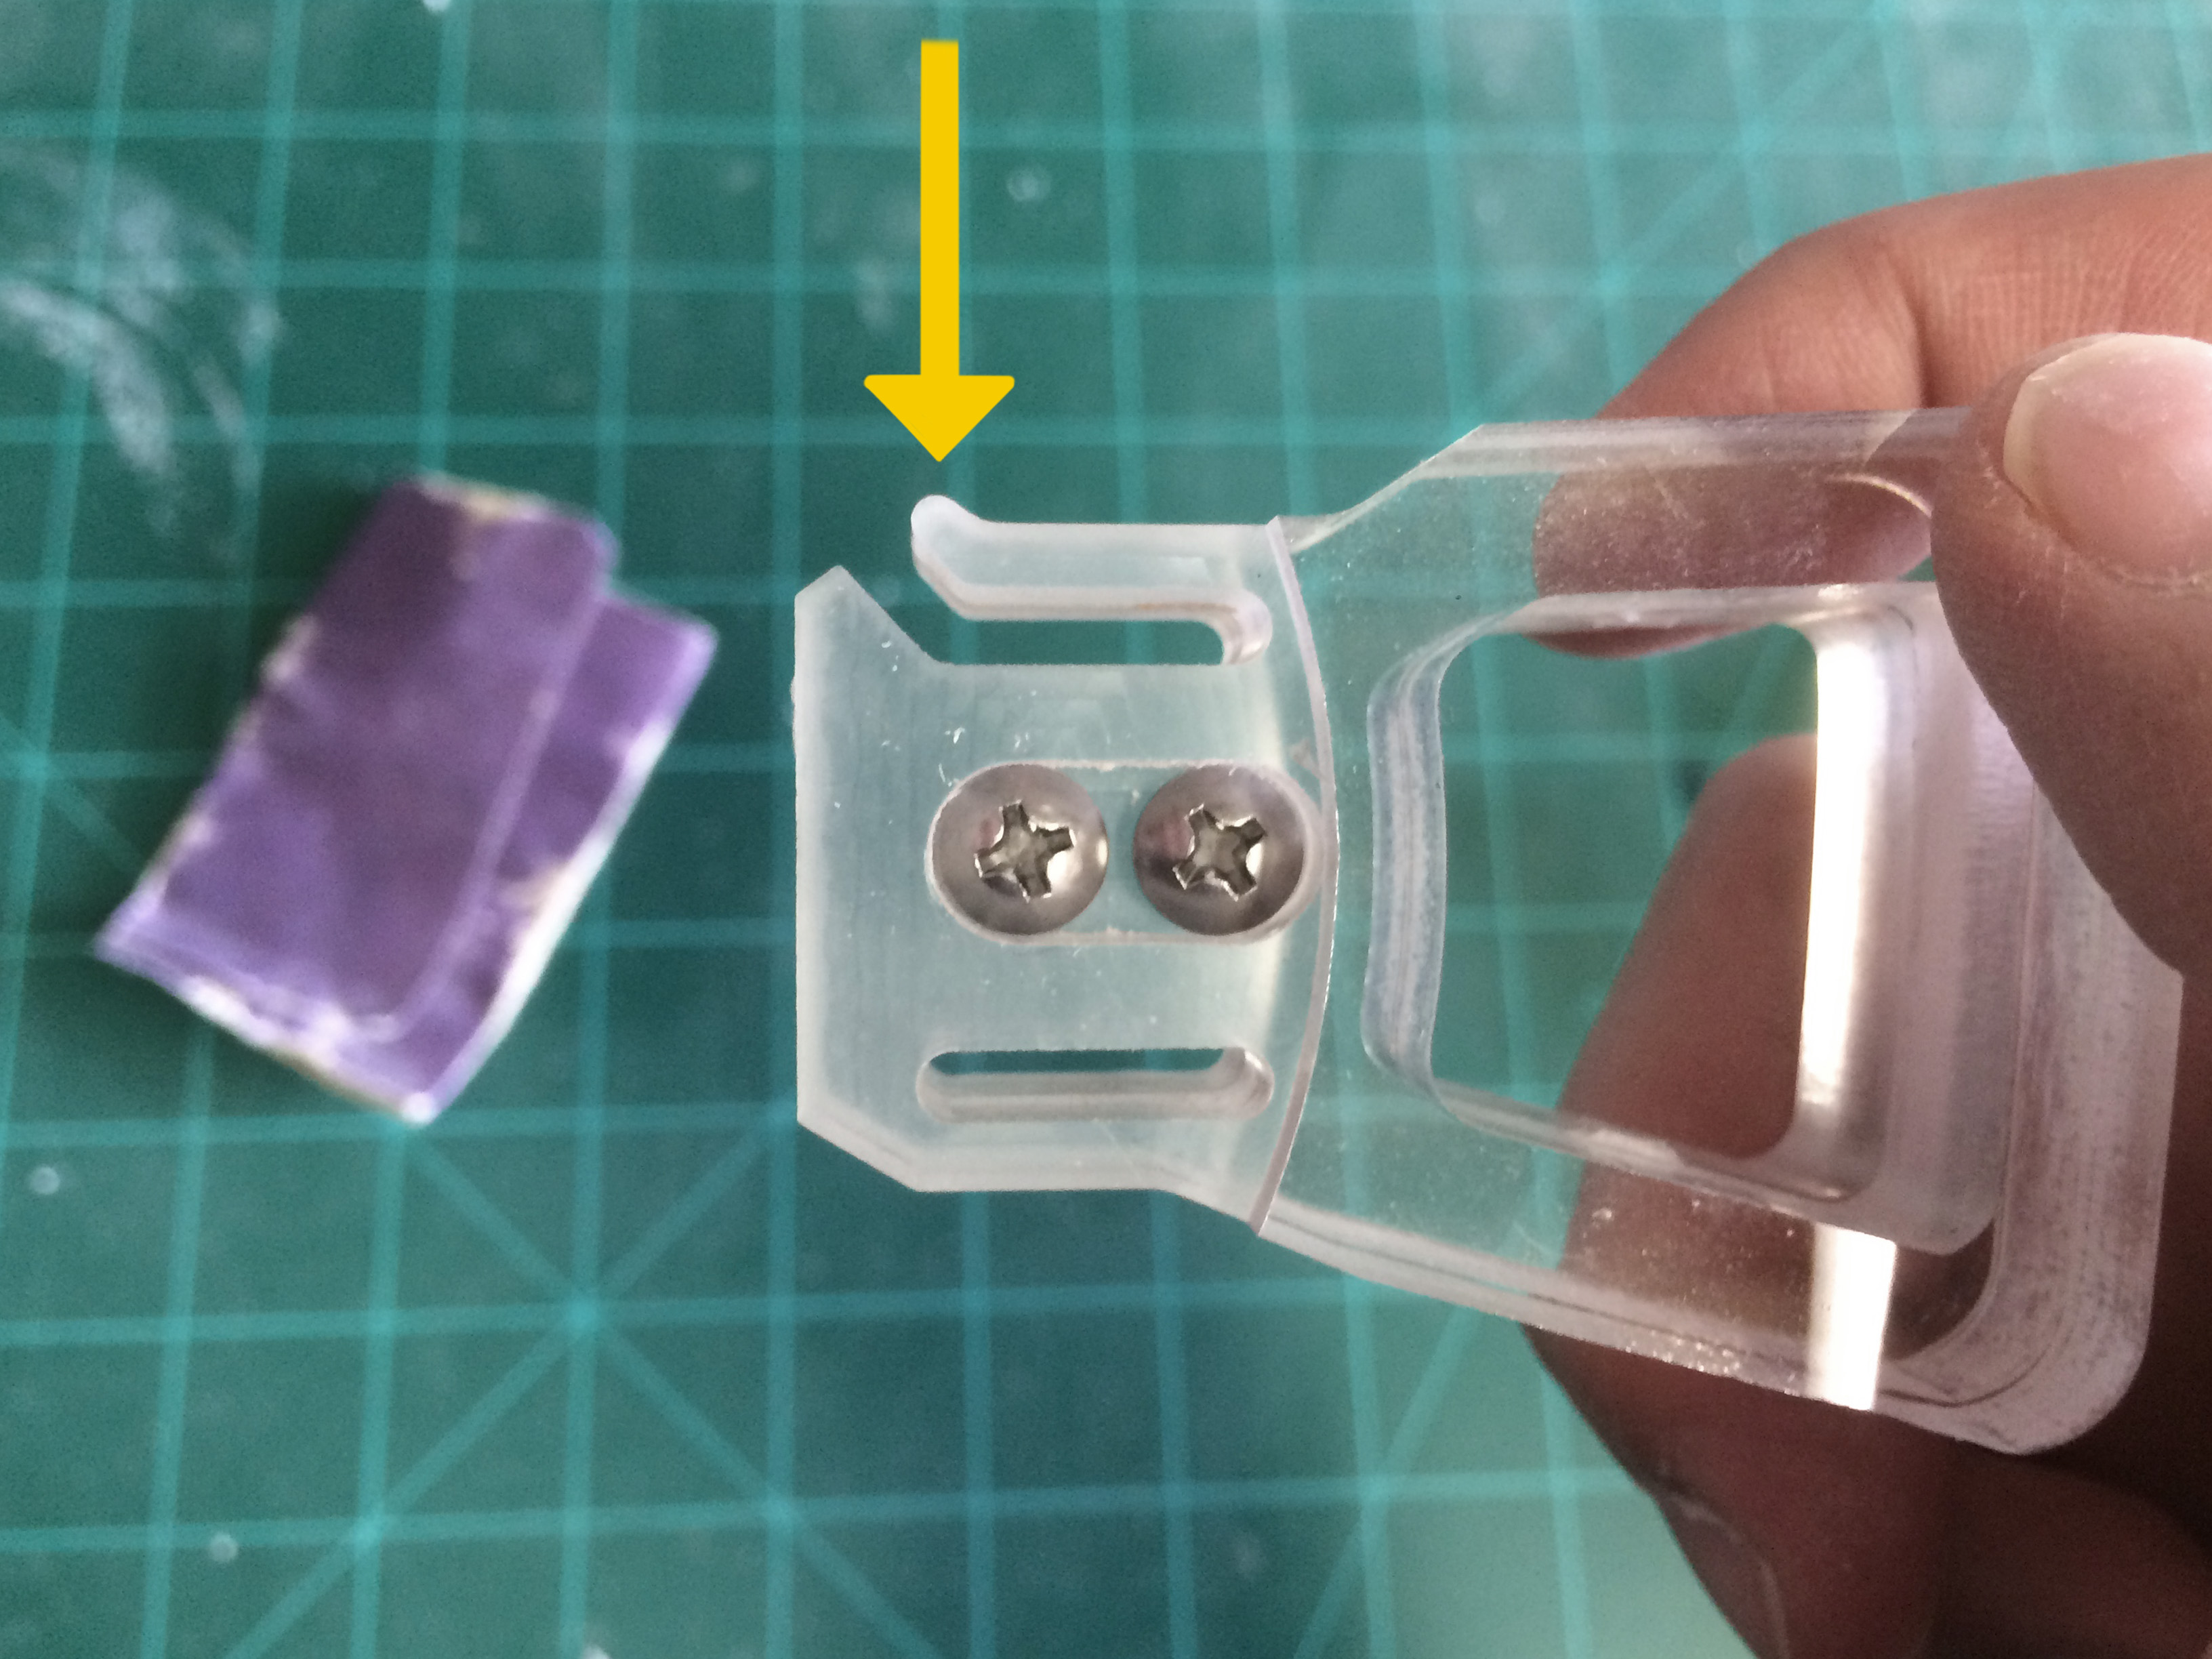
Use the Hi-Lo Screws to assemble the Body and Tail. You may also use adhesive instead if you wish.

Attach the panels on to the frame using the appropriate adhesive and process for the materials you are using. Wipe away any excess.

You will probably need to sand down the notch on the tail so that it can slide in to the body easily. You want enough resistance so that it fits securely, but not so snug that you may break it on accident.
Note: Don’t try to force the tail in – keep sanding until it goes in with small amount of force. The notch is built slightly tall to accommodate different tolerances.
Congratulations, you can now use your Blowfish Coin Bank to start saving money!


