
Geoff Evans
Auckland, New Zealand
Make an impression on the landscape.
4 minutes
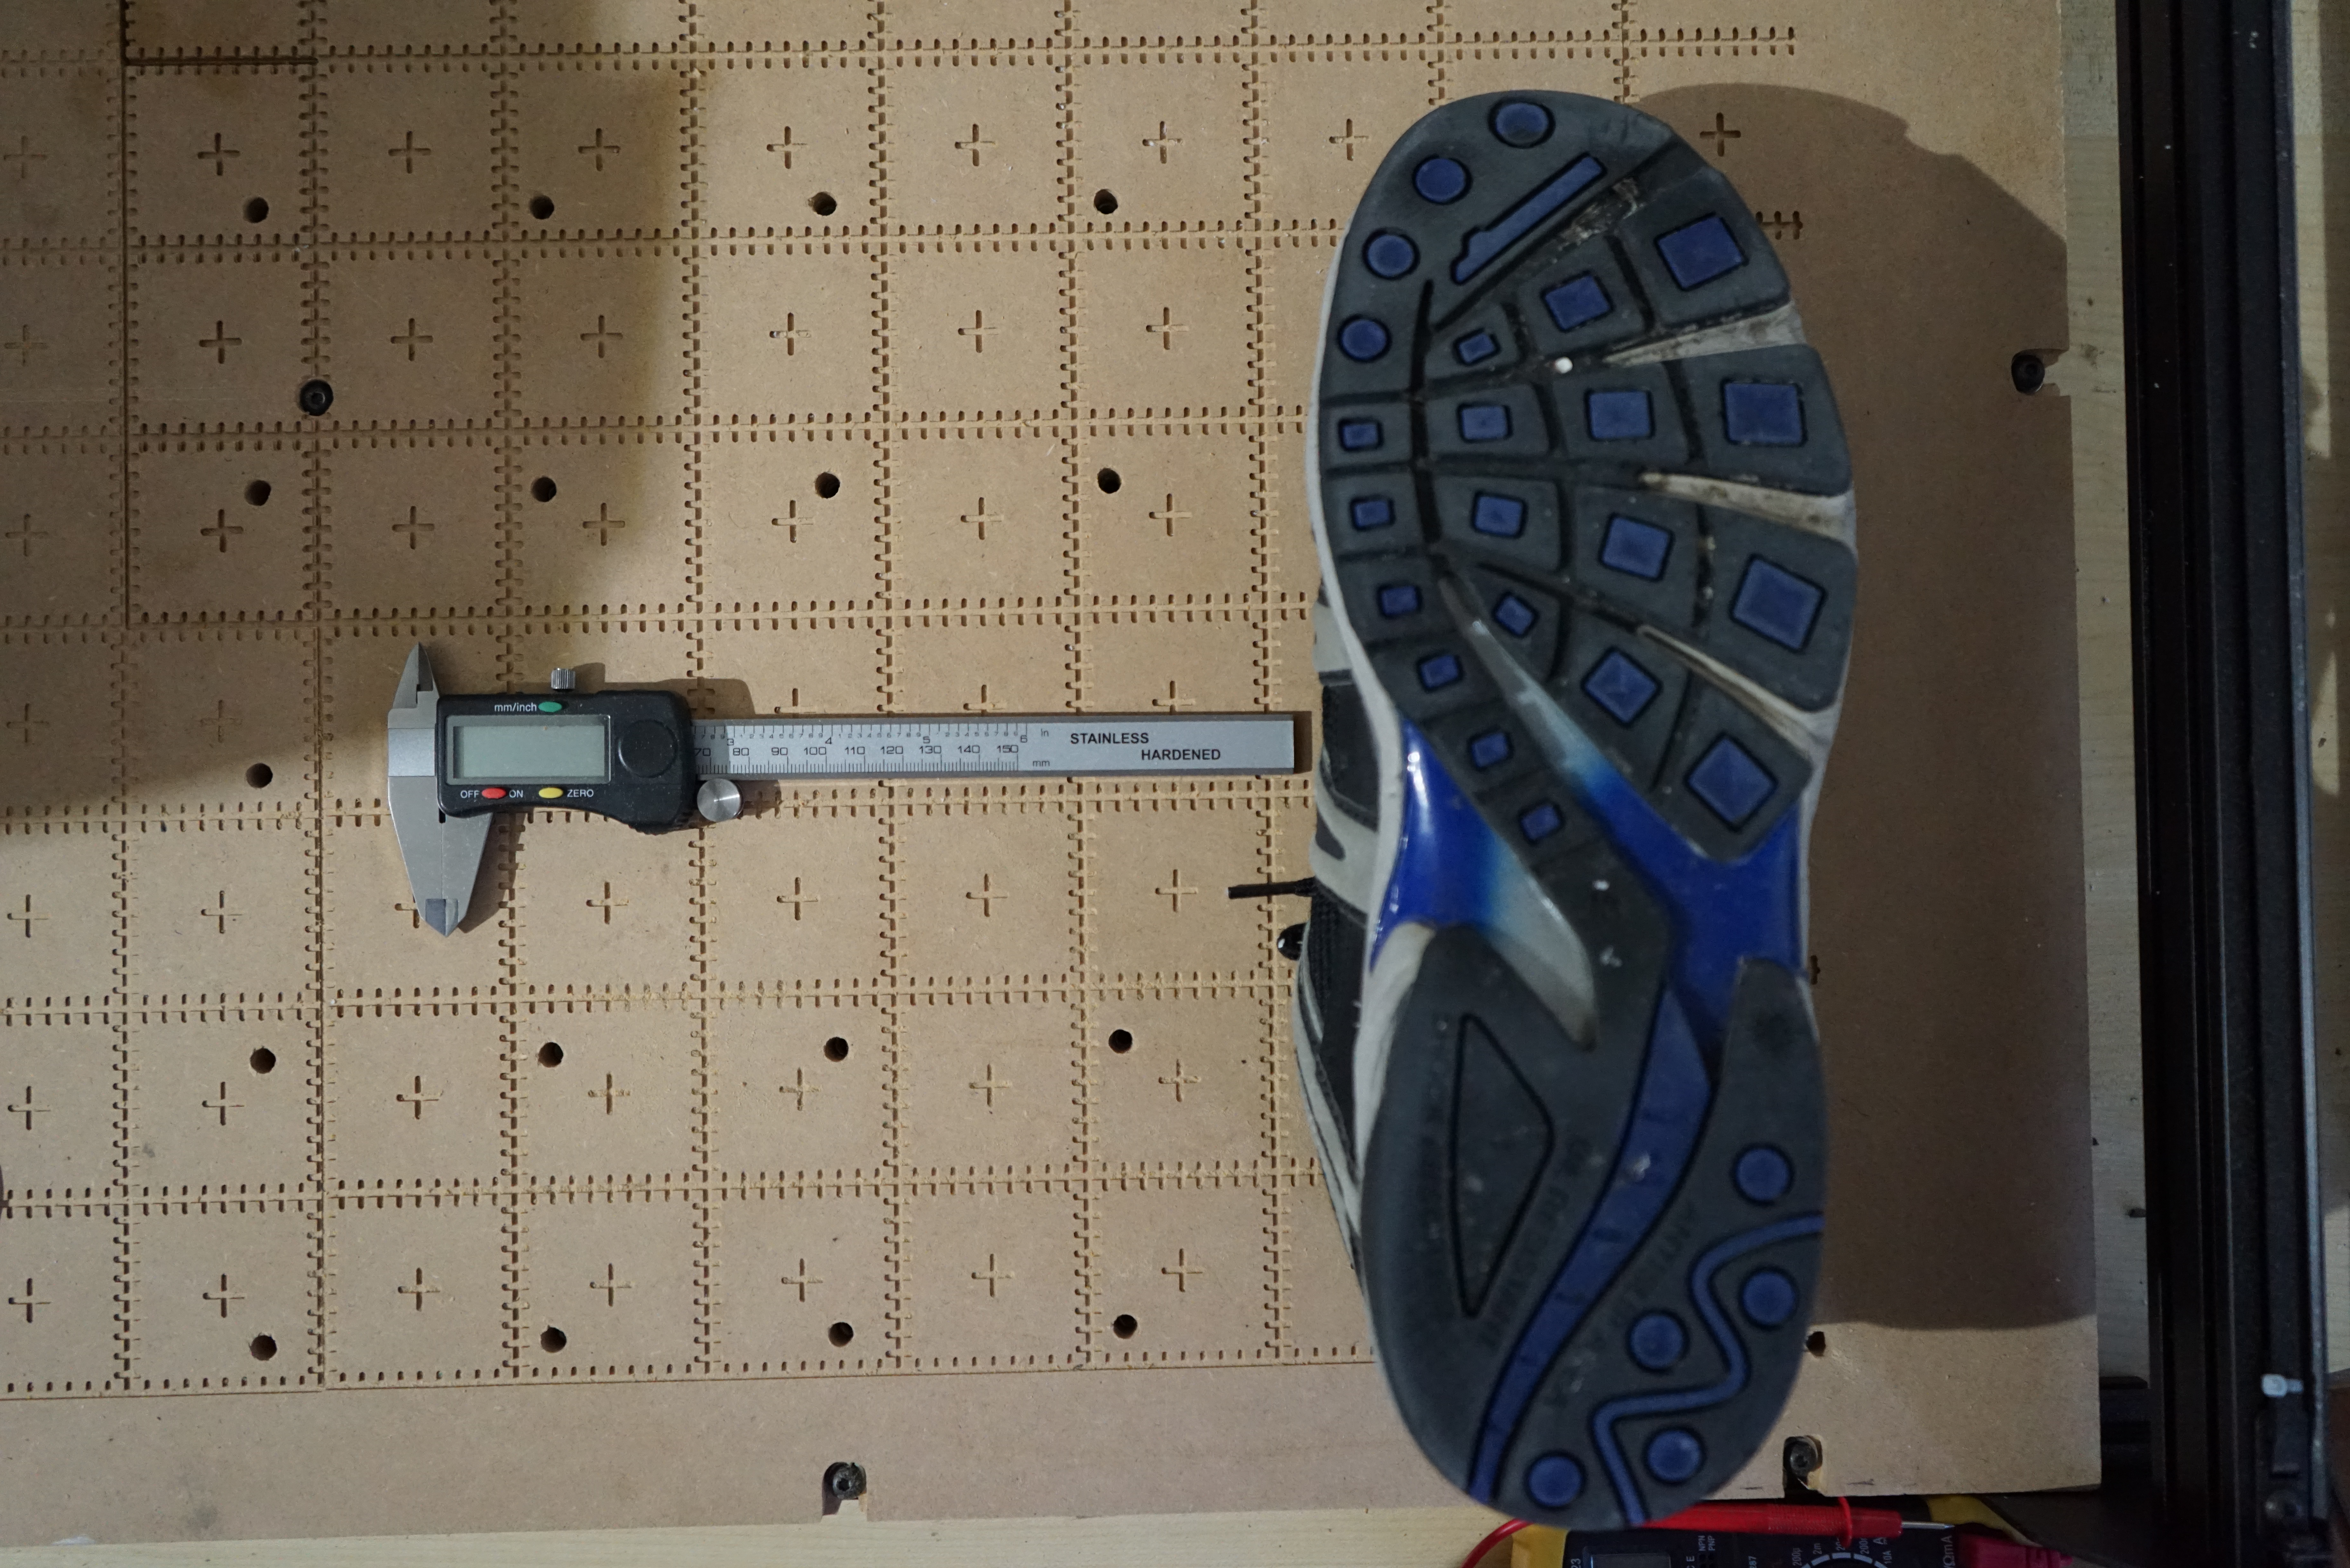
Photograph the bottom of your shoe(Left or right. You only need to do one).
For size reference it is best to add a ruler next to the thing your photographing so that you can make sure that the size of your item is correct in relation to the real world.
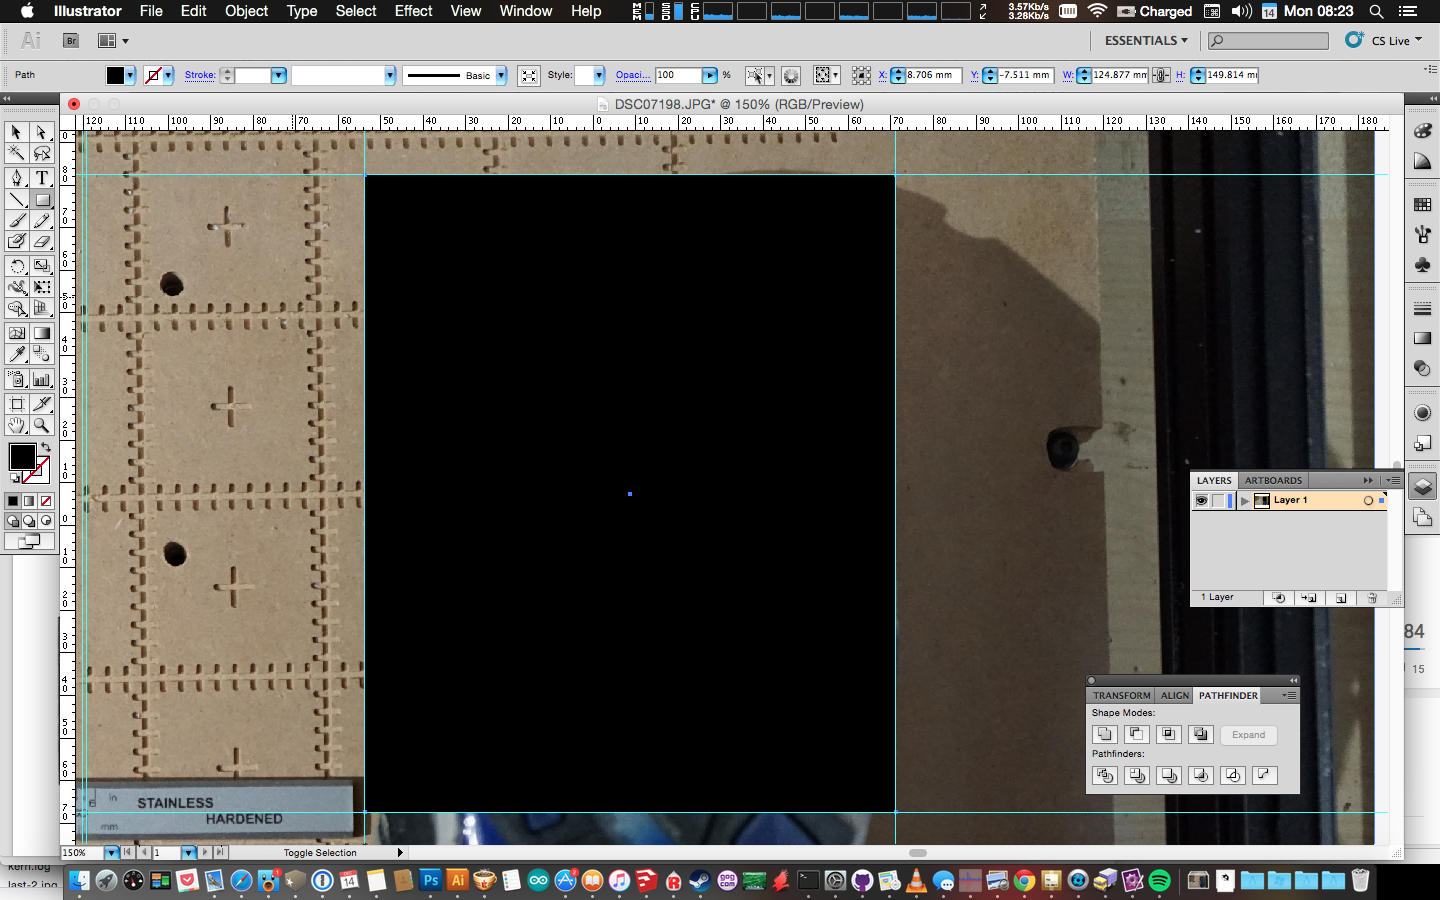
Then import the photo into Adobe Illustrator or similar tool.
2 minutes
After import check using the rulers that 1mm on your ruler in the photo is 1mm. If not resize your photo so that it is.
After doing this add ruler lines to the outside edges of your shoe.


10 minutes
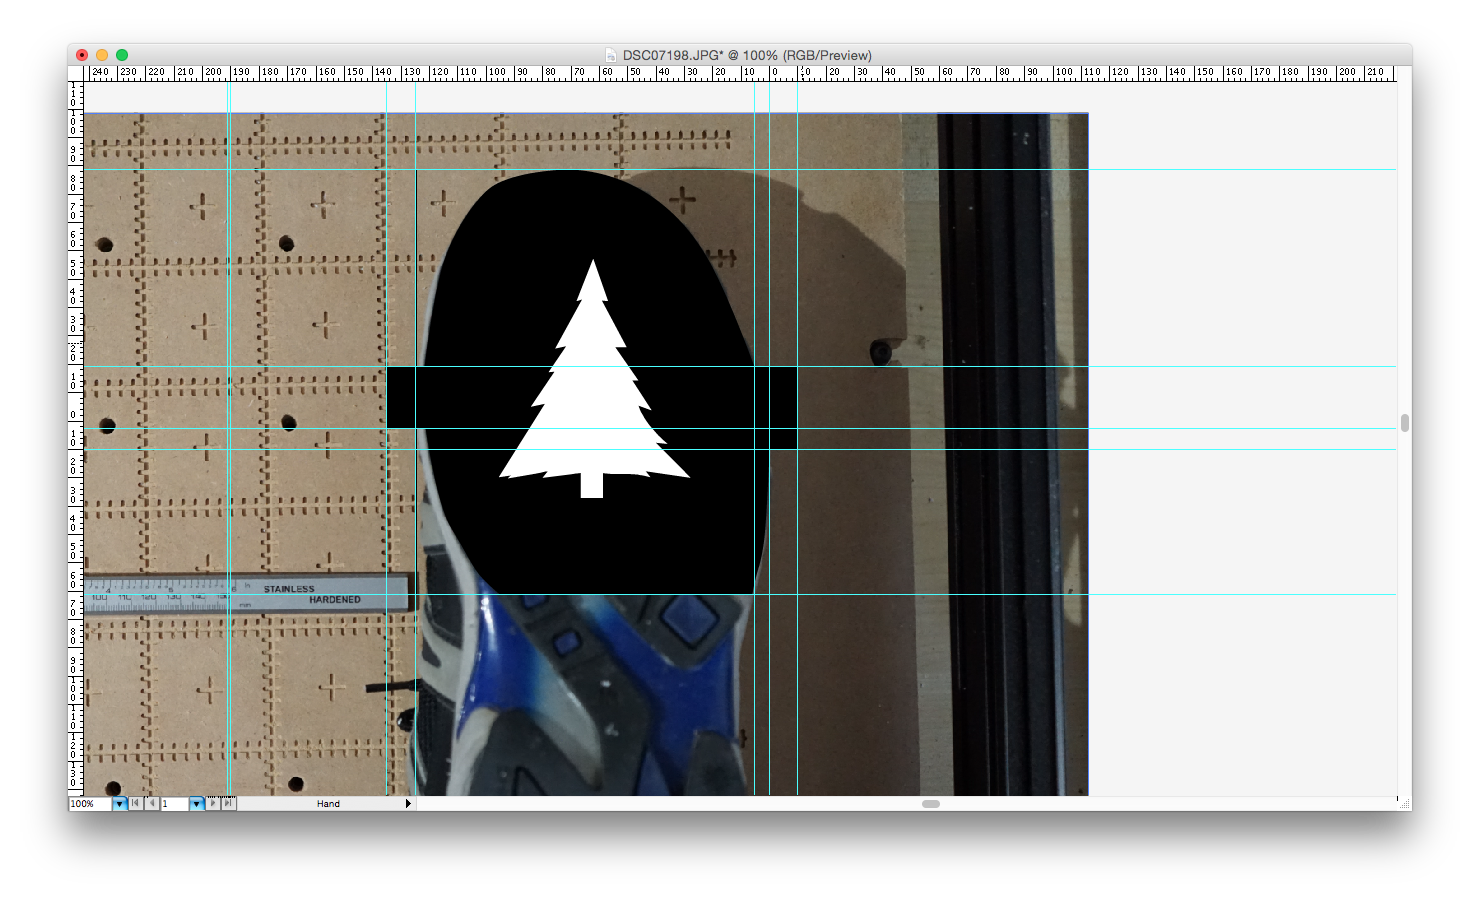
Drag a rectangle over the part of the shoe that you want to cover and then move the rectangles points to the widest parts so that you can still see the photo underneath.
Take your pen tool and add points to the rectangle you drew. After this move the points around and manipulate the rounding so that your rectangle only covers the part of the shoe that you wish to cover. This may take a while to get correct. So don’t be afraid to mess with points you have already placed.


3 minutes
Pick a place in the design where you want the tabs for your Velcro or zip ties to go over the top of your shoe.
These should be in the same place on both sides so drag some horizontal rulers where you want these to go
Add a few more points near the rulers marks where you want the tabs to go. Drag these points out from the shoe. For the best result add a ruler mark about 10mm out from the ruler marks you made in Step 2


2 minutes
Add your design that you want to be your impression to the middle of the design you already made. If the design is a font expand this design.
After this delete the Image of your shoe.
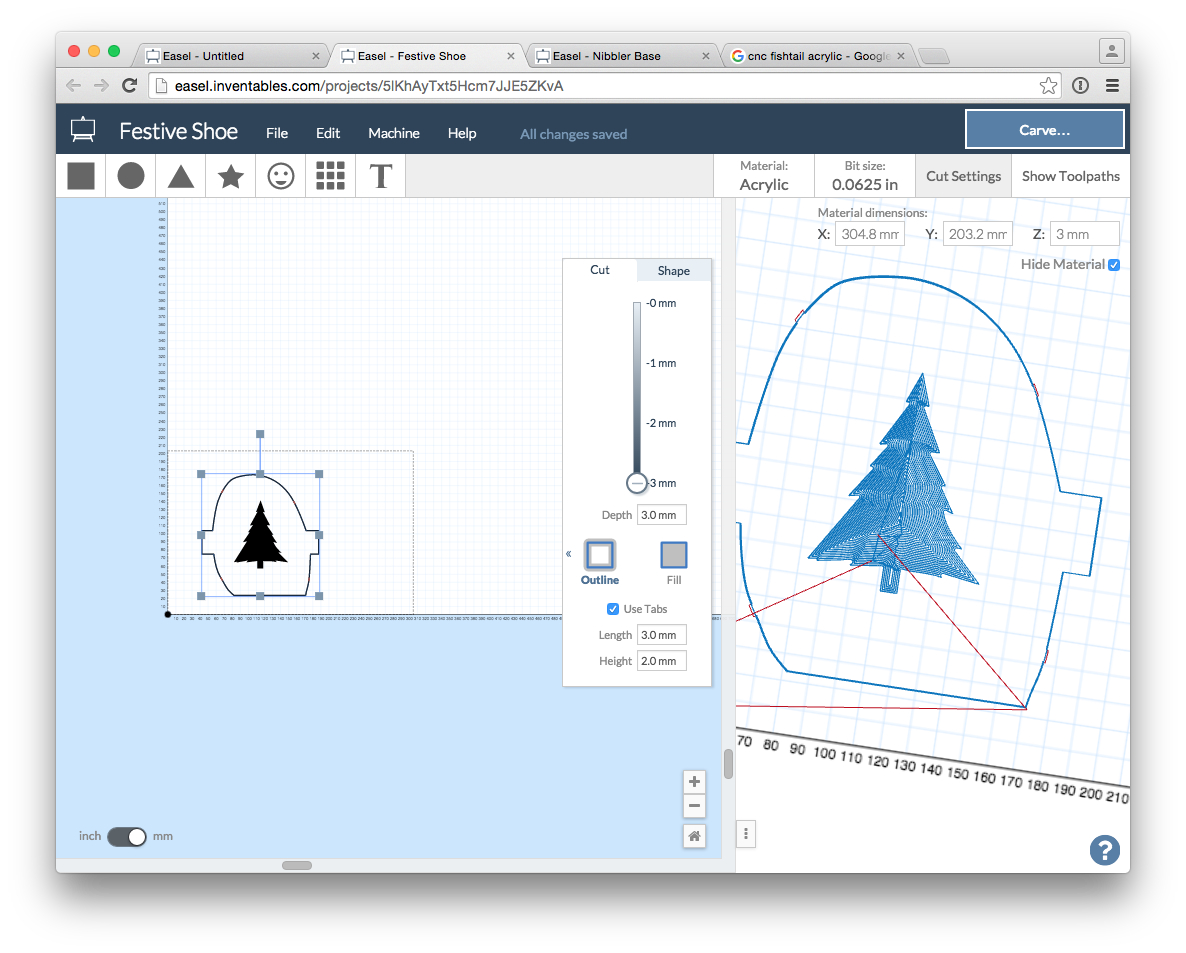
Upload to Easel


15 minutes
Set the depths and type of cut. Depending on your design you can use fill or outline.
Set the outline of the of the shoe to cut fully though your material and then set the cut type to outline.
In Easel add 2 rectangles where your tabs are these will be a full cut and again set to the cut through the material.
For my design it was better and less time consuming to use the outline option. Make sure that this is set to cut fully through.
After this you should have every part of the design set to cut the through the material.
(Optional)
If you want the same design on both shoes select all the items and duplicate(copy and paste). Then select flip horizontal.
At this point you should be good to go.


20 minutes
Cut out your design. Add Velcro or Zip-ties to your carve and attach to your shoes.


