
A straightforward project that will make you drawers look very impressive. Utilizes wooden inlay strips to give you a unique, yet professional, appearance.
| Material | Description | Price | ||
|---|---|---|---|---|

|
Cherry Wood |
6" × 12" × 1/2" Cherry Wood |
$8.86 |
|

|
Maple Zig Zag Wood Inlay (×2) |
Maple |
||
| This project's Bill of Materials is not complete. Add to Cart |
$8.86 |
|||
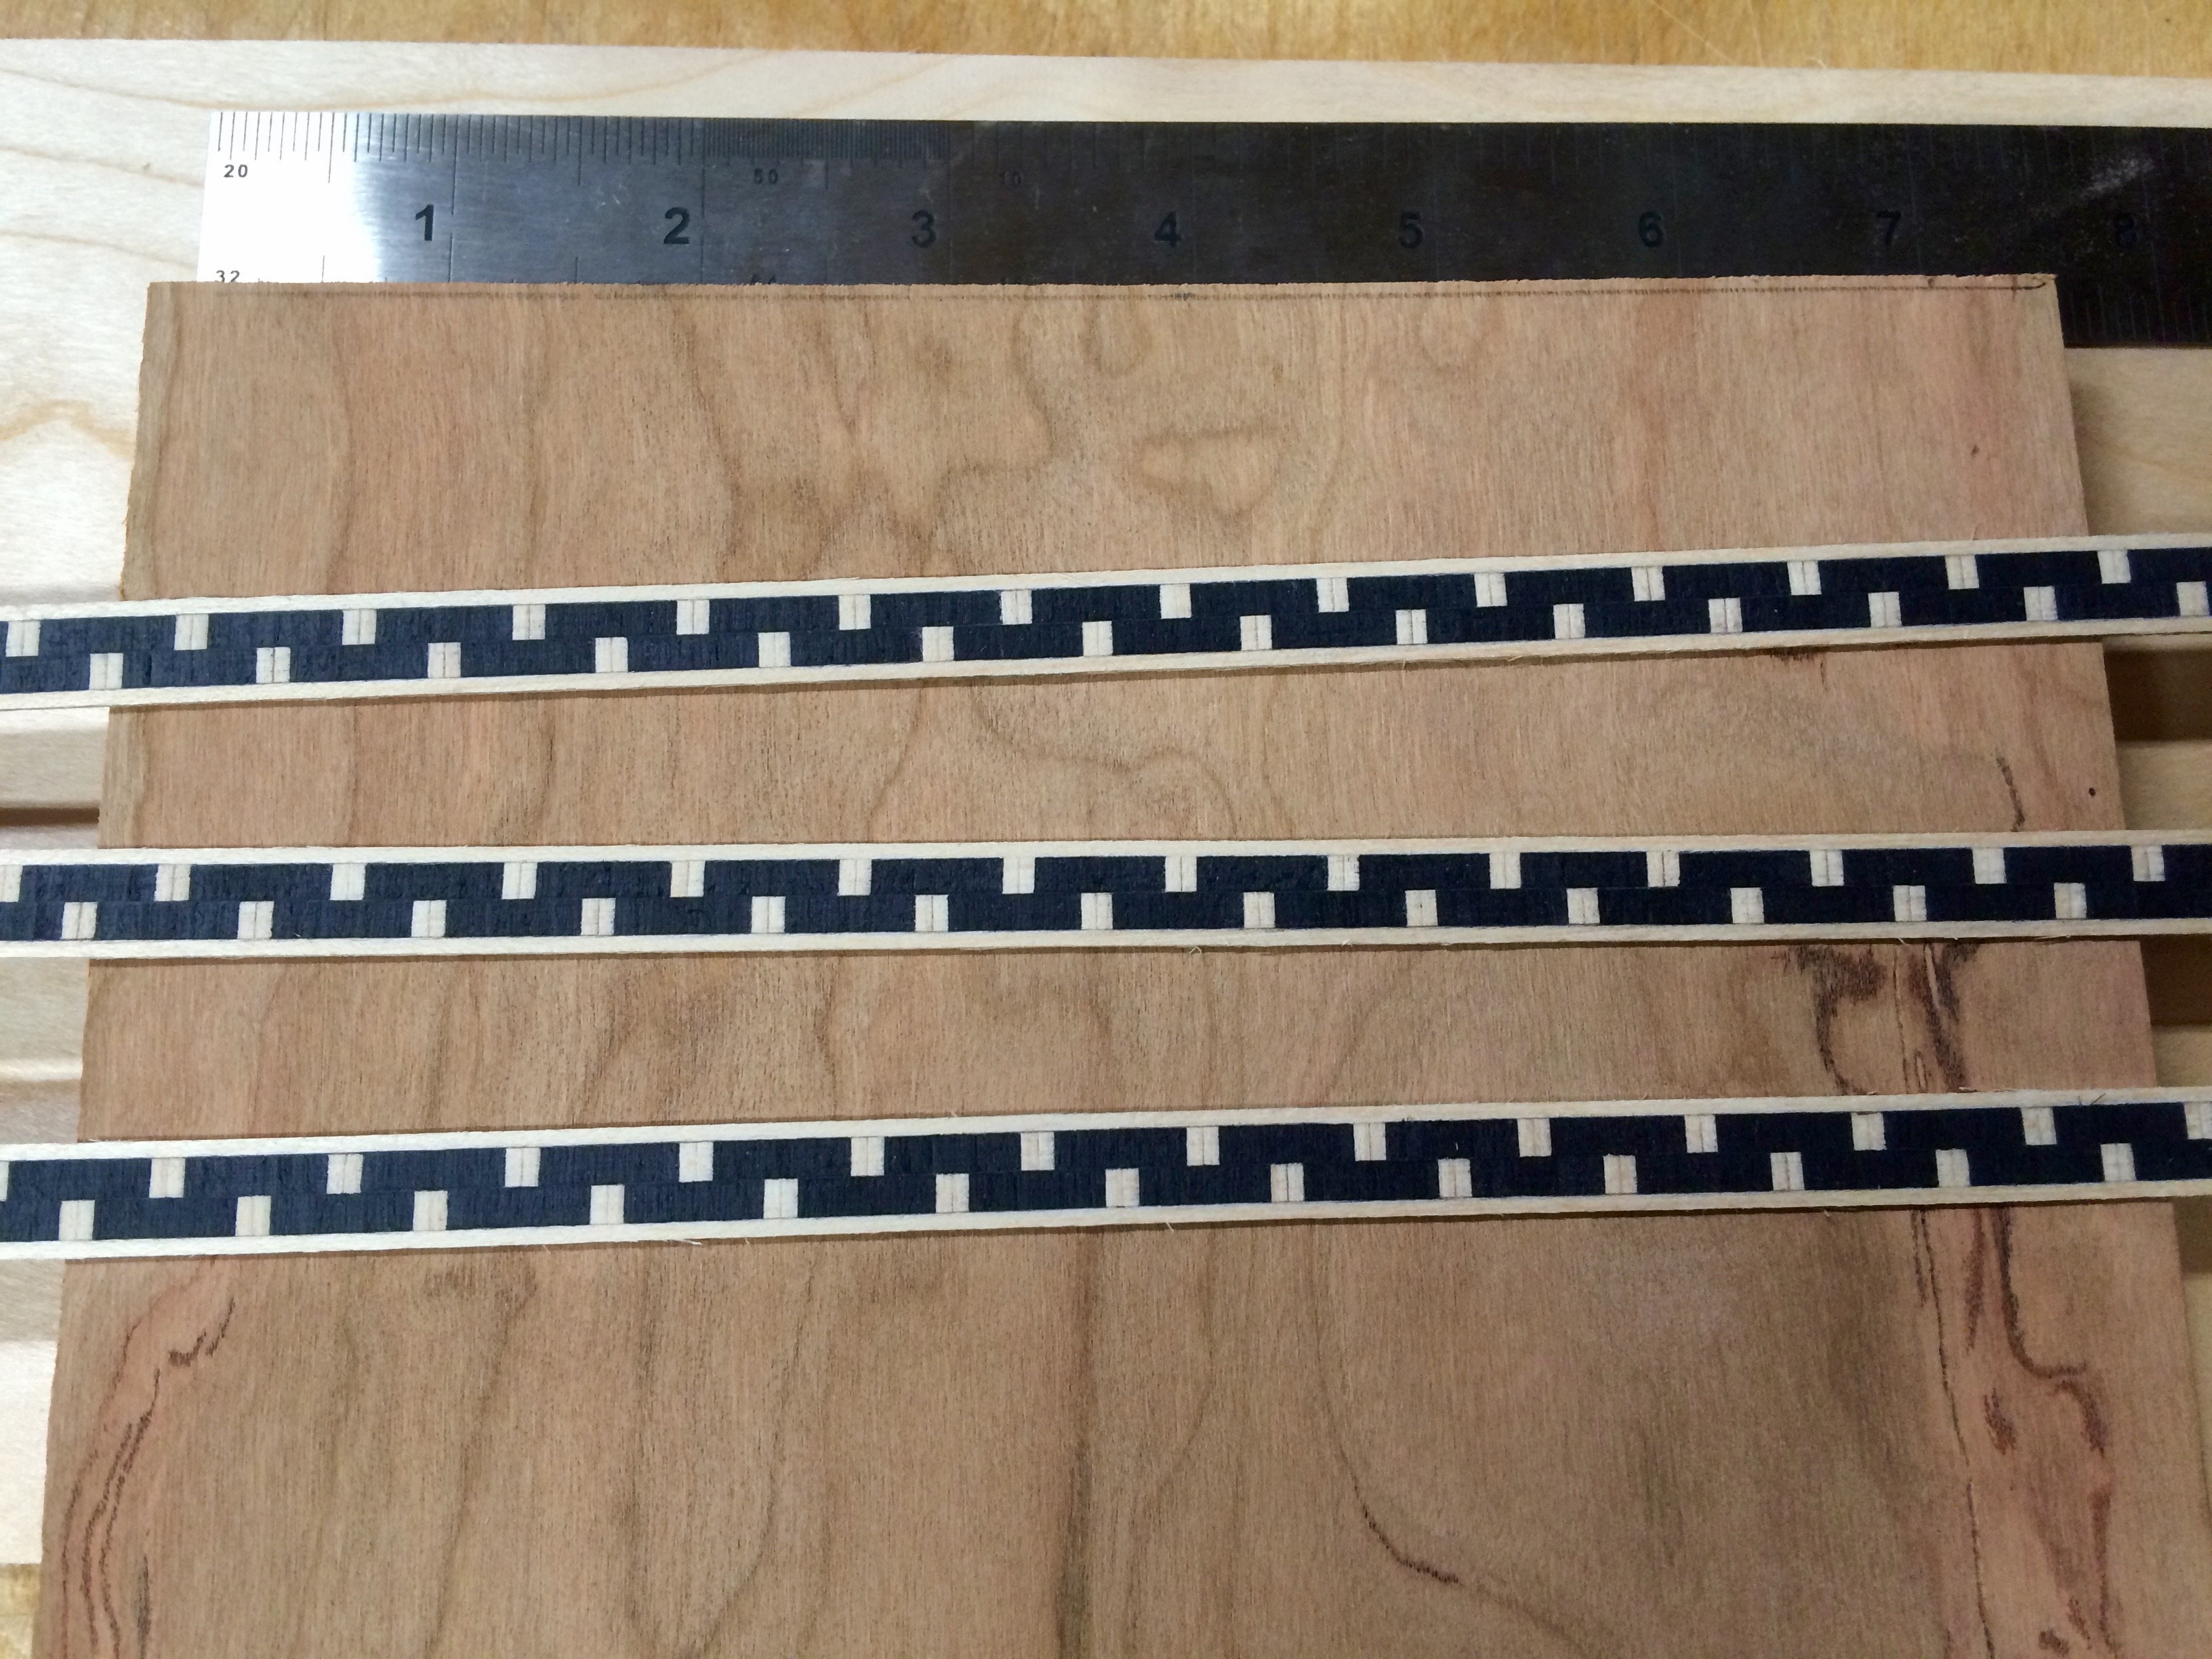
Before you get started, we need to know a few things. My drawers had 3" centers. Measure the holes in you drawers to see if they are different. (If so, you will need to adjust the easel model.) Since the inlays repeat, you will want them to be symmetrical. Making the pocket 3.5" makes the pattern repeat nicely.
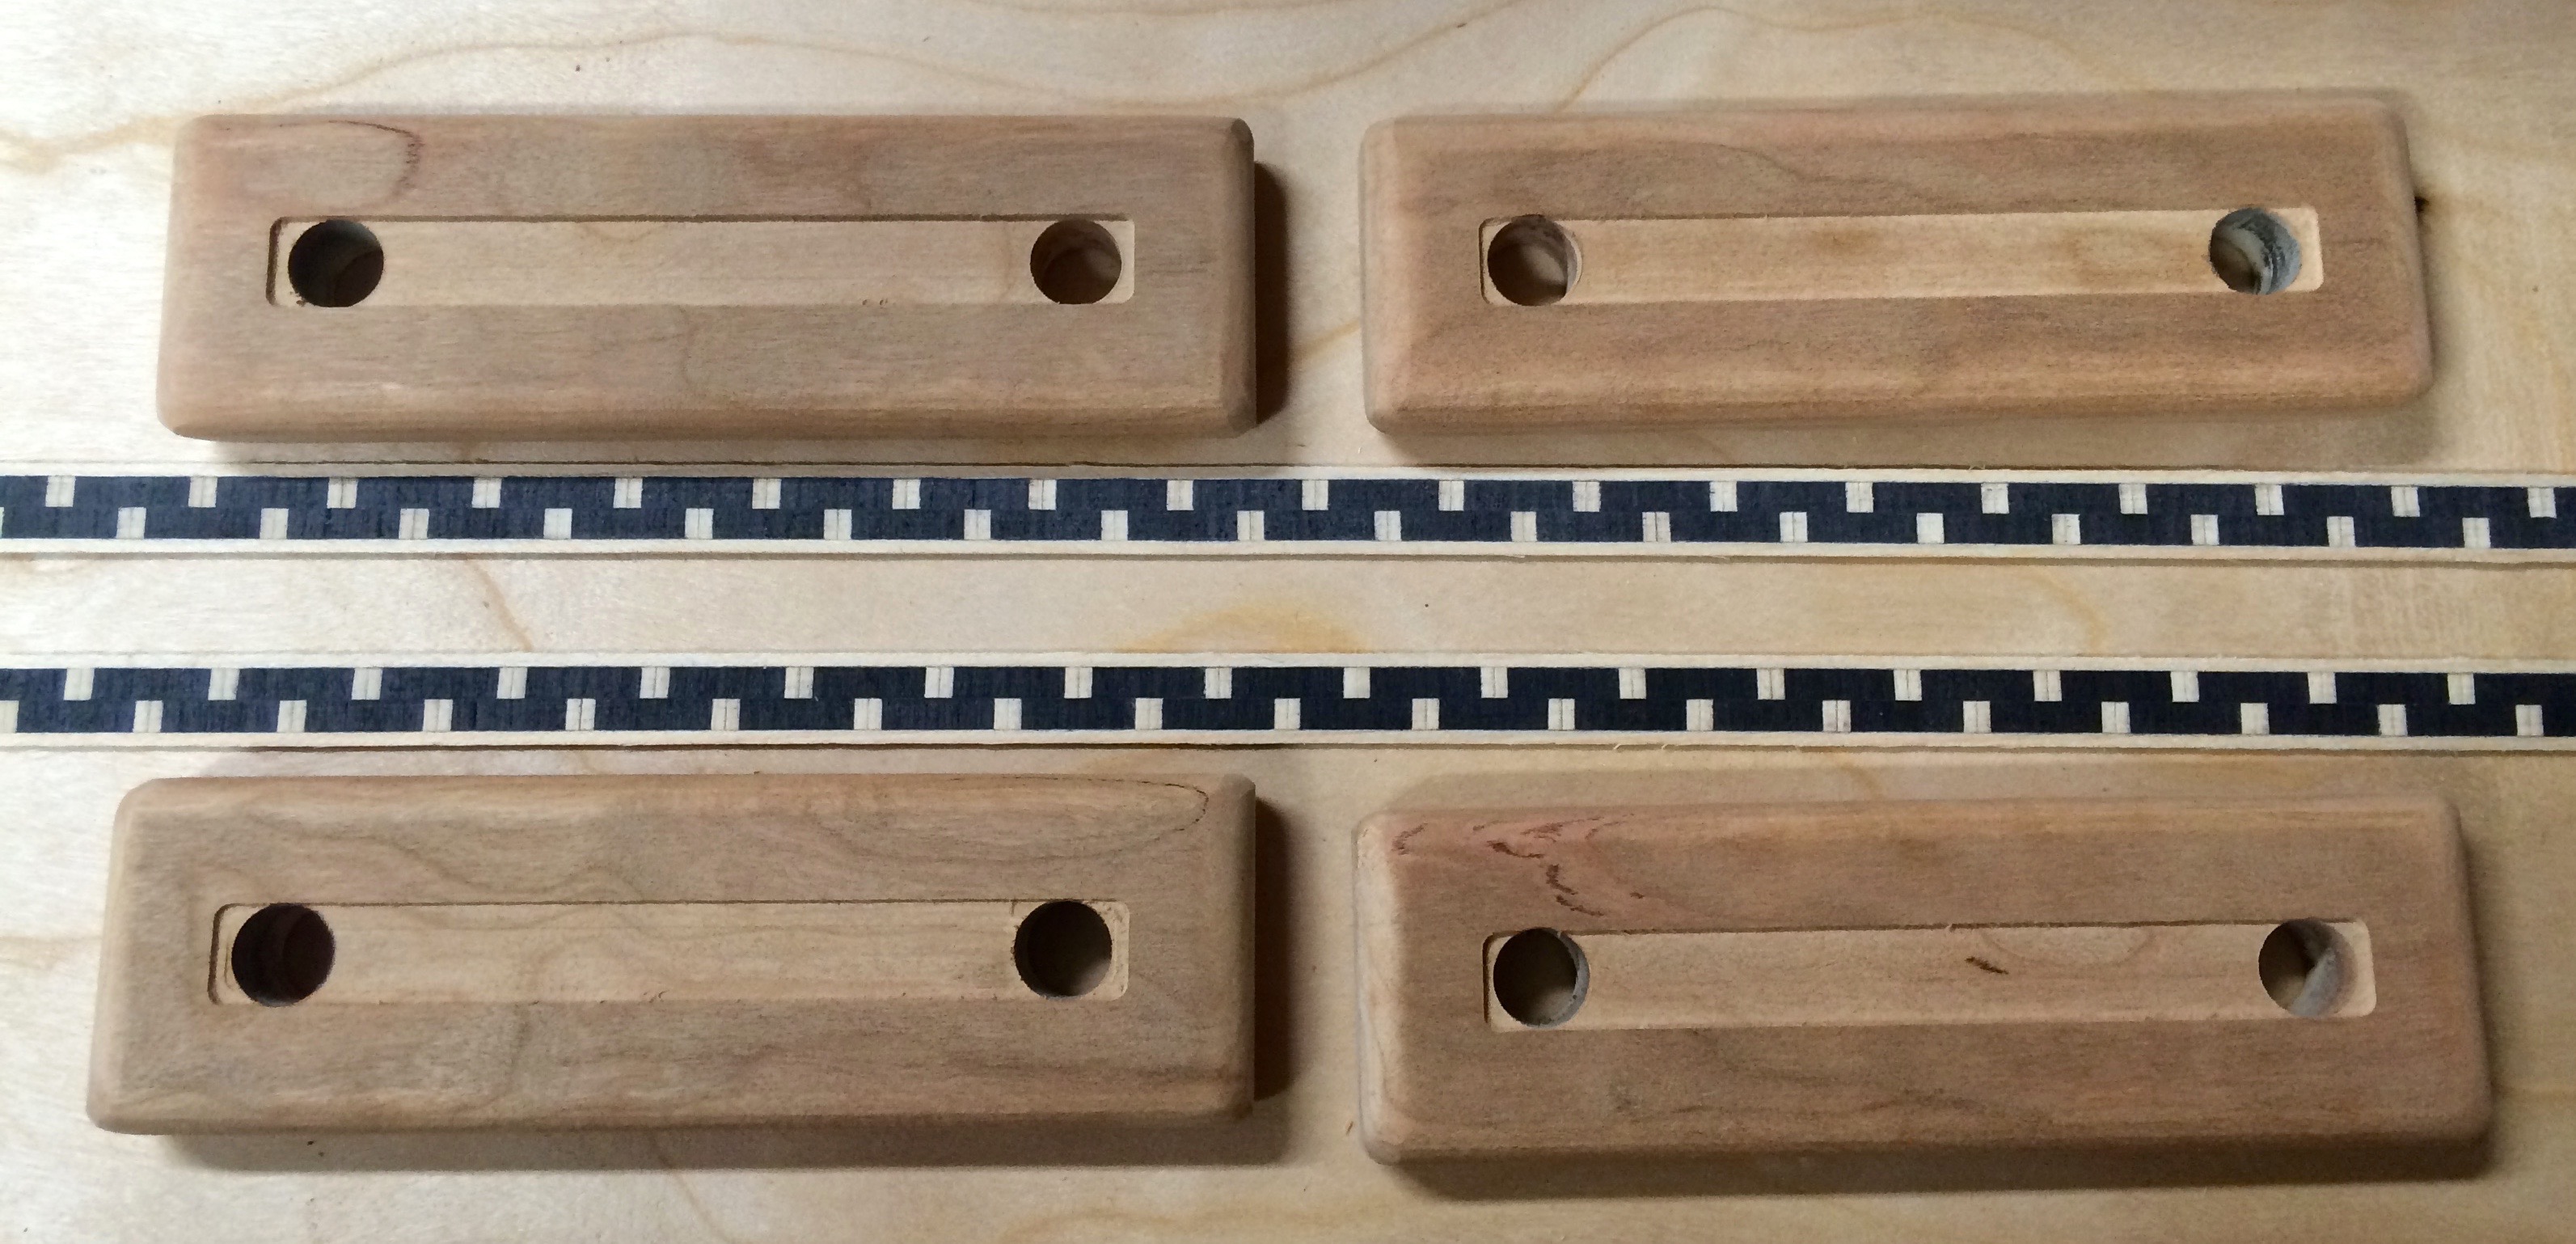
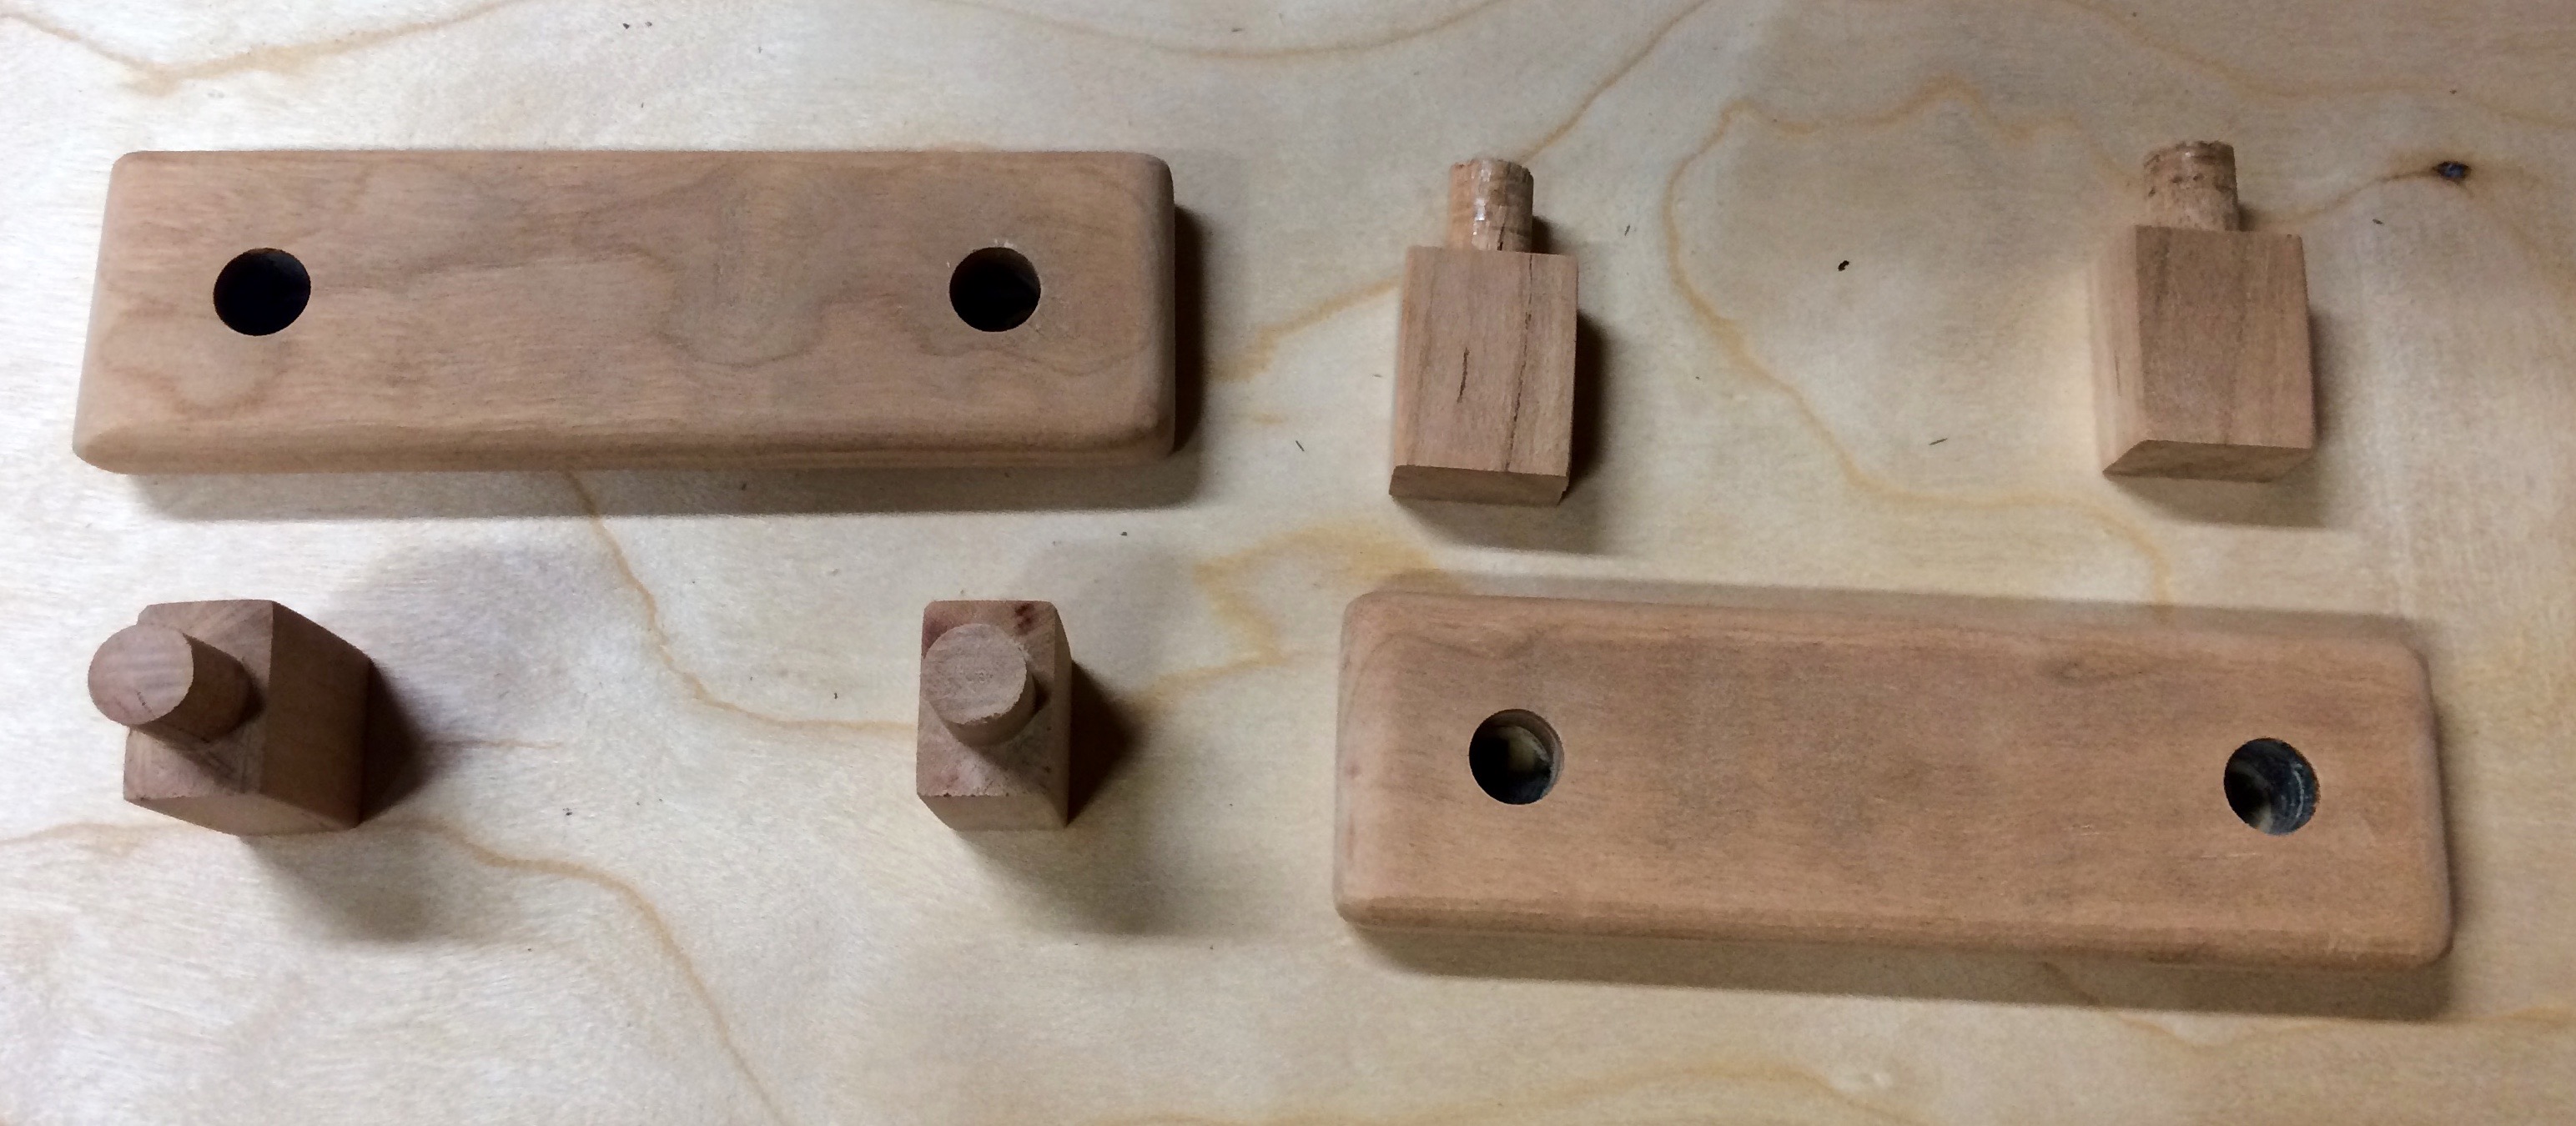
Using the linked model in easel, carve up your pulls. I included 4 pulls in the model. You will need to make sure that you machine is well calibrated as the pockets for the material are around 0.040" deep.
I used a 1/8" spiral bit at 0.030" depth and 28 inches/minute.


There are multiple ways to make the legs for these pulls. Two easy ways are to use round dowels or rectangular pieces of wood. Round dowels would need to be 3/8" in diameter. Square would need to be 3/8″ × 3/8".
I thought of the easy ways after I was done, so here was how I did it. I cut a round tenon on a piece of cherry that was 1/2" thick and 3/4" wide. I marked the center by drawing 2 lines from corner to corner making an X. The intersection is the center. I then used a compass to draw a 3/8" circle. The tenon needs to be just under 1/2". Cut the tenon however you are comfortable. I used a saw and chisels. Yes, it takes a while, but you will get there. Once I formed the tenon, I cut the leg off from the longer piece, resulting in a leg that is 1 1/2" long.
Do not glue the legs in yet.

Take a few minutes to shape the pulls with sandpaper. I rounded off all the edges to make them feel nice in my hand. Tape a piece of 220 sandpaper to you table and bring the pull to the sandpaper. In this way you can more easily sand the small piece.
This step requires a bit of patience, so don’t rush it. Just relax.
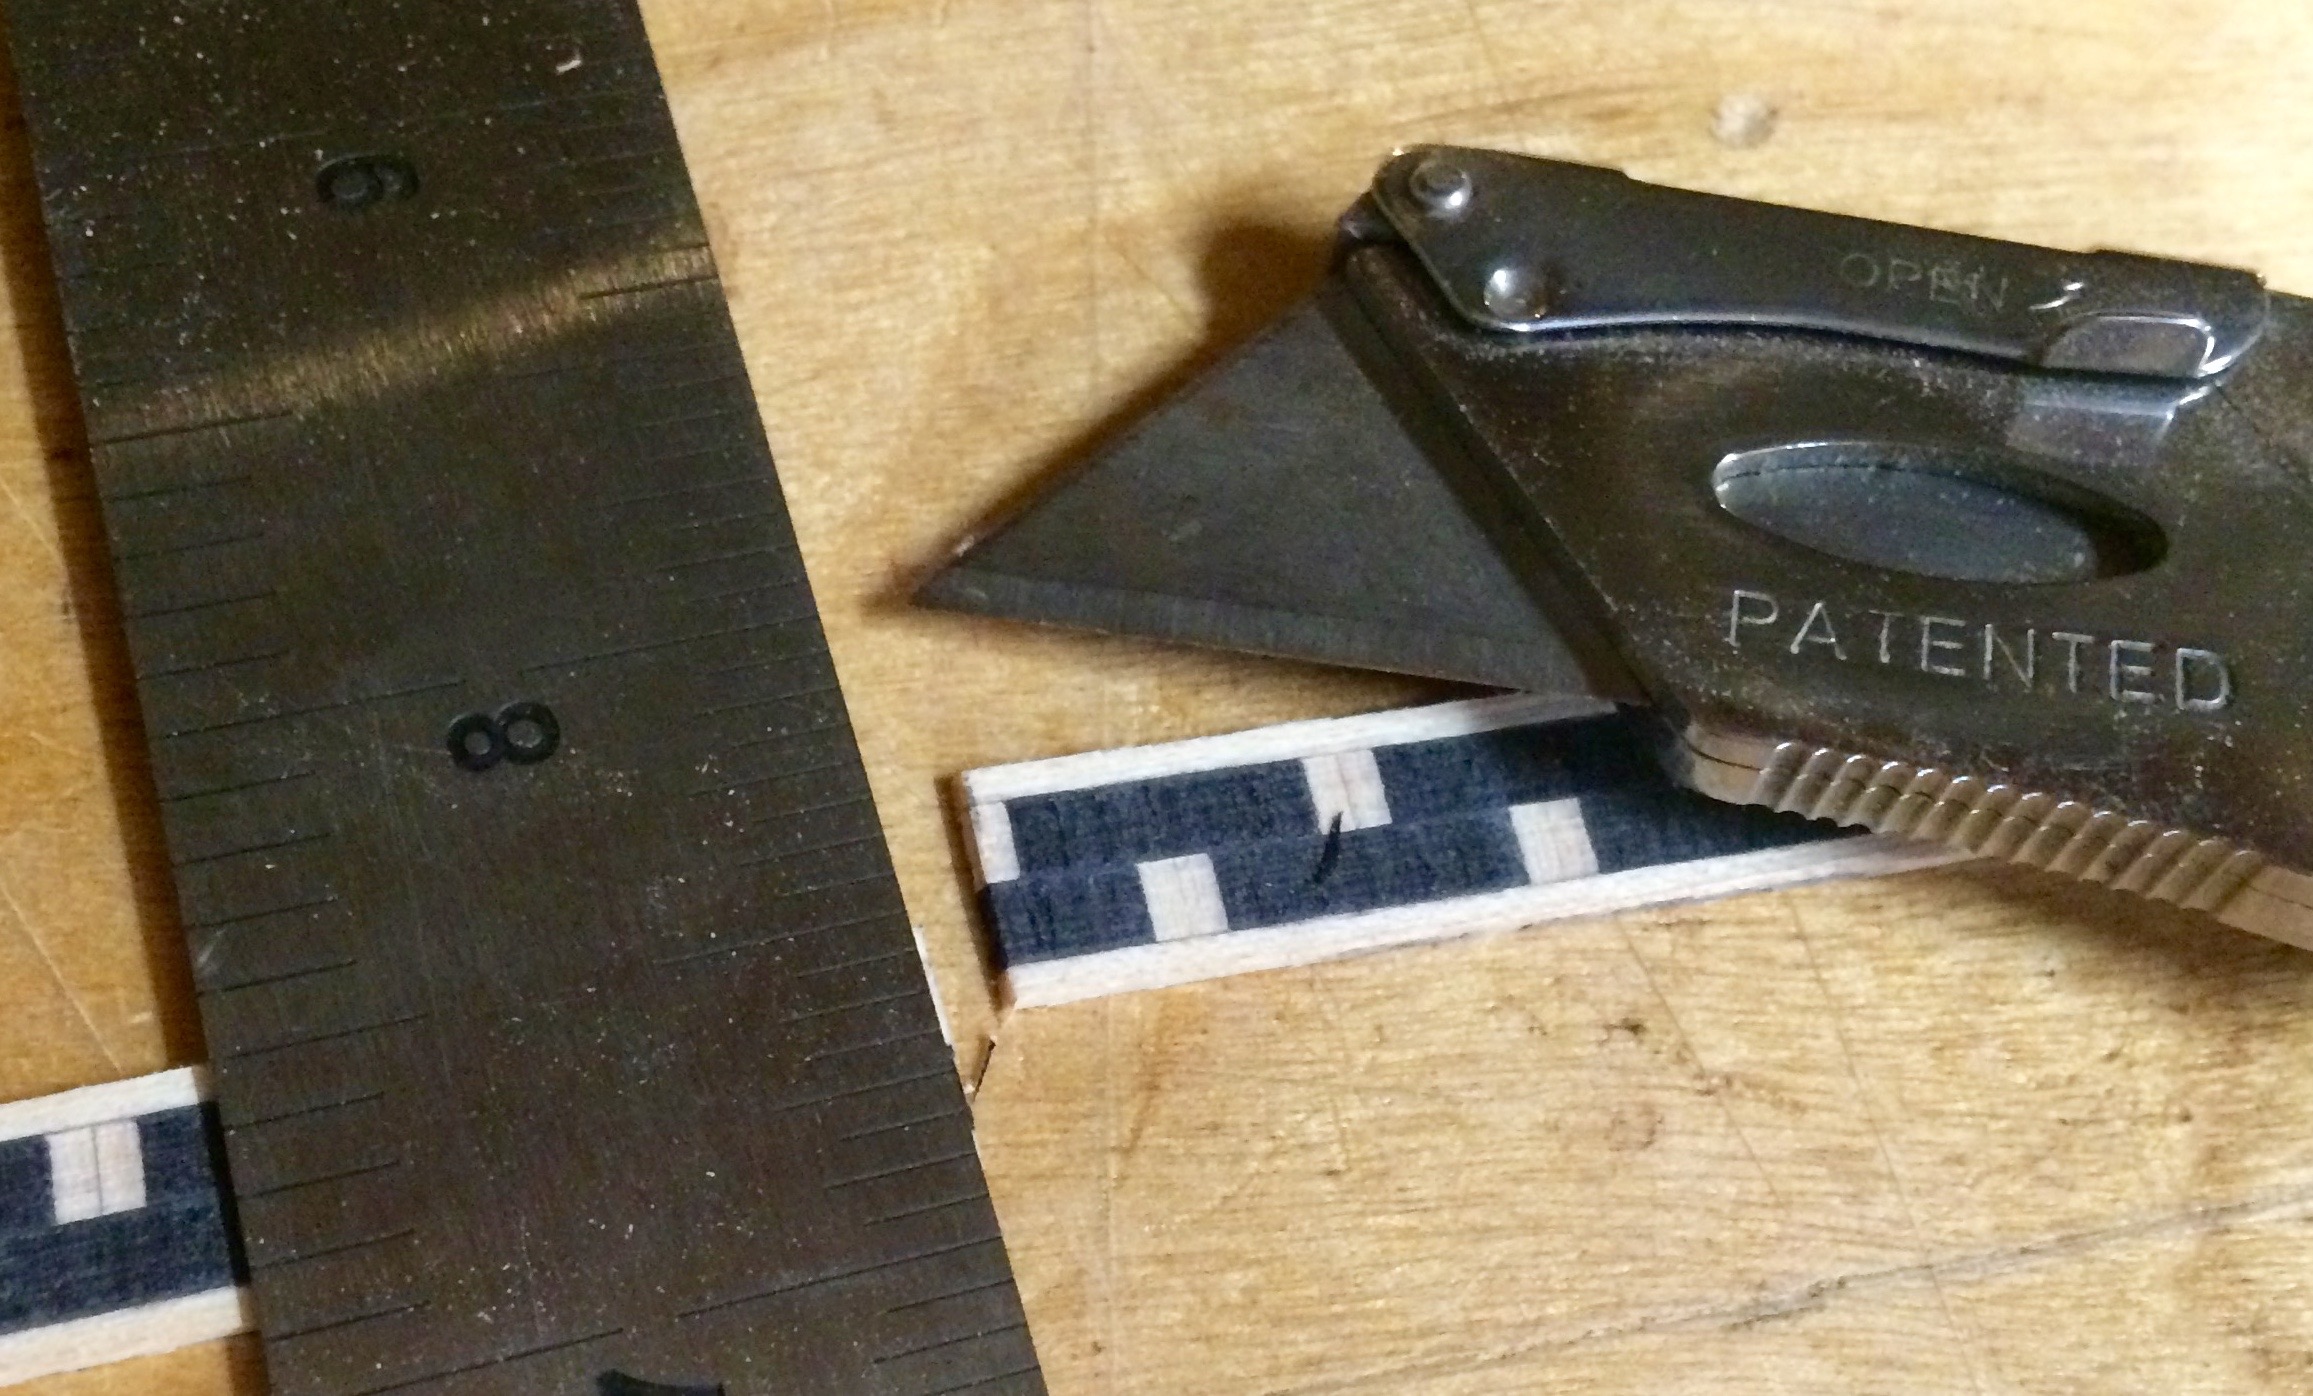
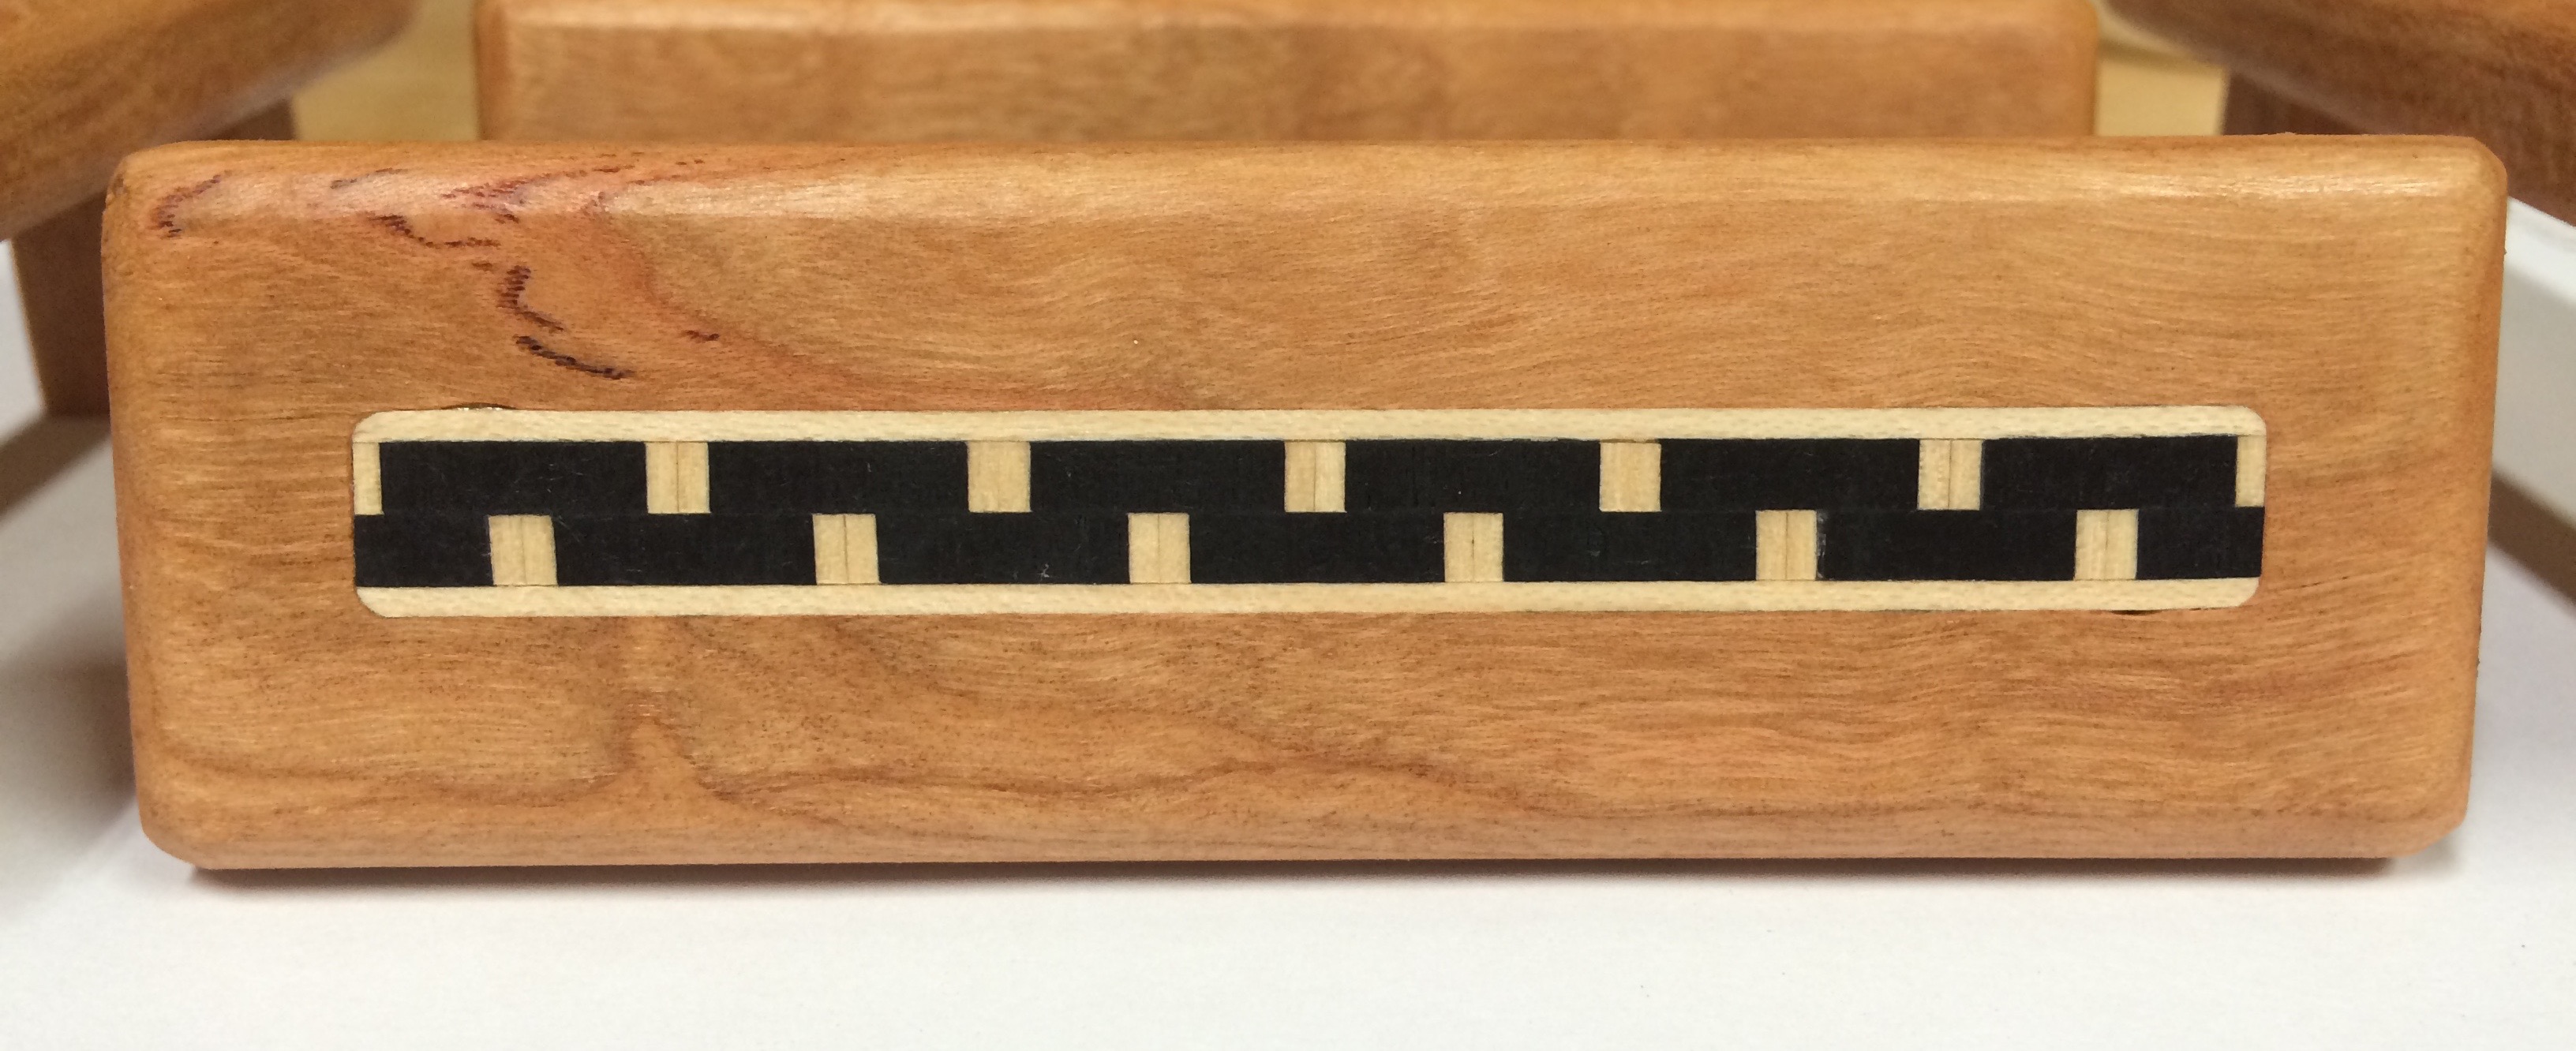
Start by cutting your inlay to length. There is a repeating pattern, so make it symmetrical. I used a straight edge and a utility knife to cut the inlay to length. Start by lightly making several scoring cuts. After you have a good cut started, you can push though. Test the length of the cut. If you are slightly long, use 220 grit sandpaper to shorten it. The knife is too difficult to use for short cuts.
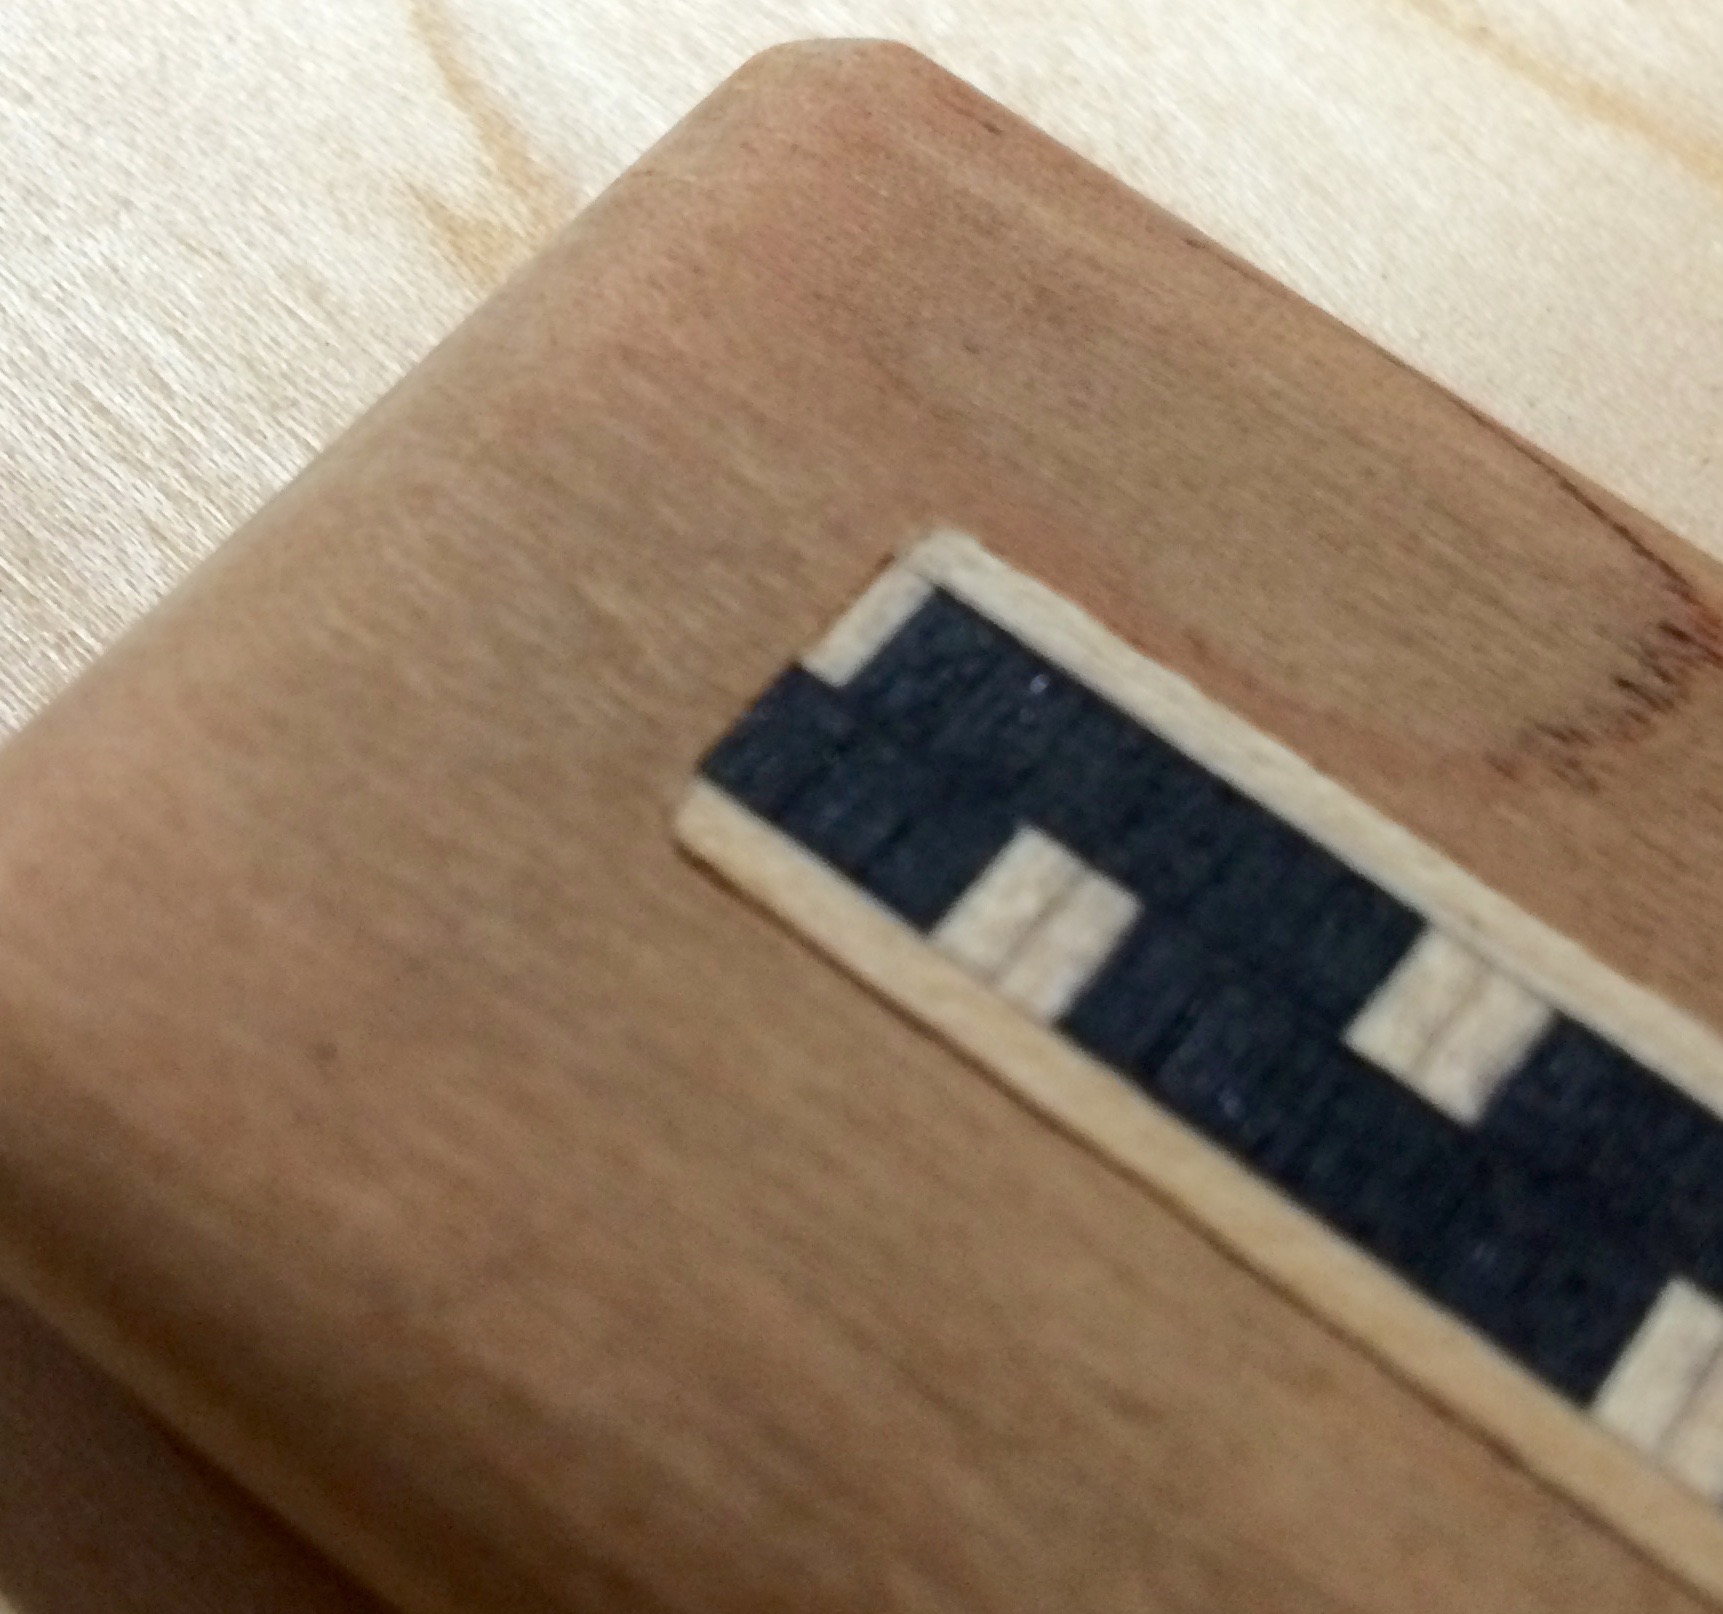
Use the sandpaper to round off the corners of the inlay. I used a 1/8" bit to cut the pocket, so 4-5 passes on the corner of the inlay made them round enough to fit. Keep using the sandpaper to get the pieces to fit. Your patience will be rewarded if you make it fit nicely. You can see the difference between a bad fit and a good fit in the photo.
Fit each piece to one pull, making sure to mark which ones go together. Since you didn’t glue the legs on yet, you can use the holes in the back to pop the pieces out if they get stuck. Don’t try and pry them out as you will likely break them.


Now that you have all the inlay pieces fitting so sweetly, it’s time to glue. I used regular wood glue here. Just a little glue spread evenly on the inlay should do the trick. I then used small sticks and blue painters tape to clamp the inlays in place. The sticks apply pressure to just the inlay. Make sure the sticks don’t overlap the glue joint or they might get glued to the piece. Blue tape makes an excellent clamp, but you can also use little clamps of you have them.
Let the glue dry for at least 30 minutes before moving on.


Now that you have the inlays in place, glue on the legs. Nothing complicated here. A little glue in the hole and away you go. You can use blue tape for clamps or regular clamps if you have them. I put tape over the inlay when using a clamp to make sure I didn’t mess it up. We are almost done, don’t want to mess it up now.


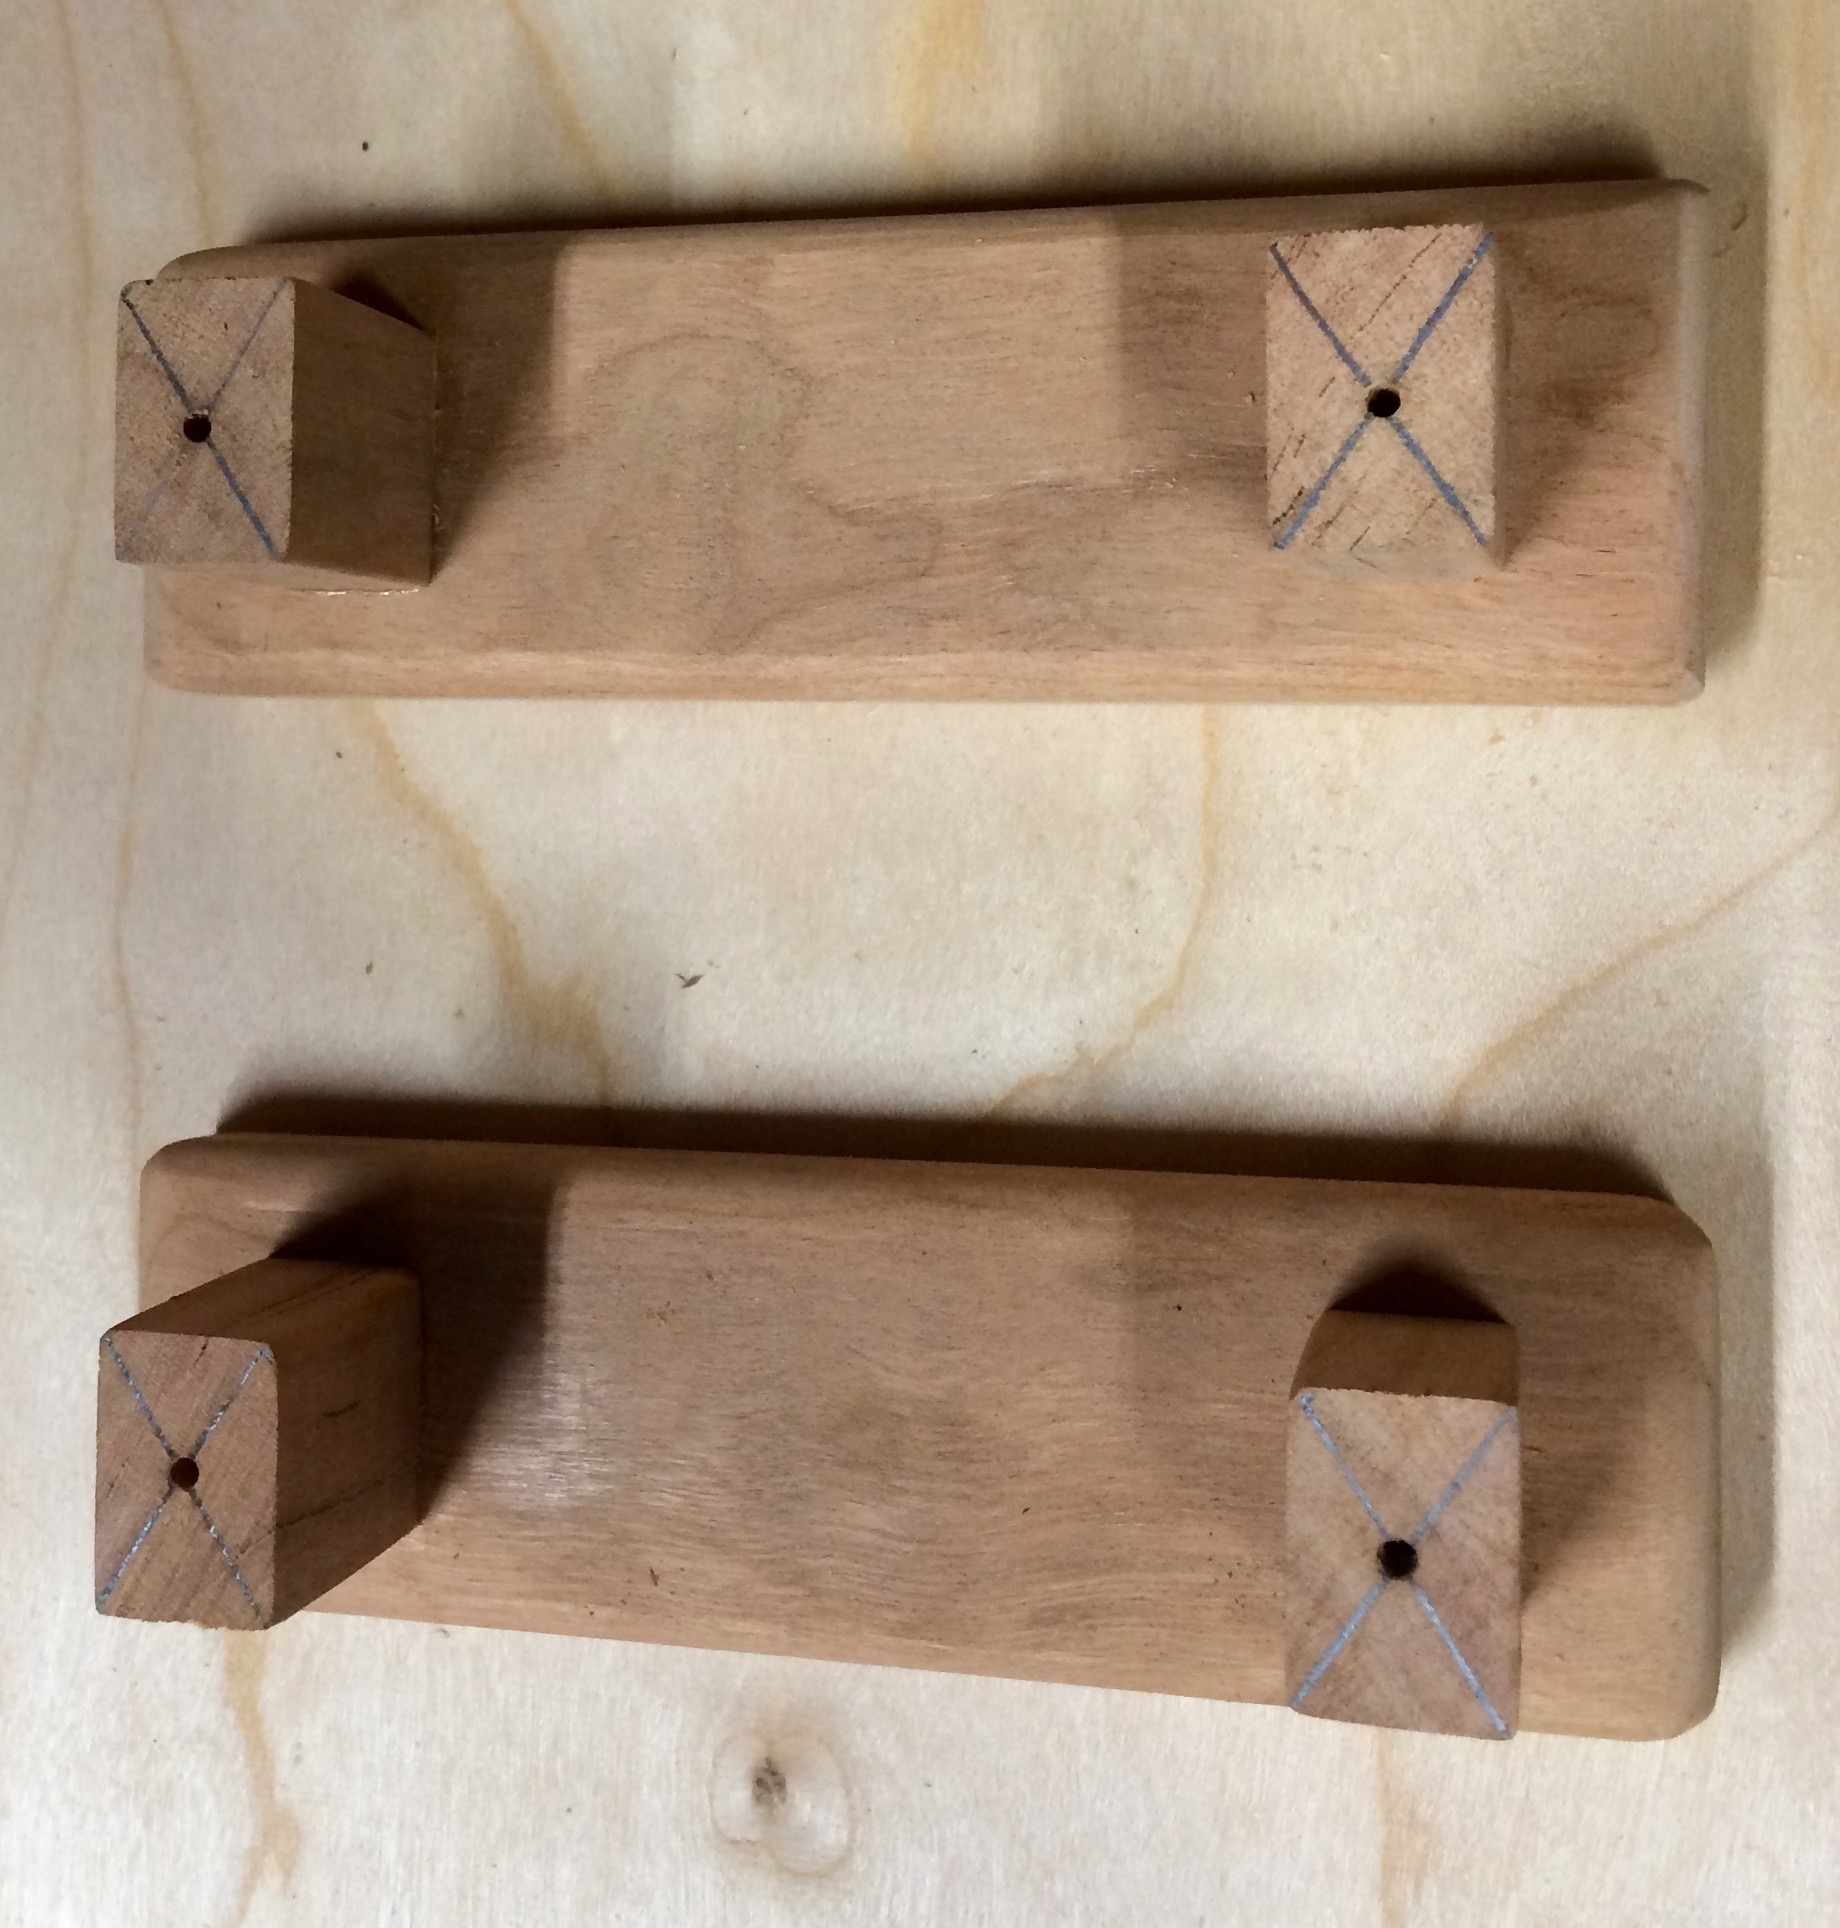
After the legs have dried, mark an X on the center of the leg by drawing lines for corner to corner. That is the center. Double check that the distance between the marks on the legs is 3". Drill a hole for the screws that will eventually hold the pull on the drawer, taking care not to drill all the way through the front.

Using sandpaper affixed to your table or other flat surface, sand the inlay flush with the pull. Take the time to make everything nice and smooth.
Once it is smooth, apply some finish. I used some wiping varnish, but spray polyurethane or lacquer would also work. Put on a few coats, lightly sanding between coats.


Chad Shelby