
Make a custom Dominoes set, complete with a storage container. It’s perfect for kids and game night!
| Material | Description | Price | ||
|---|---|---|---|---|

|
Adhesive Vinyl Paint Mask |
Width: 24", Length: 5 feet (shipped uncut if more is ordered), Color: White |
||

|
Baltic Birch Plywood |
12" × 24" × 1/4" Baltic Birch Plywood |
||

|
Black MDF Sheet |
Dimensions: 8 in × 12 in - don't use, Thickness: 1/4 in - don't use |
||

|
Solid Carbide Downcut Fish Tail Spiral Bit |
1/8" Downcut Fish Tail Carving Bit |
$10.99 |
|
| This project's Bill of Materials is not complete. Add to Cart |
$10.99 |
|||
25 minutes
Cover your MDF sheet with the adhesive paint mask and insert your 1/8" Downcut bit into the spindle. Clamp down the MDF sheet on your machine, making sure to take into account your clamp location when rearranging the tiles.
When your workspace is ready, carve out the Dominoes Tile project from Easel# on your 3D carving machine. (You’ll need to split the tiles into 2 Easel projects—using 2 sheets of black MDF—for Carvey, but you can carve them all at once on any size X-Carve.)
MDF dust is toxic. If you don’t have an enclosed machine or a dust control system on your machine, please take the necessary safety measures to minimize inhalation of the dust.

5 minutes
Using a pair of small cutters, clip the tabs and pop the domino tiles out from the MDF board. You can sand down any remaining bumps, but make sure you leave the adhesive paint mask on!
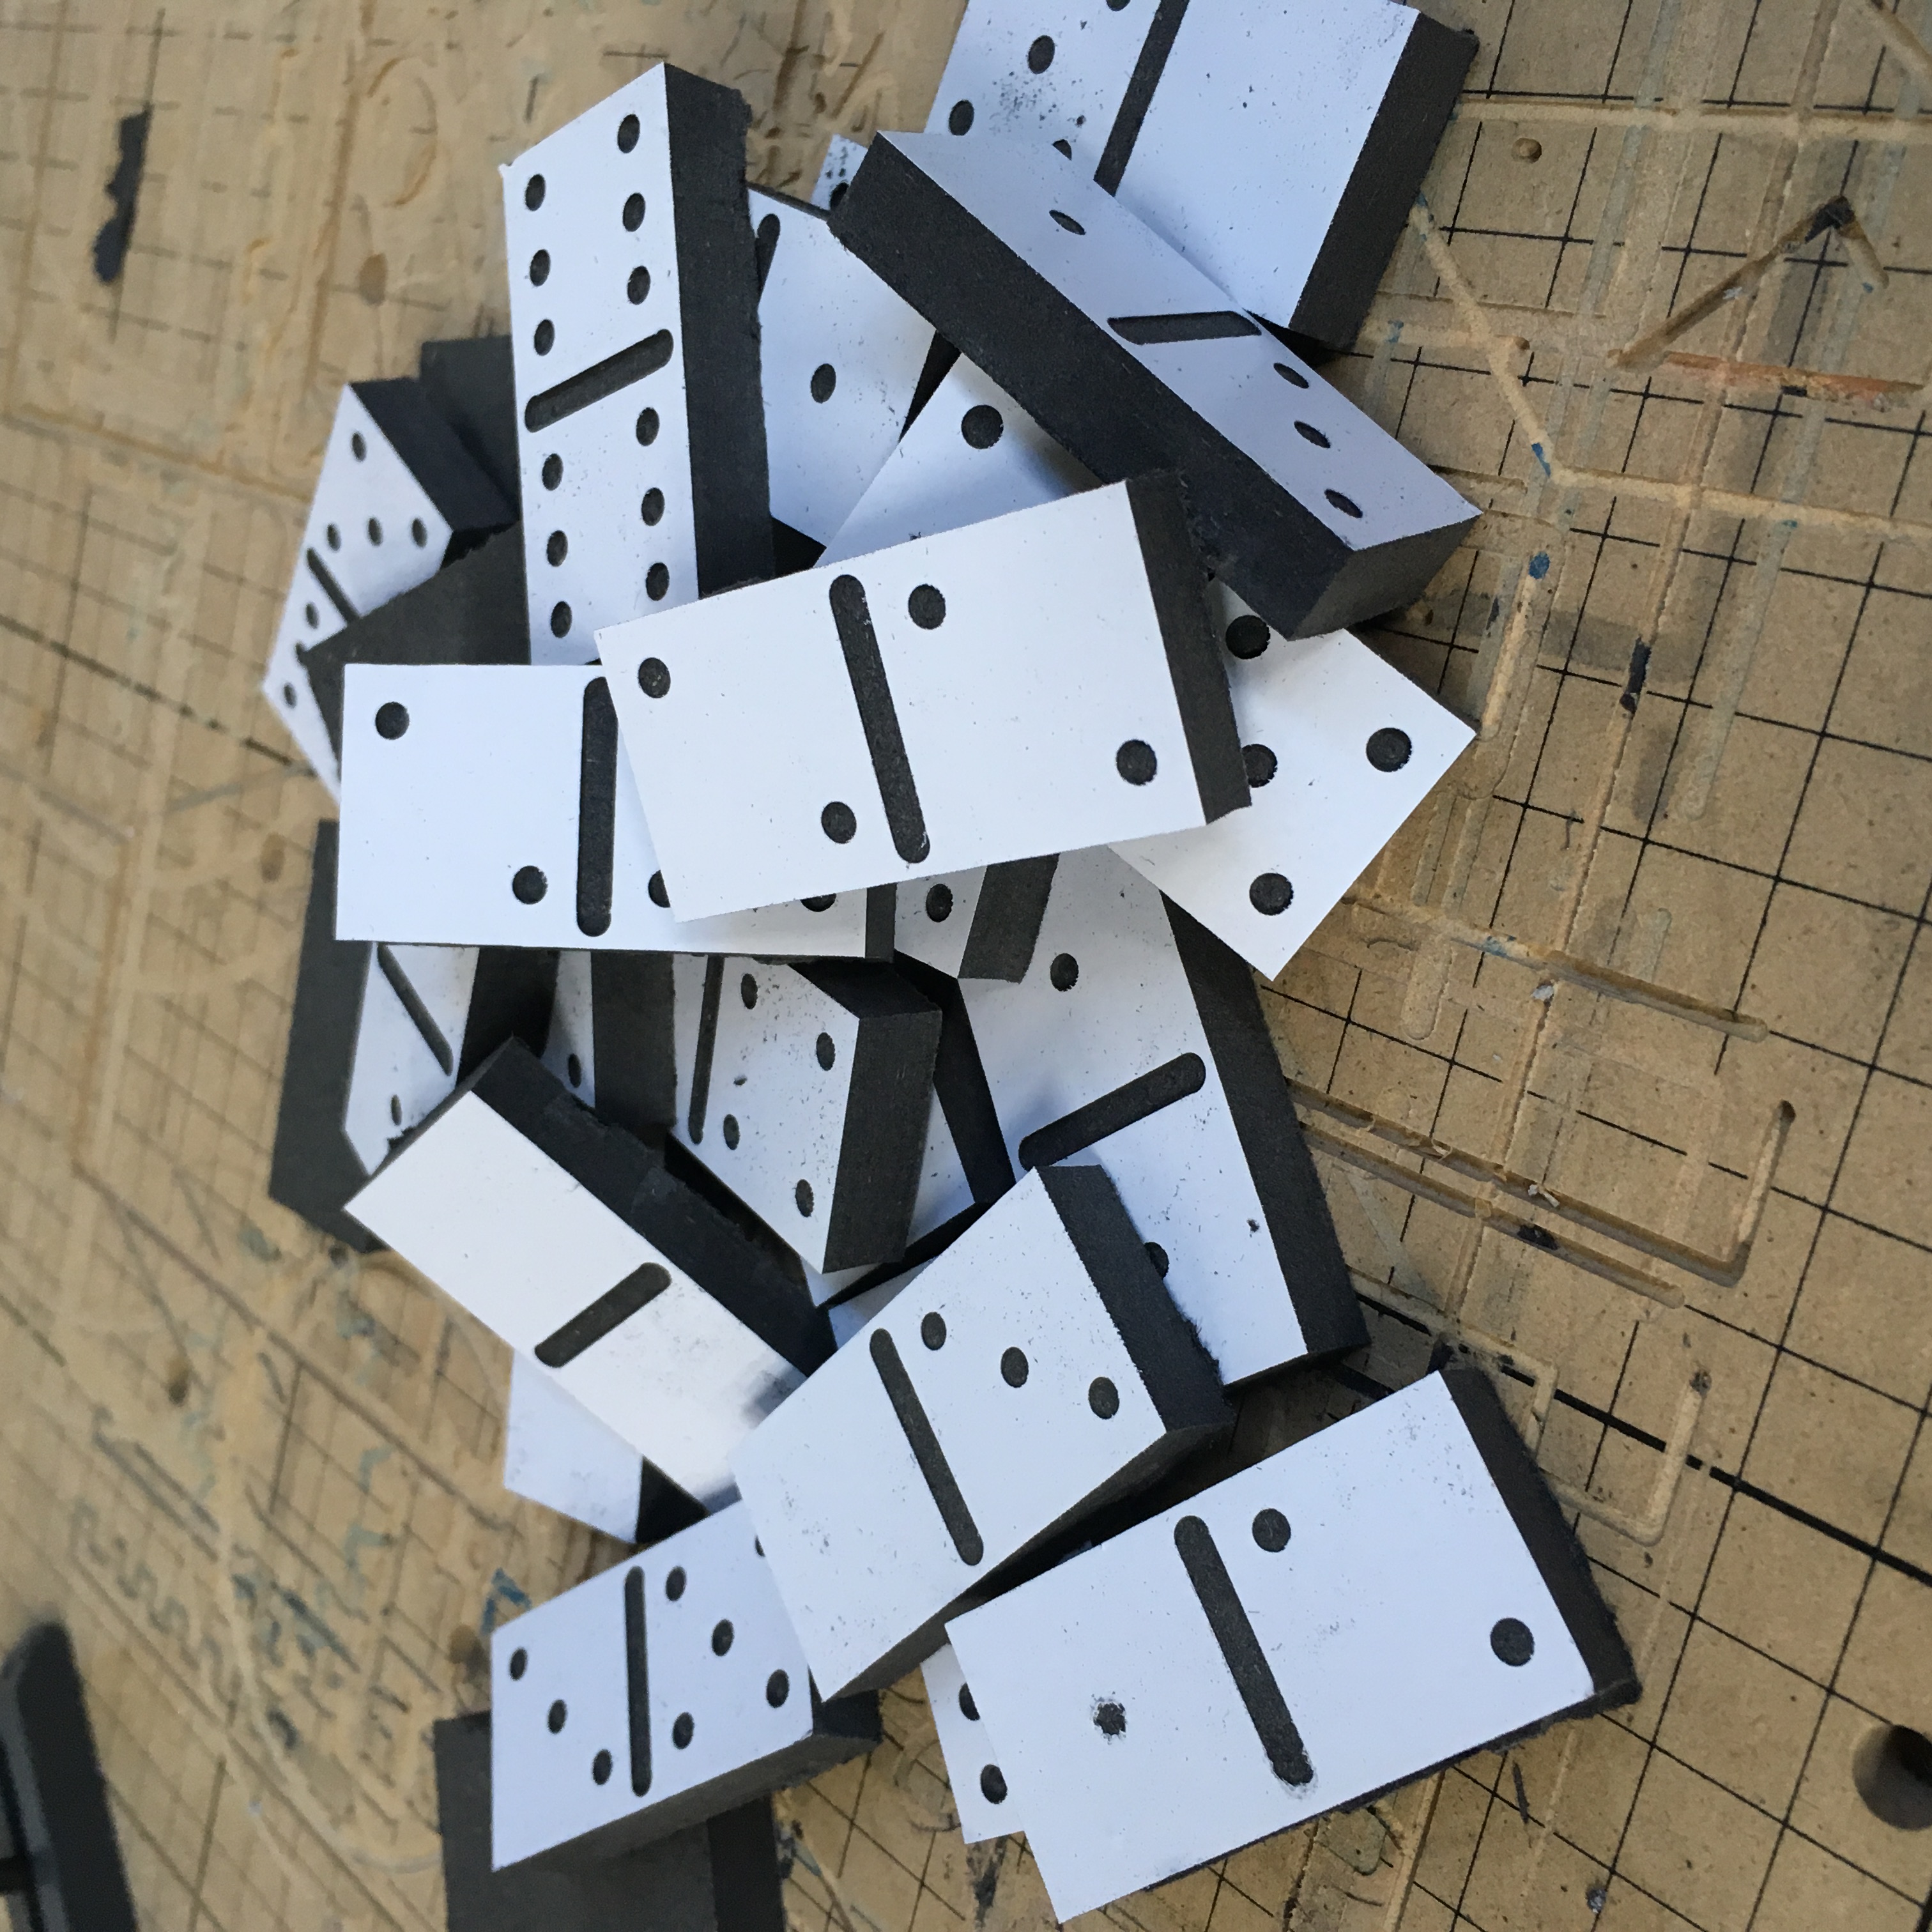
Clear the domino tiles from your work area and clean up any MDF dust with a vacuum. You’ll be using the same 1/8" downcut bit to carve the box, so no need to change the bit.
Measure the thickness of your plywood.
Open the Dominoes Box Easel project. The Easel file is set to accommodate wood that is .25" thick. If your material is not exactly .25" thick, use the Easel Box Maker app to make a new box. We’ll need to account for the material thickness, as this effects the box fingers that hold the sides together. Here are the dimensions you’ll need for a new box:
Width: 4.75" + (2 x material thickness in inches)
Height: 2.3" + (2 x material thickness in inches)
Depth: 2.5" + (2 x material thickness in inches)
Make any changes you’d like to the design of the box. Add your name or a fun picture to the lid, front, or back of the box!
Clamp the baltic birch plywood into your machine. Determine where the lid of the box is from the Easel project in relationship to your homing point. Once you know where the lid will carve in the material, cover this section of the material with the adhesive paint mask. Be generous with the paint mask application, so the entire lid is covered with the mask when it carves out.
Once your material and Easel project are ready to go, carve out the box. Again, you’ll need to split the project into two Easel projects and cut down the material to a smaller size for use with Carvey.

10 minutes
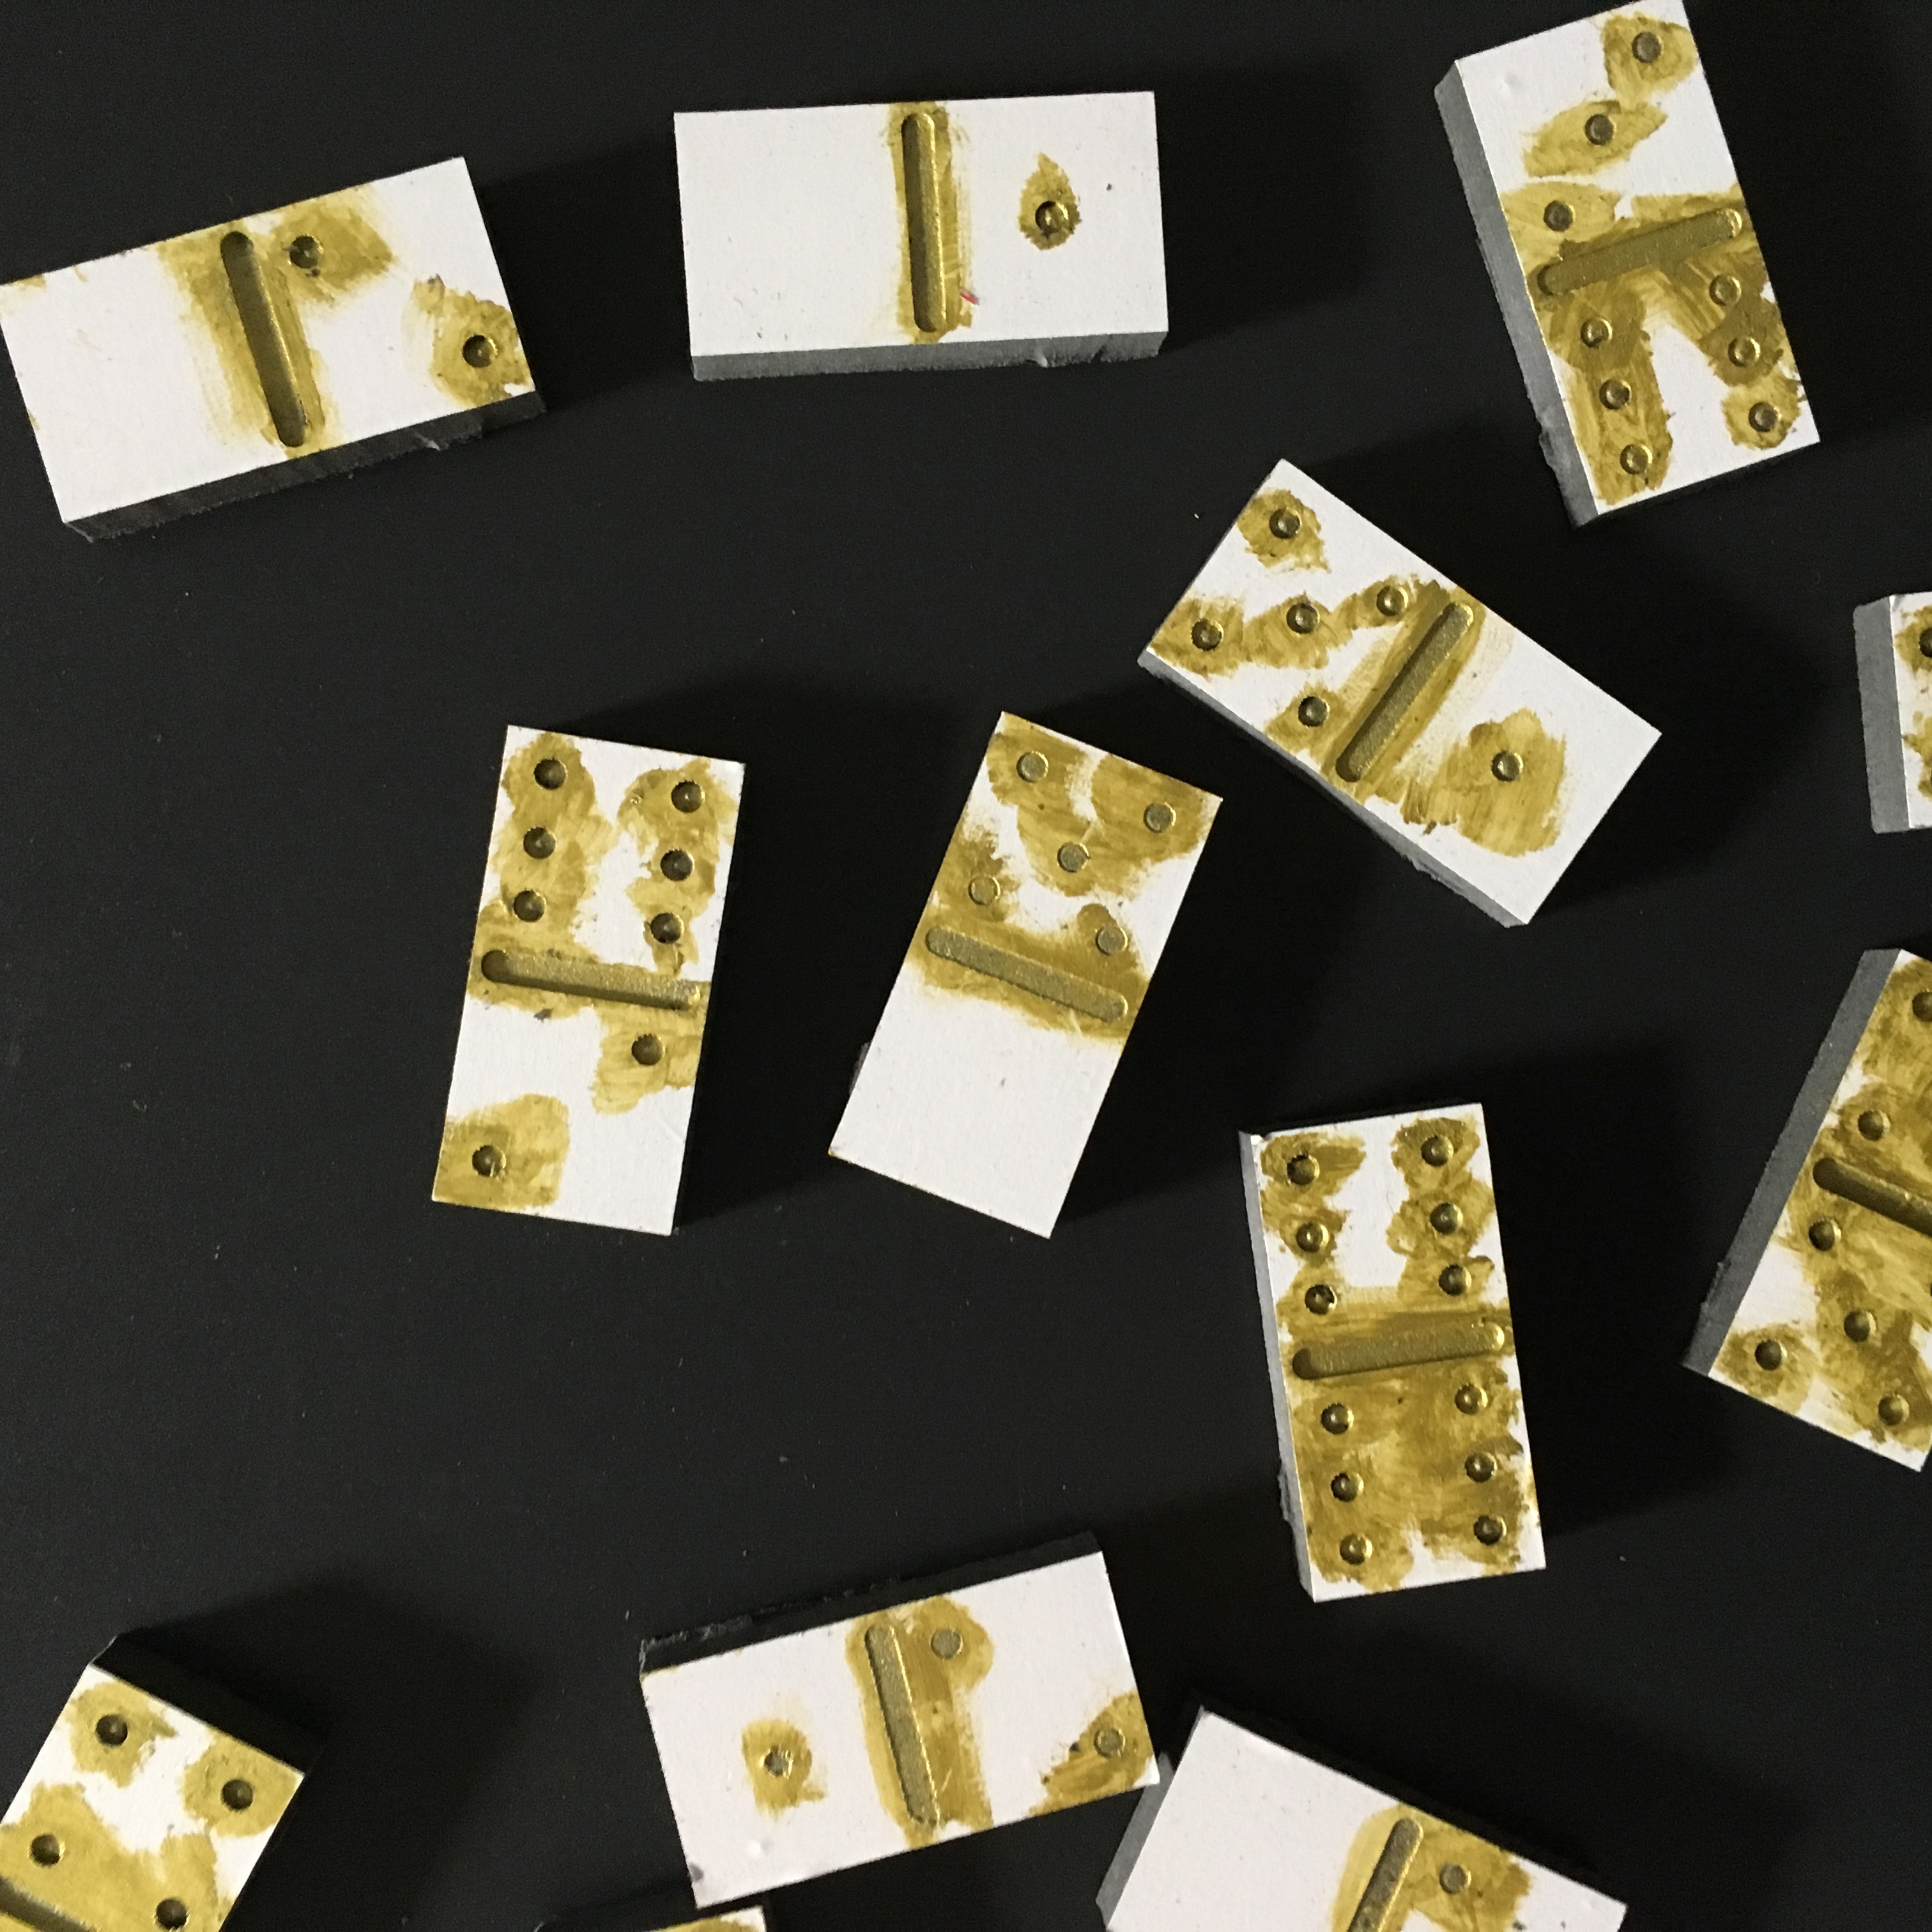
Using an acrylic paint or spray paint, paint the dominoes any color you’d like. I used a gold paint because I thought it would look cool with the black MDF. Spray paint is super easy to use with the adhesive paint mask, but I didn’t have any on hand so I used a paintbrush.
Make sure the dots are adequately painted.
Don’t forget to paint the lid of your box, too! You can use a different color or the same color.
5 minutes
When the paint is dry on the box lid and domino tiles, peel the paint mask off.
You’re ready to play!


