
This useful selfie stick attachment goes on any tripod and monopod and also blocks the wind. Sometimes wind can be a real issue when filming and disrupt the sound, and this unit features a fabric barrier to minimize that. It also enables a camera to swivel for just the right angle.
1 minute
Materials:
- 12 × 8″ 1/2" piece of Baltic Birch plywood
- 10" of 3/8" dowel
- (1) 1/4"-20 camera screw
- (2) 1/4" pronged tee nuts
- (1) 2 1/2 " 1/4" carriage bolt
- (5) 3/4" #8 screws
- yellow glue
- hot glue
- epoxy
- 10×4″ piece of heavy fabric
Tools:
- xcarve
- drill
- drillbit
- chisel
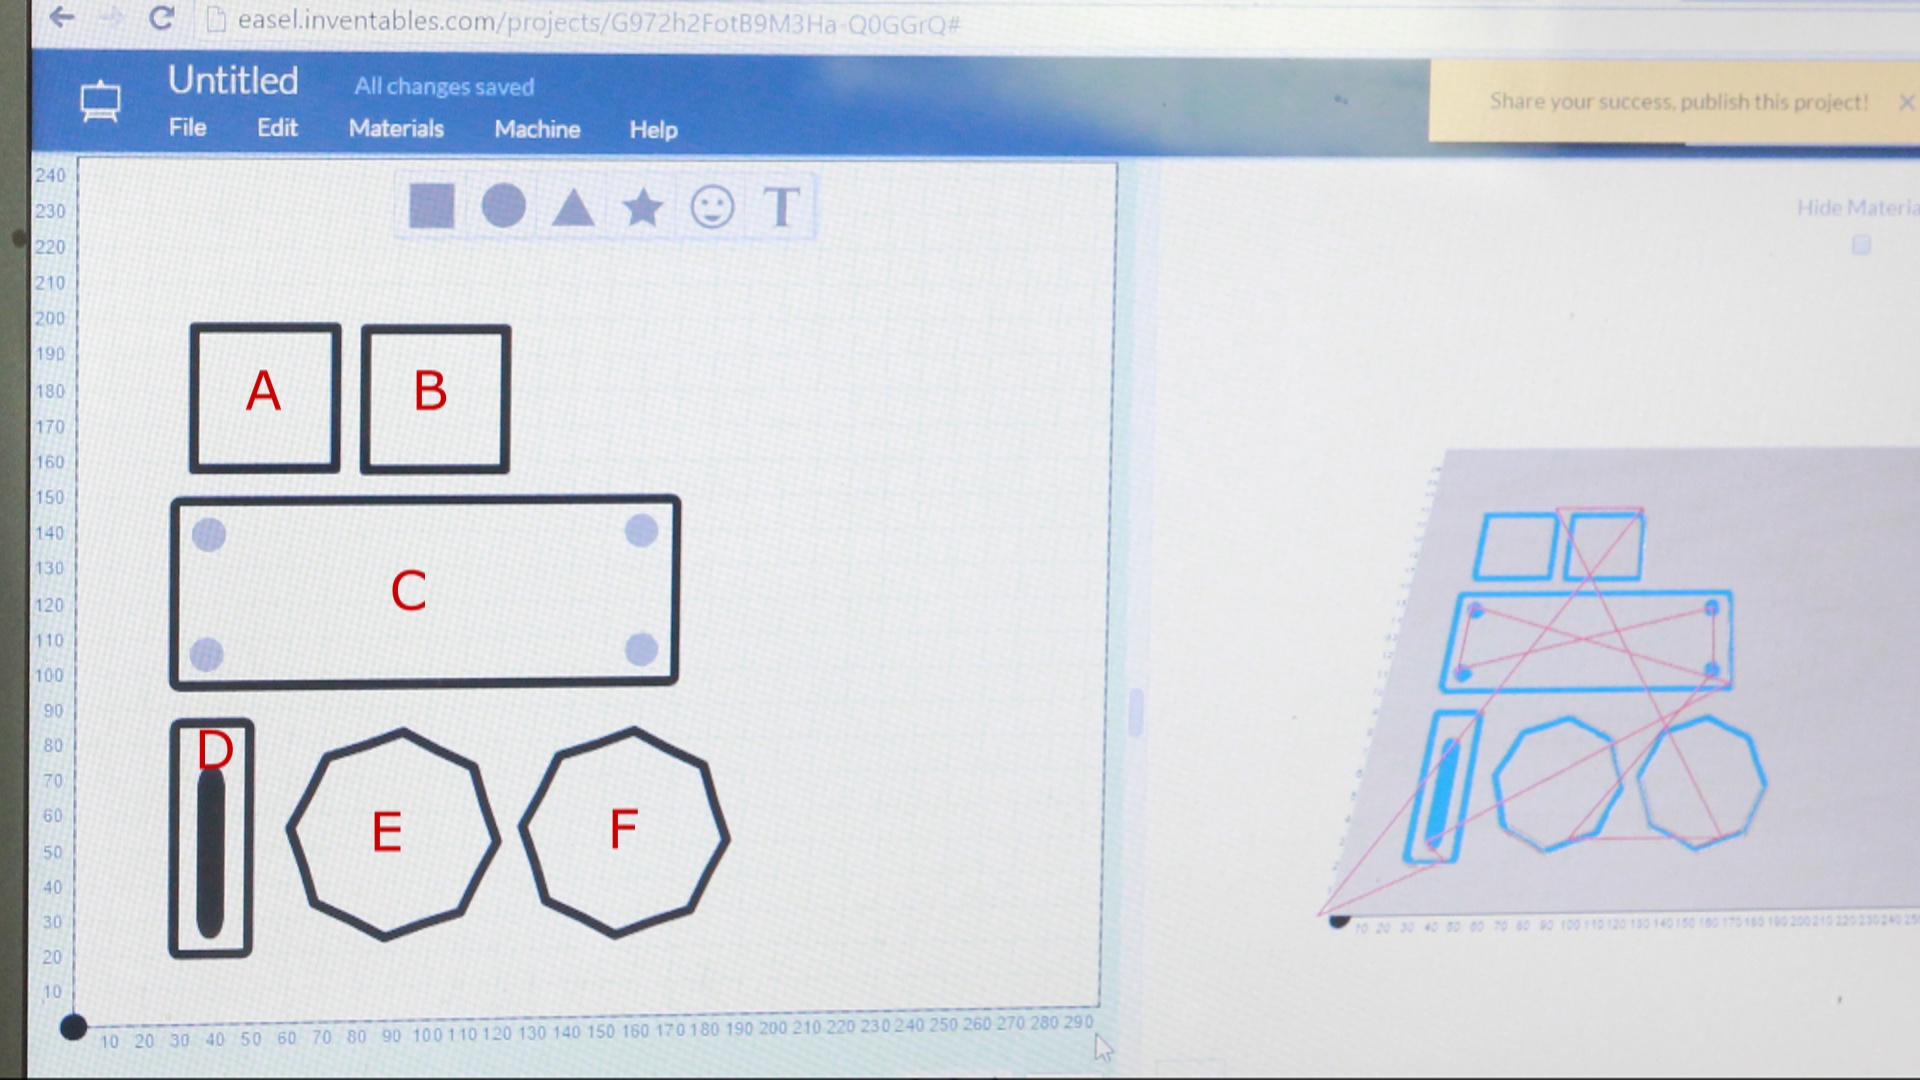
Open the project in Easel. On the main board C, adjust the carve depth of the holes to 6 mm. Set the perimeter to a full 12 mm depth. On part D, make sure the center is also set to a full 12 mm cut depth. All the other parts are set to 12 mm.
Use the standard birch depth setting in Easel.
Use an 1/8" spiral cutting bit.
Secure the plywood to the waste board.
Make sure to vacuum as needed.

10 minutes
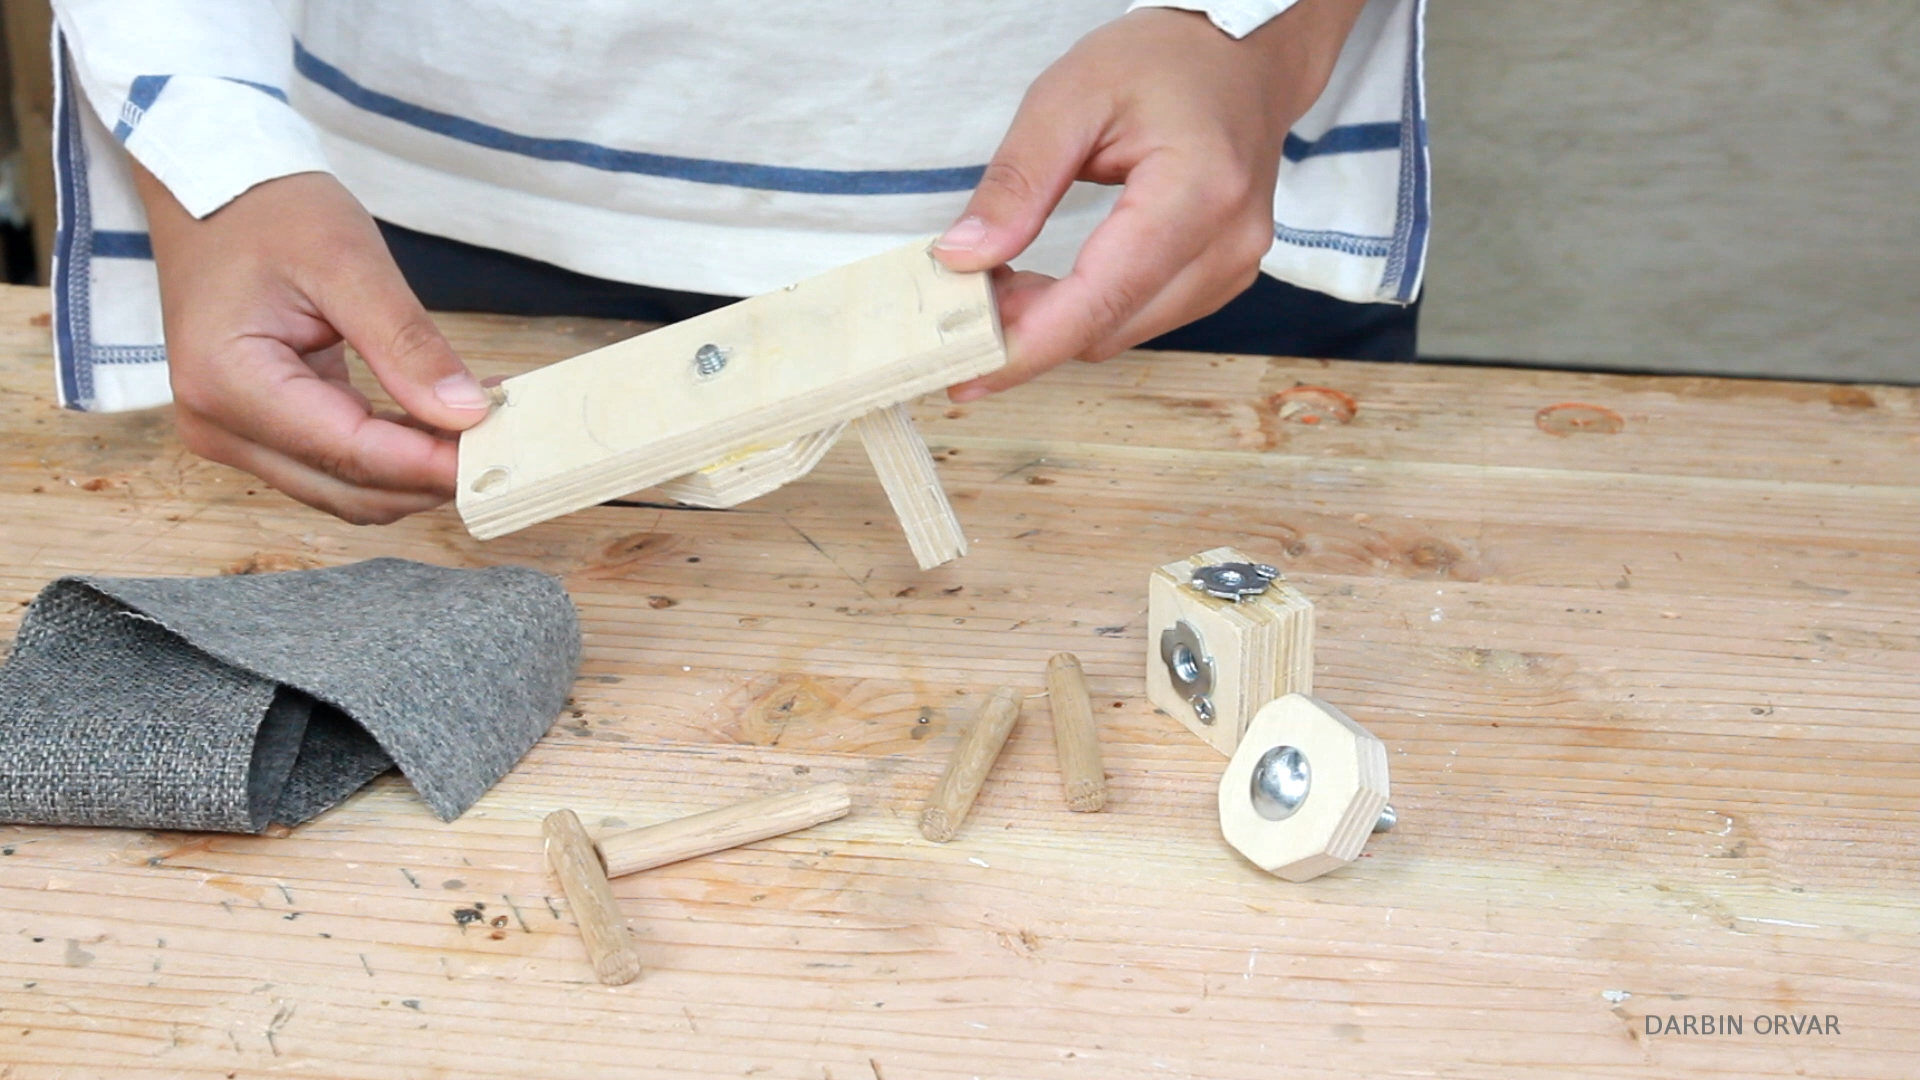
Once all the pieces are cut, chisel in the 1/4"-20 camera screw in the center of the main board, piece C. Then glue and screw in octagon E under piece C.
Glued and screw in cut D to the side of the octagon.
Separately, glue together cut A and B and epoxy in the two pronged tee nuts, one on the bottom and one the side.
Add a carriage bolt in the middle of octagon F.


5 minutes
Cut the dowel in four pieces. Put the dowels in the shallow holes cut out by the x carve. Hot glue the fabric to the dowels, keeping the fabric tight. Trim the fabric.


5 minutes
Remove the dowels with the fabric to put on the camera, and then put the protection back again, once the camera is on.
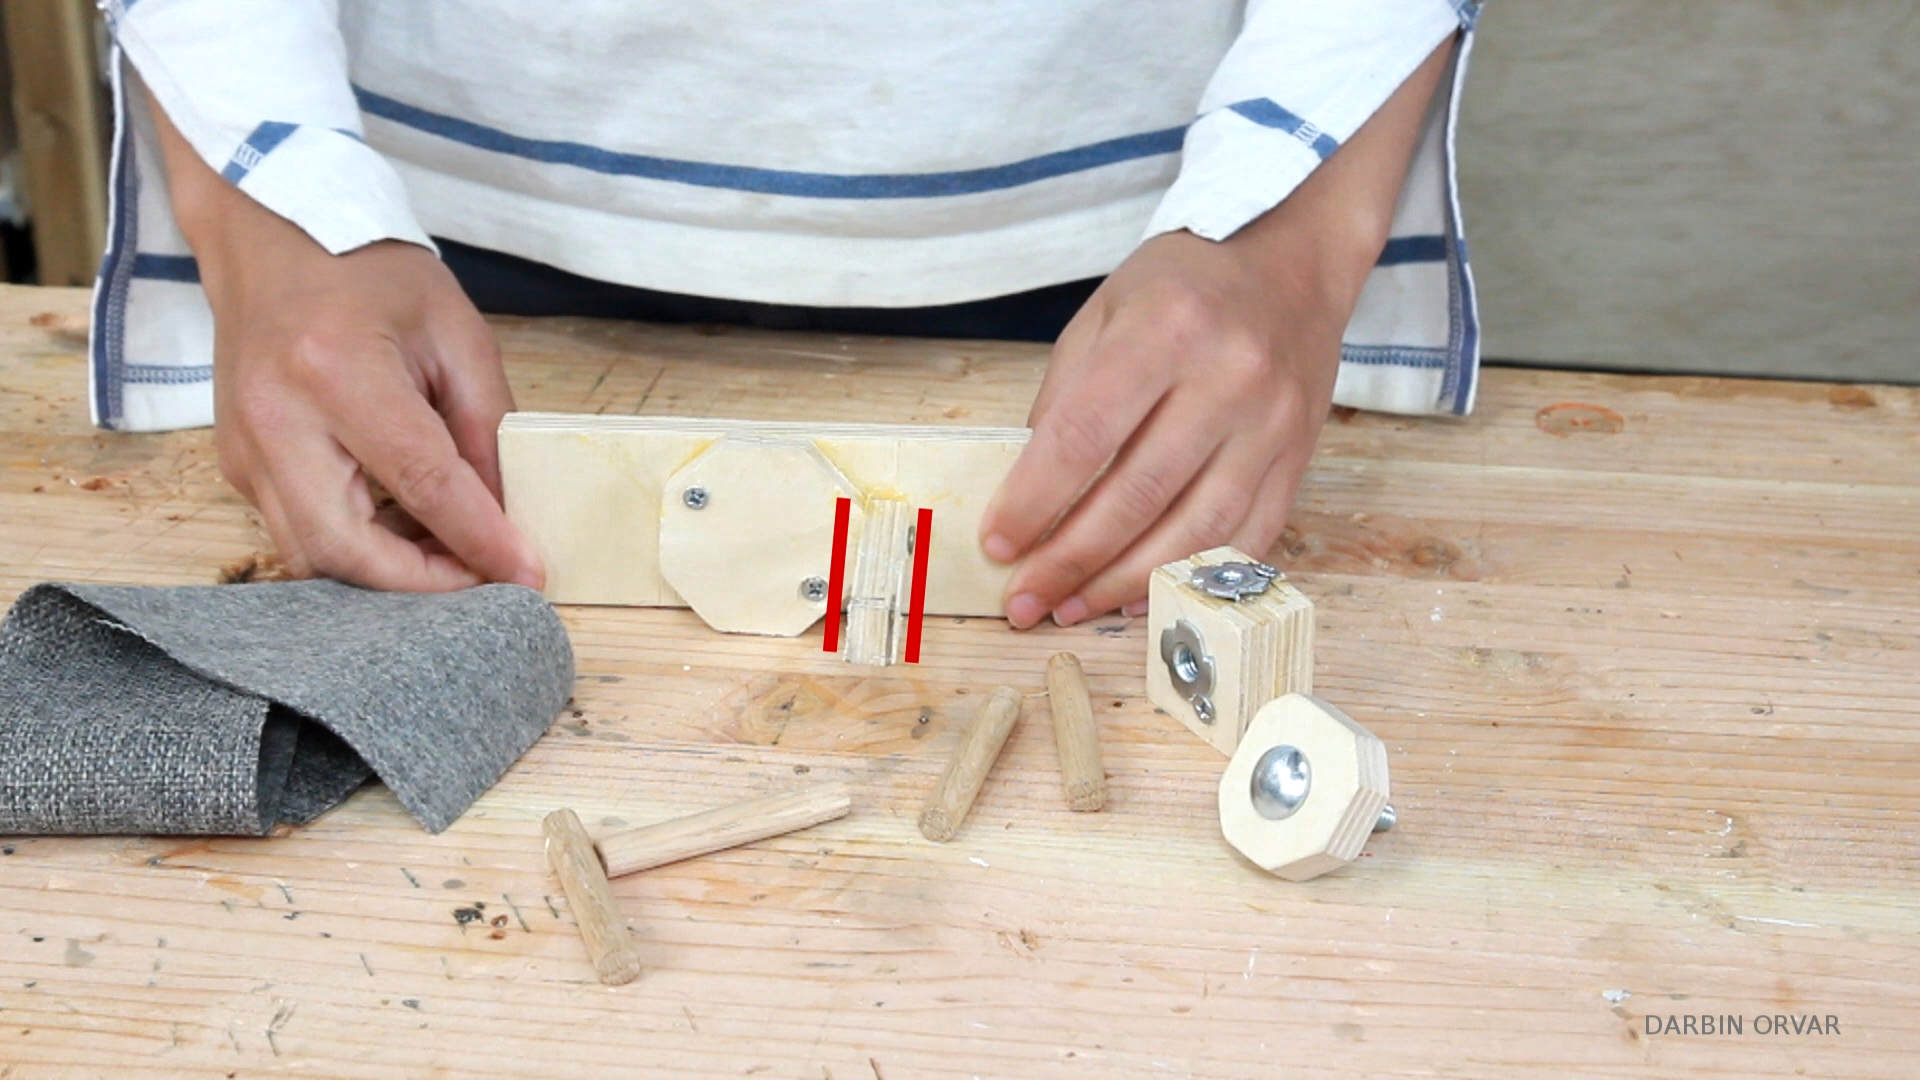
Simply insert the carriage bolt in the groove and screw it into the square piece.
Then screw in the monopod or tripod or what you’re using at the bottom.
Now you can adjust the knob there to change the angle of the camera.


Now you can start using your wind protected selfie stick! Use it with a monopod as a selfie stick, or set it up on a tripod to block the wind when filming.
For additional protection, consider painting or clear coating the wood.
This attachment is currently made for a point-and-shoot camera, however I’m thinking about adding an attachment so I can use my cellphone to film as well.


