
This desktop air purifier / fume extractor looks great, is portable and works very nicely. You can place it on your desk, bring it in the car, or use it anywhere the air needs to be freshened up. Another cool feature is if you turn the unit around, then you have your very own desktop fan!
| Material | Description | Price | ||
|---|---|---|---|---|

|
MDF Wood (×3) |
Dimensions: 12 in × 12 in, Thickness: 1/4 in |
$11.97 |
|
| Add to Cart |
$11.97 |
|||
Hot Glue Gun
Soldering Iron
Thin Wiring Solder
Parts
24 or 12 volt Computer Fan, 90mm (2)
3k Resistor (2)
10K ohm potentiometer/switch
12-24 voltage booster
misc hookup wires
12 volt power supply
charcoal filter
material for knob
45 minutes
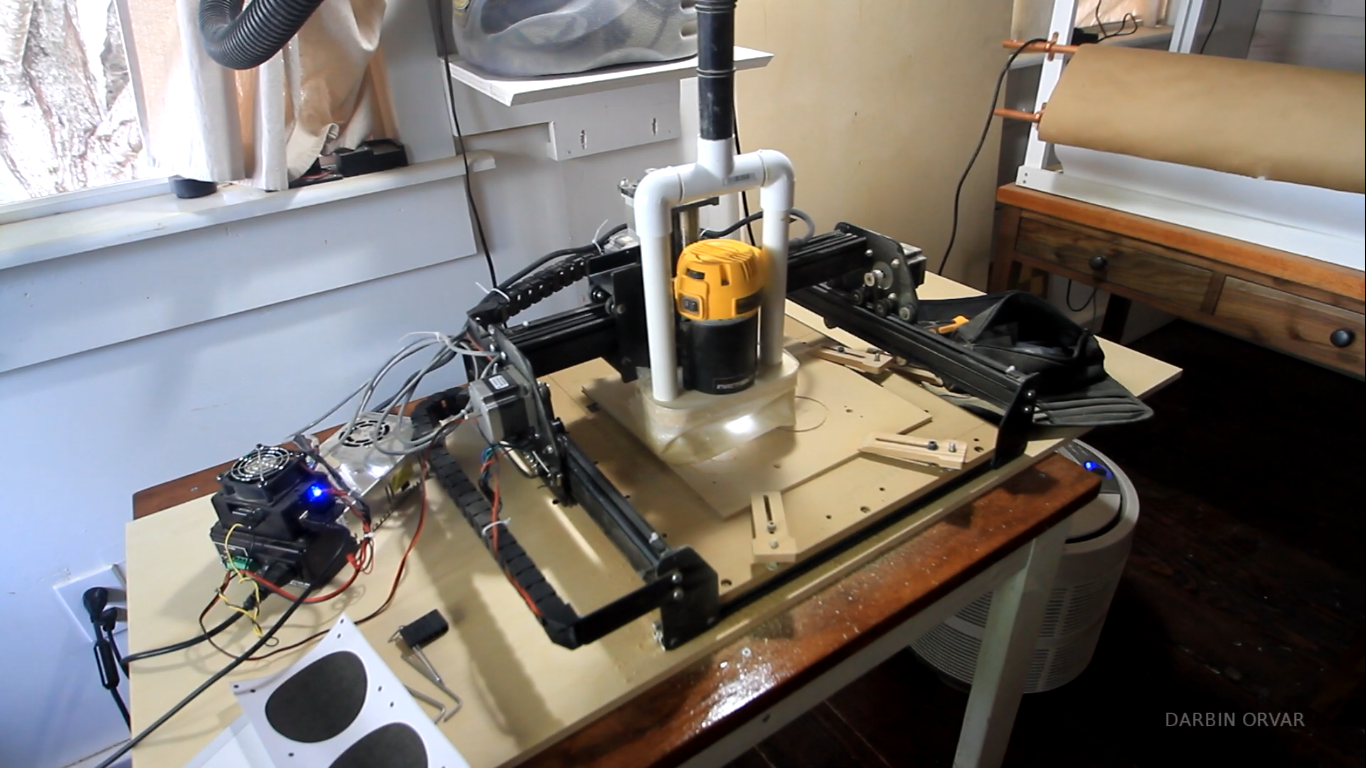
Start with cutting out all the MDF parts on the Xcarve using the standard MDF settings.
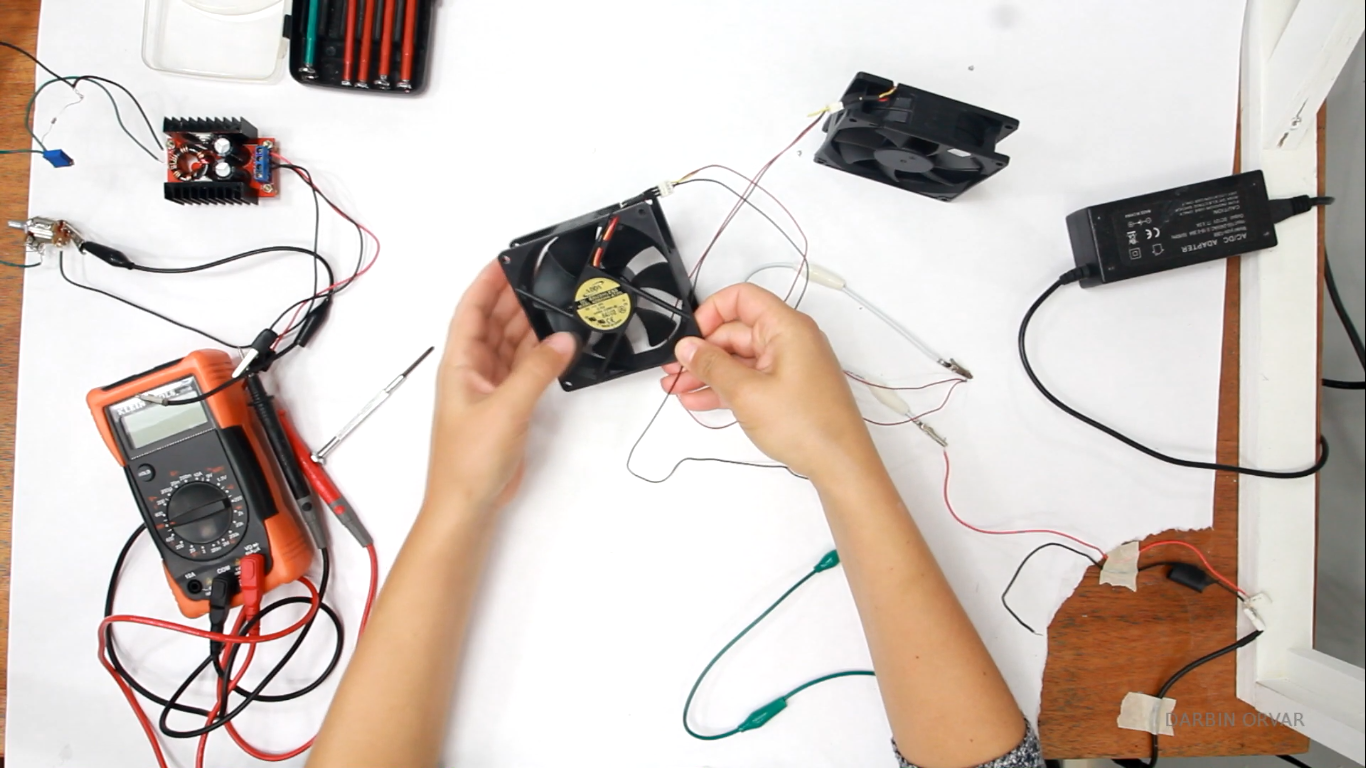
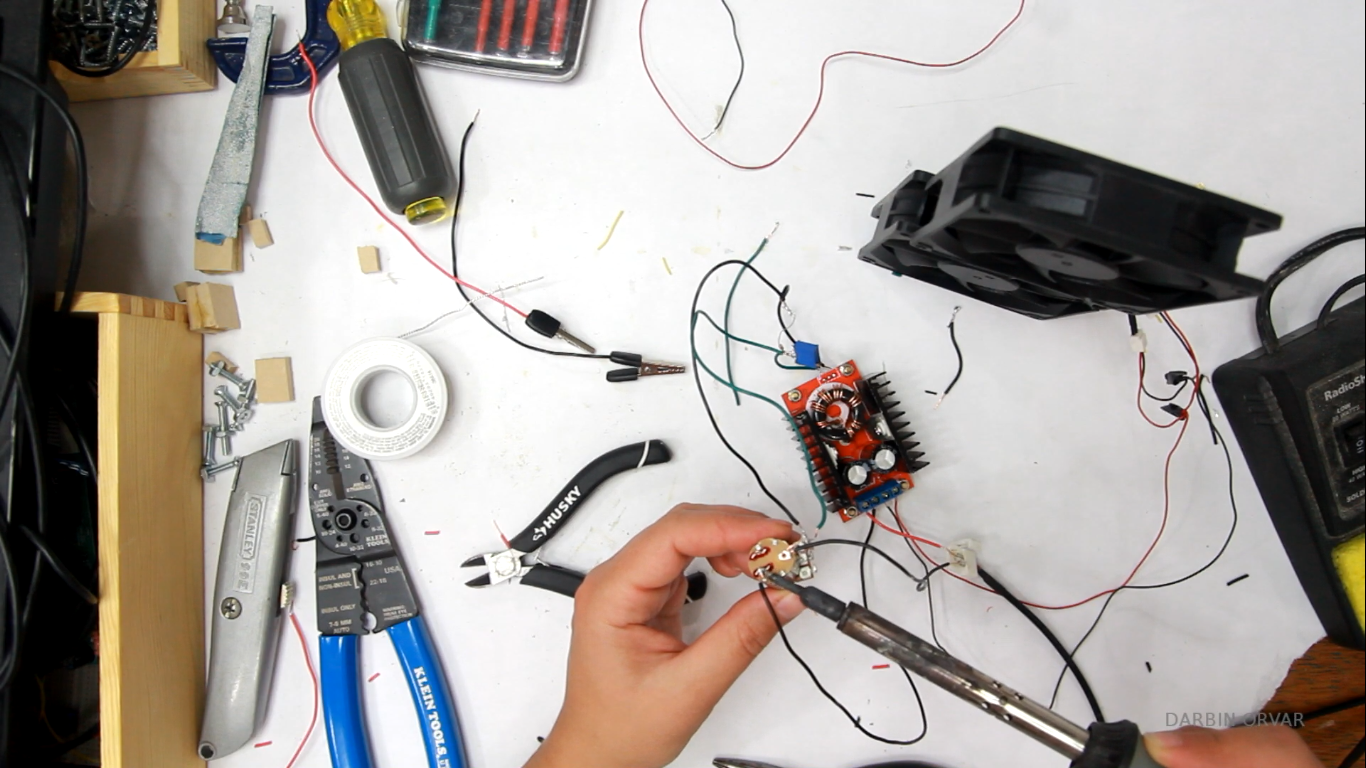
In terms of electronics, I decided to use two 90 mm 24 volt computer fans
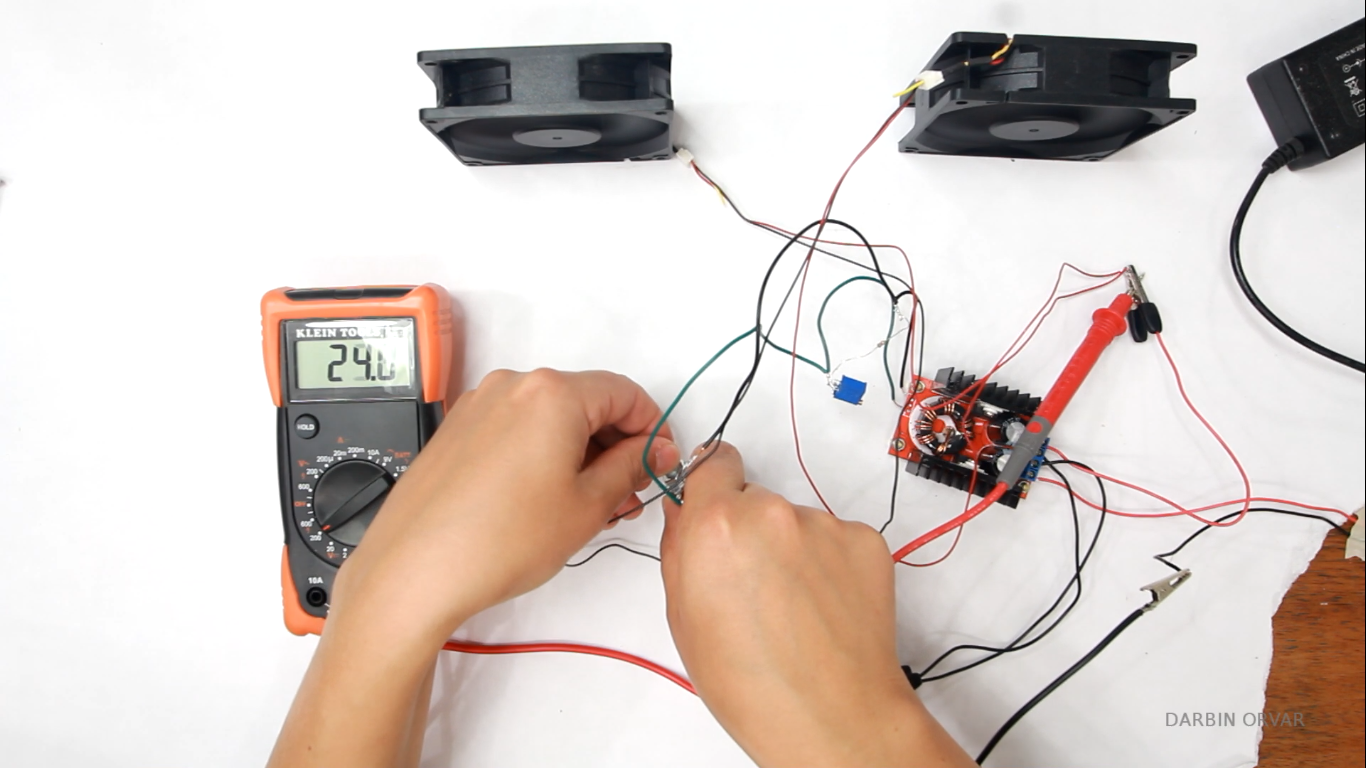
I’m using a 12 volt DC power supply, so to control the speed of the 24 volt fans you will need a voltage booster. On the voltage booster de-solder the potentiometer and extend the lines while adding two 3k ohm resistors in line with a 10k ohm potentiometer/switch. Solder the incoming negative power line to the switch and the fans in parallel with the voltage booster. Set the maximum voltage by adjusting the potentiometer on the booster and the range through the 10k ohm switch. Confirm the desired values with a multimeter.
If you wanted to avoid the booster and the extra work, then you could just directly hook up the fans to a 12 volt power supply and use a switch.
So now it’s simply a matter of assembling all the parts together, and connecting the box.
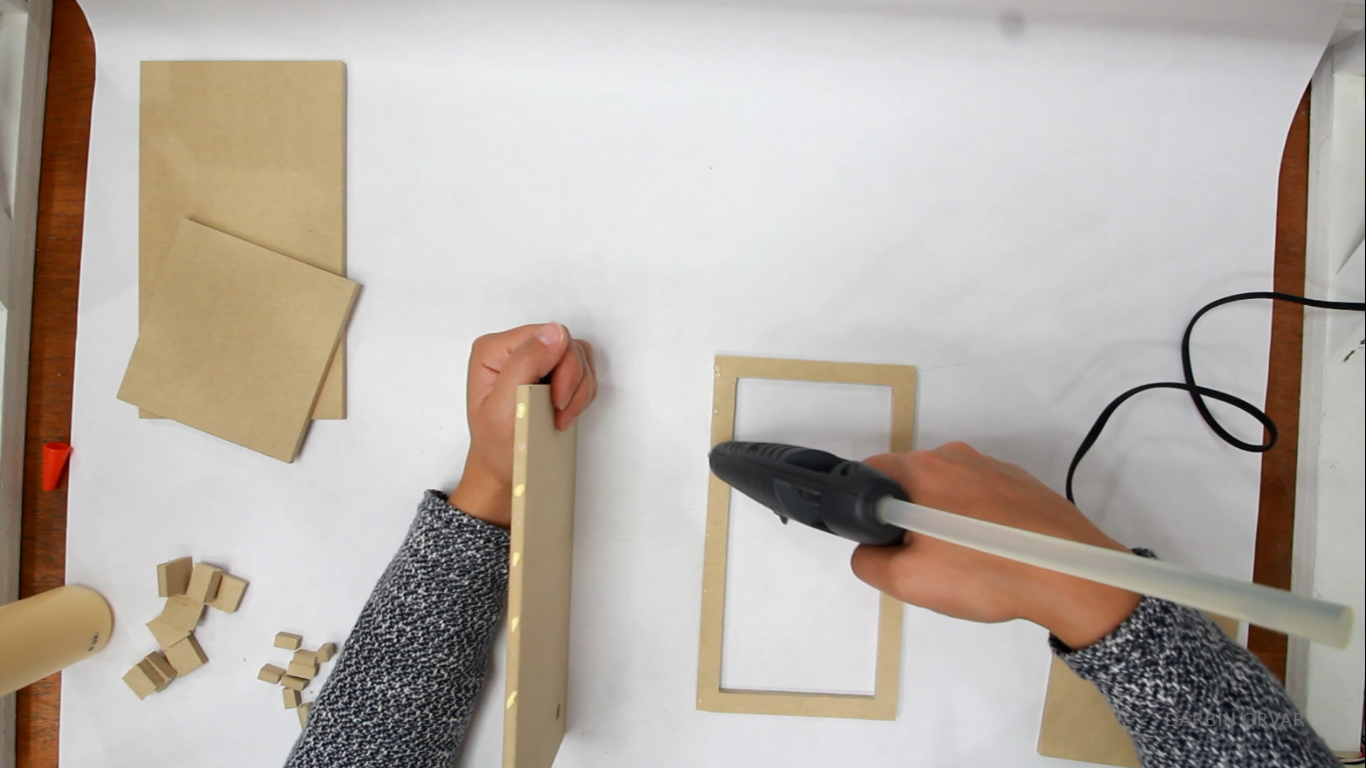
I prefer to put on some yellow glue on the edges of the MDF, as well as some hot glue. The hot glue works as a clamp as the yellow glue sets up and dries.
I’m putting in a couple of these small support pieces in the corners to provide a little extra strength.
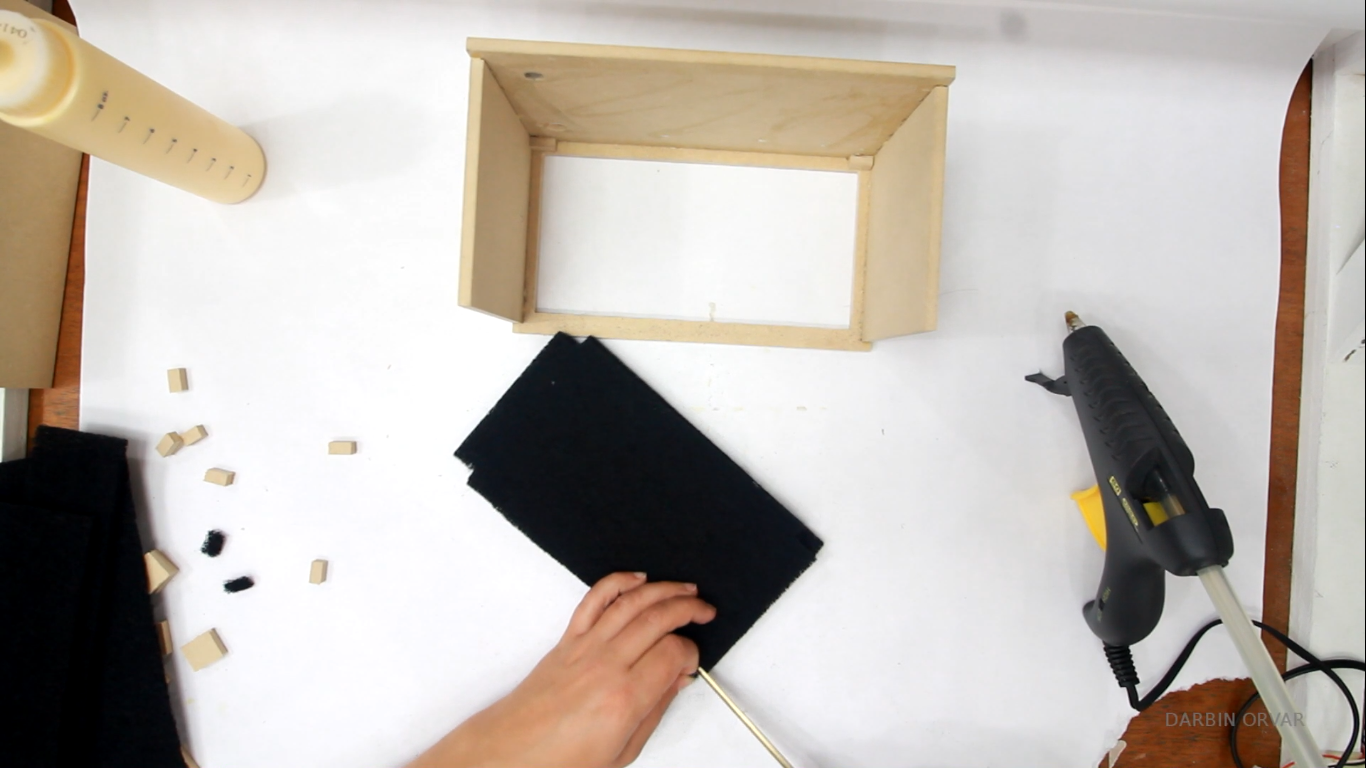
Now as a filter I’m using a charcoal filter meant for a range fan. I’m just fitting it in the box and then I’m notching out the space for the little support pieces in the corners. I’m also doubling up with two pieces of filter and then just continuing to put the box together. I’m also gluing together some thicker support pieces which I will glue in to the box which the backing will screw in to.


OK, so now I have the basic box complete, which means all the sides together, except the back with the fan holes which will screw in later. To finish the box, I’m starting with a coat of shellac, then sanding, then a coat of primer. I’m also adding spackle to any areas that have imperfections. Then painting the pieces white with a flat paint and finishing with a water based polyurethane. This will give you a very nice finish.

So the box is finished, now let’s go back to the contents of the box. Trim up the wires and solder everything in place that needs soldering.
Then insert the filter into the box. I have these thin pieces of scrap MDF I cut up to keep the filter in place inside the box, and I’m simply hot gluing those to the support pieces to keep everything neat and tight.
Next I’m screwing the fans into the back piece, and the holes fit perfectly. To clean up some of the wires, I’m twisting them around each other so they stay together and then securing to the fan with a plastic zip tie, just because I don’t want the wires to be all over the place.


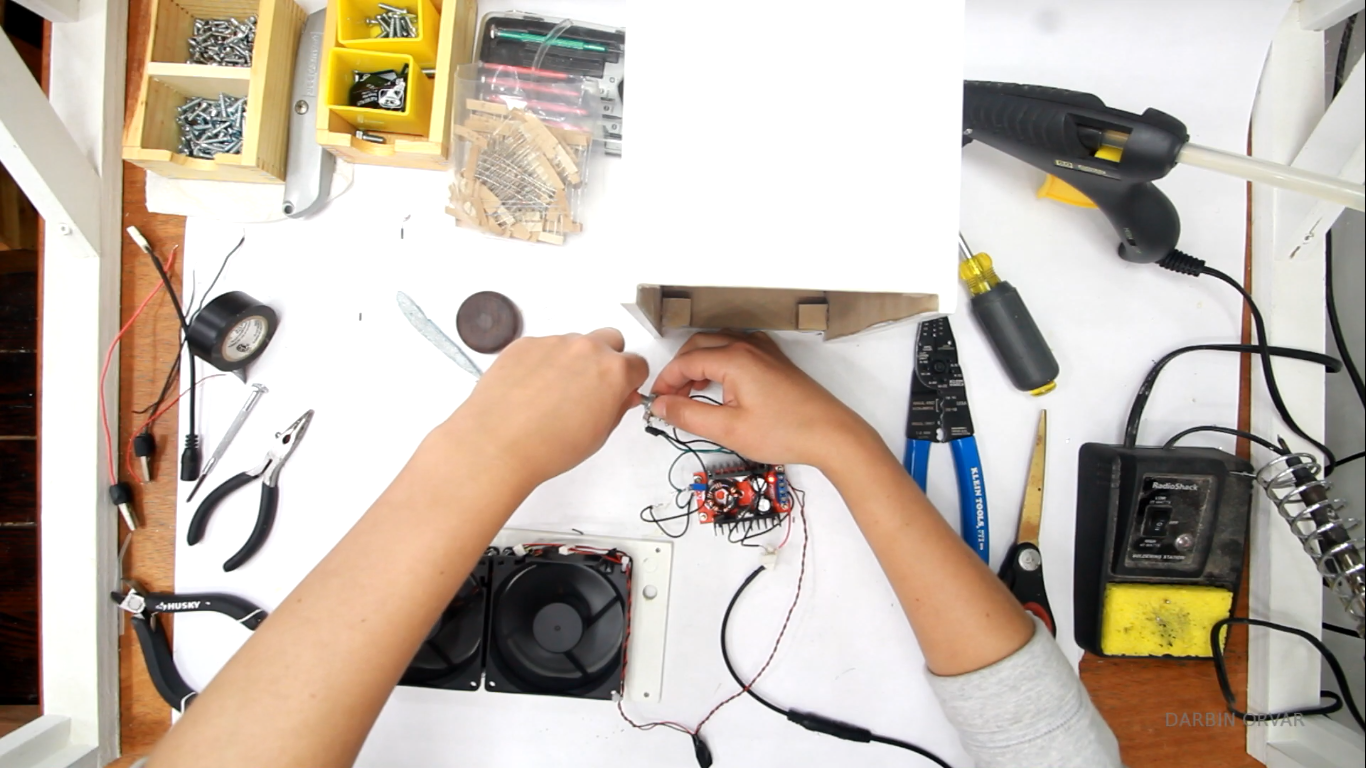
Time to connect everything in place. So I’m connecting the wire I twisted from the fan into the booster and securing it in place. At various stages I confirm that everything works and that nothing has shorted or come loose. Then I bring the parts into the box, and especially the potentiometer twist knob which goes in the side of the box. I put a nut on the outside and then I secure it.
The power cord goes in the back, right below the fans, it’s a pretty tight fit. Then I’m hot gluing around it to secure it in place.
Also securing the booster with some hot glue, as well as some wires to the side of the box, because I don’t want them to interfere with the fans.
And then it’s time to close the back, fit the fans in, and I’m screwing the back in place with some small screws that goes into those support pieces I glued in place.


I decided to make an additional knob to make it a little easier to turn, however this is completely optional. I turned my knob on the lathe, however you could certainly cut a circle out on the Xcarve in any material and drill a hole in the center to fit on top of the metal knob. Then epoxy it on top of it to secure it in place.
This little fume extractor turned out really nice. It feels very finished, and I really like how you can bring it with you wherever you need it!


Ruben Denolf
Nick Carr