
See how easy it is to make a custom stamp using Easel and your X-carve and then create Greeting cards, shirts or anything else that you can stamp!
| Material | Description | Price | ||
|---|---|---|---|---|

|
Linoleum |
8" × 10" Linoleum Block |
$6.45 |
|

|
Solid Carbide Upcut Fish Tail Spiral Bits |
1/32" Upcut Fish Tail Carving Bit |
$15.03 |
|
|
|
Solid Carbide Upcut Fish Tail Spiral Bits |
1/16" Upcut Fish Tail Carving Bit |
||
| This project's Bill of Materials is not complete. Add to Cart |
$21.48 |
|||
1 minute
Tools:
Fishtail Milling Bits: 1/16" and 1/32" will allow you to make very detailed stamps.
Saw: Some form of saw for cutting the stamp out after you’ve carved them. This can be done with the x-carve but I would recommend changing bits before you carve through all that material.
Brush: If using acrylic paints.
Materials:
Mounted Linoleum
Craft Paint or Stamp Pad
Something to Stamp!
5 minutes
Import a .SVG or create a design using the built in design elements and text.

3 minutes
Add a shape element that fully encompasses the size of your design or the total size you would like the stamp to be.
Next you’ll need to select and send this shape to the furthest back layer possible by using the menu system: Edit; Send Backward, or you can use keyboard shortcuts: cmmd + [

5 minutes
Before caving quickly check your toolpaths to ensure all the details will be present after carving, once your pleased with the design get to carving!
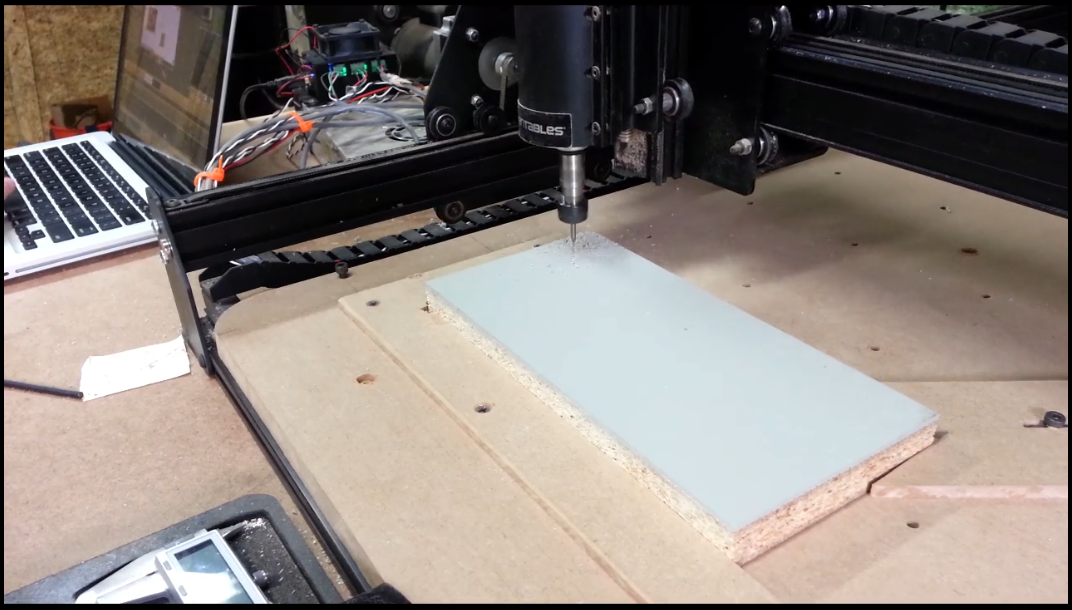
2 minutes
Once the carve is complete you may need to go over the stamp quickly with an awl or a nail to clear out the linoleum chips from tight corners and detailed areas.

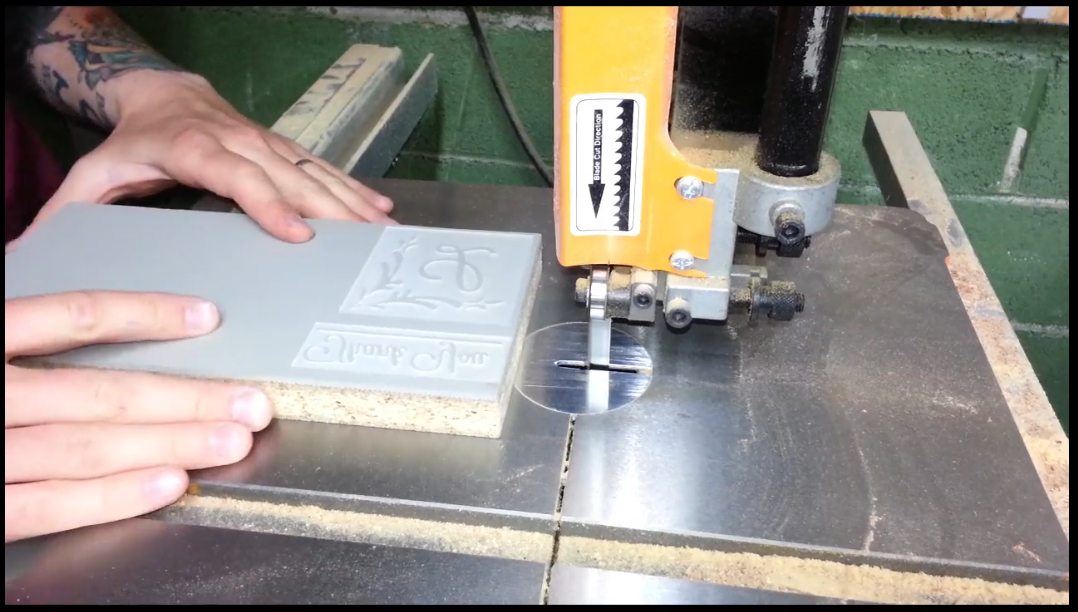
This can be done using the machine but I encourage you to carve out the stamps on a larger piece of linoleum and cut them to final size once carving is completed using a bandsaw, table saw ect…
5 minutes
Now comes the really fun part, Stamping! There are several different brands and colors of stamp pads out on the market. I tried using pigment stamp pads but was a little unimpressed with the final result so I decided to give Acrylic craft paints a try and was far more pleased with the results as well as how many different sub straights it transfers to.


Zach Kaplan
Travis Lucia
Matthew Nuss
Bewilderbeast Brandon
MeischanParrilla