
These are stamps for sugar cookies. Cookies are awesome, but what could be better than cookies with minifigs or dragons or pacman or bats or … whatever stamped on them?! YUM! You make the cookies and just when you get them out of the oven, you smush the stamp into them.
 Easel Pro Design Challenge
| Material | Description | Price | ||
|---|---|---|---|---|

|
Hard Maple |
6" × 12" × 3/4" Hard Maple |
||

|
White Corian® |
Thickness: 1/4 in, Dimensions: 8 in × 12 in, Cut Tolerance: +/- 1/8 in |
||
For Handles:
2 – 3/4″ × 5.5″ × 14″ – wood (maple, walnut, pine, etc)
10 – 7/8" diameter x 2" poplar dowel
For Stamp Face:
2 – 3″ × 13″ × 0.5″ corian, maple or walnut. This must be a food safe material. I picked up some scraps of ghost white corian on ebay.
Alignment pins:
1/4" dowel x 12" (cut shorter for parts as needed)
Misc.
90 V router bit
60 V router bit
6mm router bit
Tightbond II glue
150 Grit sand paper
Mineral oil (or whatever food safe finish you like)
This step is really optional depending on your tastes in machining.
I like to do double sided machining and indexing holes come in handy for alignment. They also come in handy with keeping your part from skating side to side between tools. I have a standard template I use on my scratch board that is simply a line of 0.25 inch holes spaced 0.5 inches center to center for the Y run of my machine.
Pre-cut these holes in your scratch board
In the easel file, look for Alignment_holes_6mm_16k This uses a 6mm end mill bit at 16k RPM.

This step uses the 2 – 3/4″ × 5.5″ × 14″ boards and you will need to repeat this step for each board. When I’m ganging things together, I use the alignment holes so I can swap out the part instead of swapping out the bit quite so often. You can just as easily set this up one at a time.
This is really 3 cuts.
- Handles_holes_6mm – 6mm bit at 16k rpm
- Handles_bevel_v90 – 90 degree v bit at 16k rpm
- Handles_cutout – 6mm bit at 16k rpm
The first cut uses a 6mm bit and is to the back of the part to cut the alignment pin holes. Then cut two pins about 3/4" long from the 1/4 inch dowel. Insert these pins in the holes you just cut. Flip the board over and insert the other half of the pin in the holes in your scratch board. Clamp it down.
Change to the V90 bit. Use the Handles_bevel_v90 file to cut the bevels in the circular handles and bases.
Change to the 6mm bit. Use the Handles_cutout file to cut out the handles and bases. You will need to free the parts with your favorite method. I like the scroll saw and a small back saw.
Once free, sand off the rough edges on the handles (small parts) and bases (large parts).

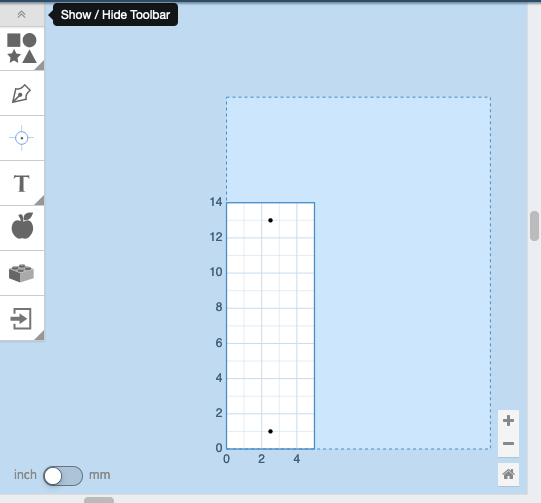
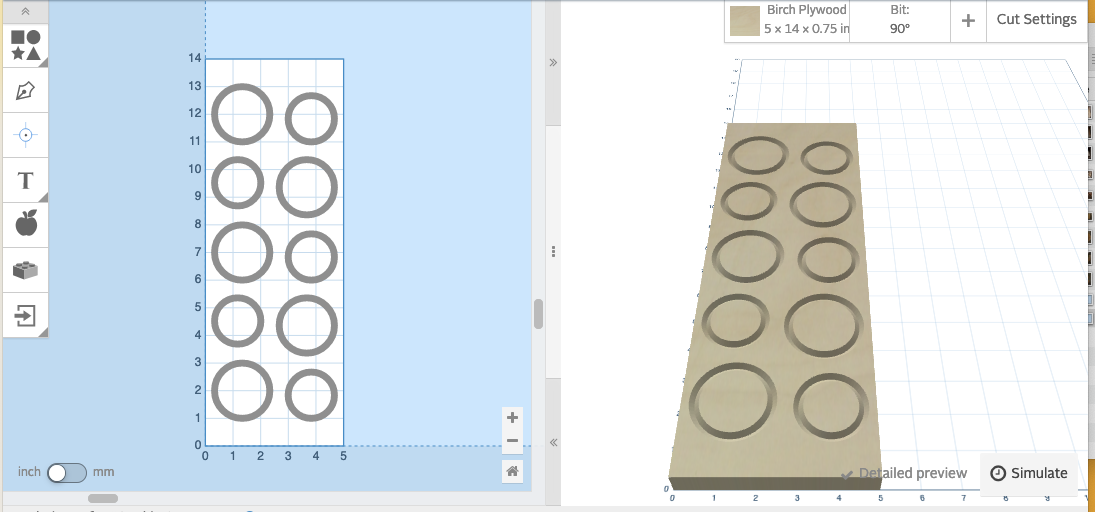

This step uses the 1/2″ × 3″ x13" corian, maple or walnut.
Just like the last step, this is three cuts per part.
stamps_holes – for alignment using a 6mm end mill
stamps1 or stamps2 for the pattern – using a v60 degree bit
stamps_cutout – to cut out the parts using a 6mm end
NOTE: if you don’t like the patterns I chose, simply go under the apple icon in easel, pick another pattern and subsitute it. I check the center of the corresponding circle in stamps1 or stamps2, then center the new pattern on it. Size the new pattern to 1.5 inches and you should be fine.
For my project, I used ghost white corian. I used a lower cut speed since I wanted larger chips and lower heating. (Ok, so this is my first project in corian and I really didn’t want to muck it up too badly.)
For each piece of corian.
Using stamps_holes, cut the holes with the 6mm bit, then flip the part and insert the 1/4 inch dowel pins. You may need to cut new ones.
Using stamp1 for the first piece of corian or stamp 2 for the second, cut using the 60 degree v bit at 8k-12k rpm.
Using stamp_cutout with the 6mm end mill, cut the stamp out of the corian.
WARNING: I found out the hard way that corian is a leeetle finicky and if you don’t leave enough margin at the bottom, it breaks free. It wasn’t a problem, but it could have been.
Free the stamp faces from the block using your favorite method. I use a scroll saw and a little back saw.
Sand/file off the rough edges.


So now that you have all the handles (10), bases (10), 7/8″×2″ dowels (10) and stamp faces (8), it’s time to assemble the stamps.
For my project, I was unsure of some of the assembly so I made 2 extra handles/dowel/base combos to practice on. I found this was overkill, but now I can make 2 more stamps out of more of the corian.
ANYHOW, using the Tightbond II, put some glue inside the handle cap (small round beveled end) and in the base cap (large round beveled end) and insert a dowel between the caps. You will need to tap these in place, the fit for me was quite snug. I did this for all 10 parts.
Now put a layer of the Tightbond II glue on the smooth non-pattern side of the stamp and on the exposed end of the base. Note: the stamp and base are the same diameter. You will need to clamp these together or carefully balance something heavy on it until the glue dries. I let them sit in clamps overnight (~9 hours). Do yourself a favor and wipe off any extra glue before it dries.
Final sanding. Well, as it all goes everything likes an extra sanding.
Finishing. I simply wiped some mineral oil over the wood and called it a day. Simple and the same stuff I use for cutting boards. (No, I never use pine for a cutting board, but it’s only a handle surface.)

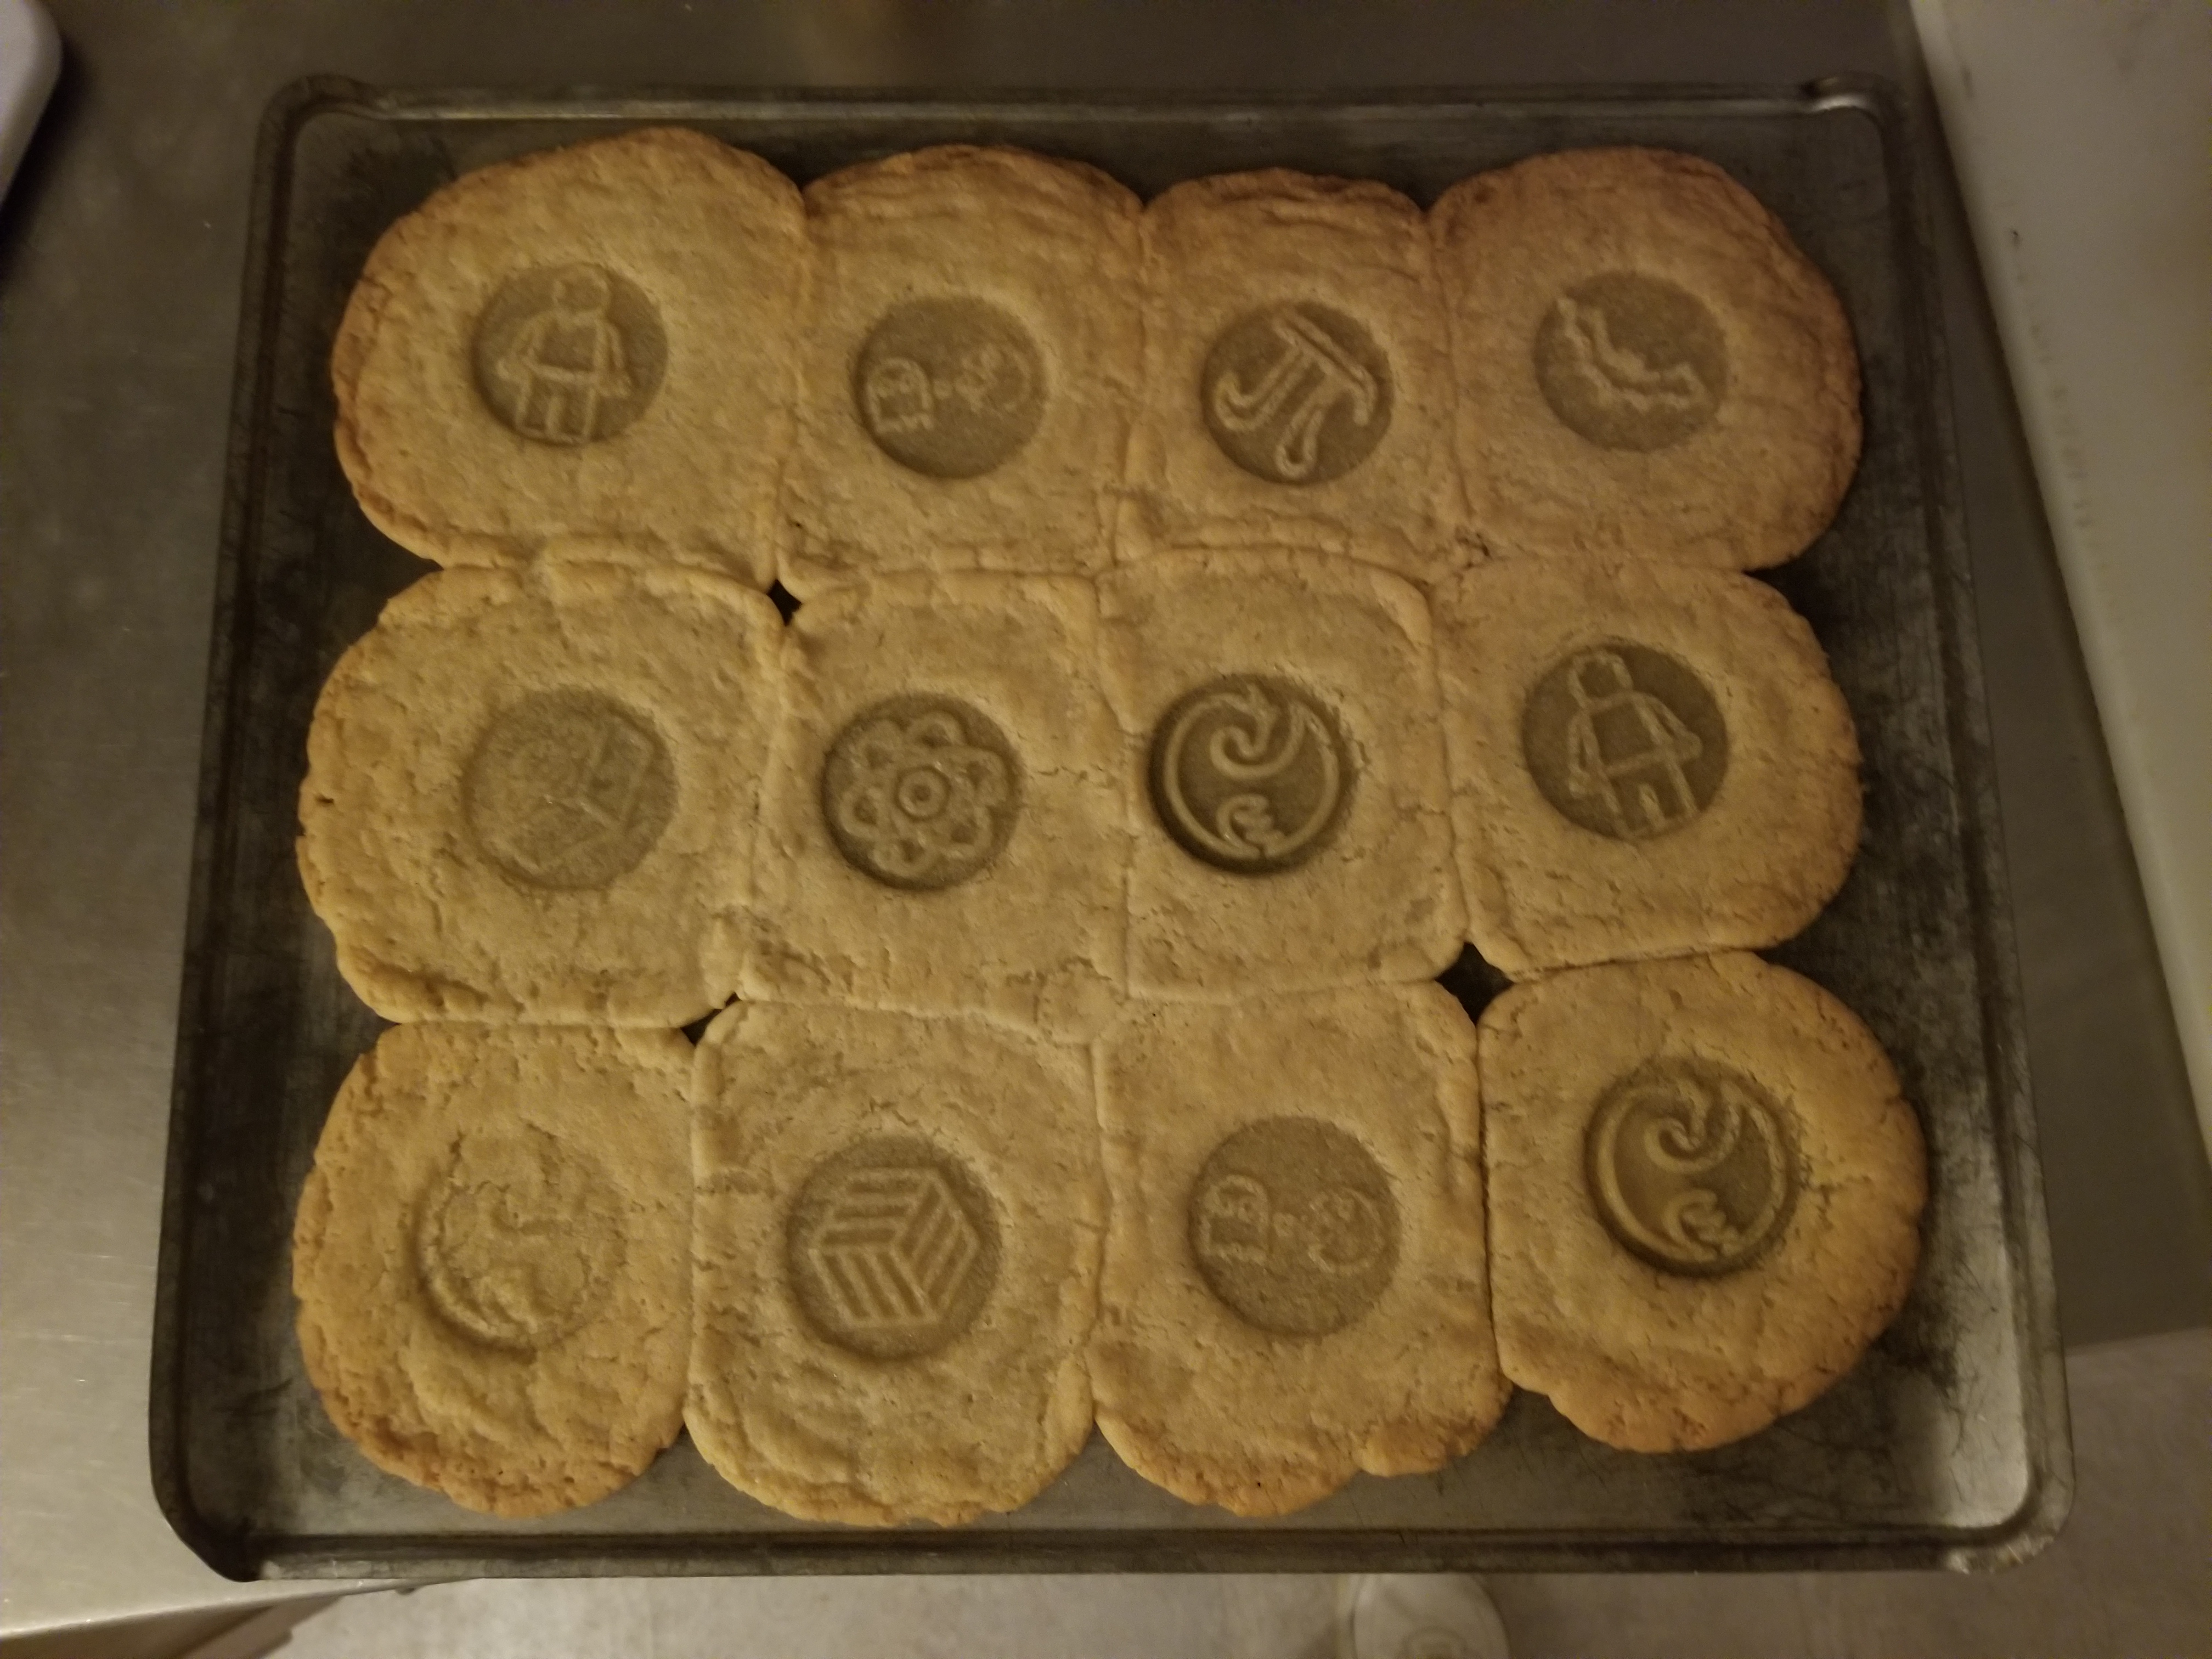
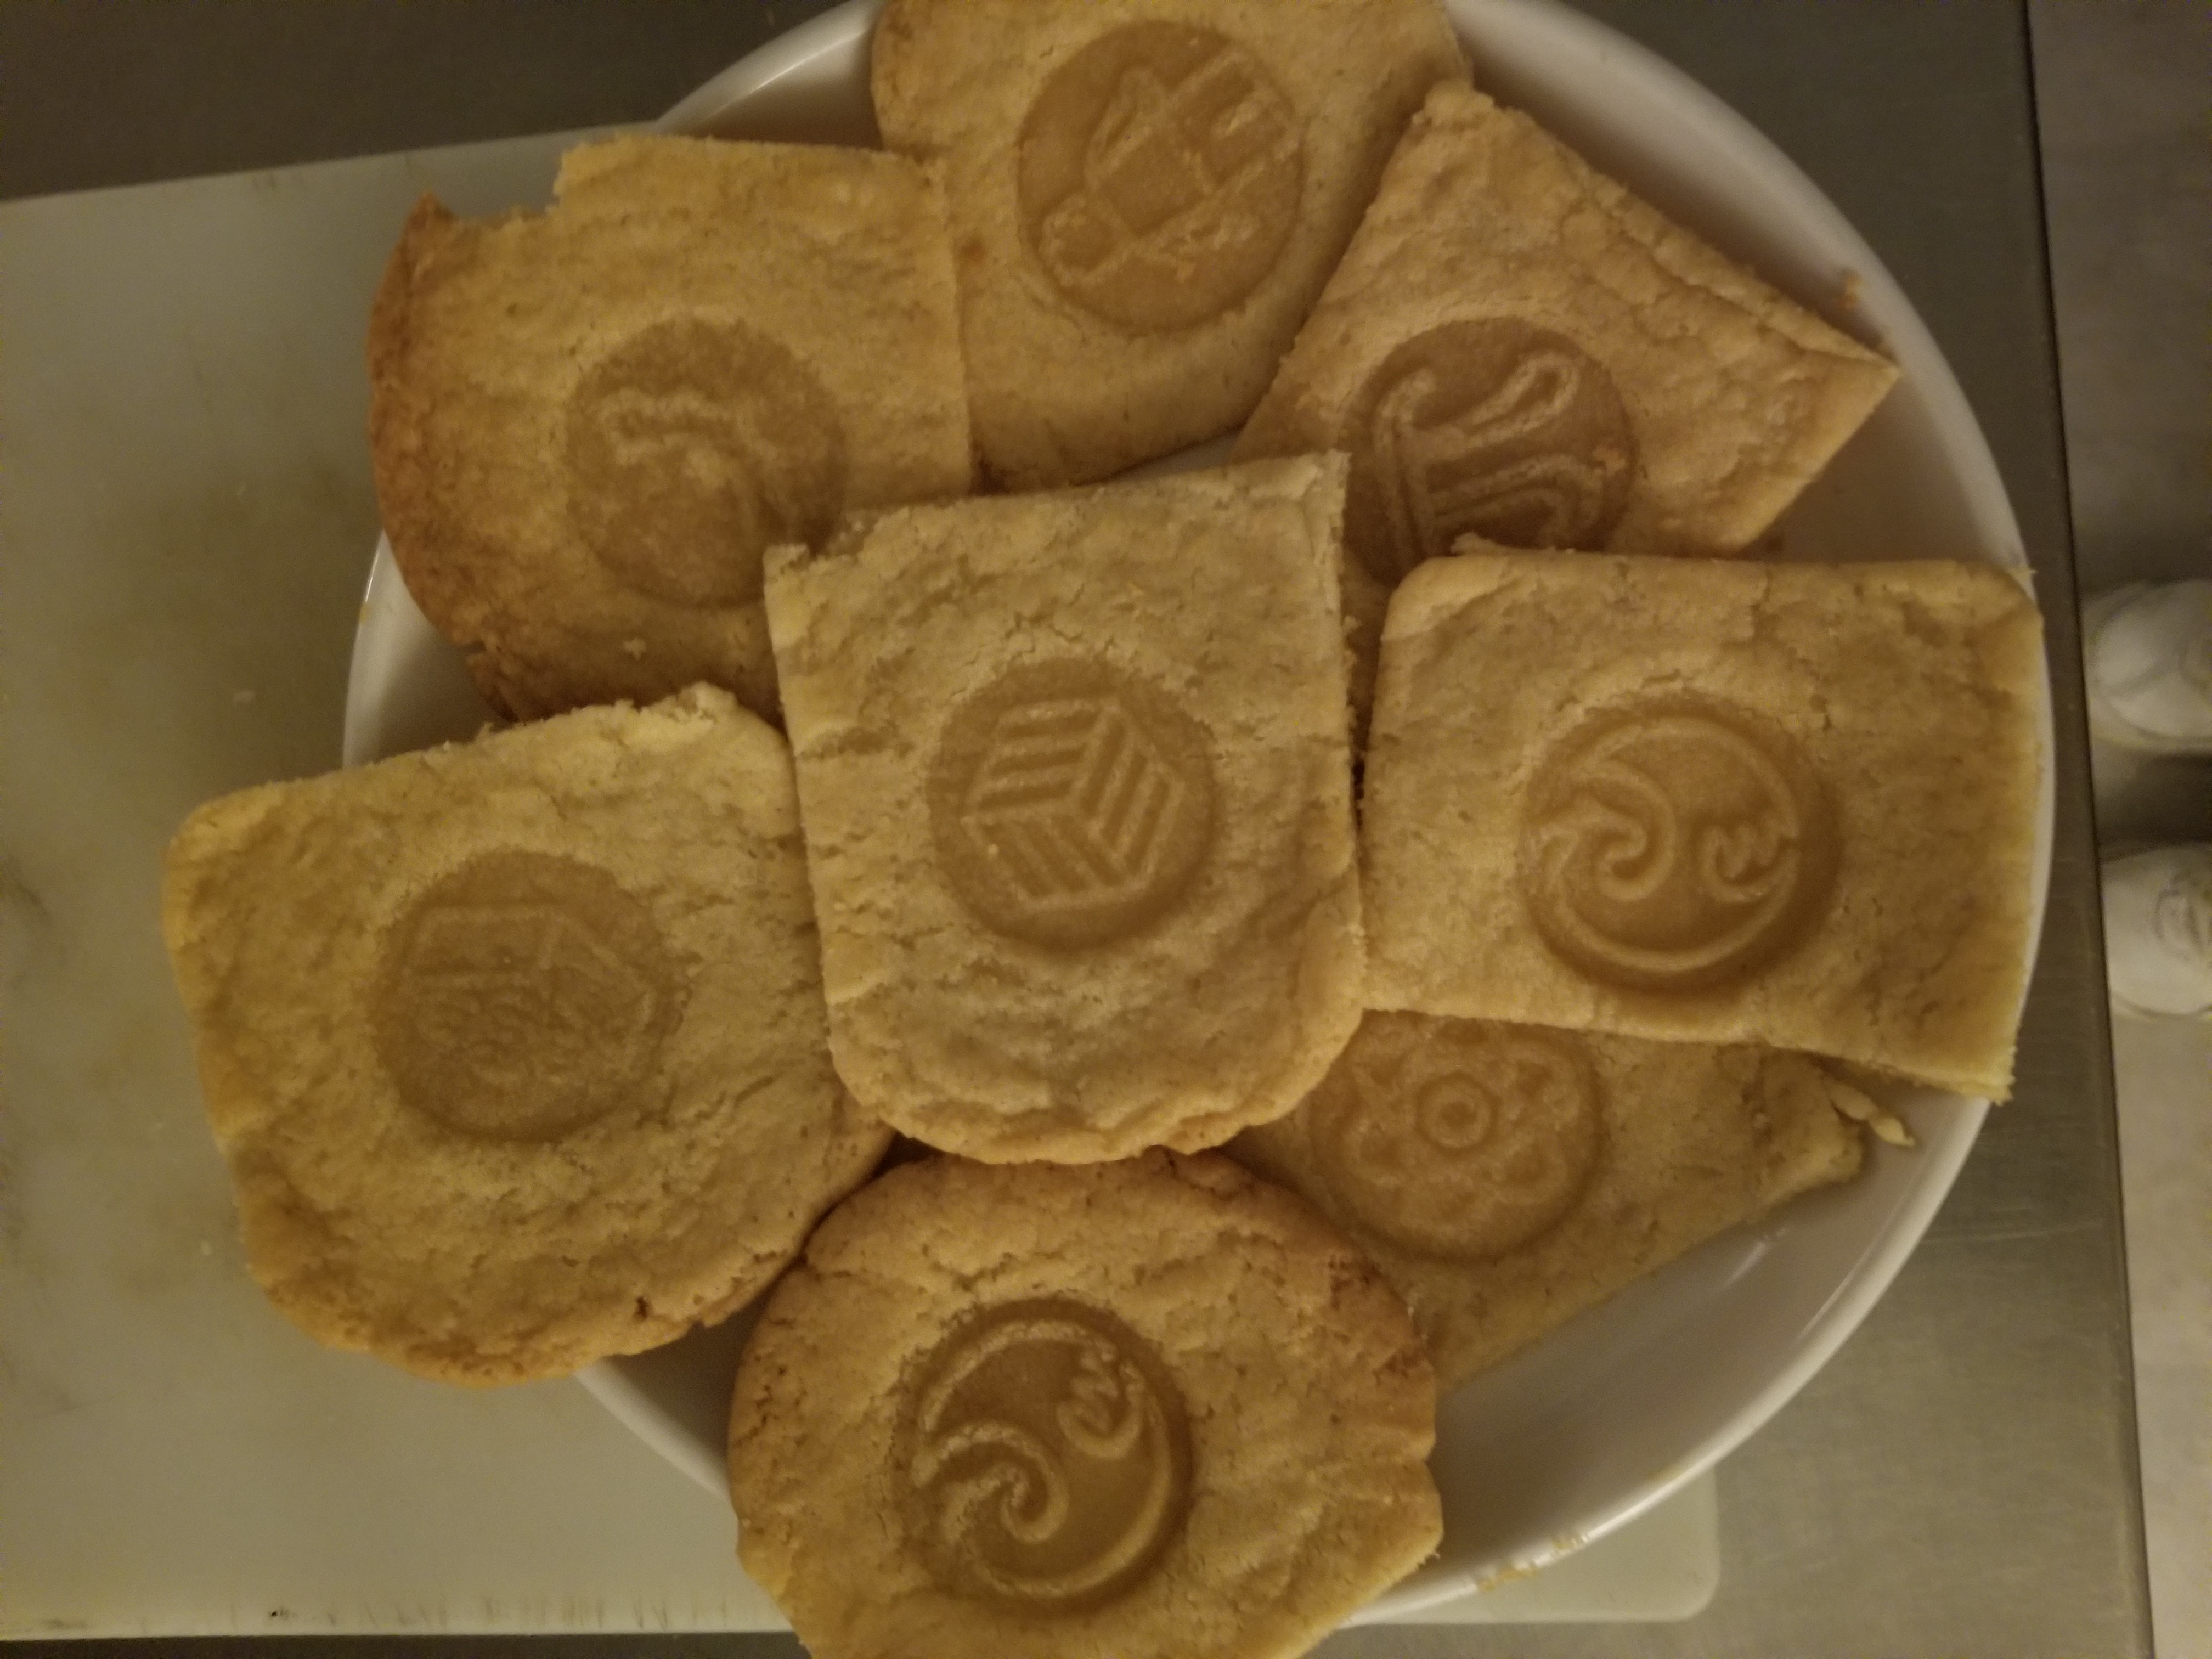
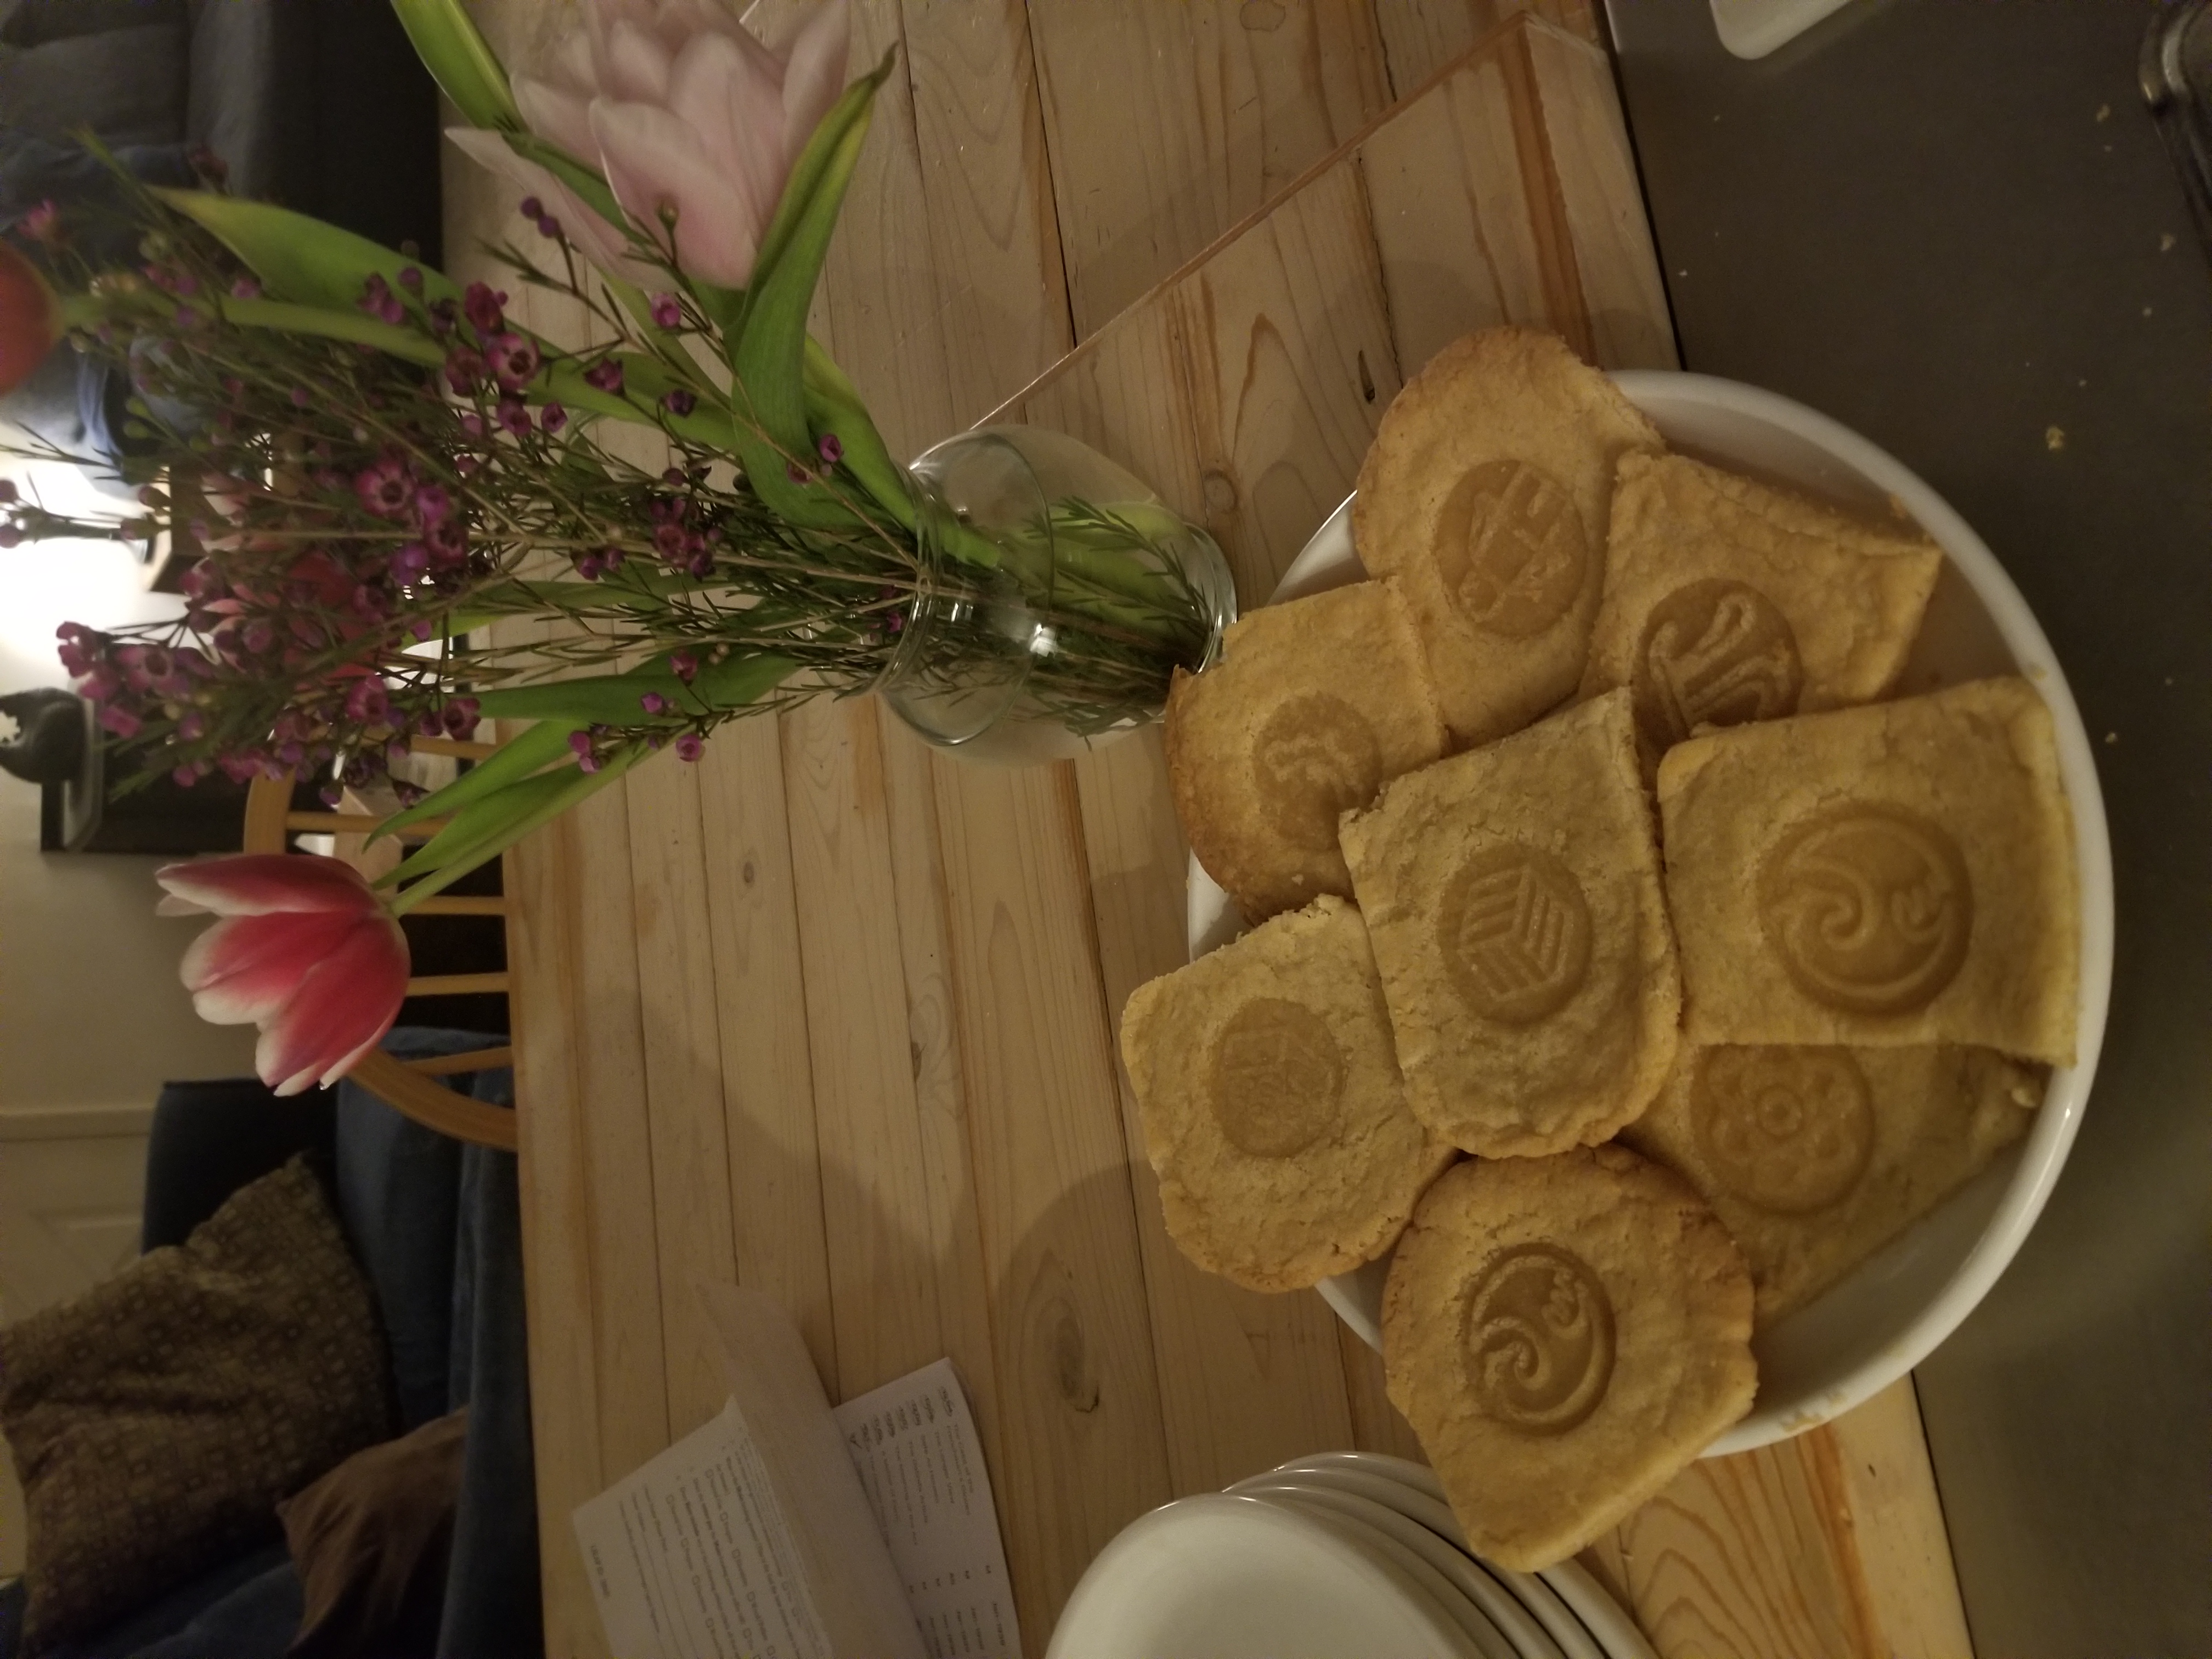
At this point, you have 8 nice stamps. For this project, I just bought some Pillsbury Sugar Cookie dough. Make the cookies as instructed on the package. Put a little cooking spray, oil or butter on the stamp pattern. As soon as the cookies come out of the oven, press the stamp into the surface of the cookie and then let the cookie cool on the cookie sheet.
When I did mine, I was careful to use at least one of every stamp, HOWEVER, my son decided we needed extra dragons and minifigs. I can’t say as I blame him however. :-D


Lyle steimel
Stuart G
wayne stirland
Stuart G