Four-in-a-row is one of those games that you play with just about any age child, and they can play competitively. This version is simple to make, and pretty portable too!
| Material | Description | Price | ||
|---|---|---|---|---|

|
Fluorescent Blue Acrylic Sheet |
Dimensions: 8 in × 12 in, Thickness: 1/4 in |
||

|
Fluorescent Orange Acrylic Sheet |
Dimensions: 8 in × 12 in, Thickness: 1/4 in |
||

|
Red Oak (×3) |
6" × 12" × 1/8" Red Oak |
$16.11 |
|
| This project's Bill of Materials is not complete. Add to Cart |
$16.11 |
|||
You can see shots of the entire process, as well as a list of things you’ll need at
http://www.iliketomakestuff.com/make-four-row-connect-four/
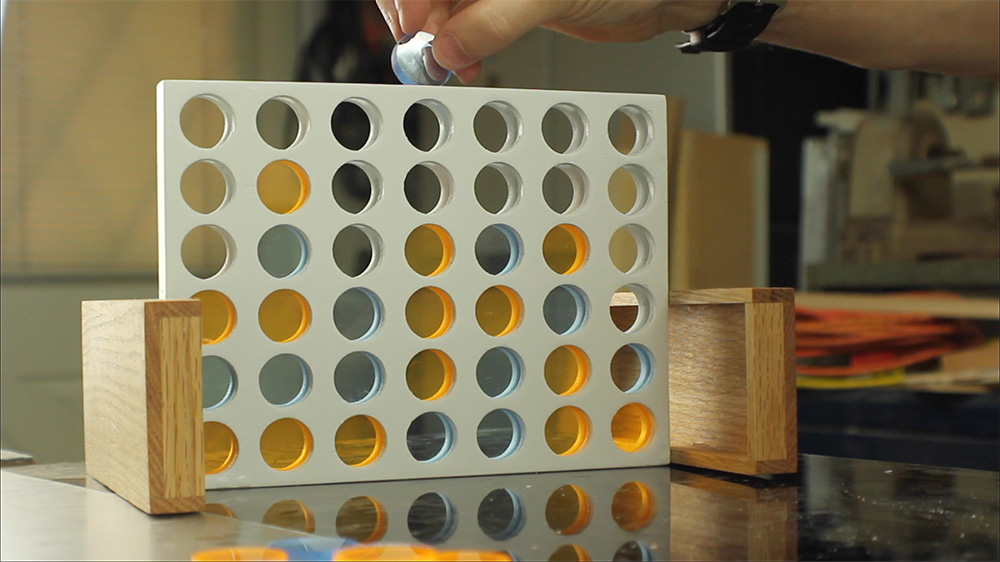
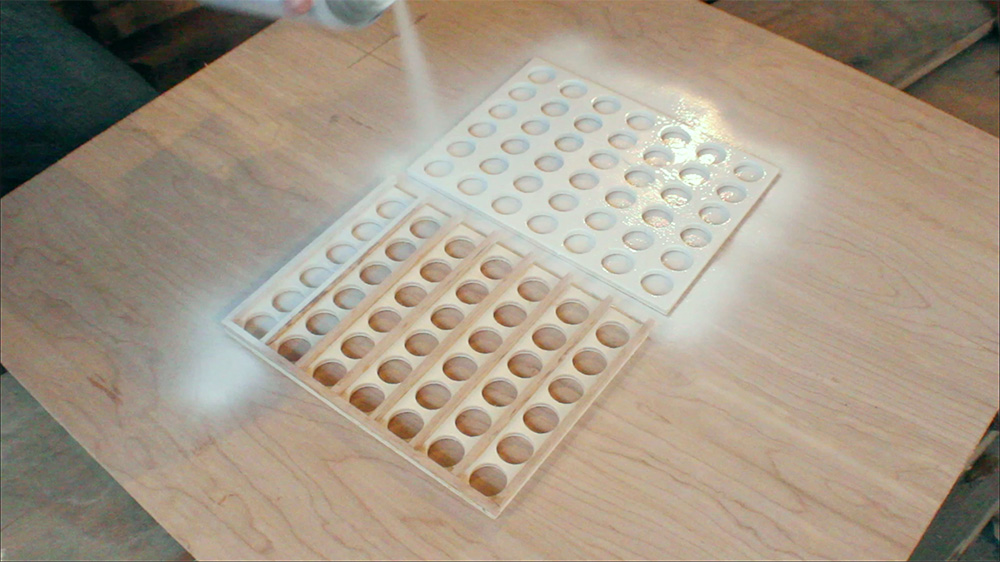
Cut out two pieces, in Easel, for the board. Each piece has 42 holes in it.
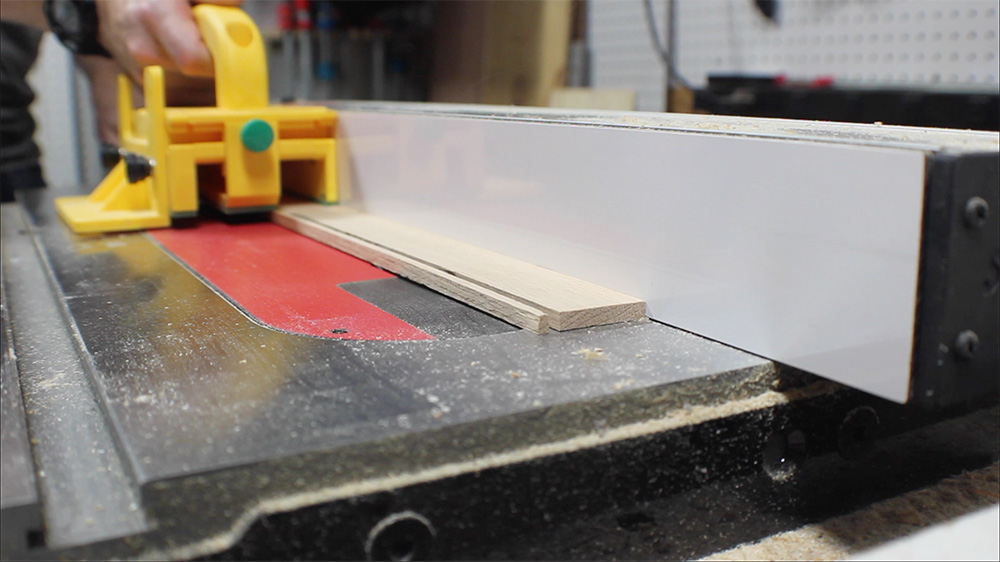
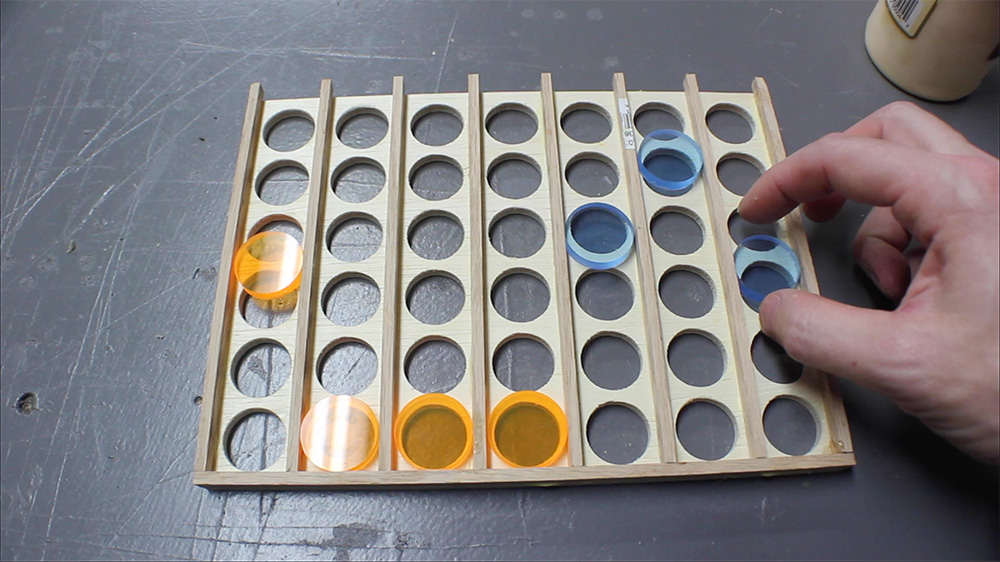
Also, you’ll need to cut out 1/4" strips (9) of wood that are slightly thicker than the acrylic. One will need to be the length of the board, while the rest are the height of the board.
These will act as separators to make columns and the bottom, inside the board.
Glue these in place with CA glue. Once dry, spray paint both sides of both pieces.
After the paint dries, attach the board completely with CA glue.


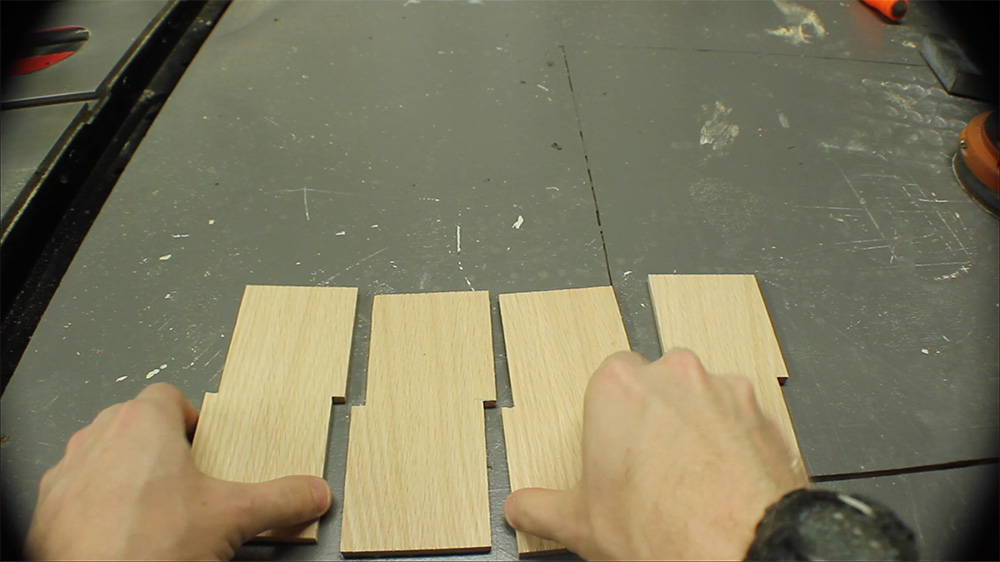
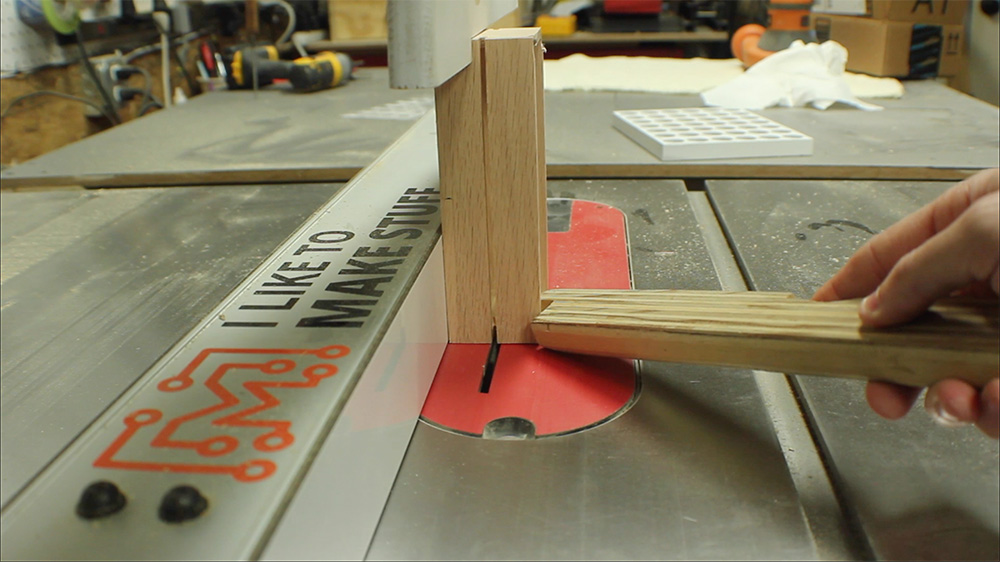
Cut four pieces of 1/4" wood (I used oak) to the desired size of your box.
Clamp them together in a stack.
Raise the table saw blade to 1/4" (or exact thickness of the material).
Using a miter slide, nibble away exactly half of the length of the wood.
Flip the pieces over (keeping them lined up and clamped) and nibble away the opposite side.
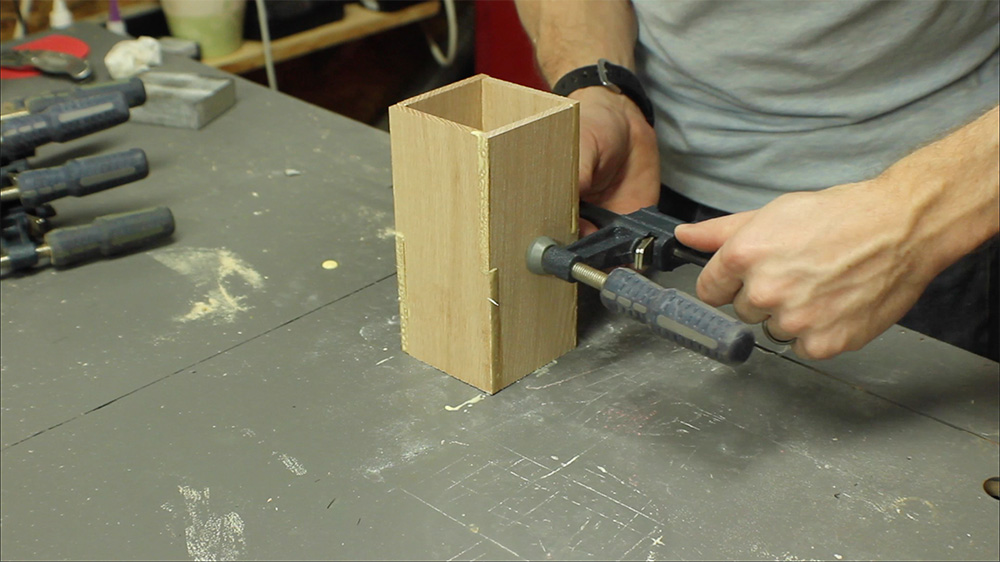
The pieces should now stack together to make a box.
Cut two more pieces to fill the ends and cap the box. Glue and clamp it all together to create a closed box.
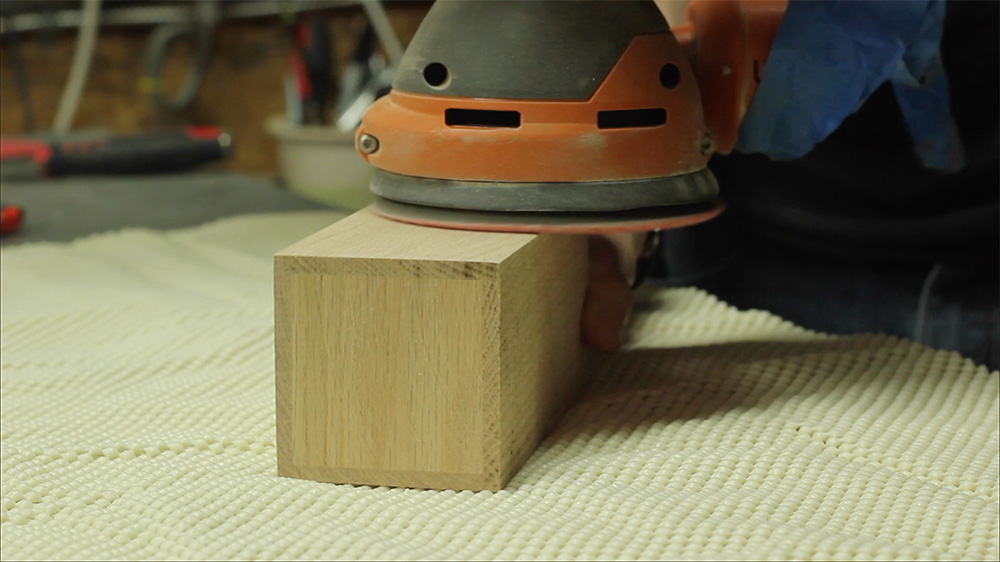
After it dries, sand the outside smooth.
Cut the box in half on the table saw.. but BE CAREFUL.

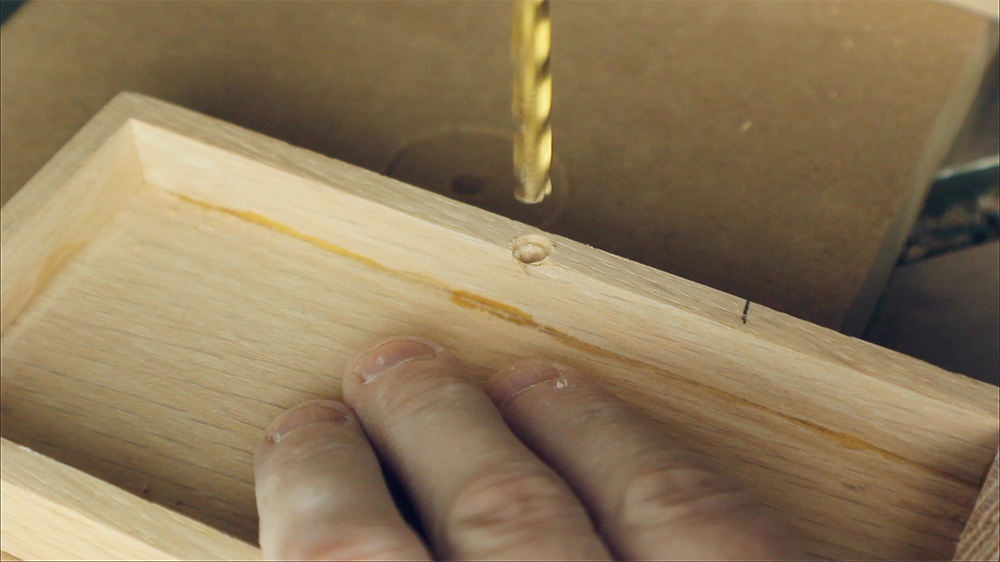
Find the middle of the box pieces and drill out a small hole to match the size of the your magnets.
Mix a small amount of epoxy and add in the holes before placing the magnets inside.
Transfer the same location to the sides of the game board and add magnets in the same way.
Be sure to get the polarity of the magnets matched so that the box closes, and it snaps to the sides of the game board.


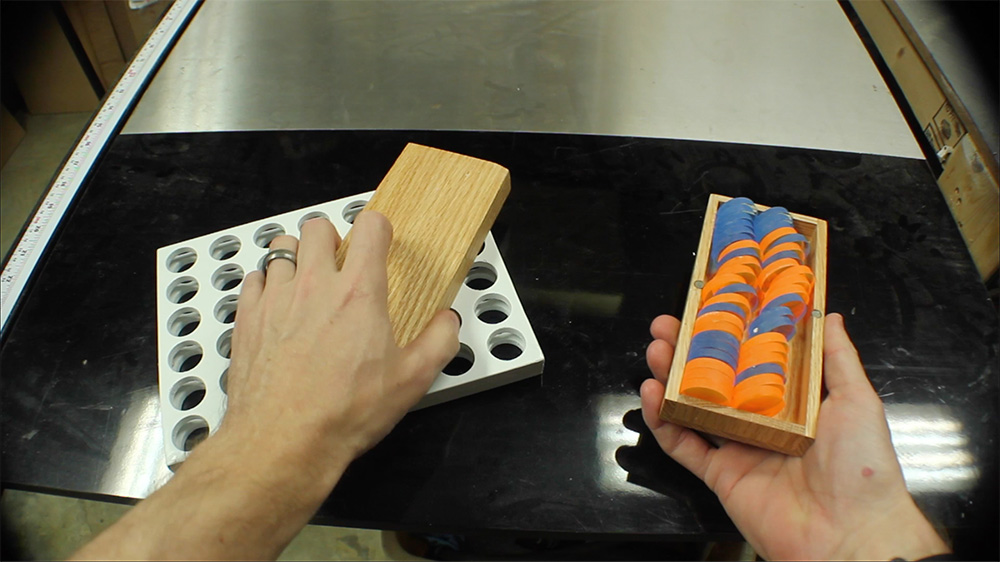
Now the box stores the pieces, and acts as a stand for the game board while you play!