Email Support | Mon - Fri: 9am - 5pm Sun: 12pm - 4pm CT | Call Support: 312-775-7009

Which X-Carve is Right for You? Learn More.

CNC Sushi Dish

Jamie Guan

Project by

Jamie Guan
Boston, Massachusetts

General Information

I CNCed a sushi dish out of 3/4" maple using Carvey. The process of creating this dish is split into 3 different set-ups: Adaptive Clearing, Tabs, Finishing Pass.

Like this project
Material Description Price
Hard Maple

Hard Maple

6" × 12" × 3/4" Hard Maple

File Description Unit Price

post.nc

Adaptive Clearing

$0

tabs.nc

Tabs

$0

final.nc

Finishing Pass

$0

Download Zip

$0
from Inventables

1

Step 1: MODEL FORM ON FUSION 360

I modeled the form on Fusion 360. I started on sculpt, and created a box. Once the form was the correct size, I began modeling the curves on the top of the dish. I then saved each set-up as a G-code.

2

Step 2: IMPORT ON EASEL

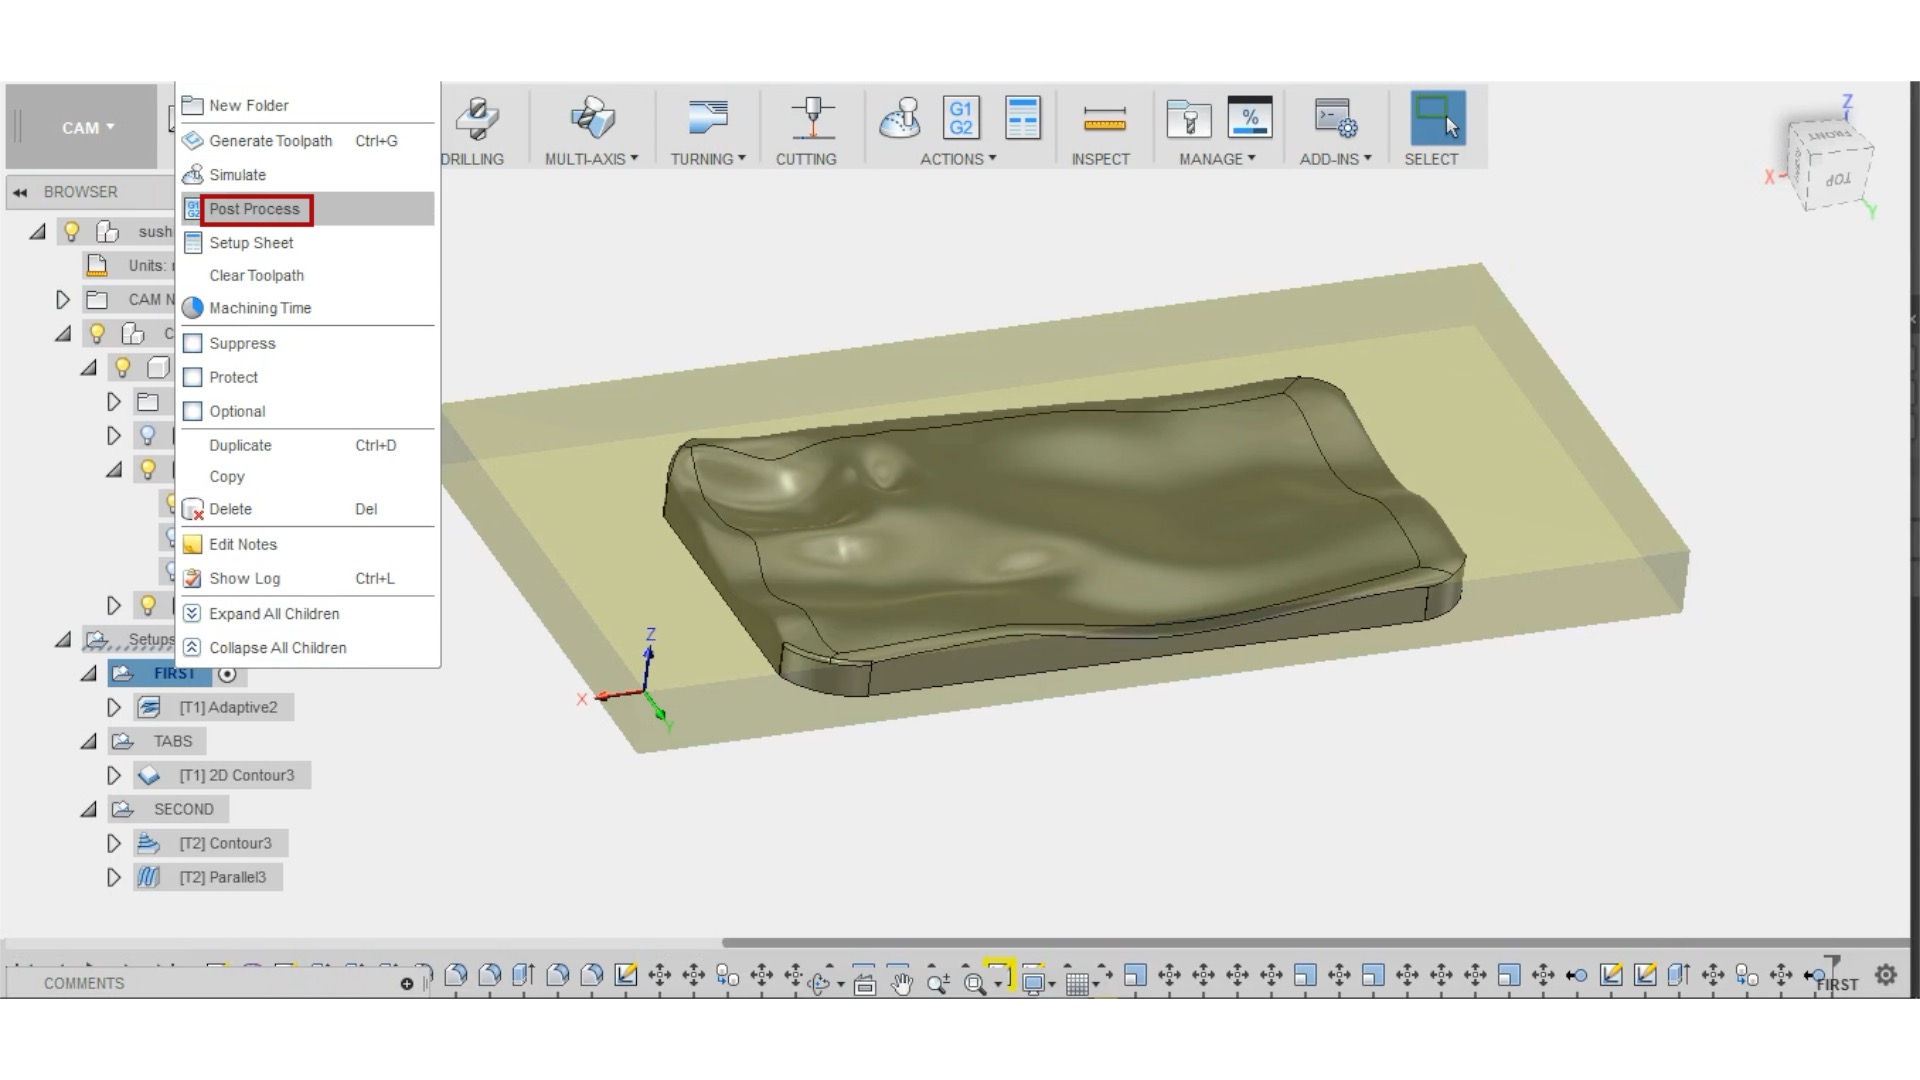
I imported the G-codes onto Easel by Inventables separately and made sure all were aligned before carving.

3

Step 3: SECURE AND RUN CARVEY

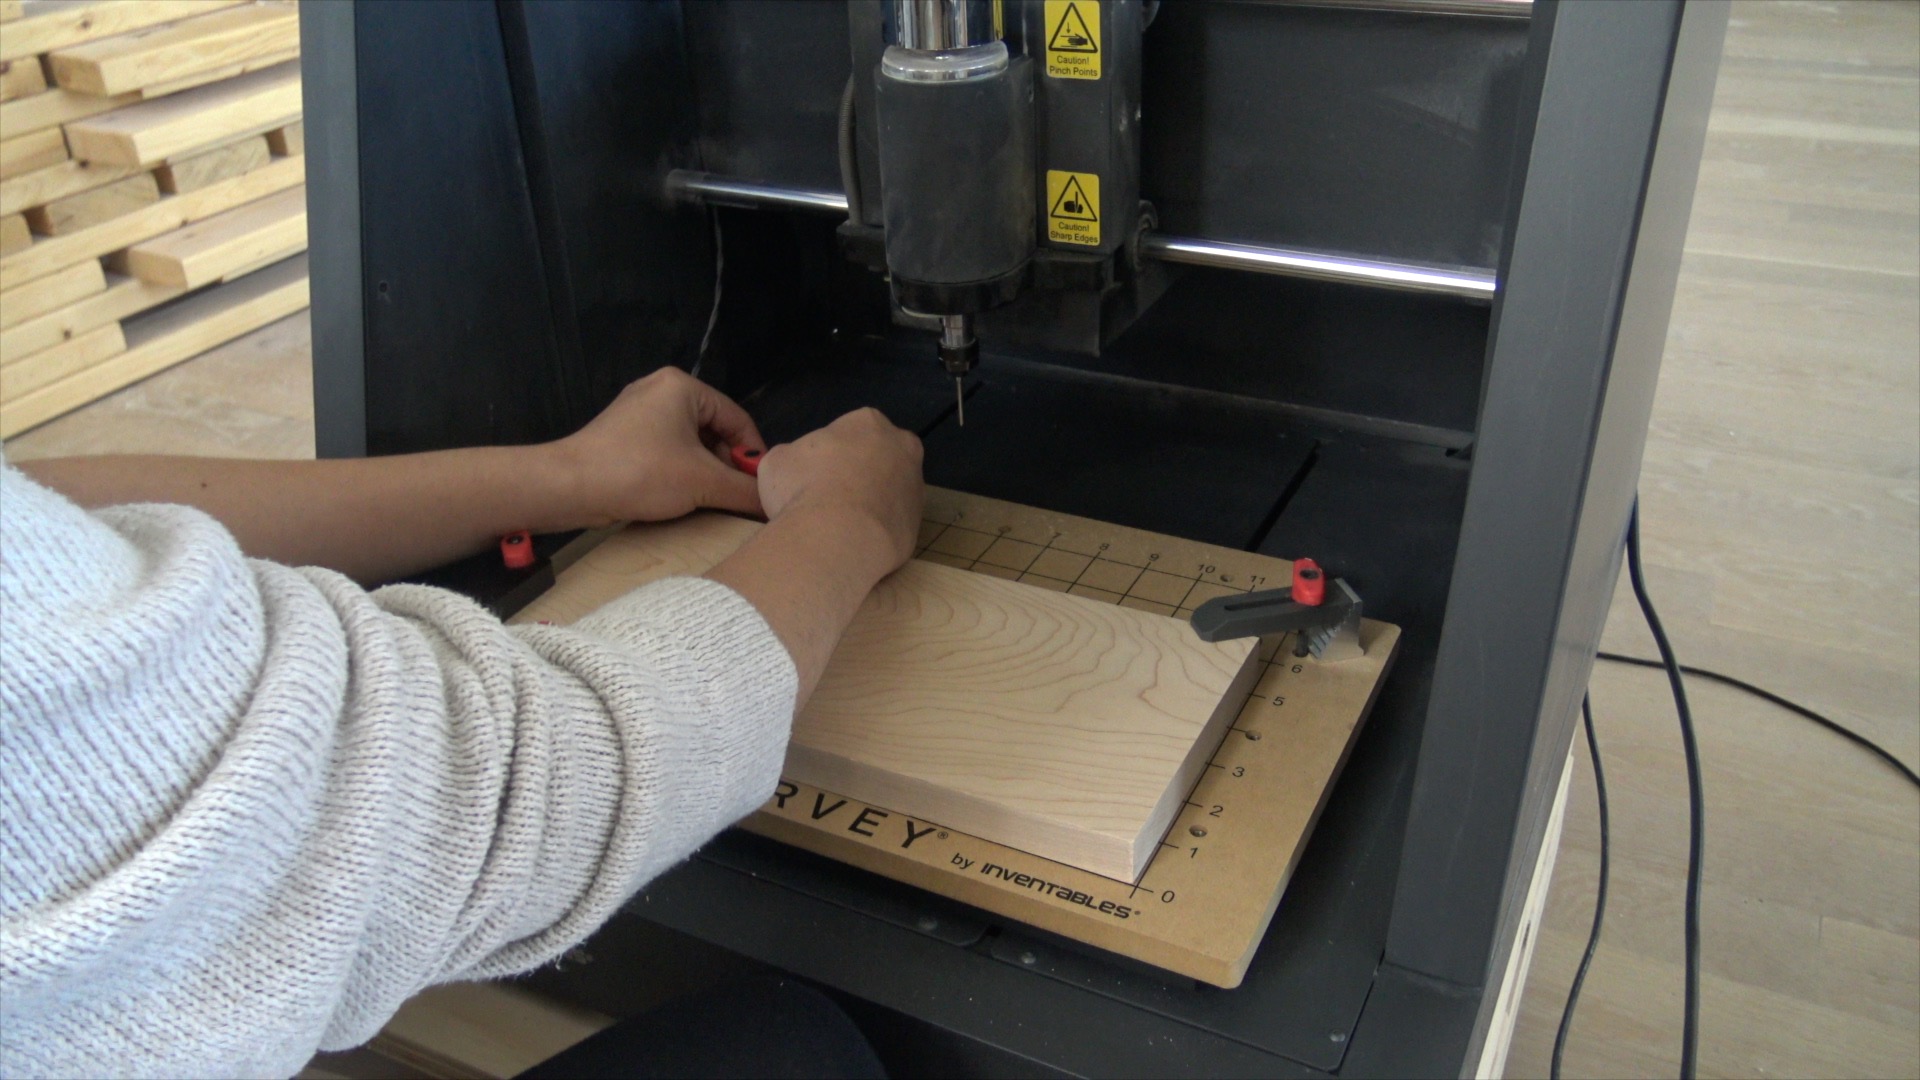
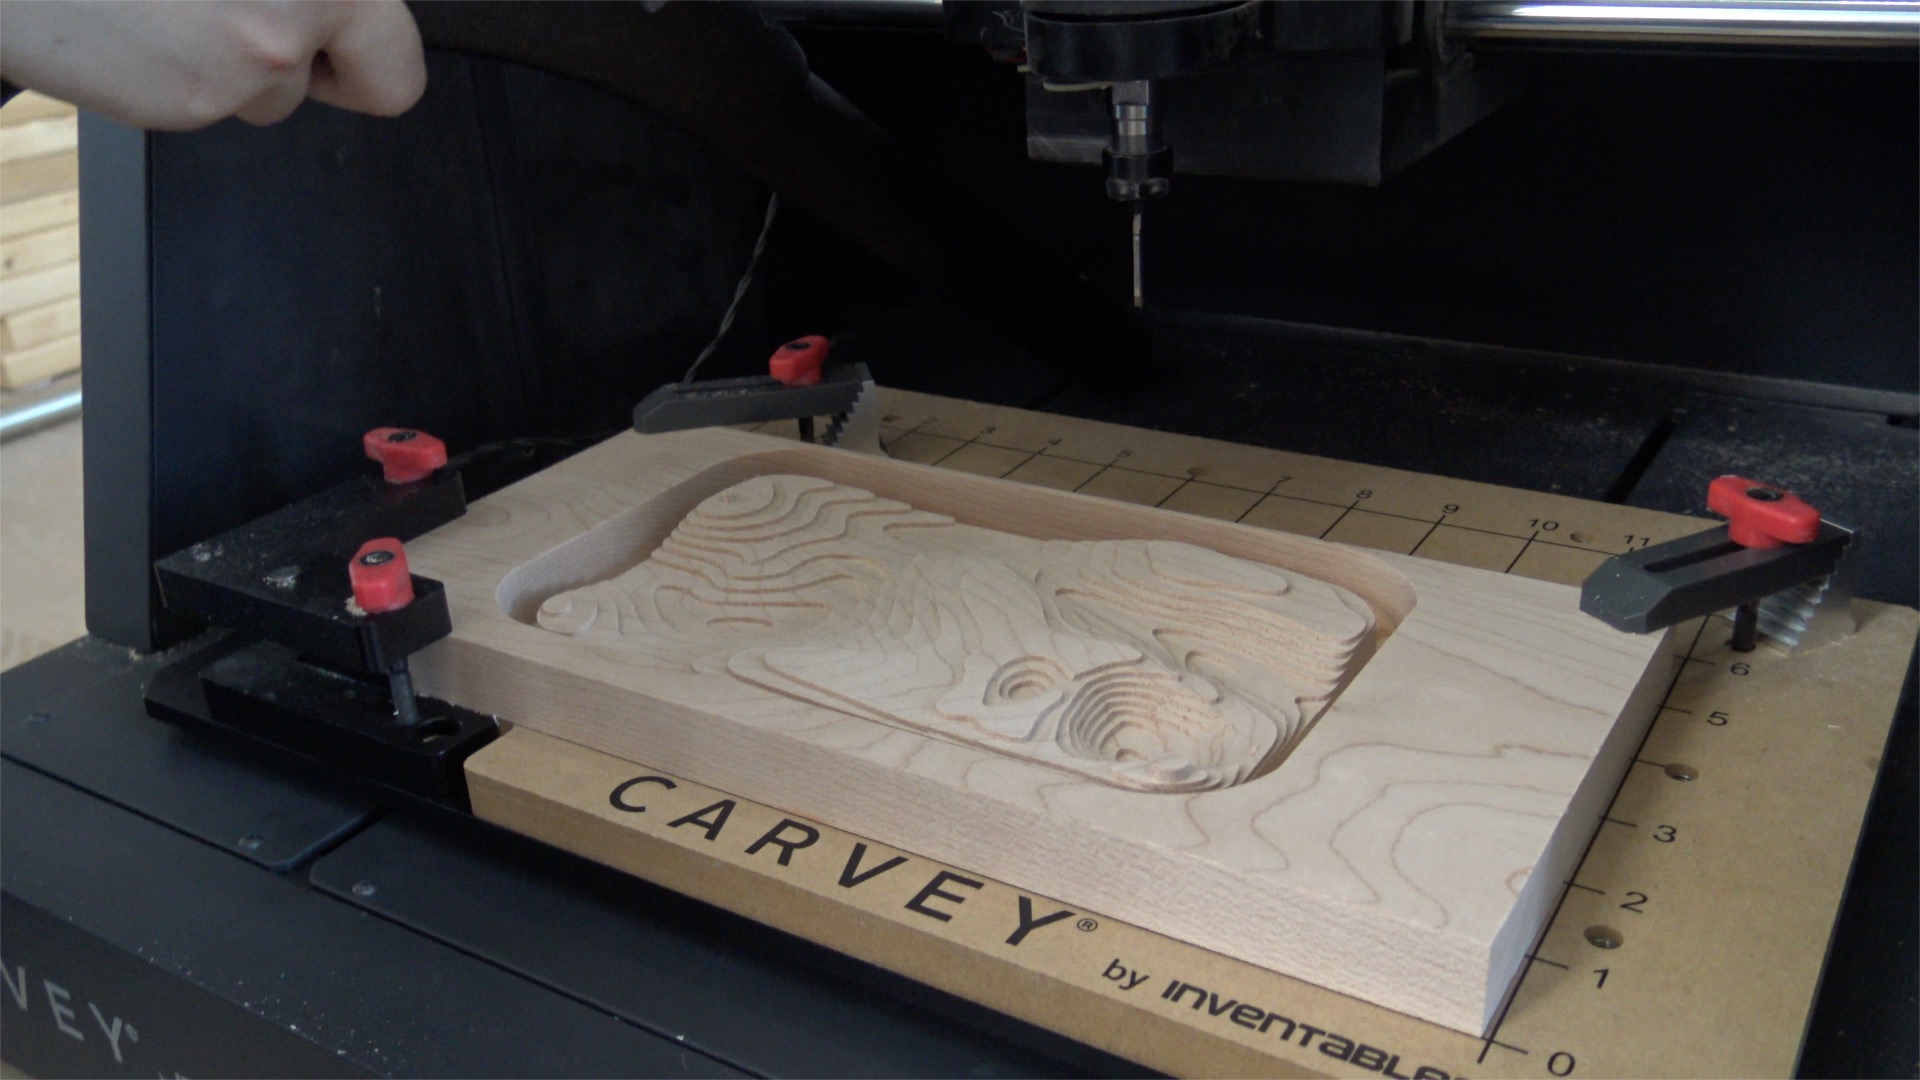
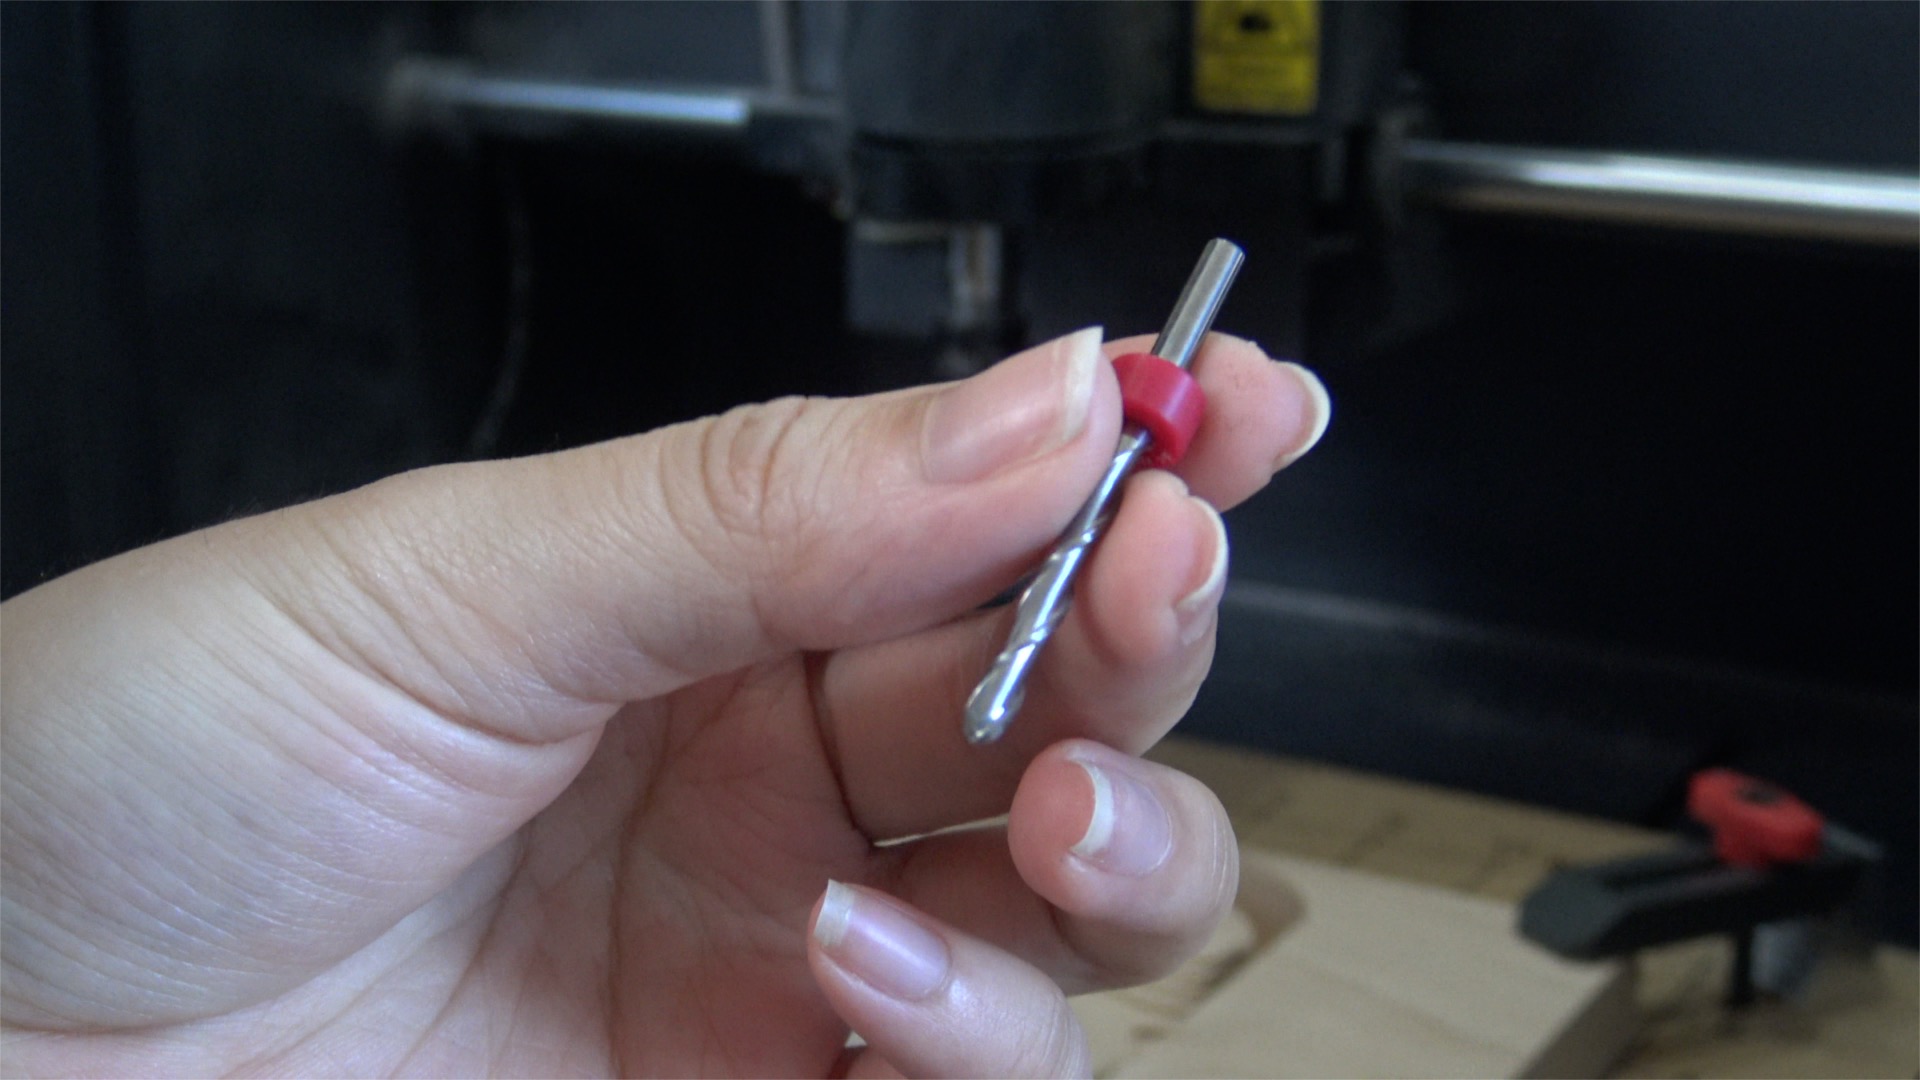
I secured the maple in Carvey with clamps and ran the first set-up with a straight bit. The first cut is a rough cut to get the bulk of the material out of the way. I then ran the second set-up tabs. The last set-up was carved with a ball-nose bit to smooth everything out.

4

Step 4: POWER SAND

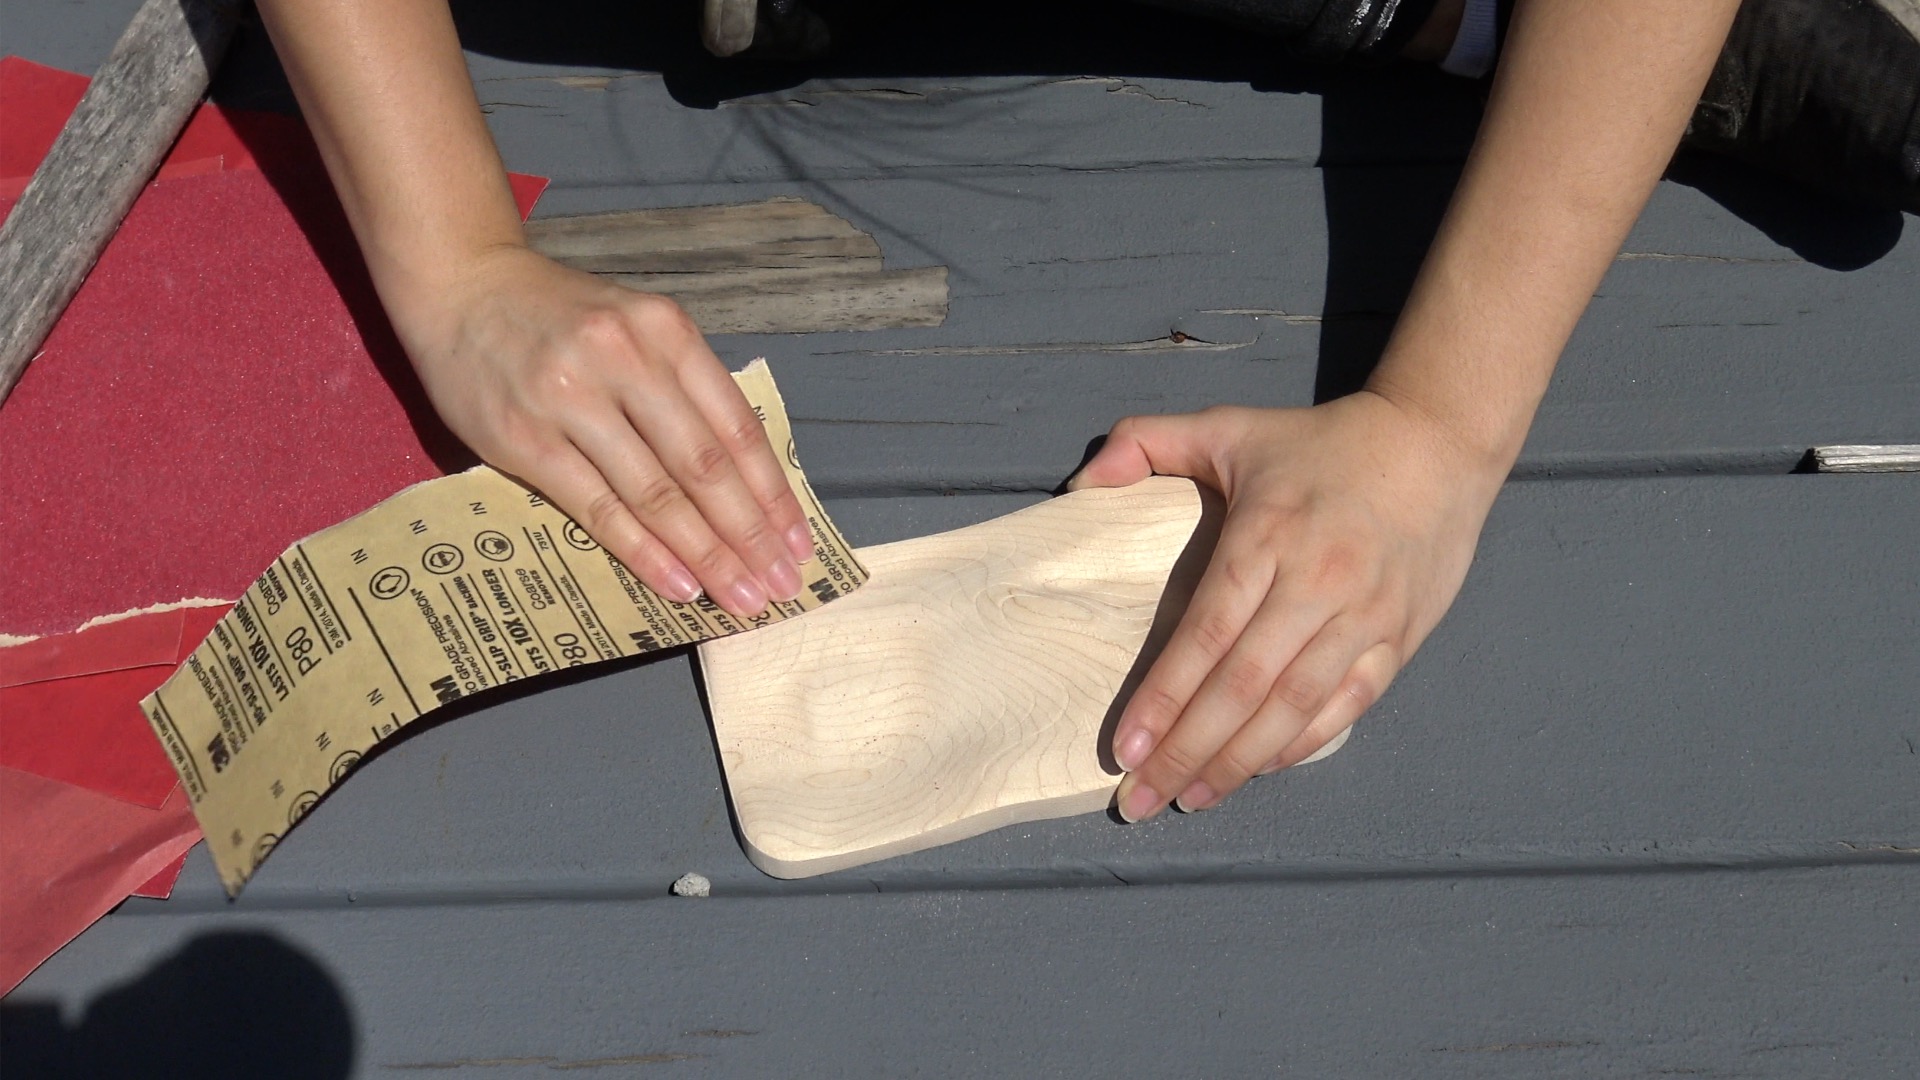
I released the dish from the rest of the stock and sanded the sides/edges using an orbital sander. I made sure to take my time to round over the edges and smooth out the sides.

5

Step 5: HAND SAND

After power sanding, I did some hand sanding to get the surface of the dish to remove the machine markings from the bits.

6

Step 6: APPLY FINISH TO DISH

After wiping down the dish, I finished it with a wood food-save finish called BioShield. I applied two coats.

Andrew Steinbach
Jamie, First off, beautiful design-Thank you for sharing! Could provide some insight to specifics, *Please confirm rough cut used 1/8" straight cut bit (black collar) *Estimated time for rough cut? *Estimated time for finish pass (w/ ball nose red collar bit)? Excited to make this project!
Andrew Steinbach
Jawad Saadi
many thanks for sharing. I never tried to import gcode, where do I set the 0,0,0, position to the wood, and what size of bits I should use?
Jawad Saadi
Andrew Steinbach
Jawad, I just finished my first board - experimented with pine (0.72" thk). Program cut air for one pass. Used 1/8" upcut bit for rough and tabs and 1/8" round nose for the smoothing run. Tab program didn't cut fully thru, less than 1/16 flashing to break out and sand - but saved waste board!
Andrew Steinbach
Riley Keith
What size bit did you use for the straight bit
Riley Keith
Jacob VanDyke
Andrew, what were your times for the rough cut and the finish pass? Thanks!
Jacob VanDyke
Mitch V.
waarom kan ik de zip niet downloaden?
Mitch V.
Steve McKinney
Beautiful design! Thank you for sharing.
Steve McKinney
Peter Hyland
Love the design! My Carvey (using exact same bits as Jamie) keeps getting hung up in the first 5% of the "final.nc" g-code. I've tried slowing the feed rate down to 50% but it continues to stop for no apparent reason. Any ideas?
Peter Hyland
Peter Hyland
So, I ended up using Chrome as my web browser (instead of Safari) and was able to complete the project! I did mine in black walnut, sanded it to 600 grit by hand and after an application of mineral oil, it is ready for use and looks awesome! Thanks to Jamie I'm going to start exploring Fusion 360
Peter Hyland
tahir
Hello, great work. would it be possible to have a link to the 3D file itself? if not no worries.
tahir
John Oriente
For me using a 1/8 up cut and 1/8 bull nose, I was at 4 hours for the rough and 12 hours for the finish cut
John Oriente
Jordan Ludusan
Hi, Love this file. Could you please send me the actual file Stl and not the premade gcode file? Thanks
Jordan Ludusan