Express your mood and interact with the clouds. The material choice will make a big difference in price.
A. MDF Clouds with a Base- $20
B. Corian Clouds with a Base and a storage box – $83.04
480 minutes
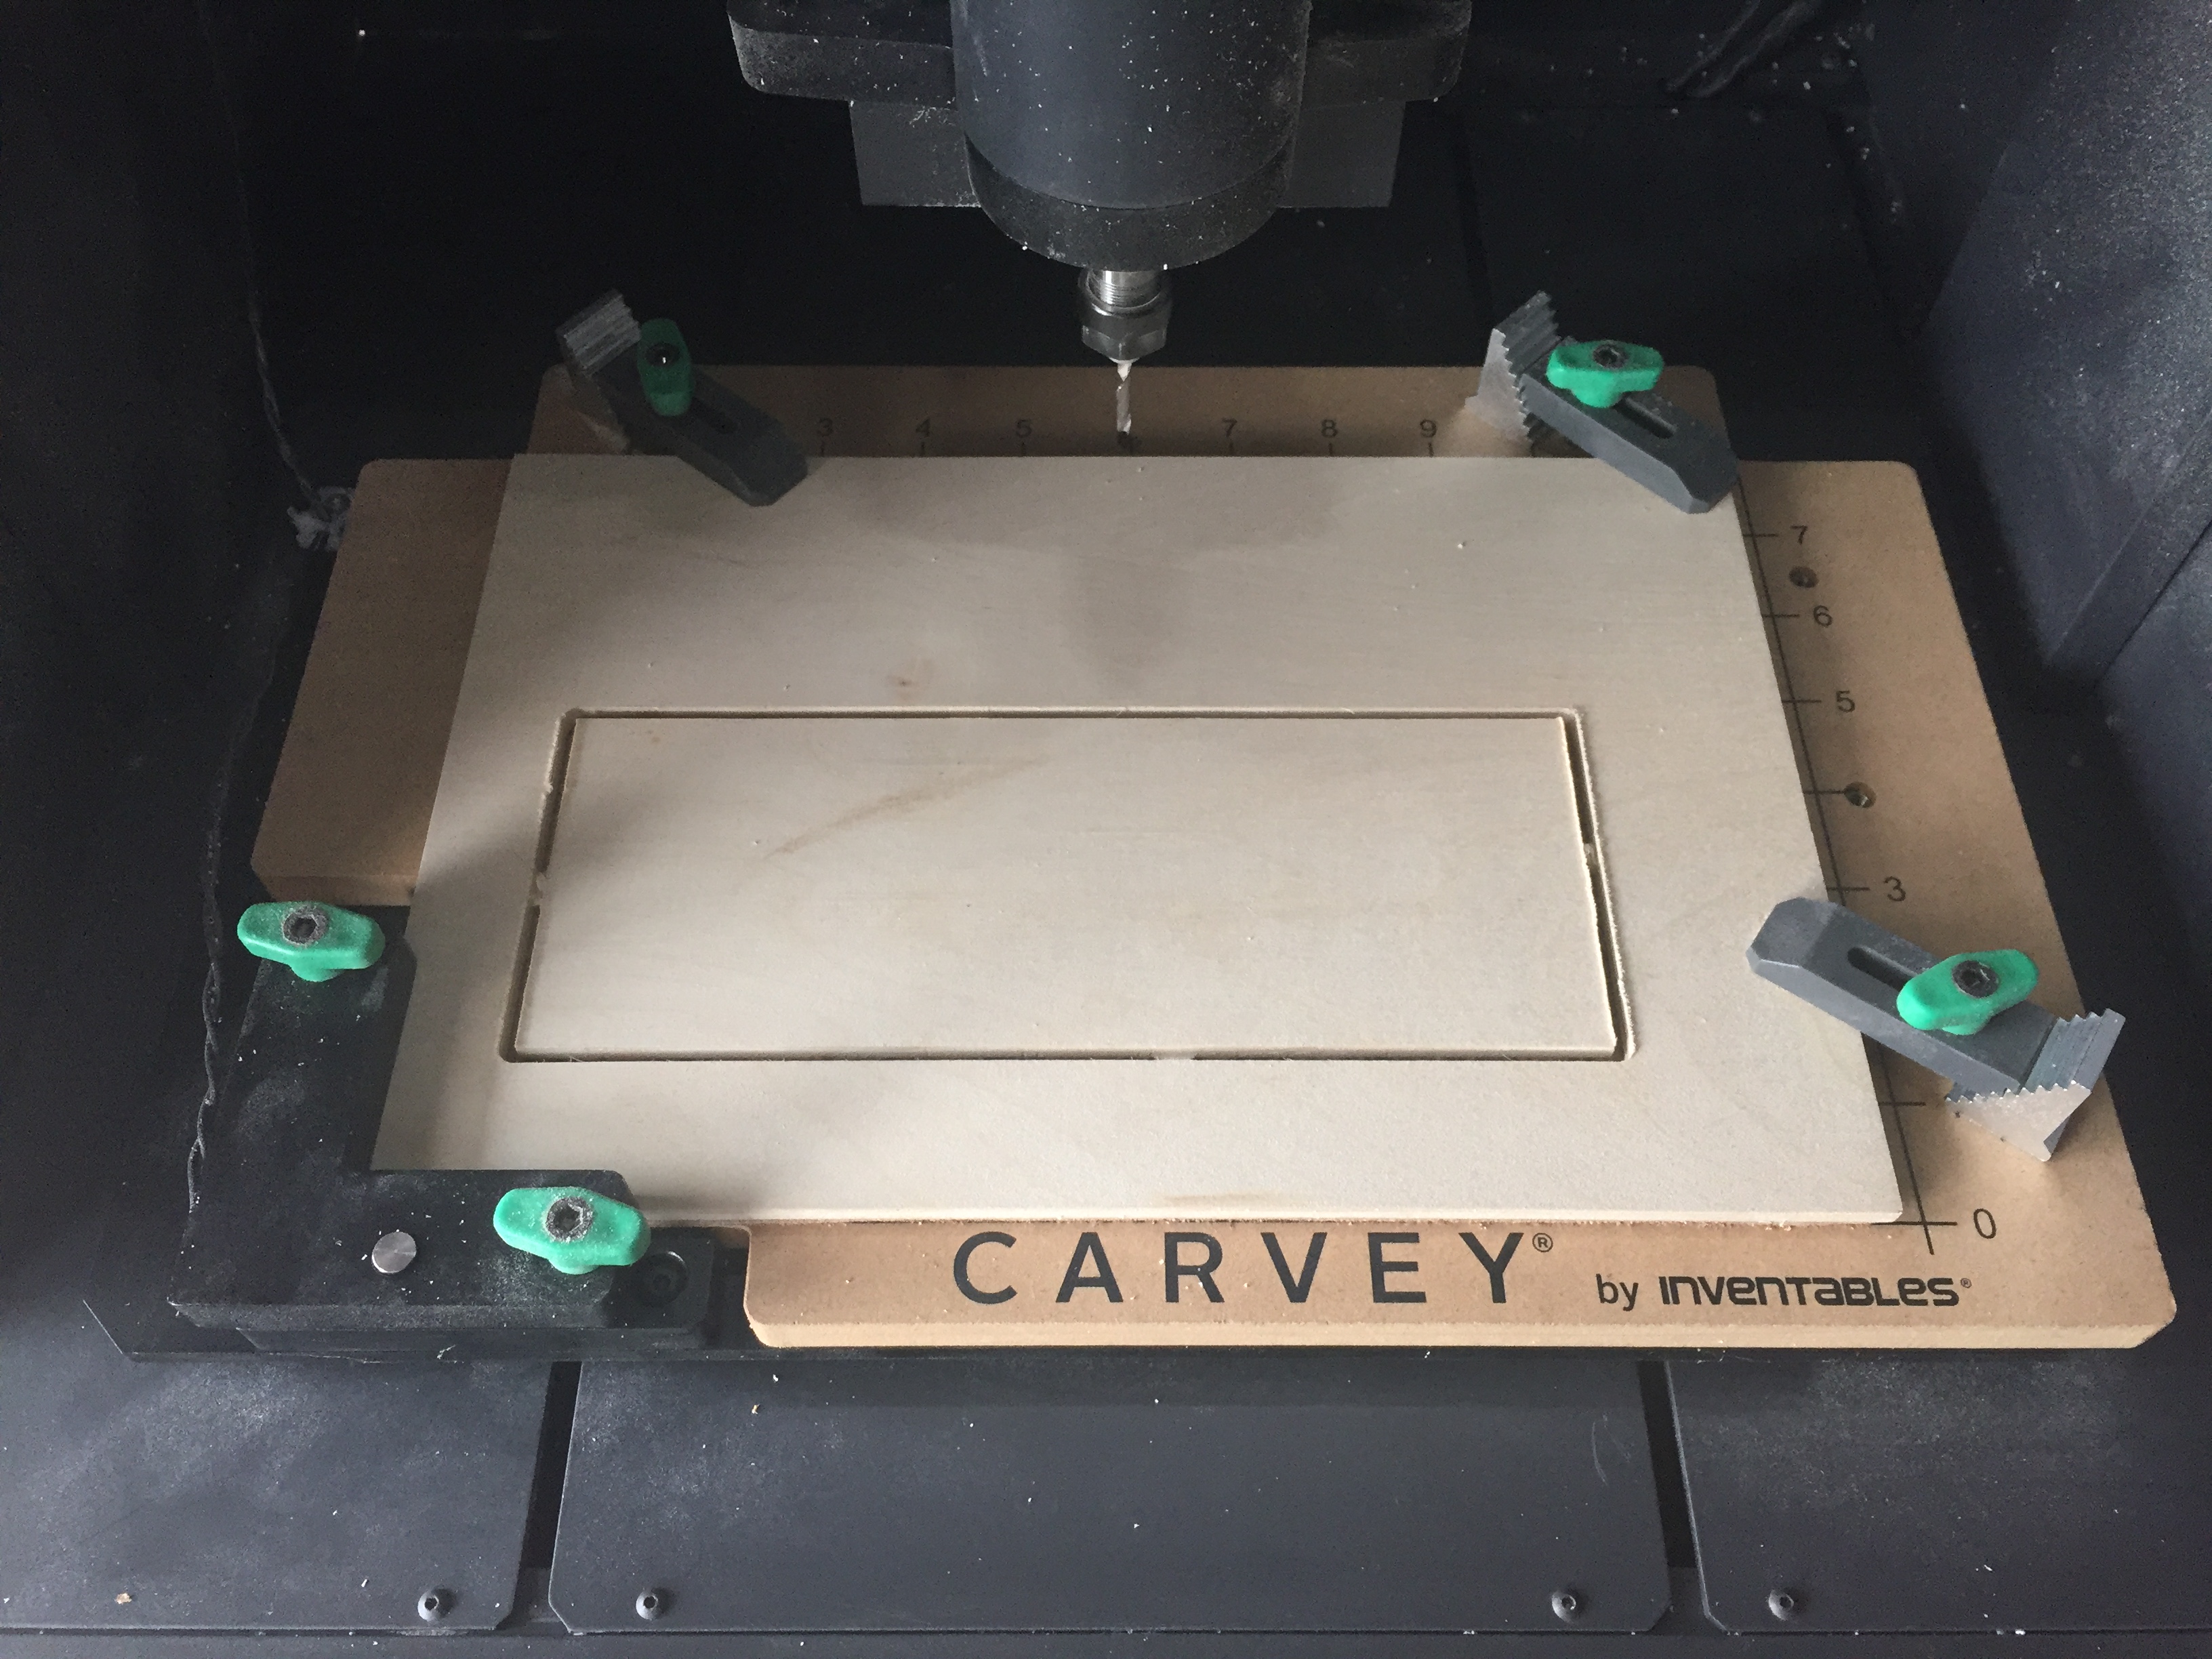
1-A. Cut the black Corian into 8″ × 11″. We will be cutting the Corian from the top side first. Then, we need to carve grooves so we can mount a clear dowel by flipping it upside down. It is essential to prepare precisely cut Corian blocks.
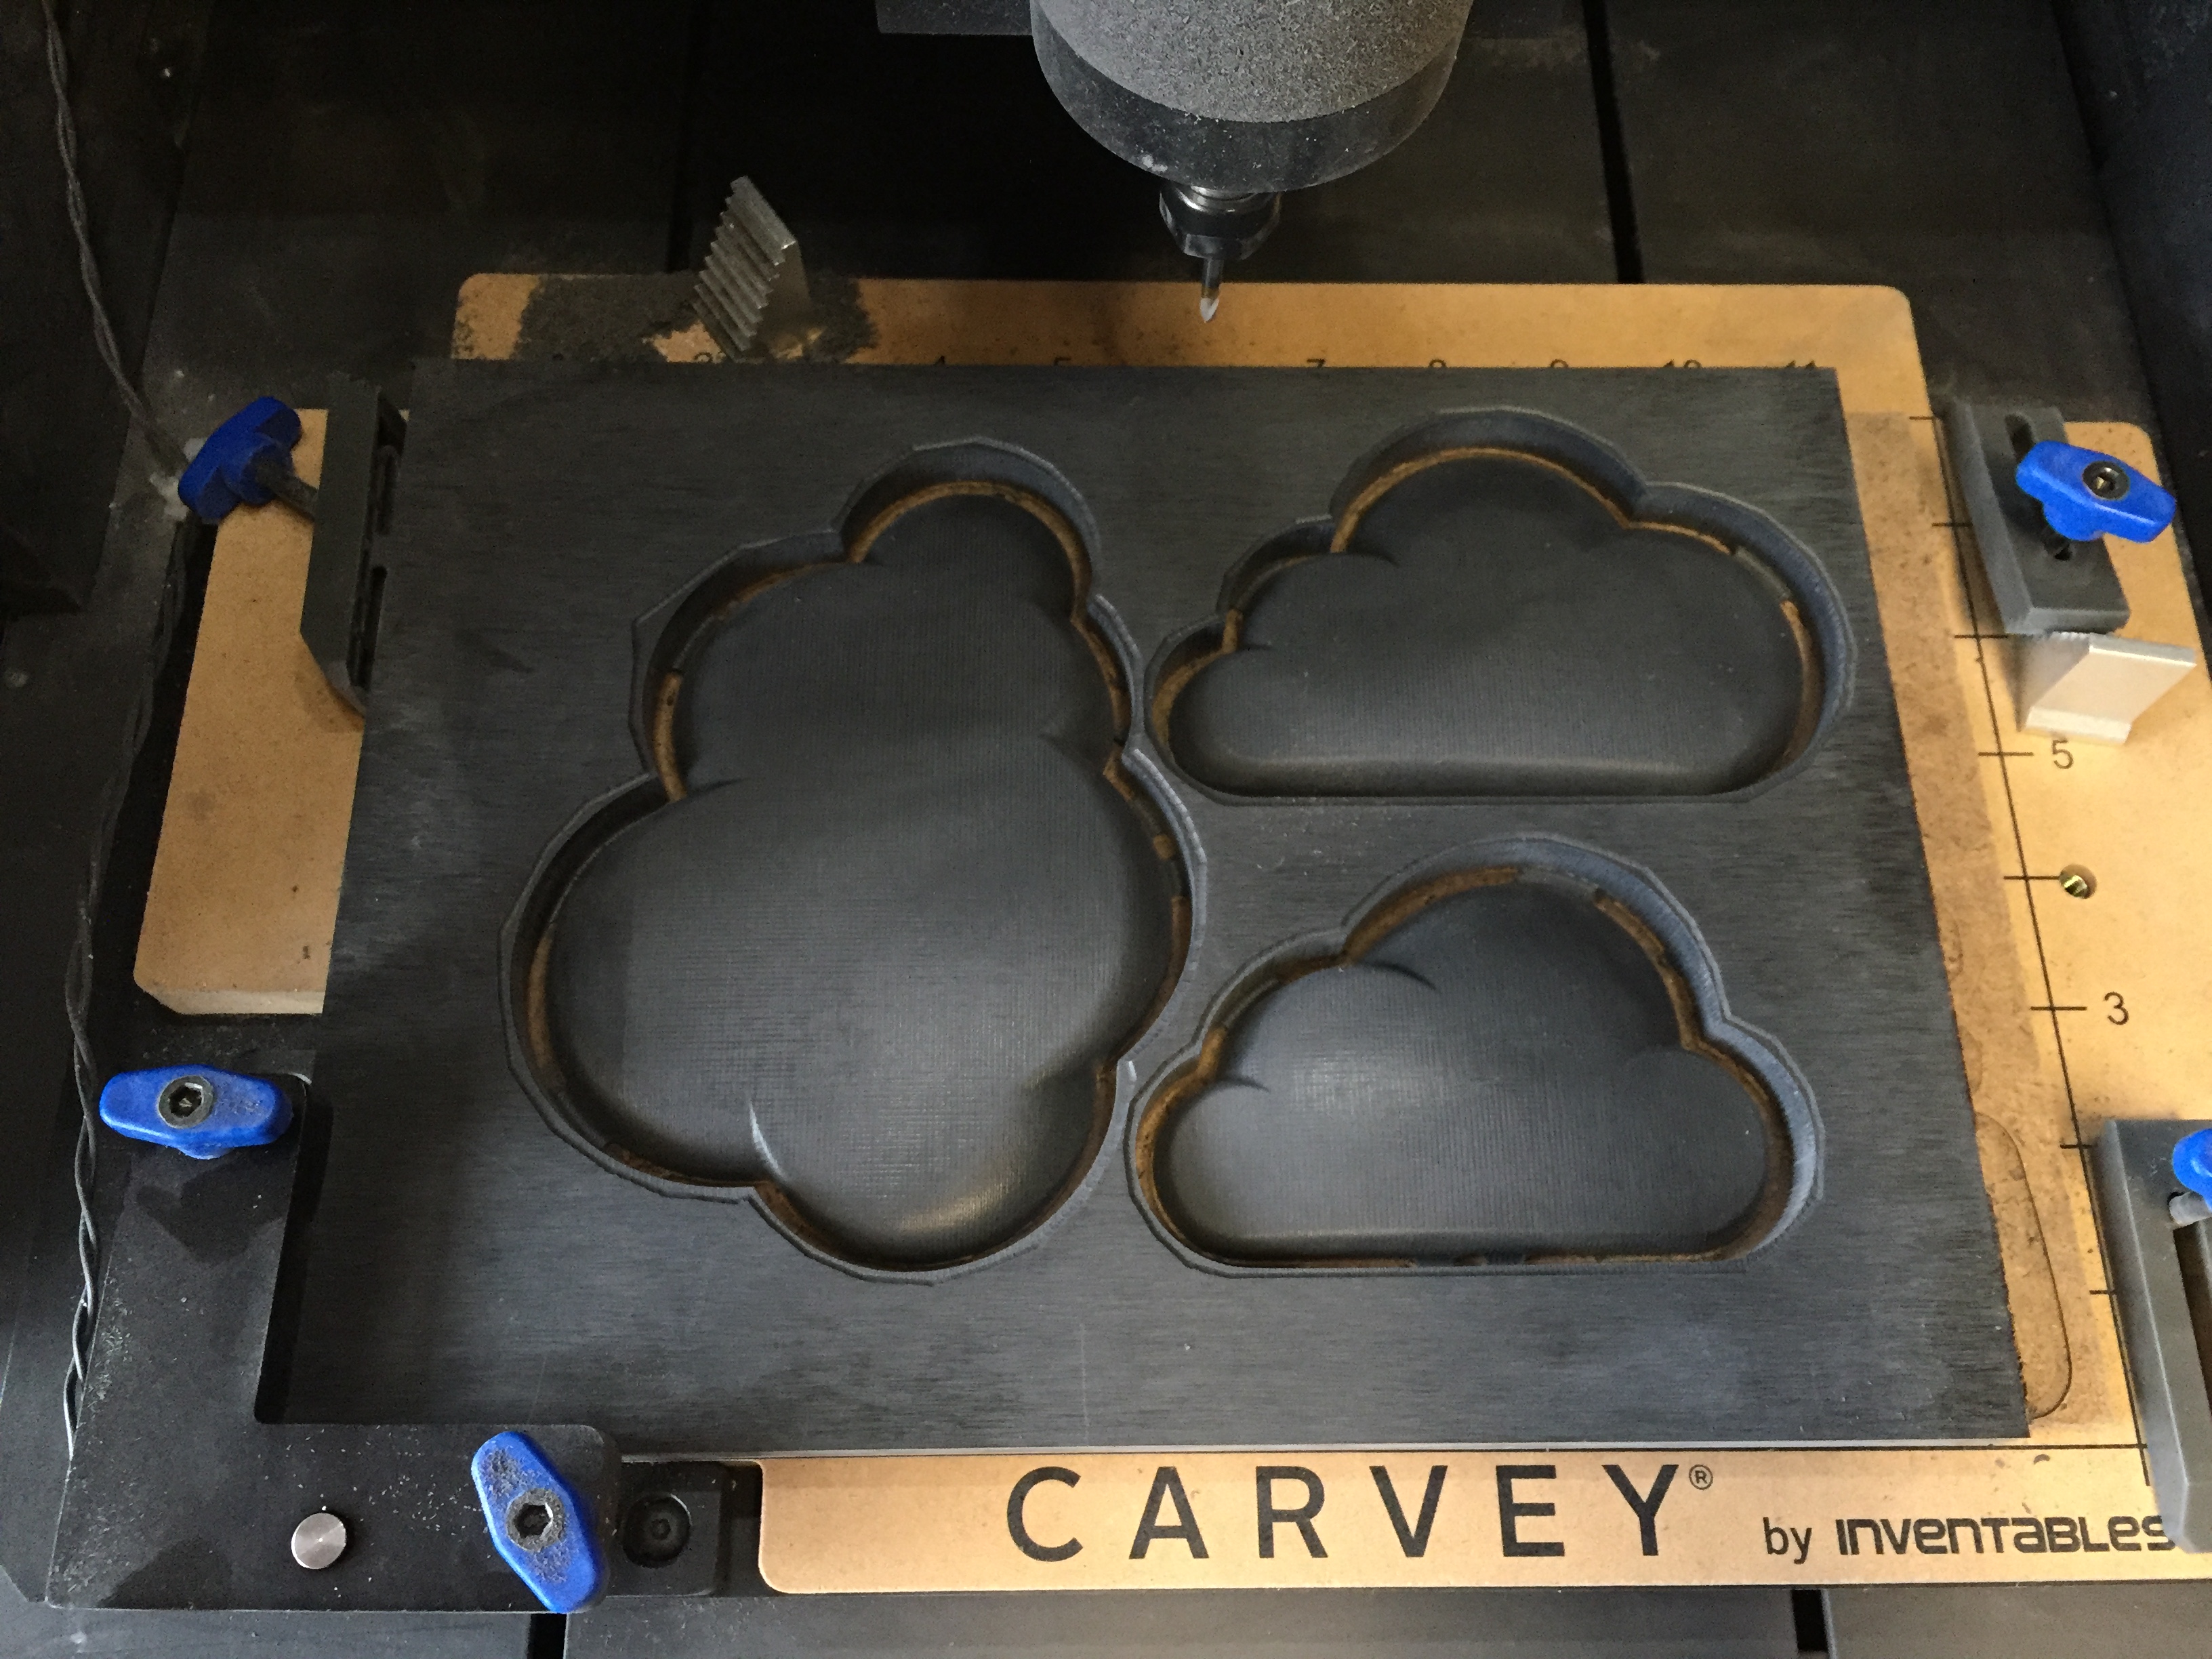
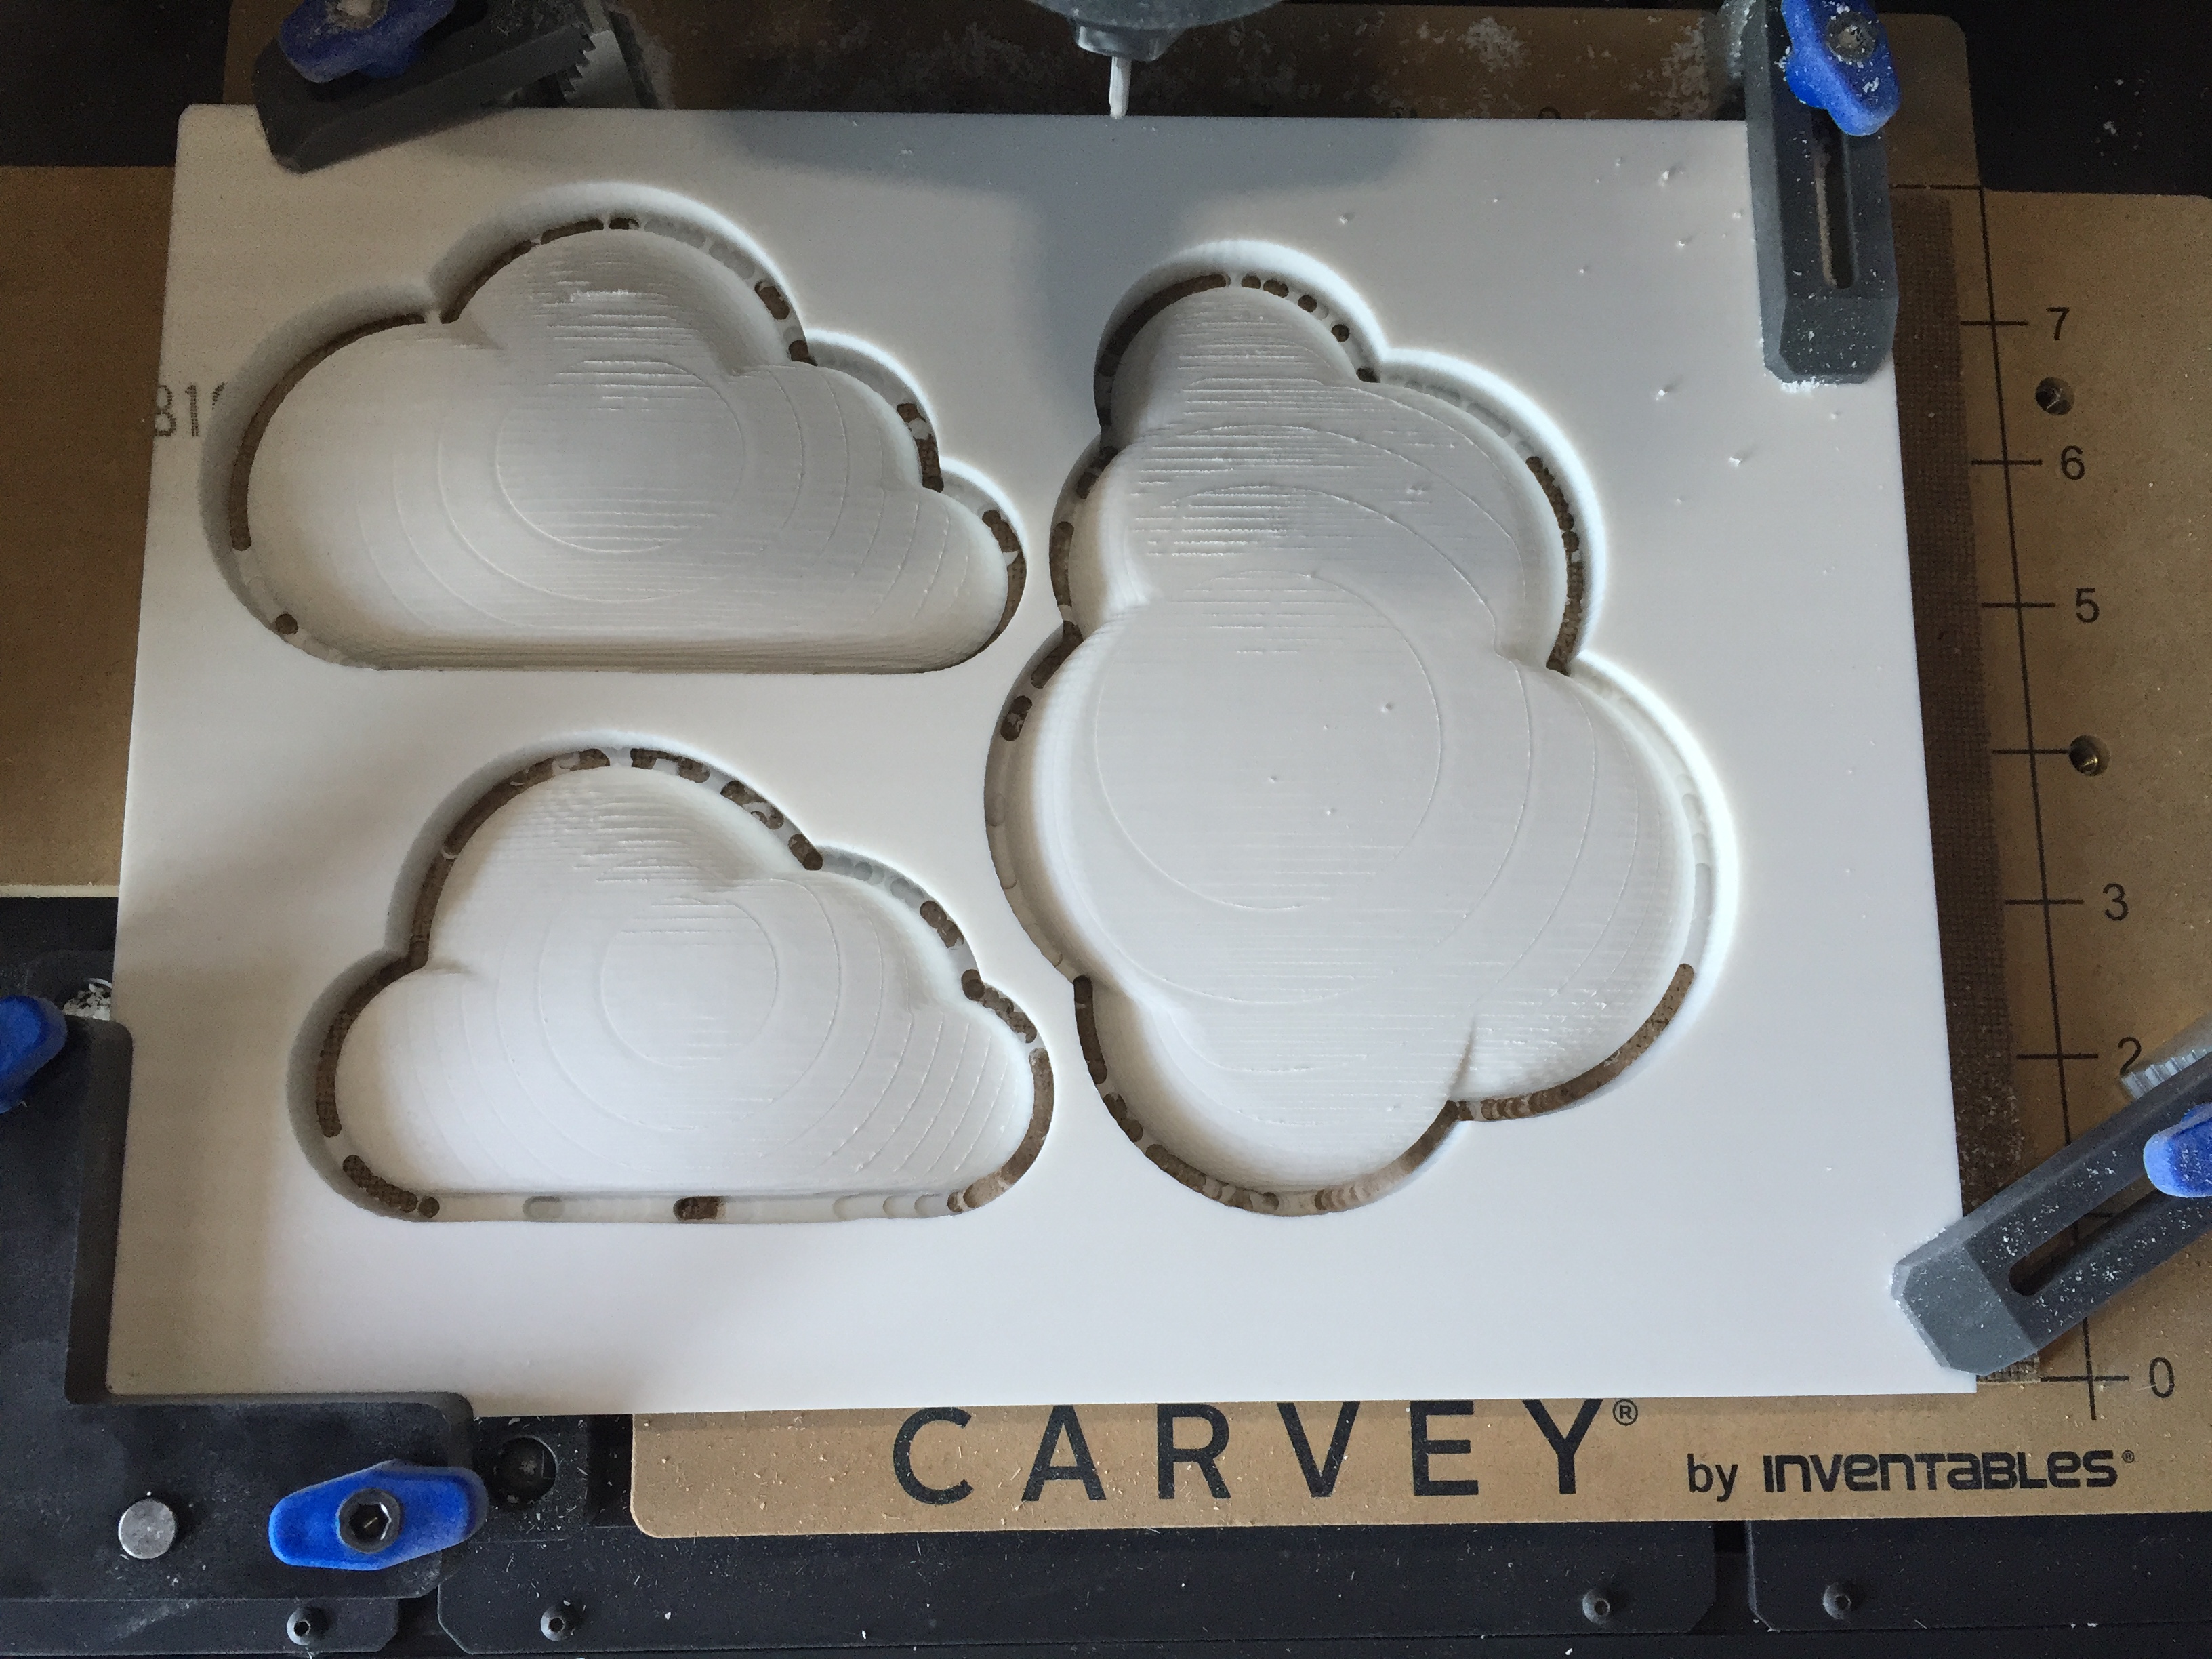
1-B. Download the black G-Code to carve out the clouds. First, you will need to use 1/8" 2FL straight drill bit to carve the rough cloud shapes. This may take up to 9 hours to finish the job.
1-C After the machine is done, you will need to use 1/8" 2FL Ball bit to smooth out the rough surfaces of the clouds. This can take up to 8 hours to finish the job.
1-D Lastly, you will need to flip the black Corian upside down horizontally in order to carve out the grooves which will be used to mount clear dowels.
Note When you flip the Corian block upside down from right edge to left edge, you have to make sure that the left edge of the Corian (from B-side) is perfectly aligned with the left vertical grid line.


480 minutes
2-A. Cut the white Corian into 8″ × 11″. We will be cutting the Corian from the top side first. Then we need to carve grooves so we can mount a clear dowel by flipping it upside down. It is essential to prepare precisely cut Corian blocks.
2-B. Download the black G-Code to carve out the clouds. First, you will need to use 1/8" 2FL straight drill bit to carve the rough cloud shapes. This may take up to 9 hours to finish the job.
2-C After the machine is done, you will need to use 1/8" 2FL Ball bit to smooth out the rough surfaces of the clouds. This may take up to 8 hours to finish the job.
2-D Lastly, you will need to flip the black Corian upside down horizontally in order to carve out the grooves which will be used to mount clear dowels.
Note When you flip the Corian block upside down from right edge to left edge, you have to make sure that the left edge of the Corian (from B-side) is perfectly aligned with the left vertical grid line.


180 minutes
3-A. Download Clouds_Top_Lid SVG file, and mount the 3/4" Soft Maple hardwood to Carvey.
3-B Carve the top lid of the box which is a part of the storage box, and it will be used to mount the 3 clouds.

60 minutes
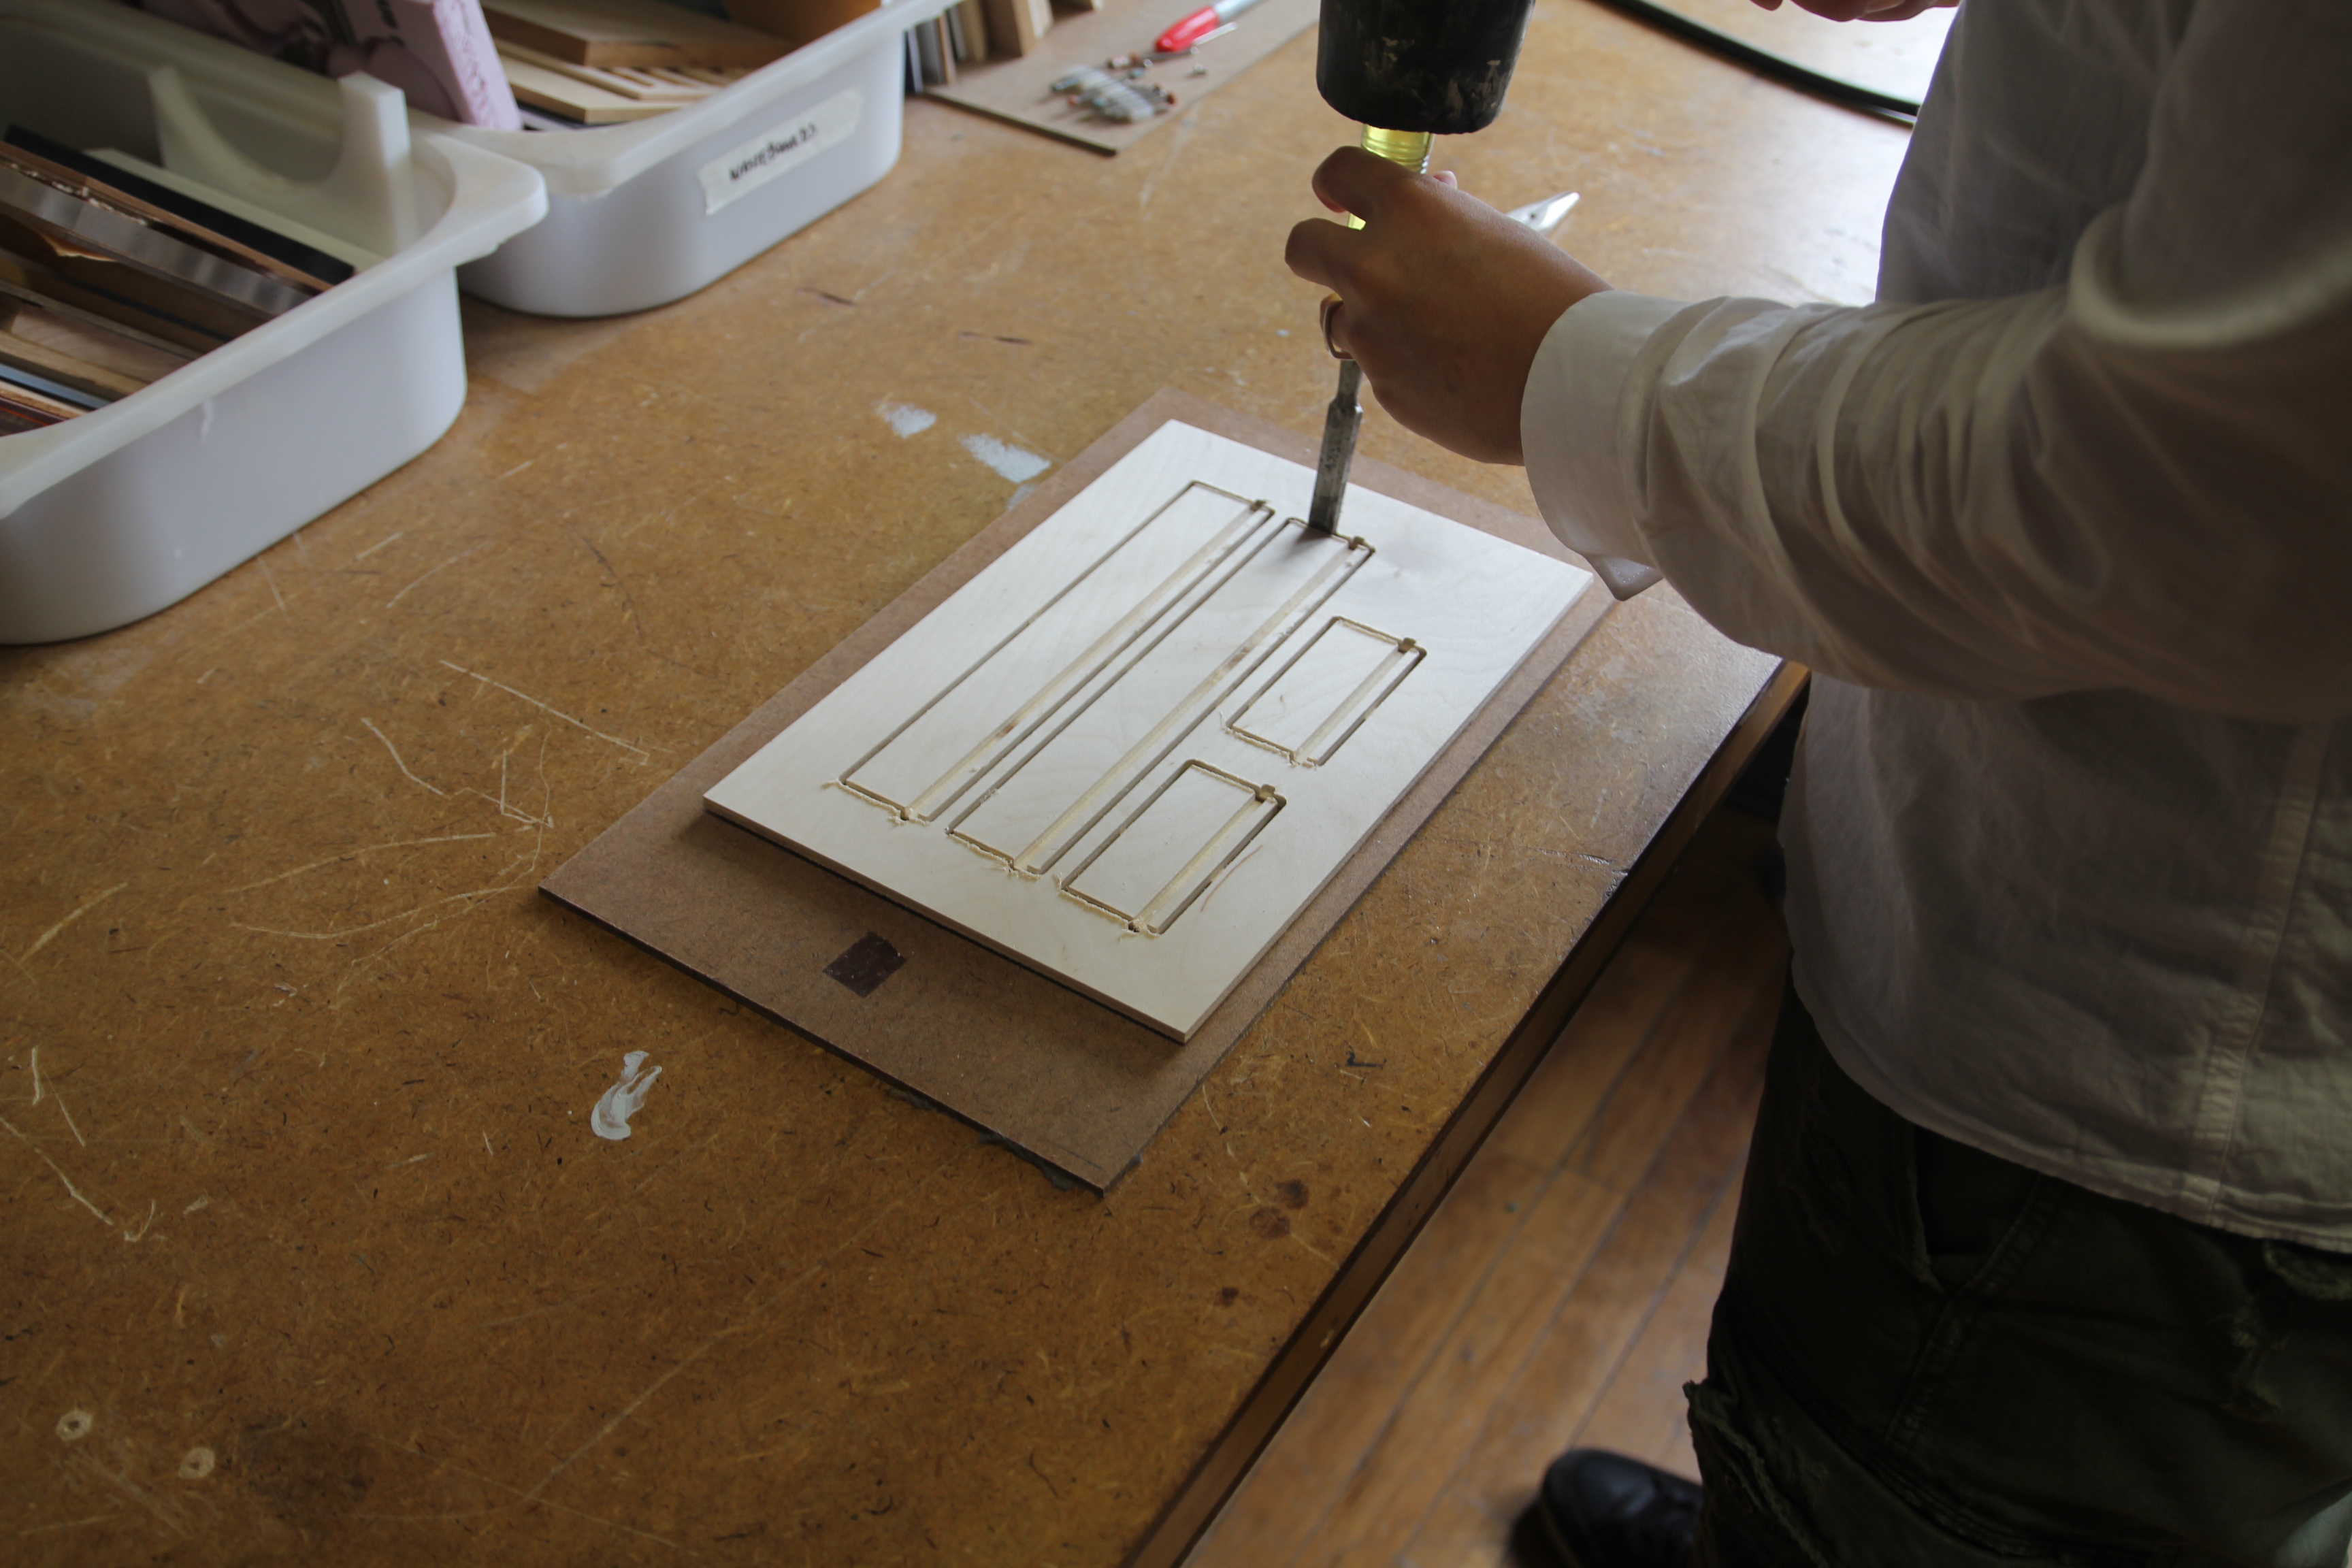
5-A. You can either use a precision knife or a chisel to cut the tabs from the carved parts.
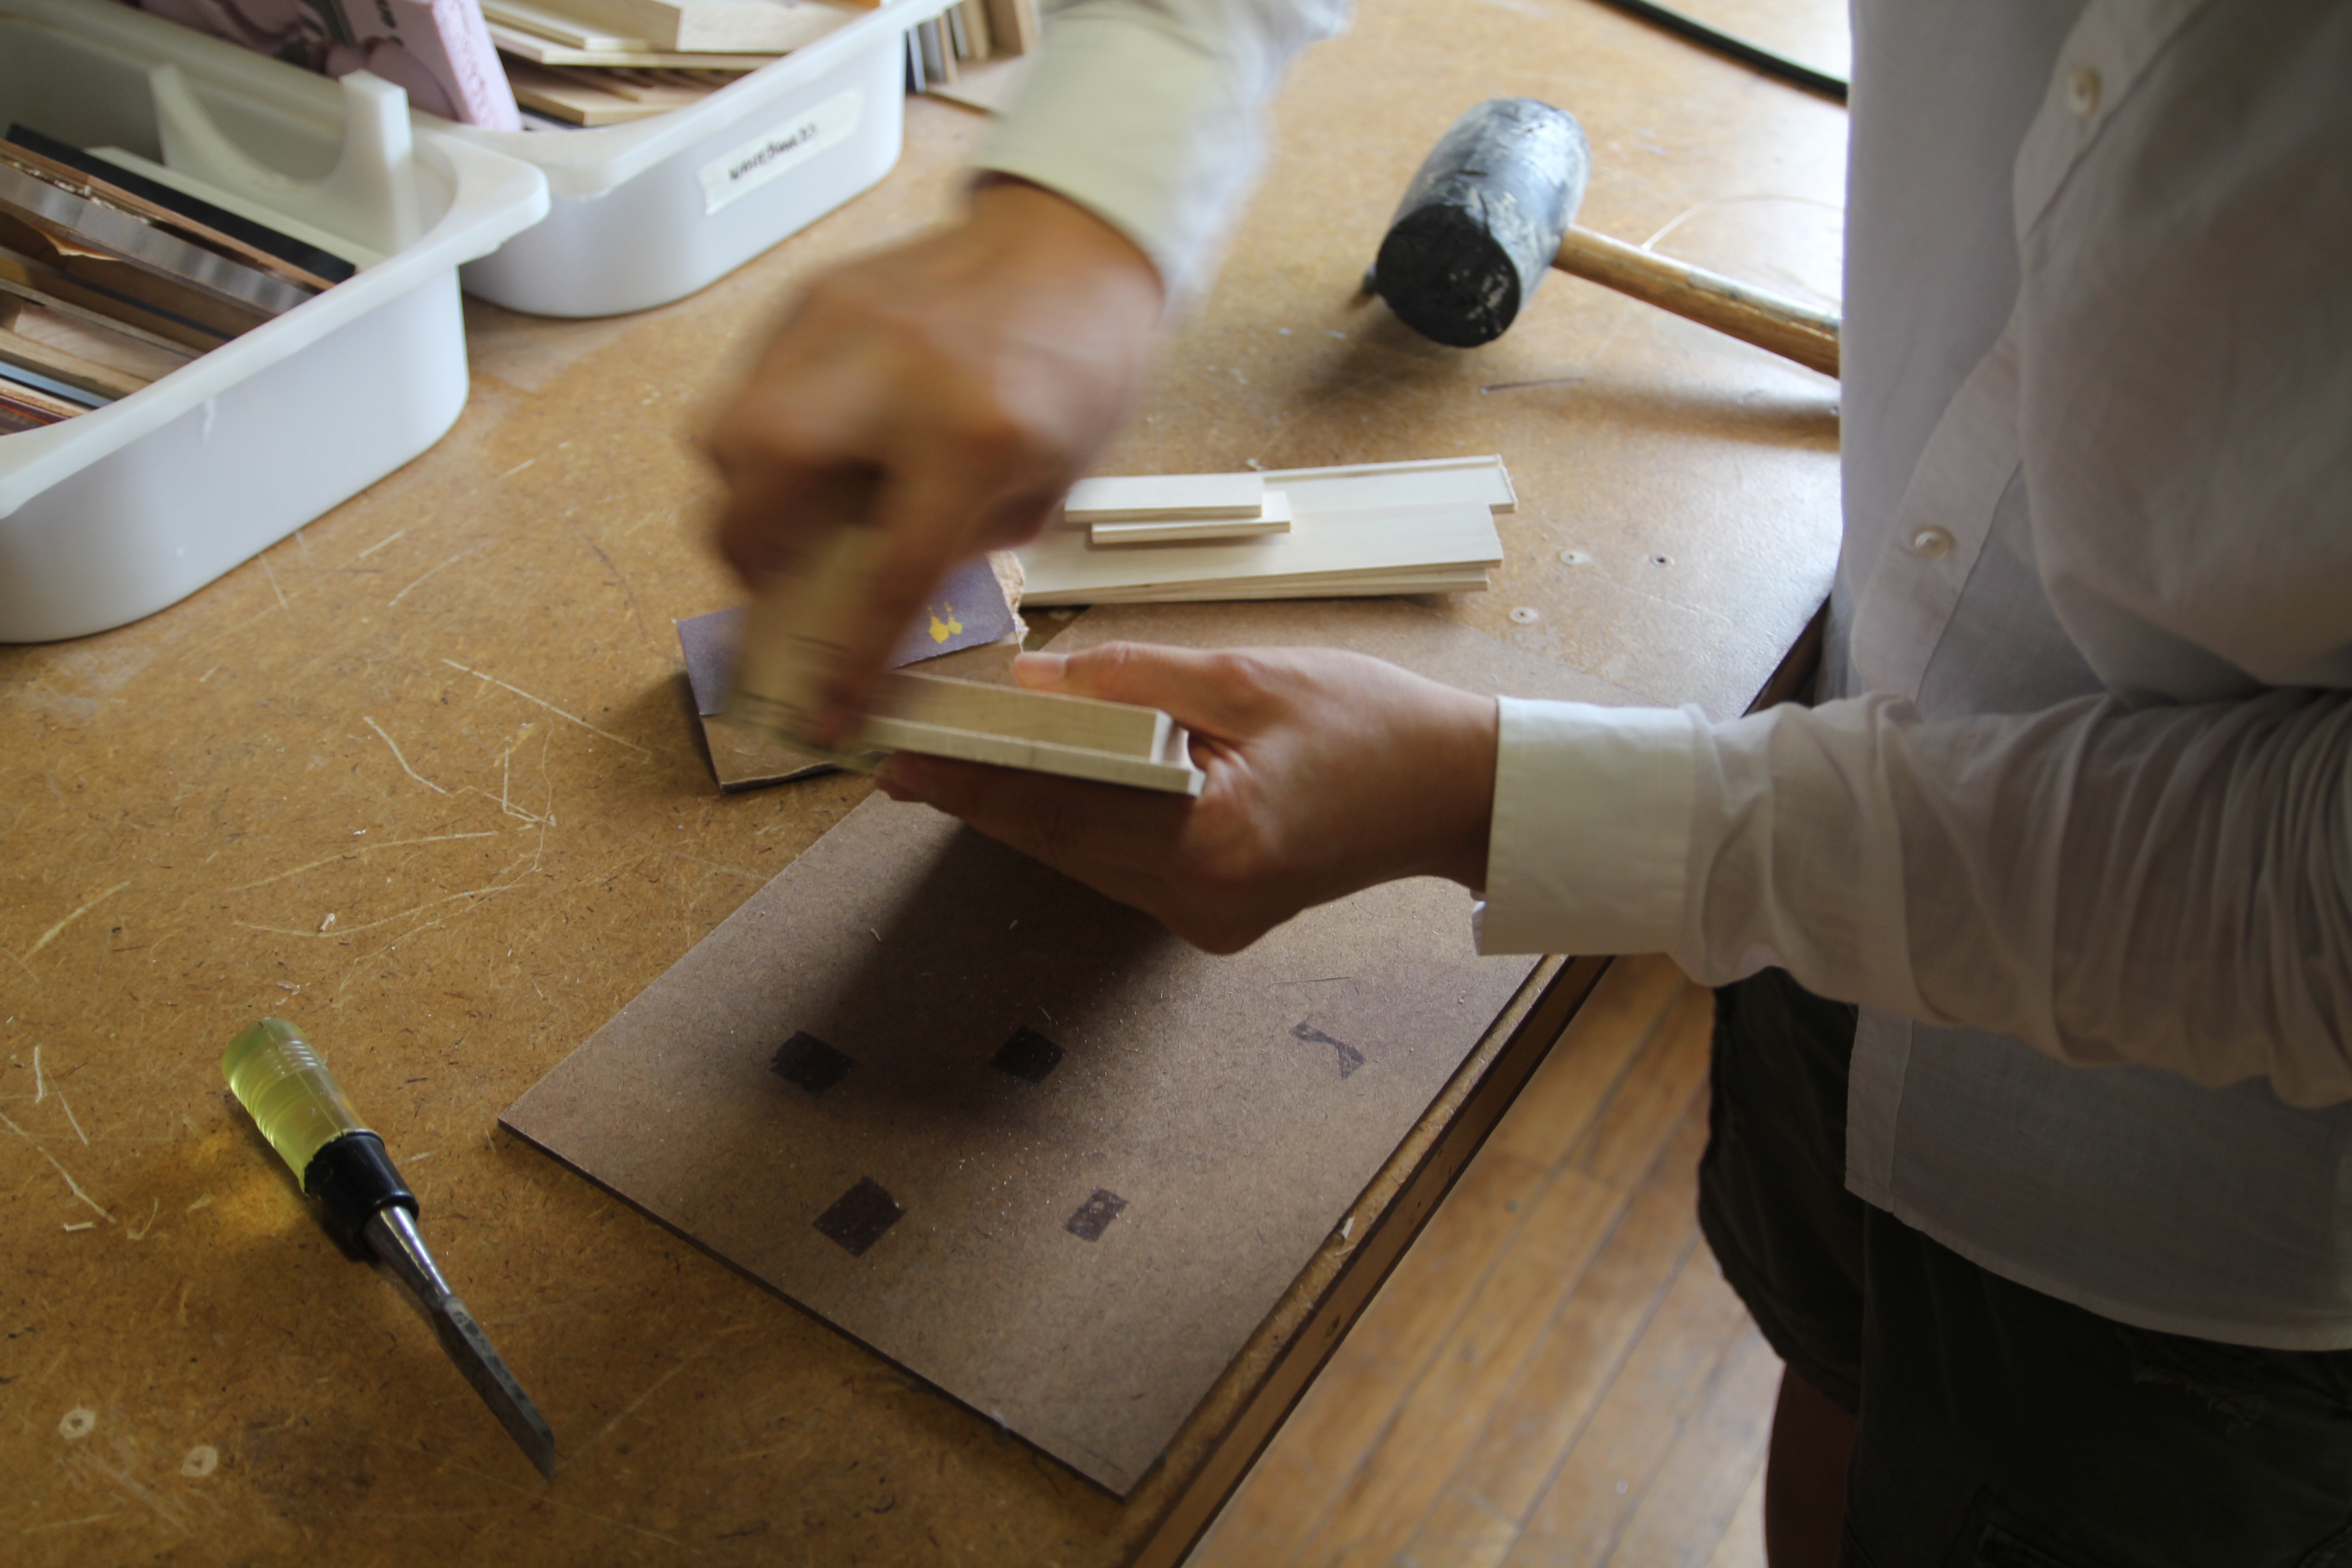
5-B Use 220- and 320- grit paper to smooth out the edges and surfaces of the wooden parts.
5-C Assemble the side panels and the base insert. Before assembling the parts together, apply a wood glue to the edges where they meet each other. The grooves of the side panels will enable the base to slide in easily.
5-D Once the glue is dried, the lid should fit right into the box. It should be fairly easy to put the lid on and off from the box.


60 minutes
6-A. Detach the clouds from the Corian board by using either micro saw blade or Dremel tool.
6-B When detached, the clouds will have rough edges around where the tabs were. Carefully sand them down by using a fine metal file. Note Do not sand the surfaces and the edges where Carvery went through.
6-C Cut the acrylic 0.25 dia. dowel into three pieces. A: 1 1/2" tall B: 3" tall C: 4 1/4" tall.
6-D Please reference the image below for the location of the holes on the lid. Note It is important to drill perpendicular to the lid surface, and only drill 0.5" deep into the lid.


180 minutes
7-A. Once the edges of the clouds are cleaned up, clean them using water and dry them thoroughly.
7-B In order to bring back the texture and the color back, you can apply Danish Oil on the black clouds. Make sure to wipe any excessive oils from the surface with a paper towel. The white clouds have a nice satin finish without the oil finish, but you can apply the oil to the white clouds.
7-C Apply Danish oil to the storage box.
7-D Apply a darker stain finish to the lid to create a nice contrast. We have used a dark mahogany wood stain.
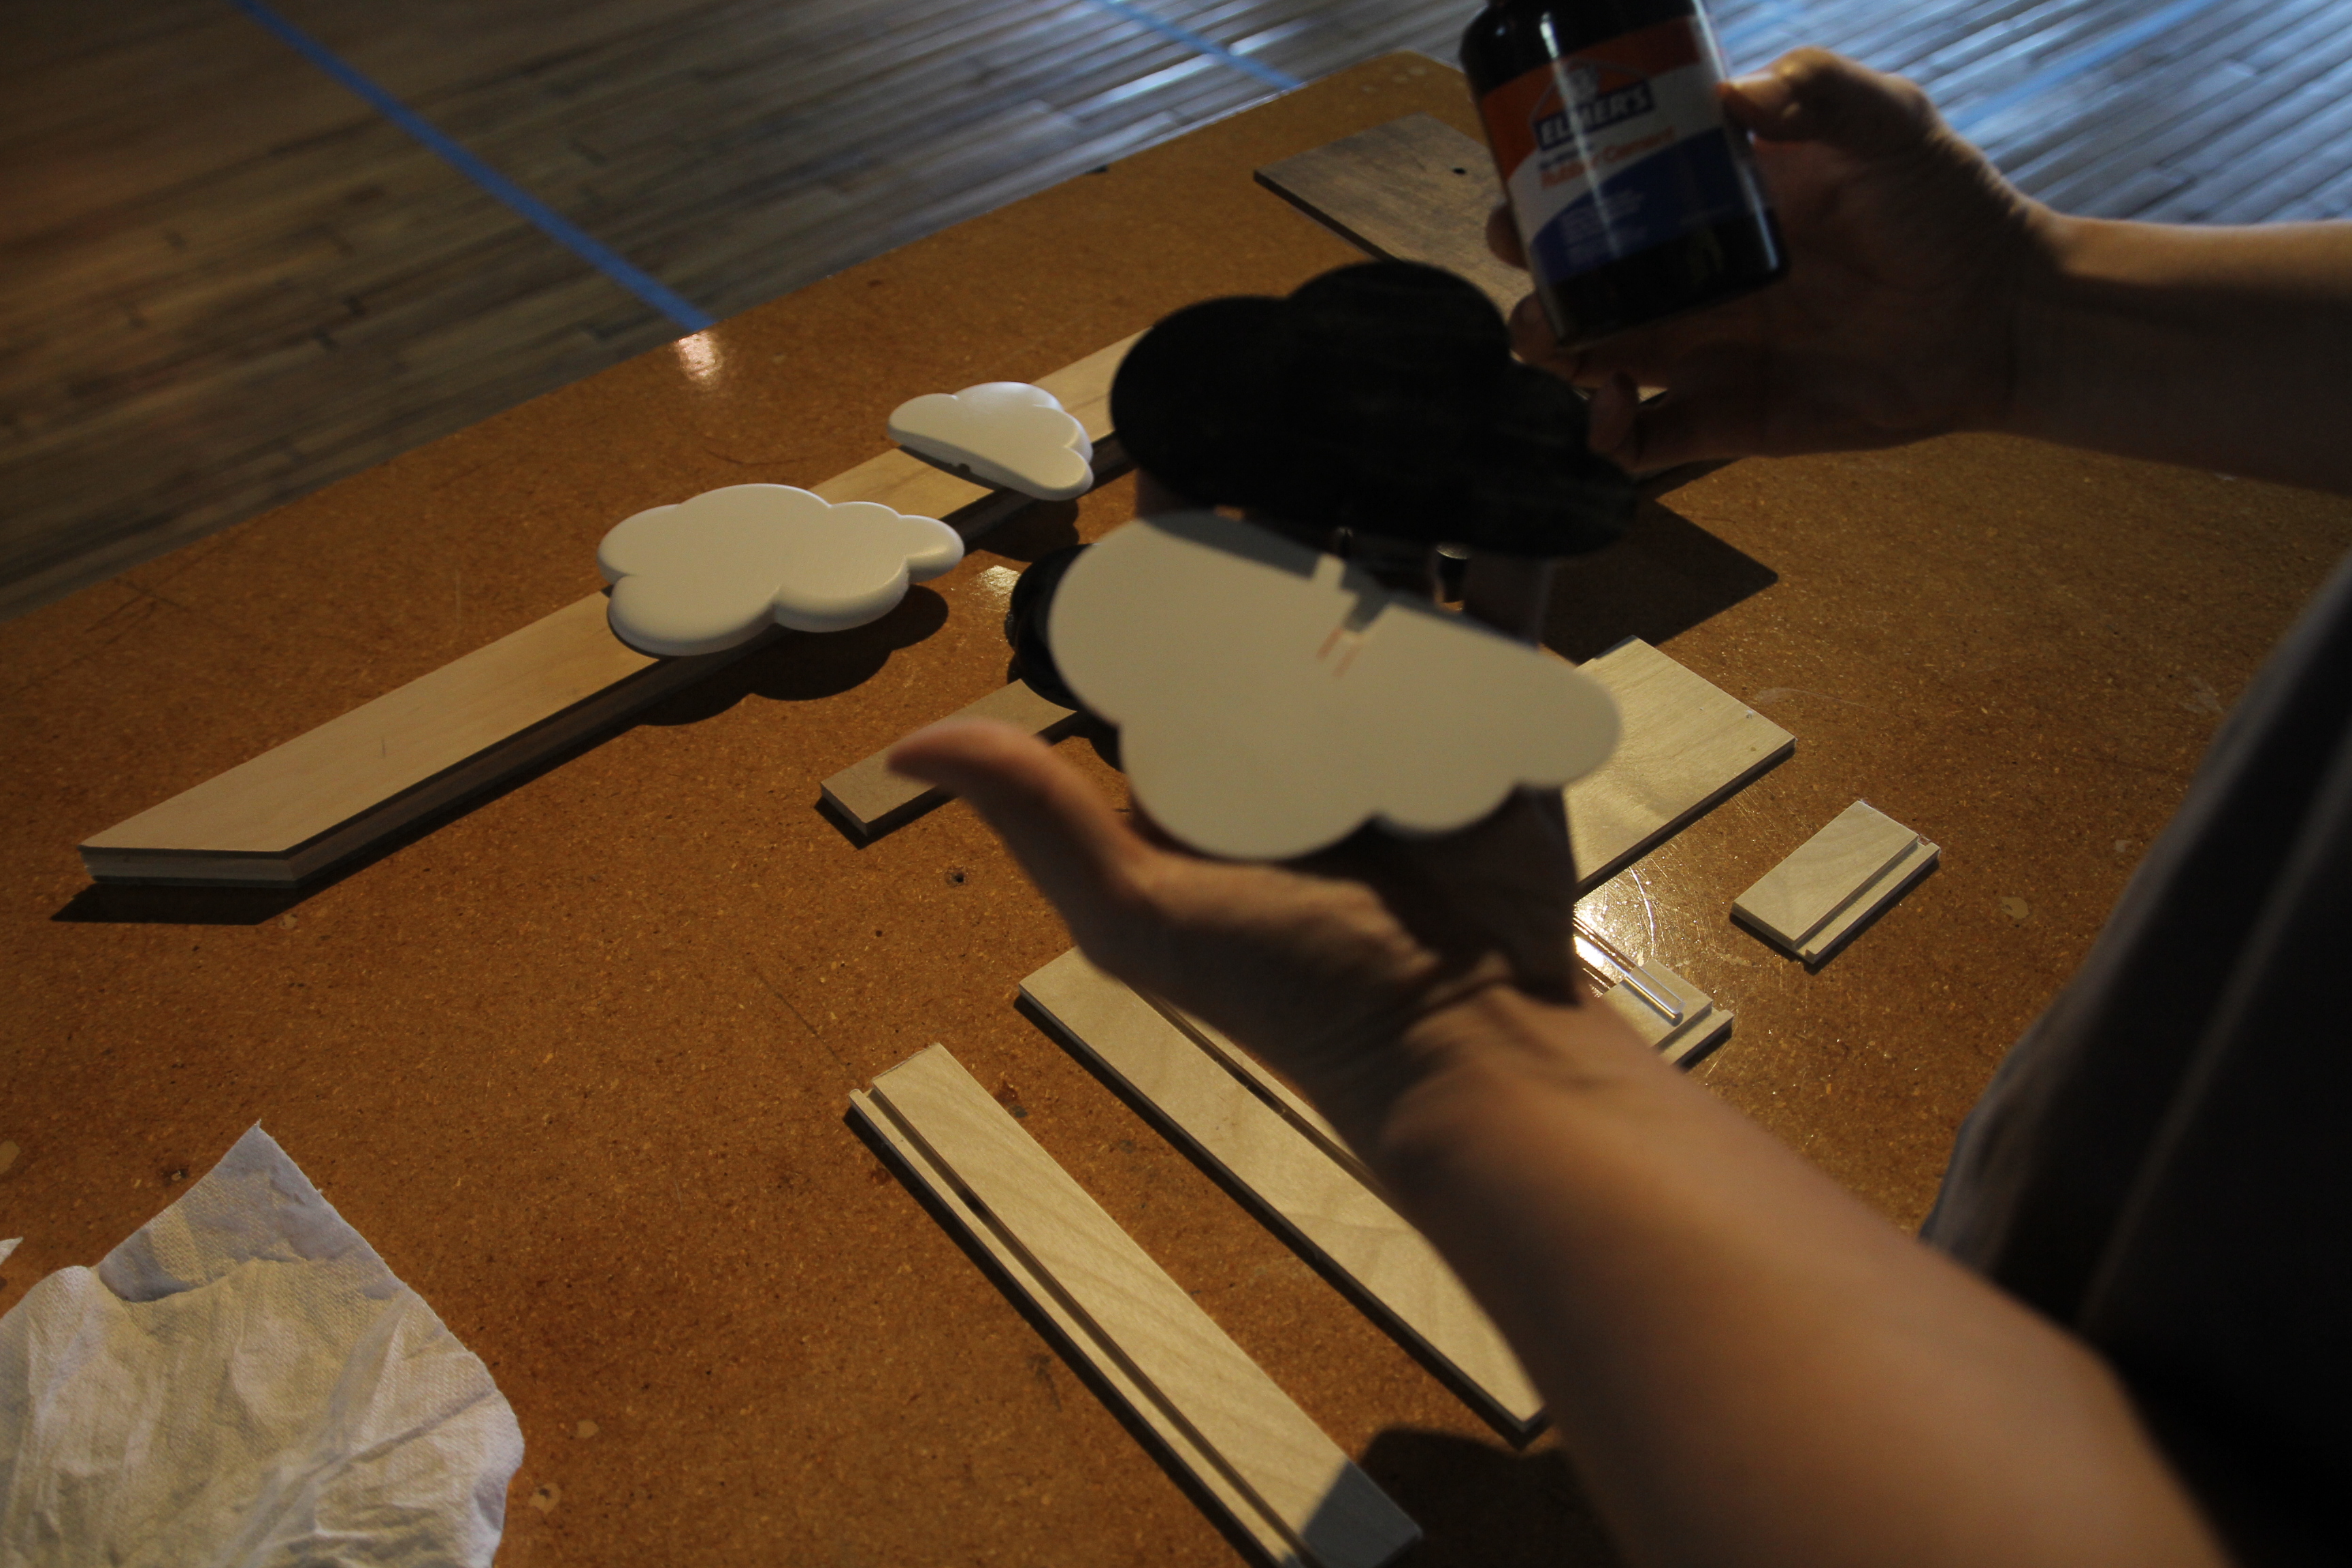
7-E We recommend using a liquid rubber cement to put the black and white clouds together.
7-F Assemble all the parts together after all the parts are completely dried from all the finishes.
Note A Do not permanently glue the acrylic dowels to the clouds and base. This will allow you to freely position the clouds depending on your mood and the weather of the day. Note B It is not necessary to make the box because the cloud storage will look beautiful even without the storage box.Enjoy. :)