Well, it’s a business card holder, what else can I say? This is highly customized but I am sharing to help inspire similar ideas.
NOTE: The Easel project contains both the base and the surfboard but the material and machine settings are for the base. See instructions for further details.
IMPORTANT NOTE: I suggesting copying and pasting the surfboard into a new Easel project and cutting is separately if you wanna remake this. The surfboard was cut from a 1/4" this piece of blue pine and the base from 3/4" Walnut. The machine and material settings in this Easel project are for the base!
30 minutes
This is pretty straightforward. Setup your x-carve, fasten your wood and get carving. I will note that I carved out the letters first with a 1/16" bit and then the rest of the base and recesses with a 1/8" bit.
60 minutes
I use a 24 hour epoxy with a blue dye. If you are using dye and a porous or light colored wood I would suggest sealing the wood with 3 coats of lacquer first to ensure the color doesn’t bleed into the wood grain.
Once the epoxy is dry (36 hours), sand off the excess until the surface is flat.
60 minutes
I used a 1/4" thick piece of blue pine for this. I also used some white pine for the inlay that was milled to the right thickness and ripped on the band saw.
After cutting out all pieces, glue and clamp the inlay strips and allow to dry. Sand smooth to finish.
120 minutes
Coat the base and surfboard with lacquer finish and allow to properly dry.
30 minutes
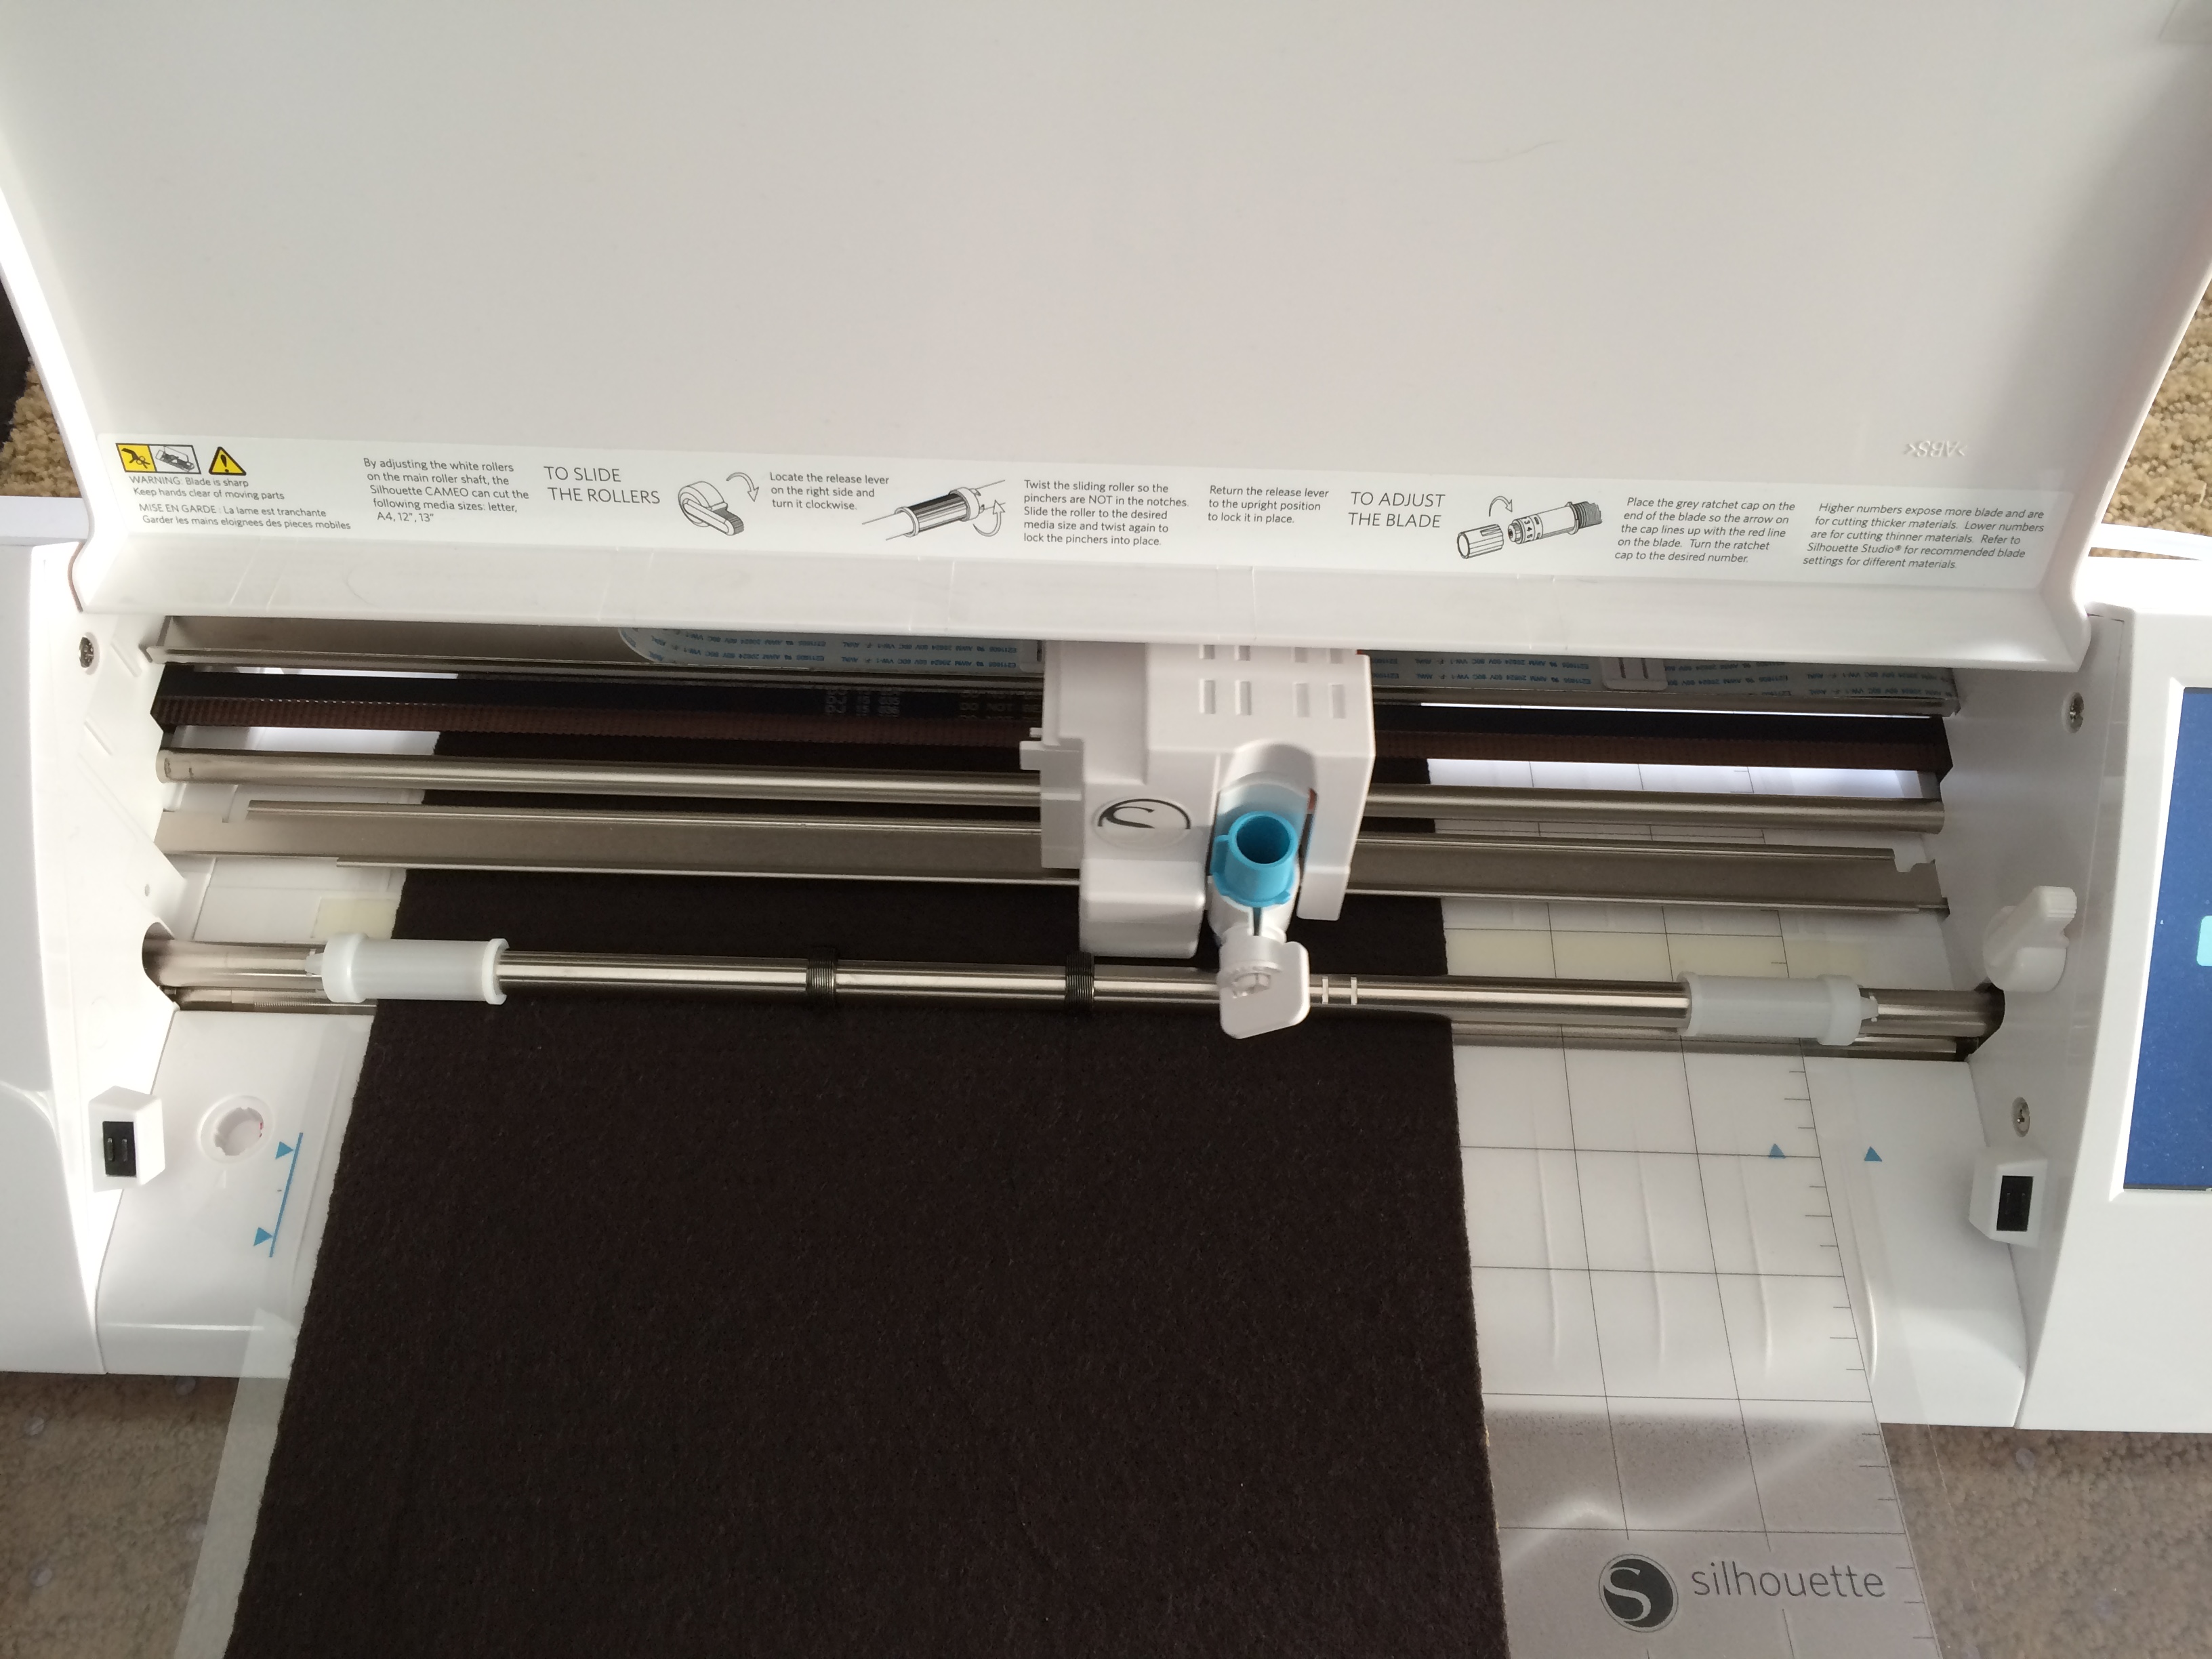
I added felt to the bottom of the base. I cut it out using a Silhouette machine and applied with adhesive.
Assemble the surfboard. You may have to shave the corners of the bottom insert and scrap away any lacquer build up.