
Maker Mill
Mill, Netherlands
A fishing lure made from 0.8mm Brass and formed with a mold made with the X-carve
60 minutes
Sketch out your design (or you can use this design).
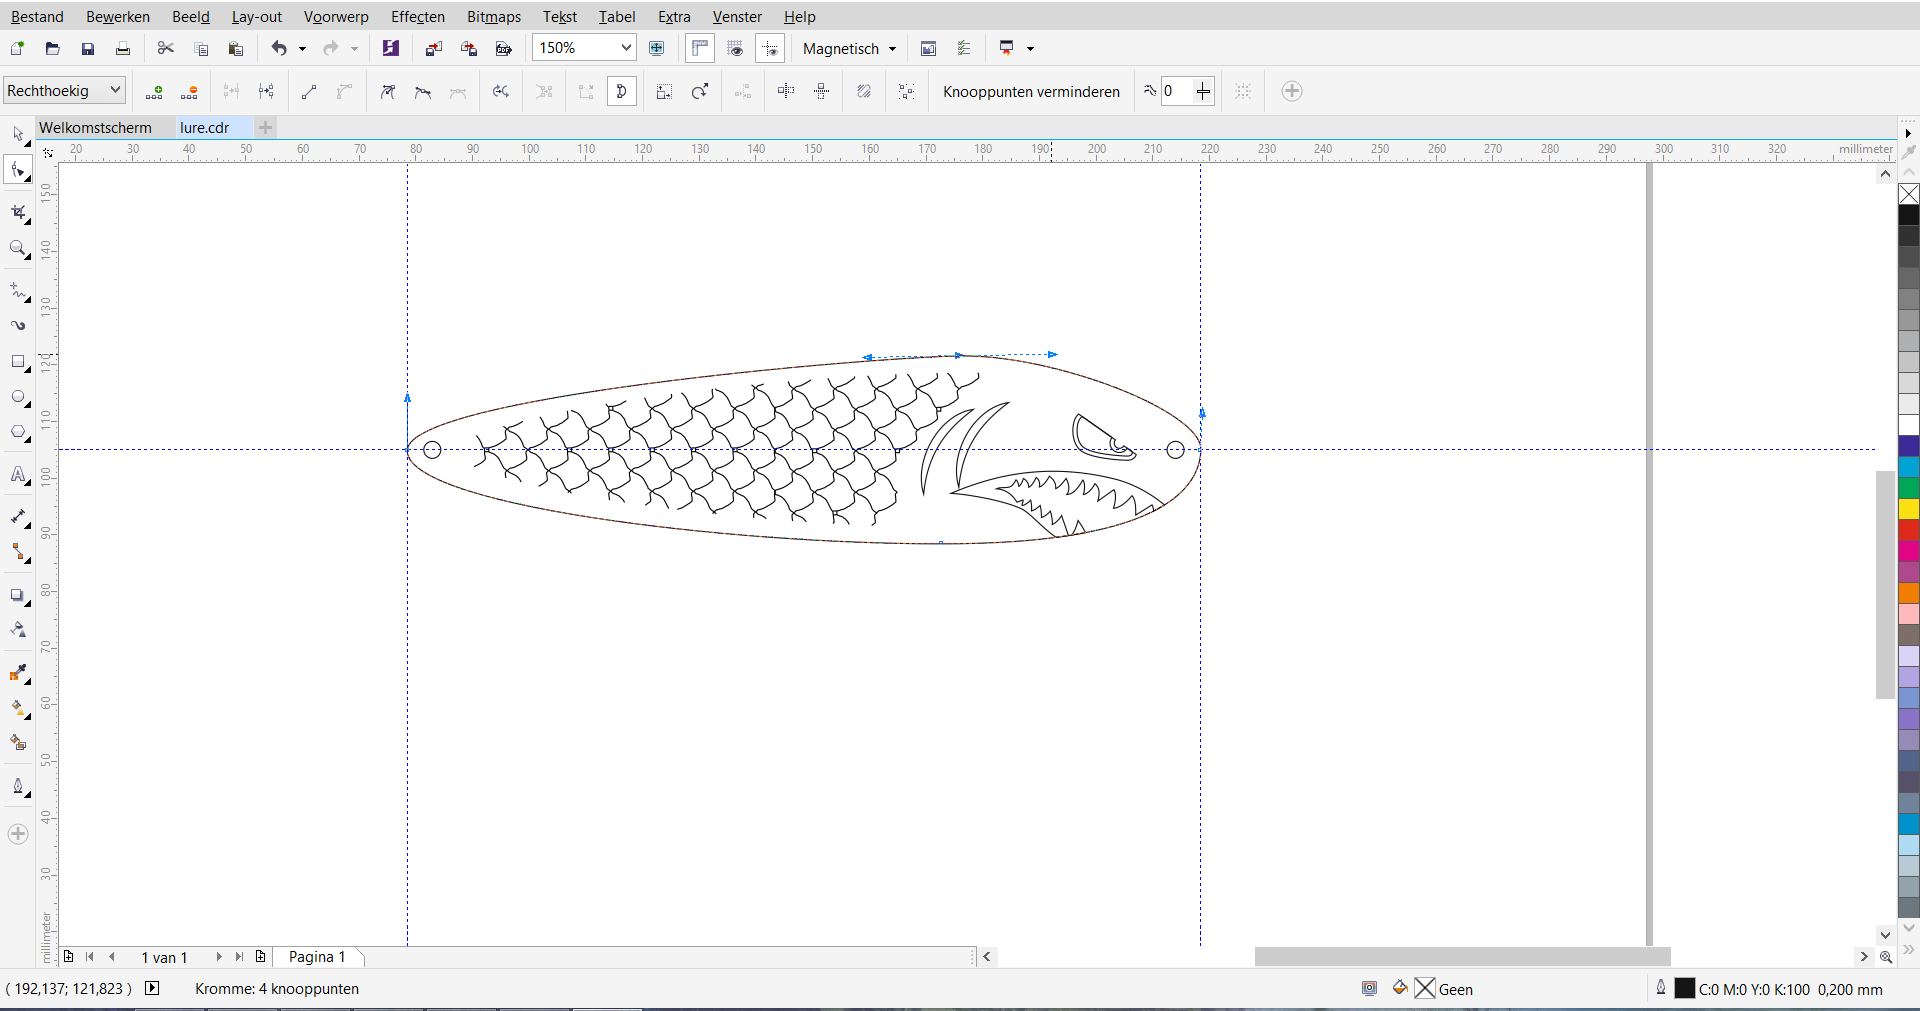
When you are happy with it recreate it with a Vector program like Coreldraw, Illustrator or Inkscape
5 minutes
When you are done with your design export it to .svg and import it into Easel.
I scaled down my design because it was a bit to large.
Material:
Set your material to 0.8 Aluminium
Depth per Pass 0.1mm
Feedrate: 127mm/min
Machine settings:
bit size 0.1mm
18000 Rpm
Set the out line to outside outline with a depth of 0.7mm and the engraving lines to Ouline – on path
The 2 hole you can set to 0.8 Fill or you can drill them later.

2 minutes
Make sure to clamp down tightly and that your stock it flat to the waste board.
mine wasn’t completely flat and almost engraved to the brass.
Take your time to measure and clamp down your material.
60 minutes
Make sure you cool your bit with cooling fluid.

20 minutes
Release your clamps and if necessary cut your design free with a band saw or tin scissors. i changed the file so it does’nt cut trough the brass anymore but engraves it to a depth off 0.7mm, you should be able to push the lure gently out.
Use sanding sponge, file or band sander to clean up the edges.
you can also give the surface a quick sanding with a sanding sponge but it is not necessary.
you can also drill out the holes if necessary.
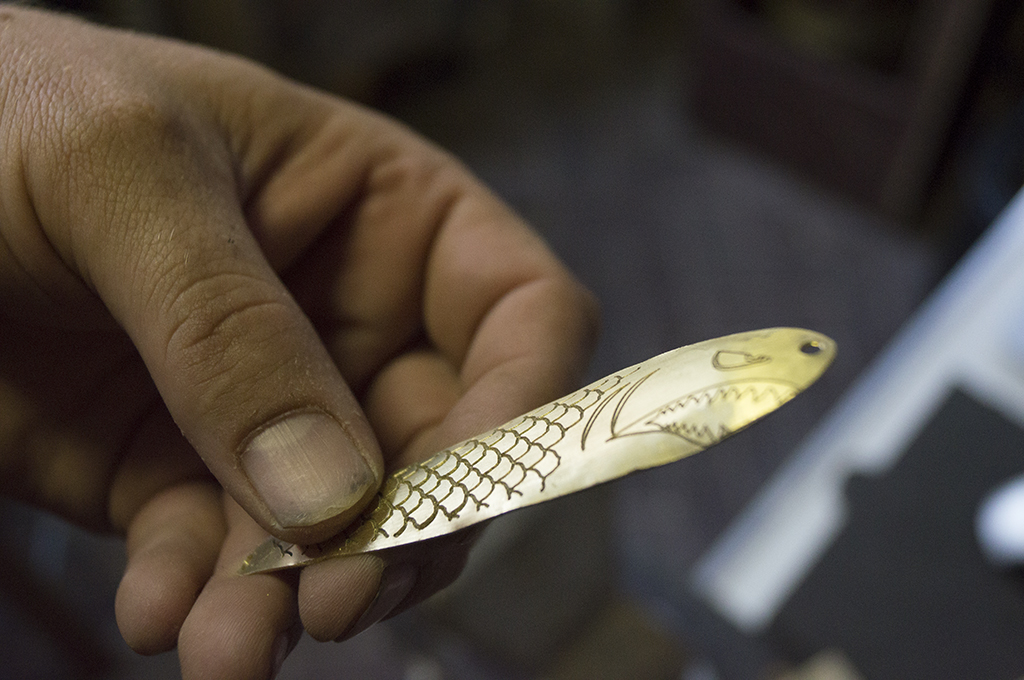
You are done the the brass part for now.


go to the lure mold project to get the mold project.
Find a piece of leftover wood/mdf with a thickness around 16mm.
Clamp down your stock and home and start the X-carve.
I used a ball-end 1/8 bit to get more smoothing edges but any (wood) bit will do.
When the X-carve is done saw free molds ( i changed the design to the positive part has a backside, so it is easier to clamp)


30 minutes
Use a belt sander or sandpaper and files to shape to positive mold part to a nice curved dome. Use a fine sandpaper or the fineside of a sanding sponge to smooth the dome when you are done shaping it.
we going to use this to give the brass a curvature so it is stronger and catches the light better.
30 minutes
Cut a piece of (16mm) EVA foam to fit in the negative mold, you can use the positive mold to trace the out line. if you don’t have EVA Foam you also can use cloth or leather.
(note: you can also use the X-carve to cut out the Eva foam using the positive mold design (delete the negative piece and replace the positive)
Cut the Eva foam flush with the top of the mold.
put your brass lure on top of the EVA foam with the engraving facing down
put the positive mold with the dome side down, facing the brass, on top of it.
(you can use a rubber band to keep it together if you like)
Use a Vice to clamp your assembly together put some force on it but be careful that you don’t break the mold. repeat this step if necessary. your lure should have a nice rounded curvature.
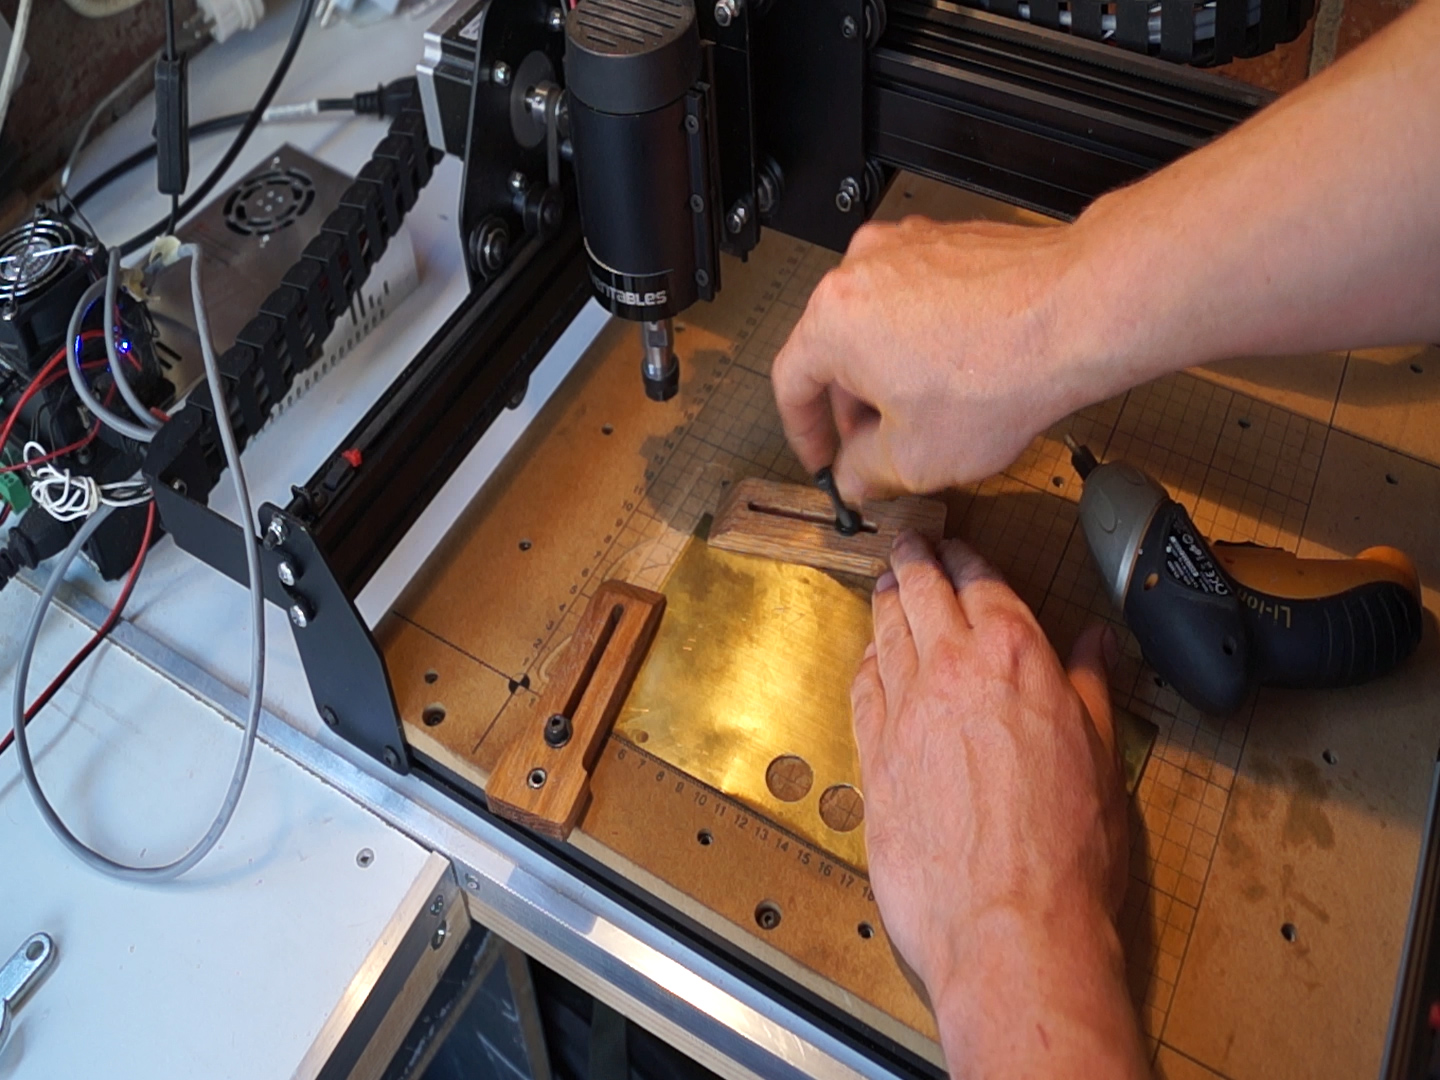
Clamp your positive mold in the vice facing up and use it as an anvil to tap the lure in shape if needed. be careful not to damage the lure it self.


10 minutes
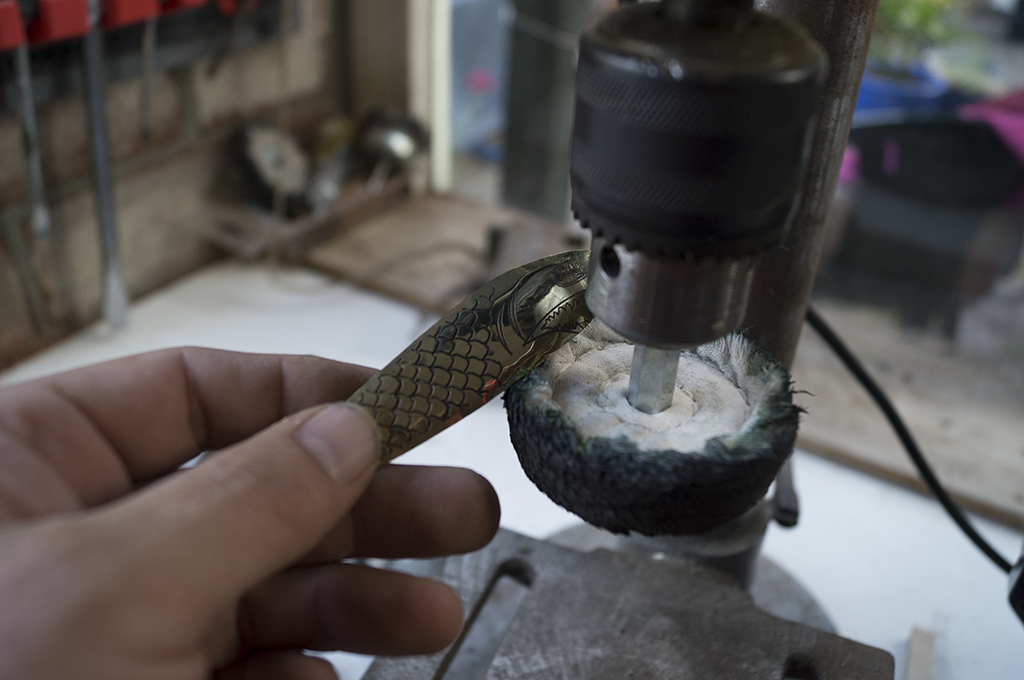
Use a polishing machine or a drill press with a polishing tool to polish your brass to a high gloss finish. you can also use increasingly finer sandpaper to accomplish this.
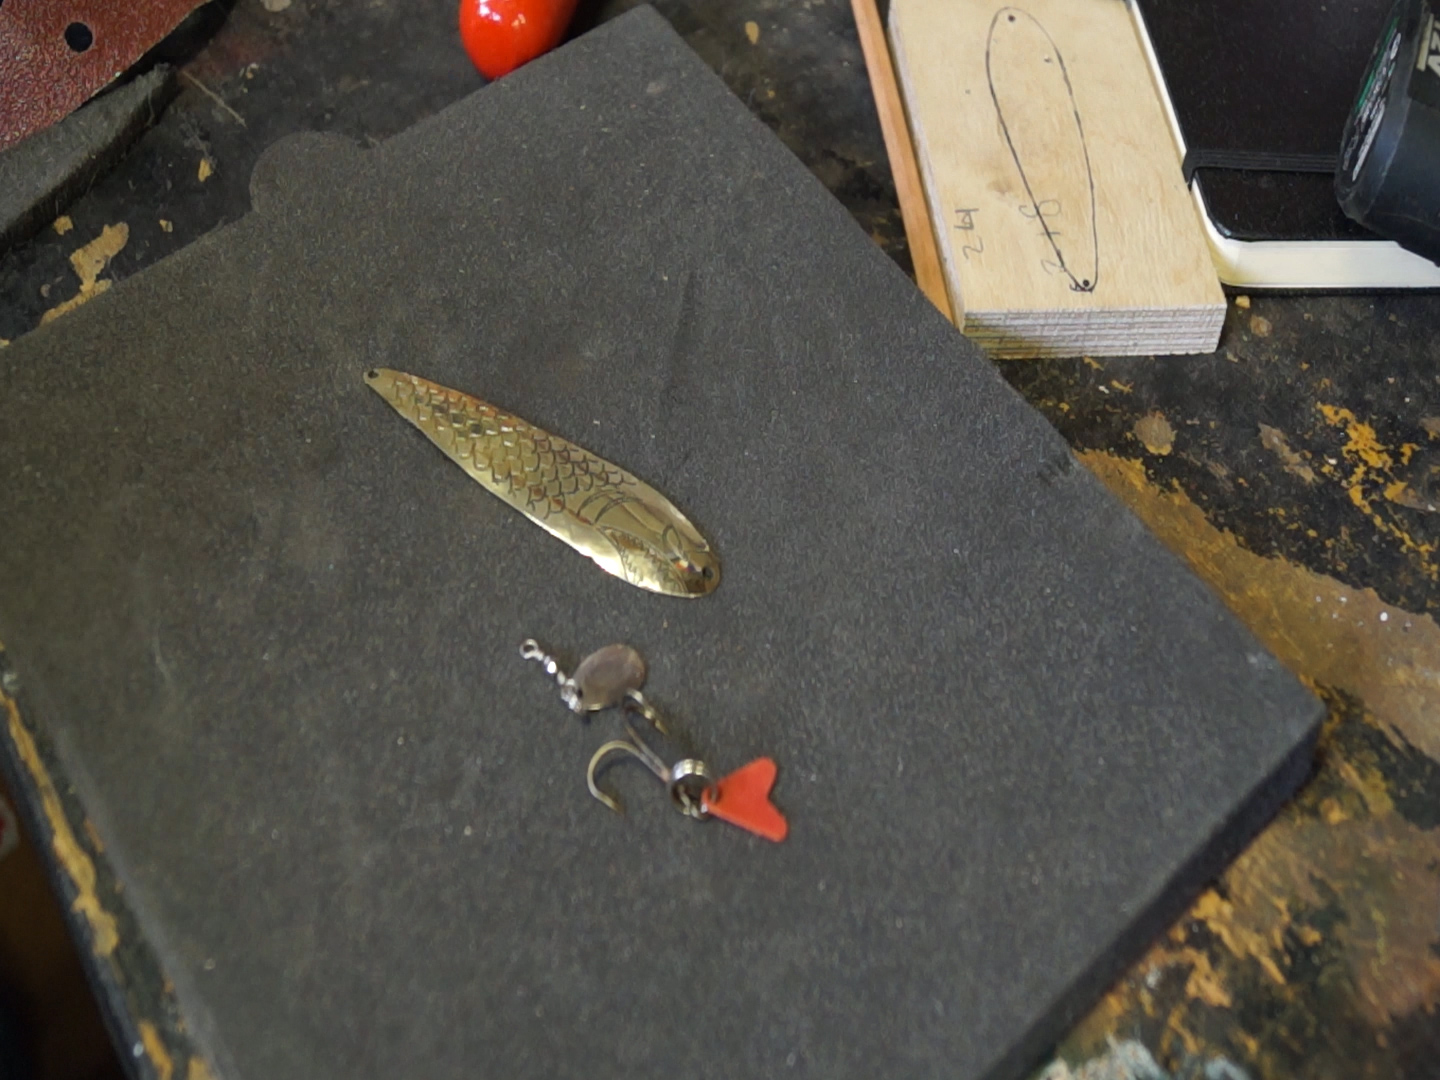
Use the hook and a eye from a old lure (or buy new ones) and attach it to the brass lure using needle pliers. you can cut a piece of thin (colorfull) plastic to cut a tail as a tail if you like.
All done,
happy fishing!

Kris Kircher