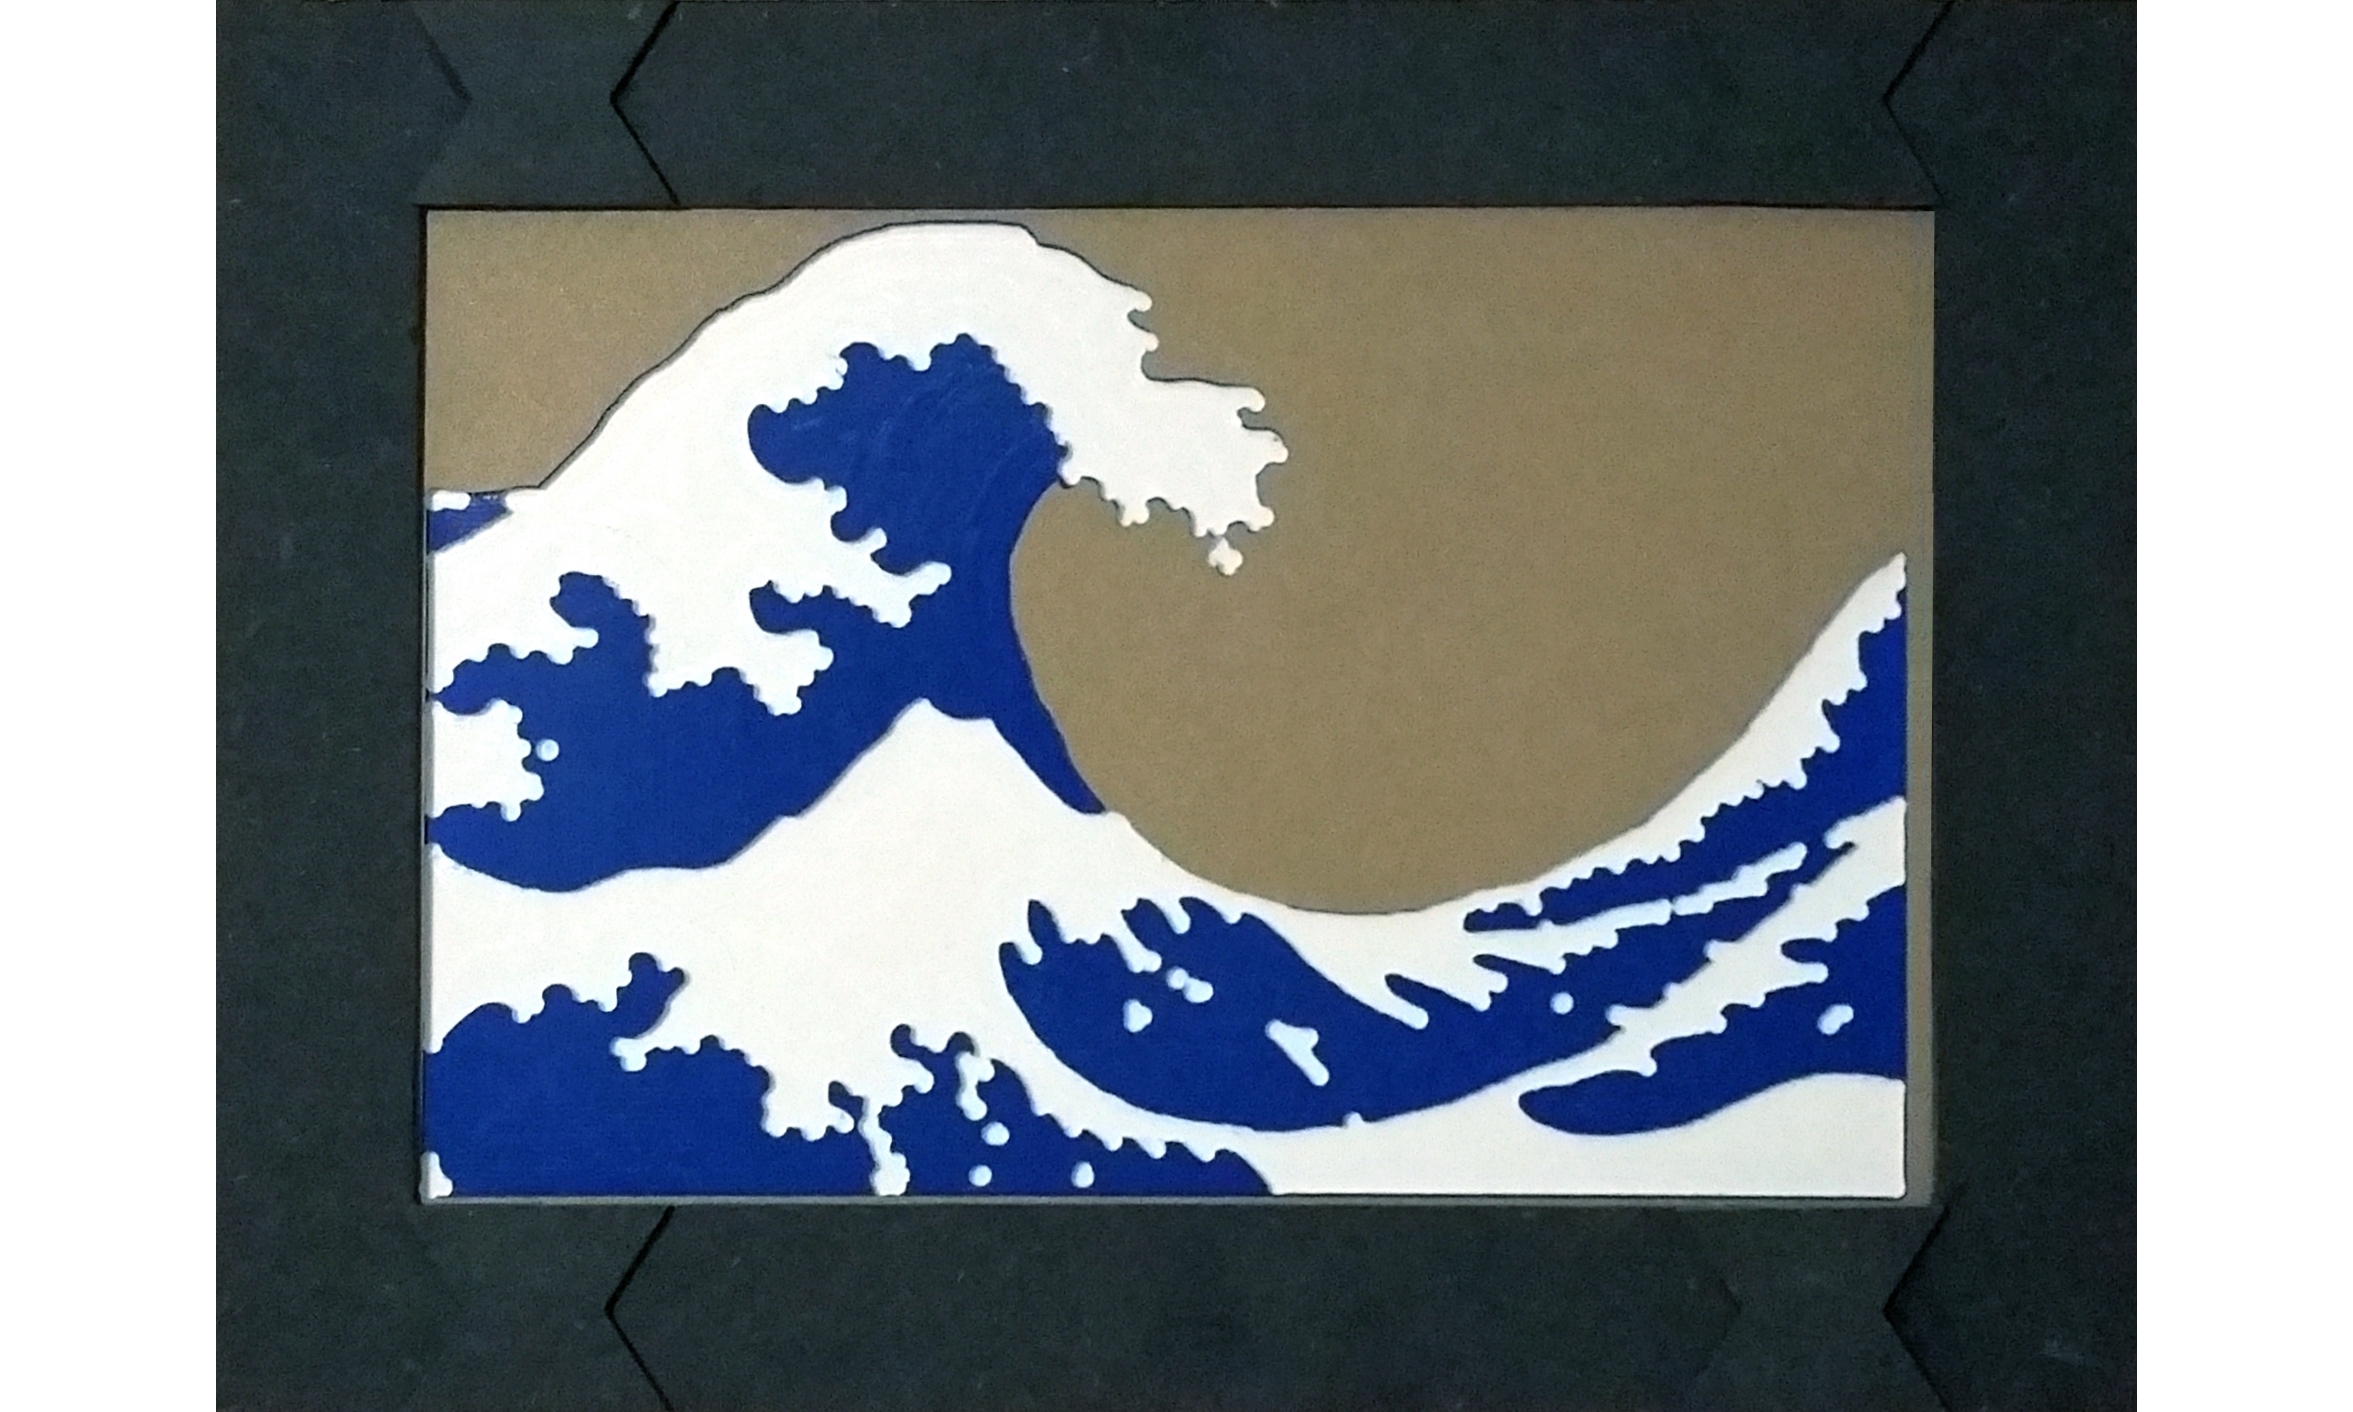
This project will demonstrate some advanced techniques for making an MDF picture frame. If your MDF is larger than your artwork, making a frame is very straight forward. For this project, I selected a piece of MDF that was smaller than my artwork, just to make things interesting ;)
1 minute
Whether you’re making a picture frame out of a larger piece of wood, or making a frame out of several smaller pieces, there are some pocketing techniques that can help make sure you get the results you want.
As you gain more CNC experience, you’ll start realizing the limits and work-arounds of a CNC milling. Namely, that you’re going to be using a round bit, and eventually you’re going to design something with a 90 degree corner, or want to add a groove to the edge of a piece that’s smaller than the endmill that you’re using. Let’s look at a couple of ways to deal with these situations, and then look at how I used those techniques to design this frame.
Let’s look at the most common issue you’re going to run into: square corner, round bit (see first picture). What’s going to happen here is the bit (black) is going to follow the edges of pattern and successfully mill out the grey area, but will be unable to reach the red portion in the corner, since that would require the bit to mill outside of the area you specified.
If you’re just doing decorative work, this might be fine, as the rounded corner will have the same radius as your bit, so if you’re using a small bit, it’s probably not noticeable.
However, if you’re making pieces that need to fit together, then the rounded corners could cause a problem. A common solution to this problem is to extend the corner of your design (click on second picture to expand it) so that the bit can travel far enough to remove enough material in the corner. If you’ve come across the term “dog-boning”, that’s what this refers to, clearing out the corners of your cuts so that your pieces can slide together.
I use this technique on the inside corners of the frame, where I needed to make a pocket for the artwork to fit into. Instead of making a small groove like the second picture, I made a larger, circular area, which serves the same purpose.


Another technique that will come in handy is what I call “over-cuttting”. This happens when you want to make a groove in the edge of your project. Just like what happened with the corners, if you just draw a rectangle on the edge of your project and attempt to pocket it, you’re going to be disappointed.
If you look at the first picture, imagine that our workpiece is below the red section we want pocketed, and the yellow striped area is waste material. We have two issues: one, our bit won’t fit in that area, and even if it did, we’d still run into two, it’s not going to successfully reach the corners.
What we need to do is expand our pocket into the waste area so that 100% of the area we want pocketed will be covered. If you look at the second picture, you can see that by expanding our pocket to the striped grey area, we can ensure that all of the solid grey area will be pocketed by the endmill.
In this project, I used this technique both to create a groove for the artwork to fit into, but also for the decorative pieces. I wanted the entirety of the decorative pieces to be pocketed, so I made my pockets larger than the pieces, and made my through-cuts to be inside the pockets.


20 minutes
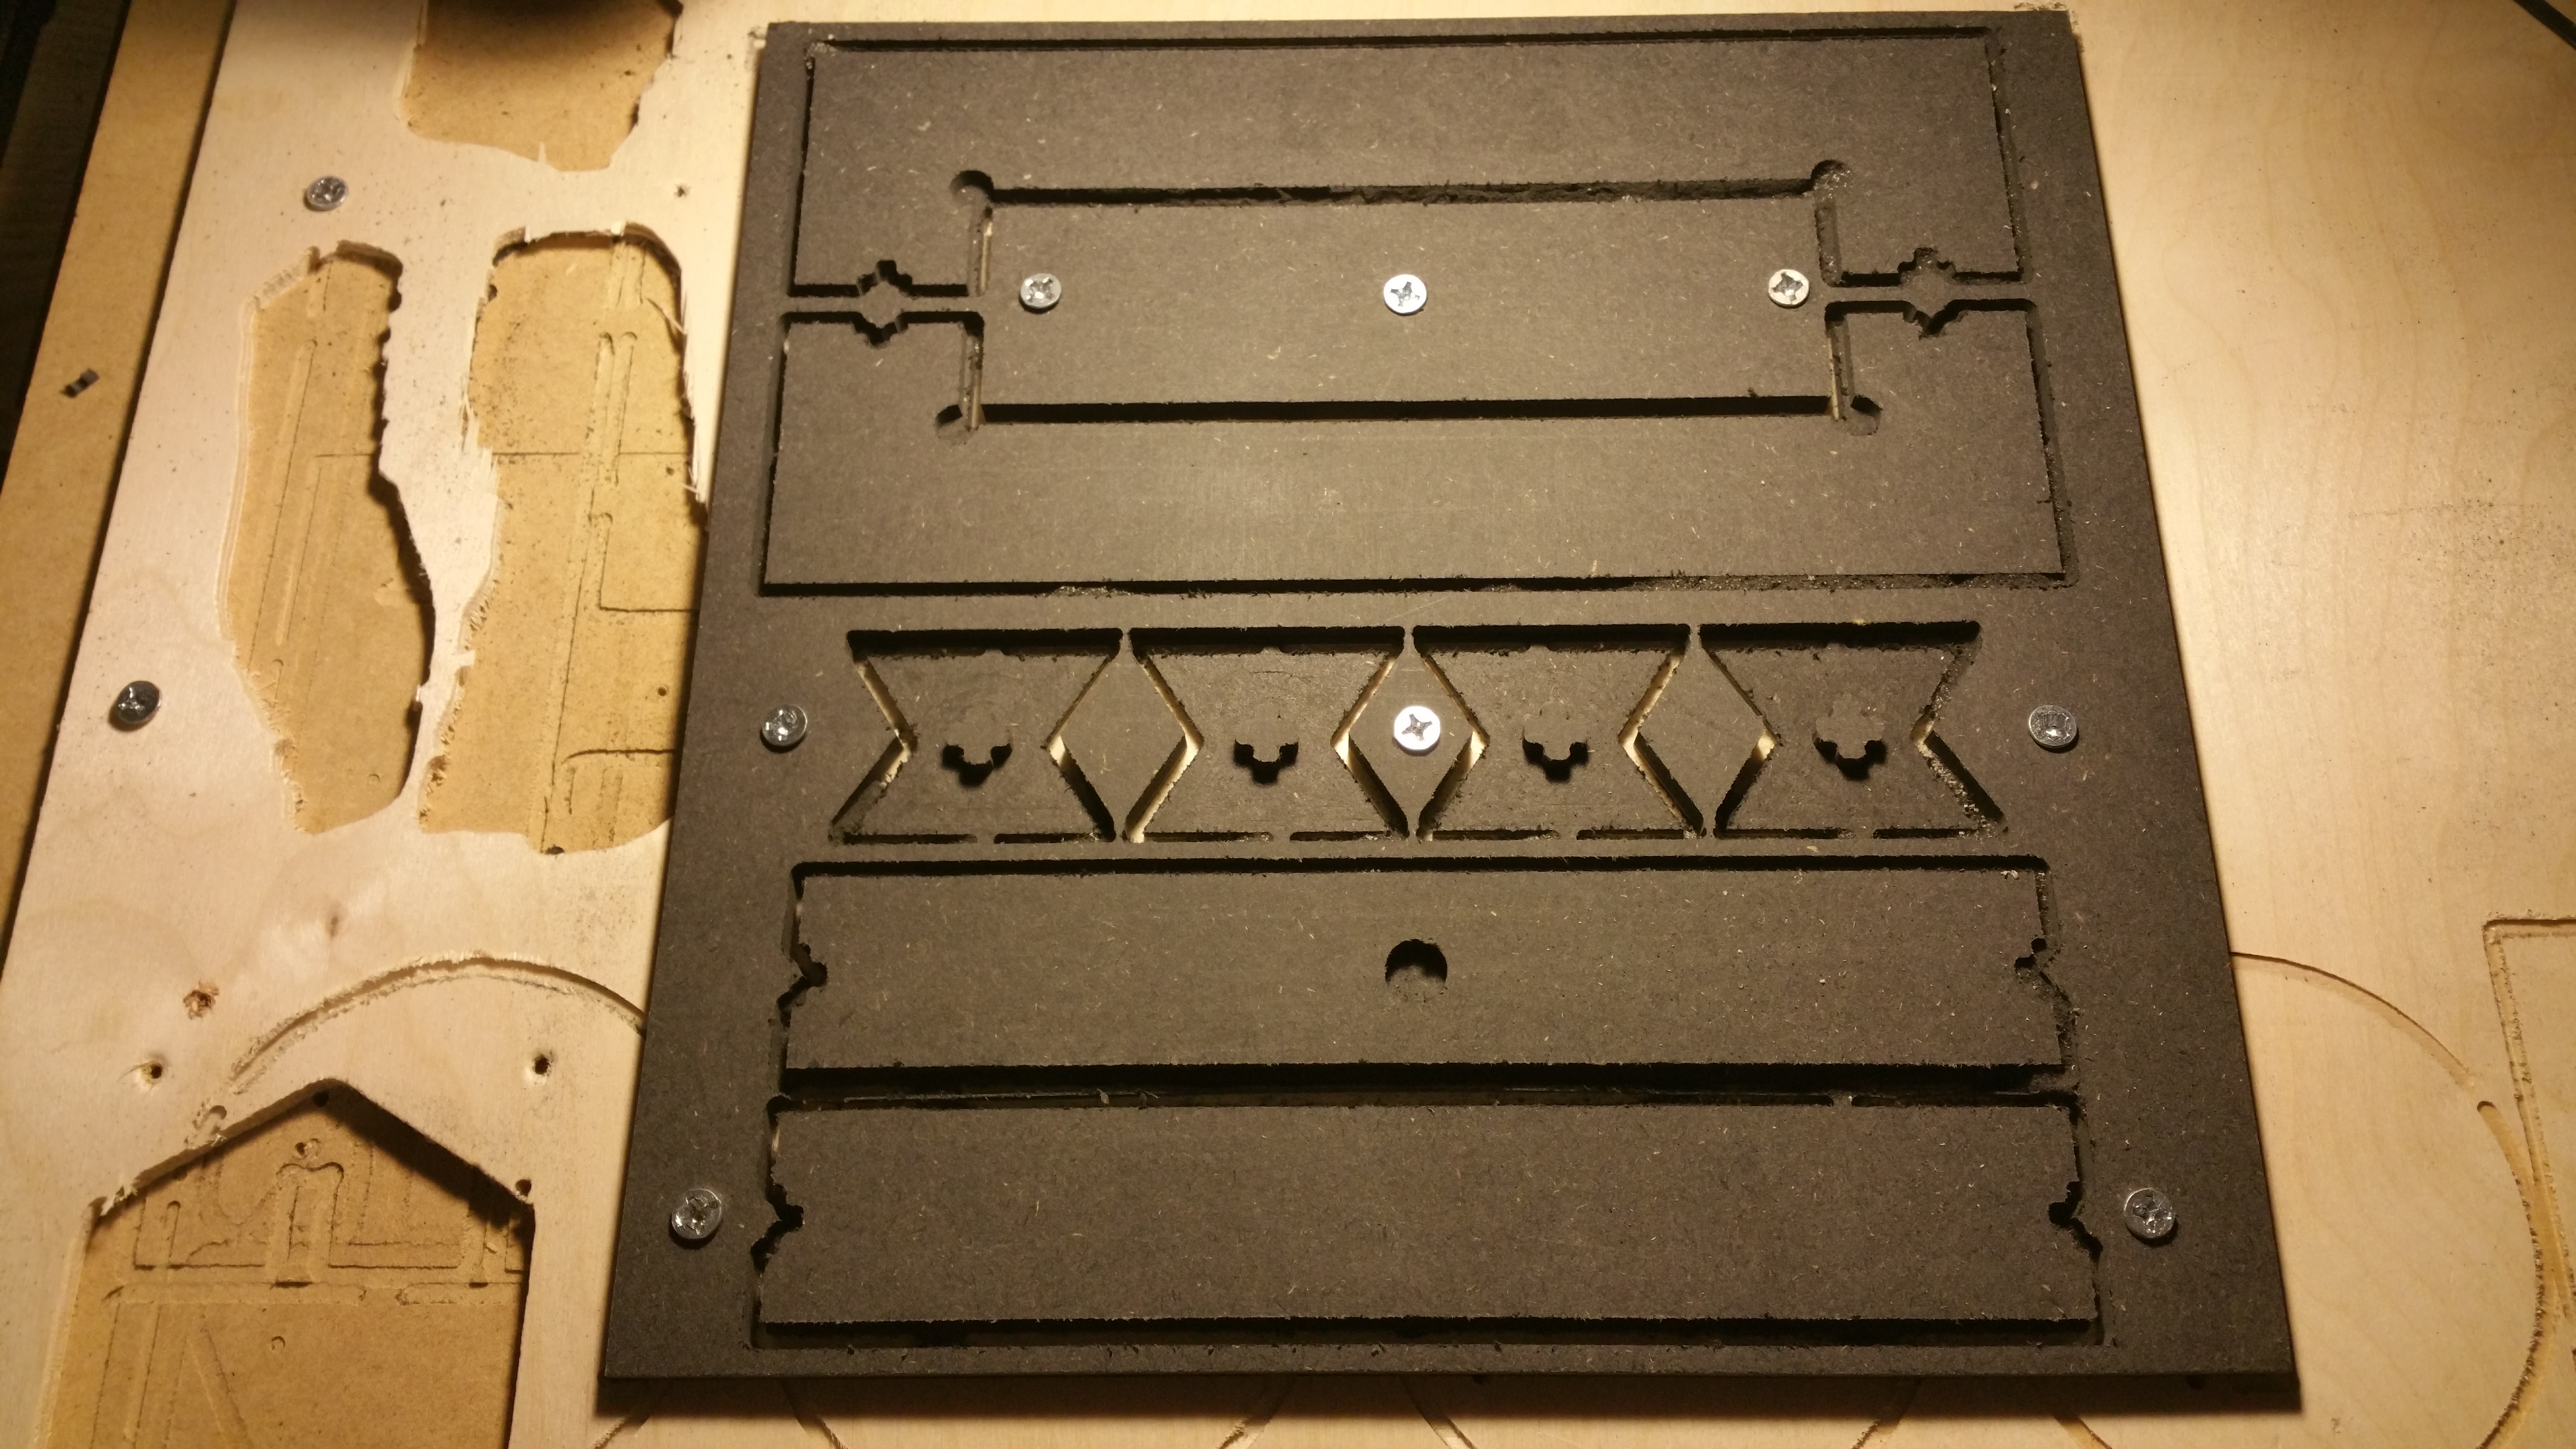
Now that you understand the pocketing techniques I used, let’s look at how they were used for this project. The top two pieces use both the corner and overcutting techniques to create a channel to hold the artwork in place. The middle set of pieces use the overcutting technique, so that the center peg is raised, while the rest of the piece is pocketed (these are the decorative pieces I used to hide the seams of the frame). The final set of pieces are overcut, again to provide a channel to hold the artwork in place.

20 minutes
Now that the frame is designed, the rest is pretty easy! I tend to screw my pieces down to the waste board rather than clamping them, so that’s what I did here. What I’ll typically do is once my piece is designed, I’ll make a copy of it and add a few holes just slightly larger than my bit (in this case, 1/8"), and then remove the rest of the project, so that it will just cut my screw-down holes. Once those have been cut, I’ll screw the piece down, and then run the original project.
10 minutes
Once the piece has finished running, you’ll want to remove it from the machine, cut the tabs, and give it a quick sanding to remove any leftover tab-stubs. For this frame, I designed four decorative pieces to hide the seams that would otherwise appear in the finished project. It turns out that the X-Carve did such a good job on cutting these parts that just the friction of these inserts was enough to hold the edges of the frame together! I decided to glue the frame together anyways, but I was impressed that my X-Carve had managed to produce a snap-together frame :)
To glue it all together, I placed the pieces (face-up) on a piece of scrap MDF, and used a square to make sure that they were all lined up. Once I had them squared up, I clamped them into place, put a small amount of glue on the back of the decorative pieces, and pressed them into place. Once I was happy with how everything was fitting together, I added some additional clamps and let it dry overnight.

All that’s left to do is mount your artwork, and hang it on a wall! For this frame I added a small circular pocket to the center of the top section of the frame, so I just placed it on a hook on my wall and it instantly leveled itself out.
Hopefully you’ve picked up some tips and techniques from this project. Let me know if you have any questions in the comments below, and get out there and make something!